A Giant Problem

Dear Bloggers,

The ‘We Do Lego Program’ is used at GEPS by Years 3 and 4 and I have been thrilled the way students have embraced, loved and learnt so much from it.

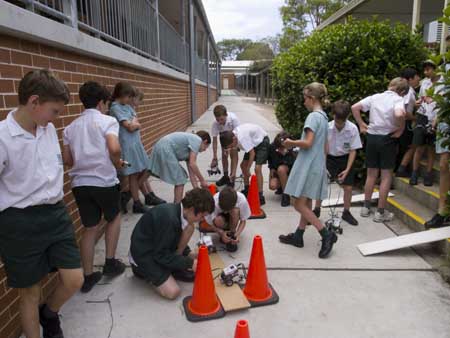
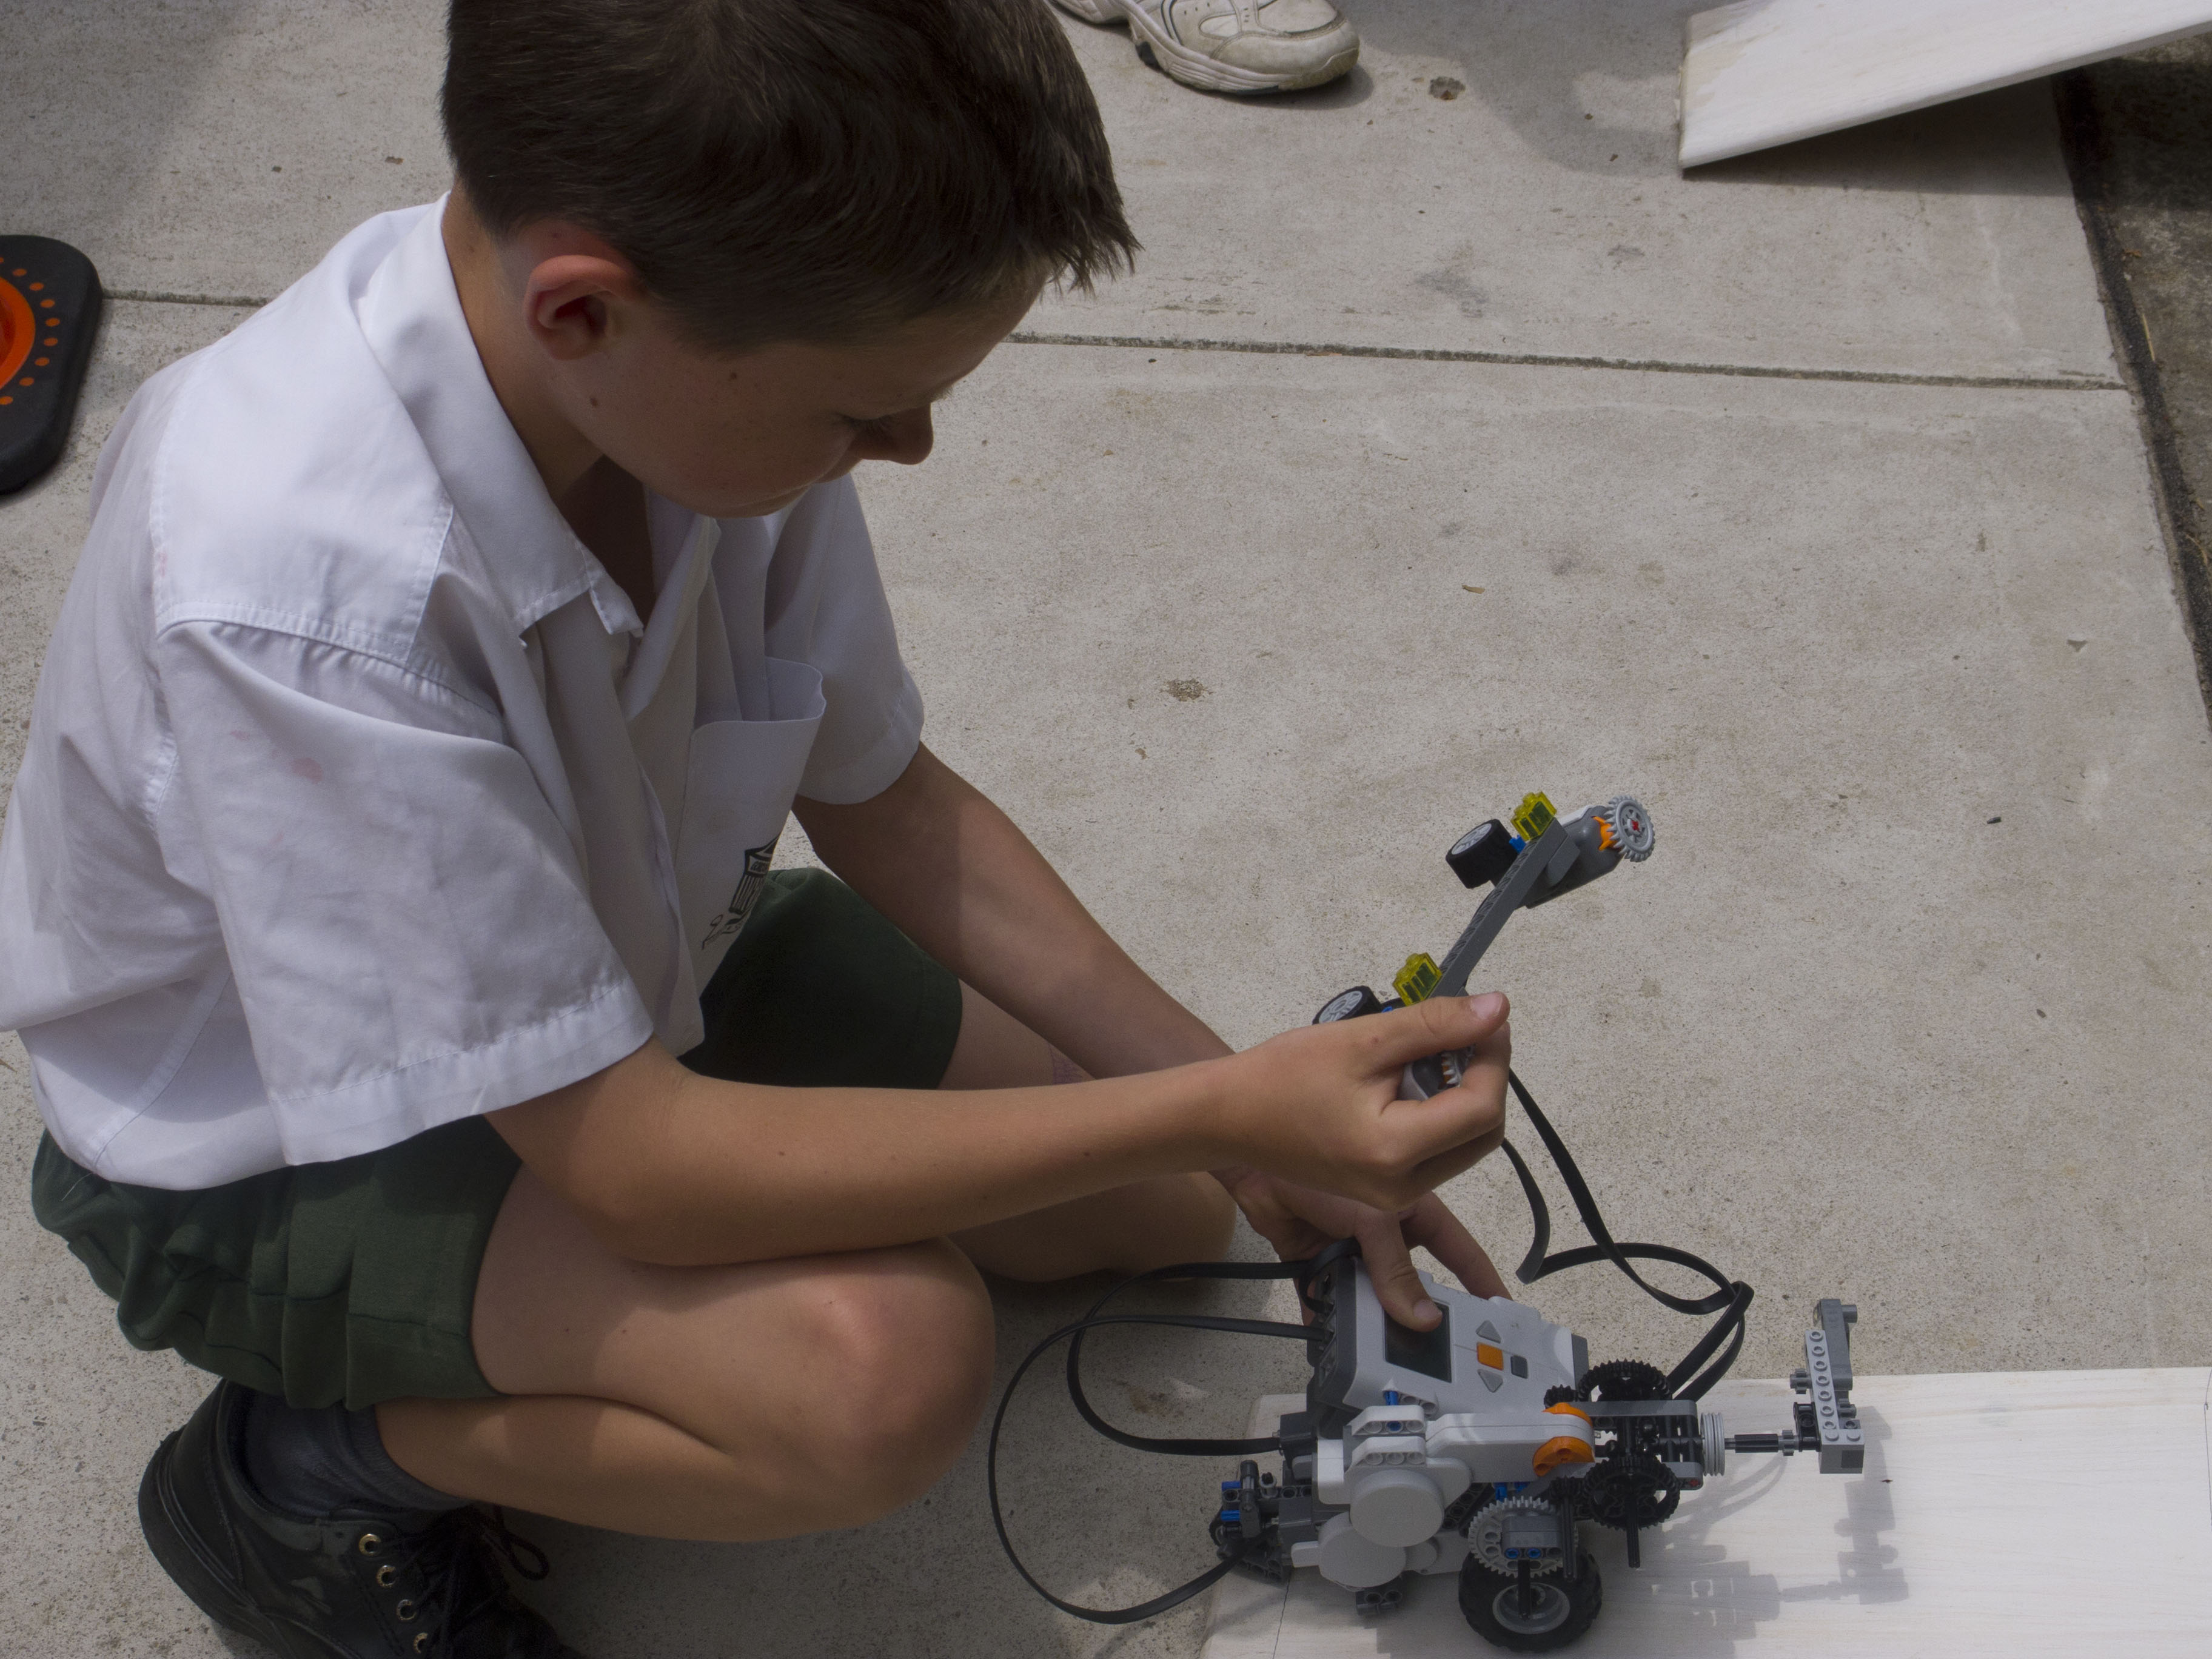
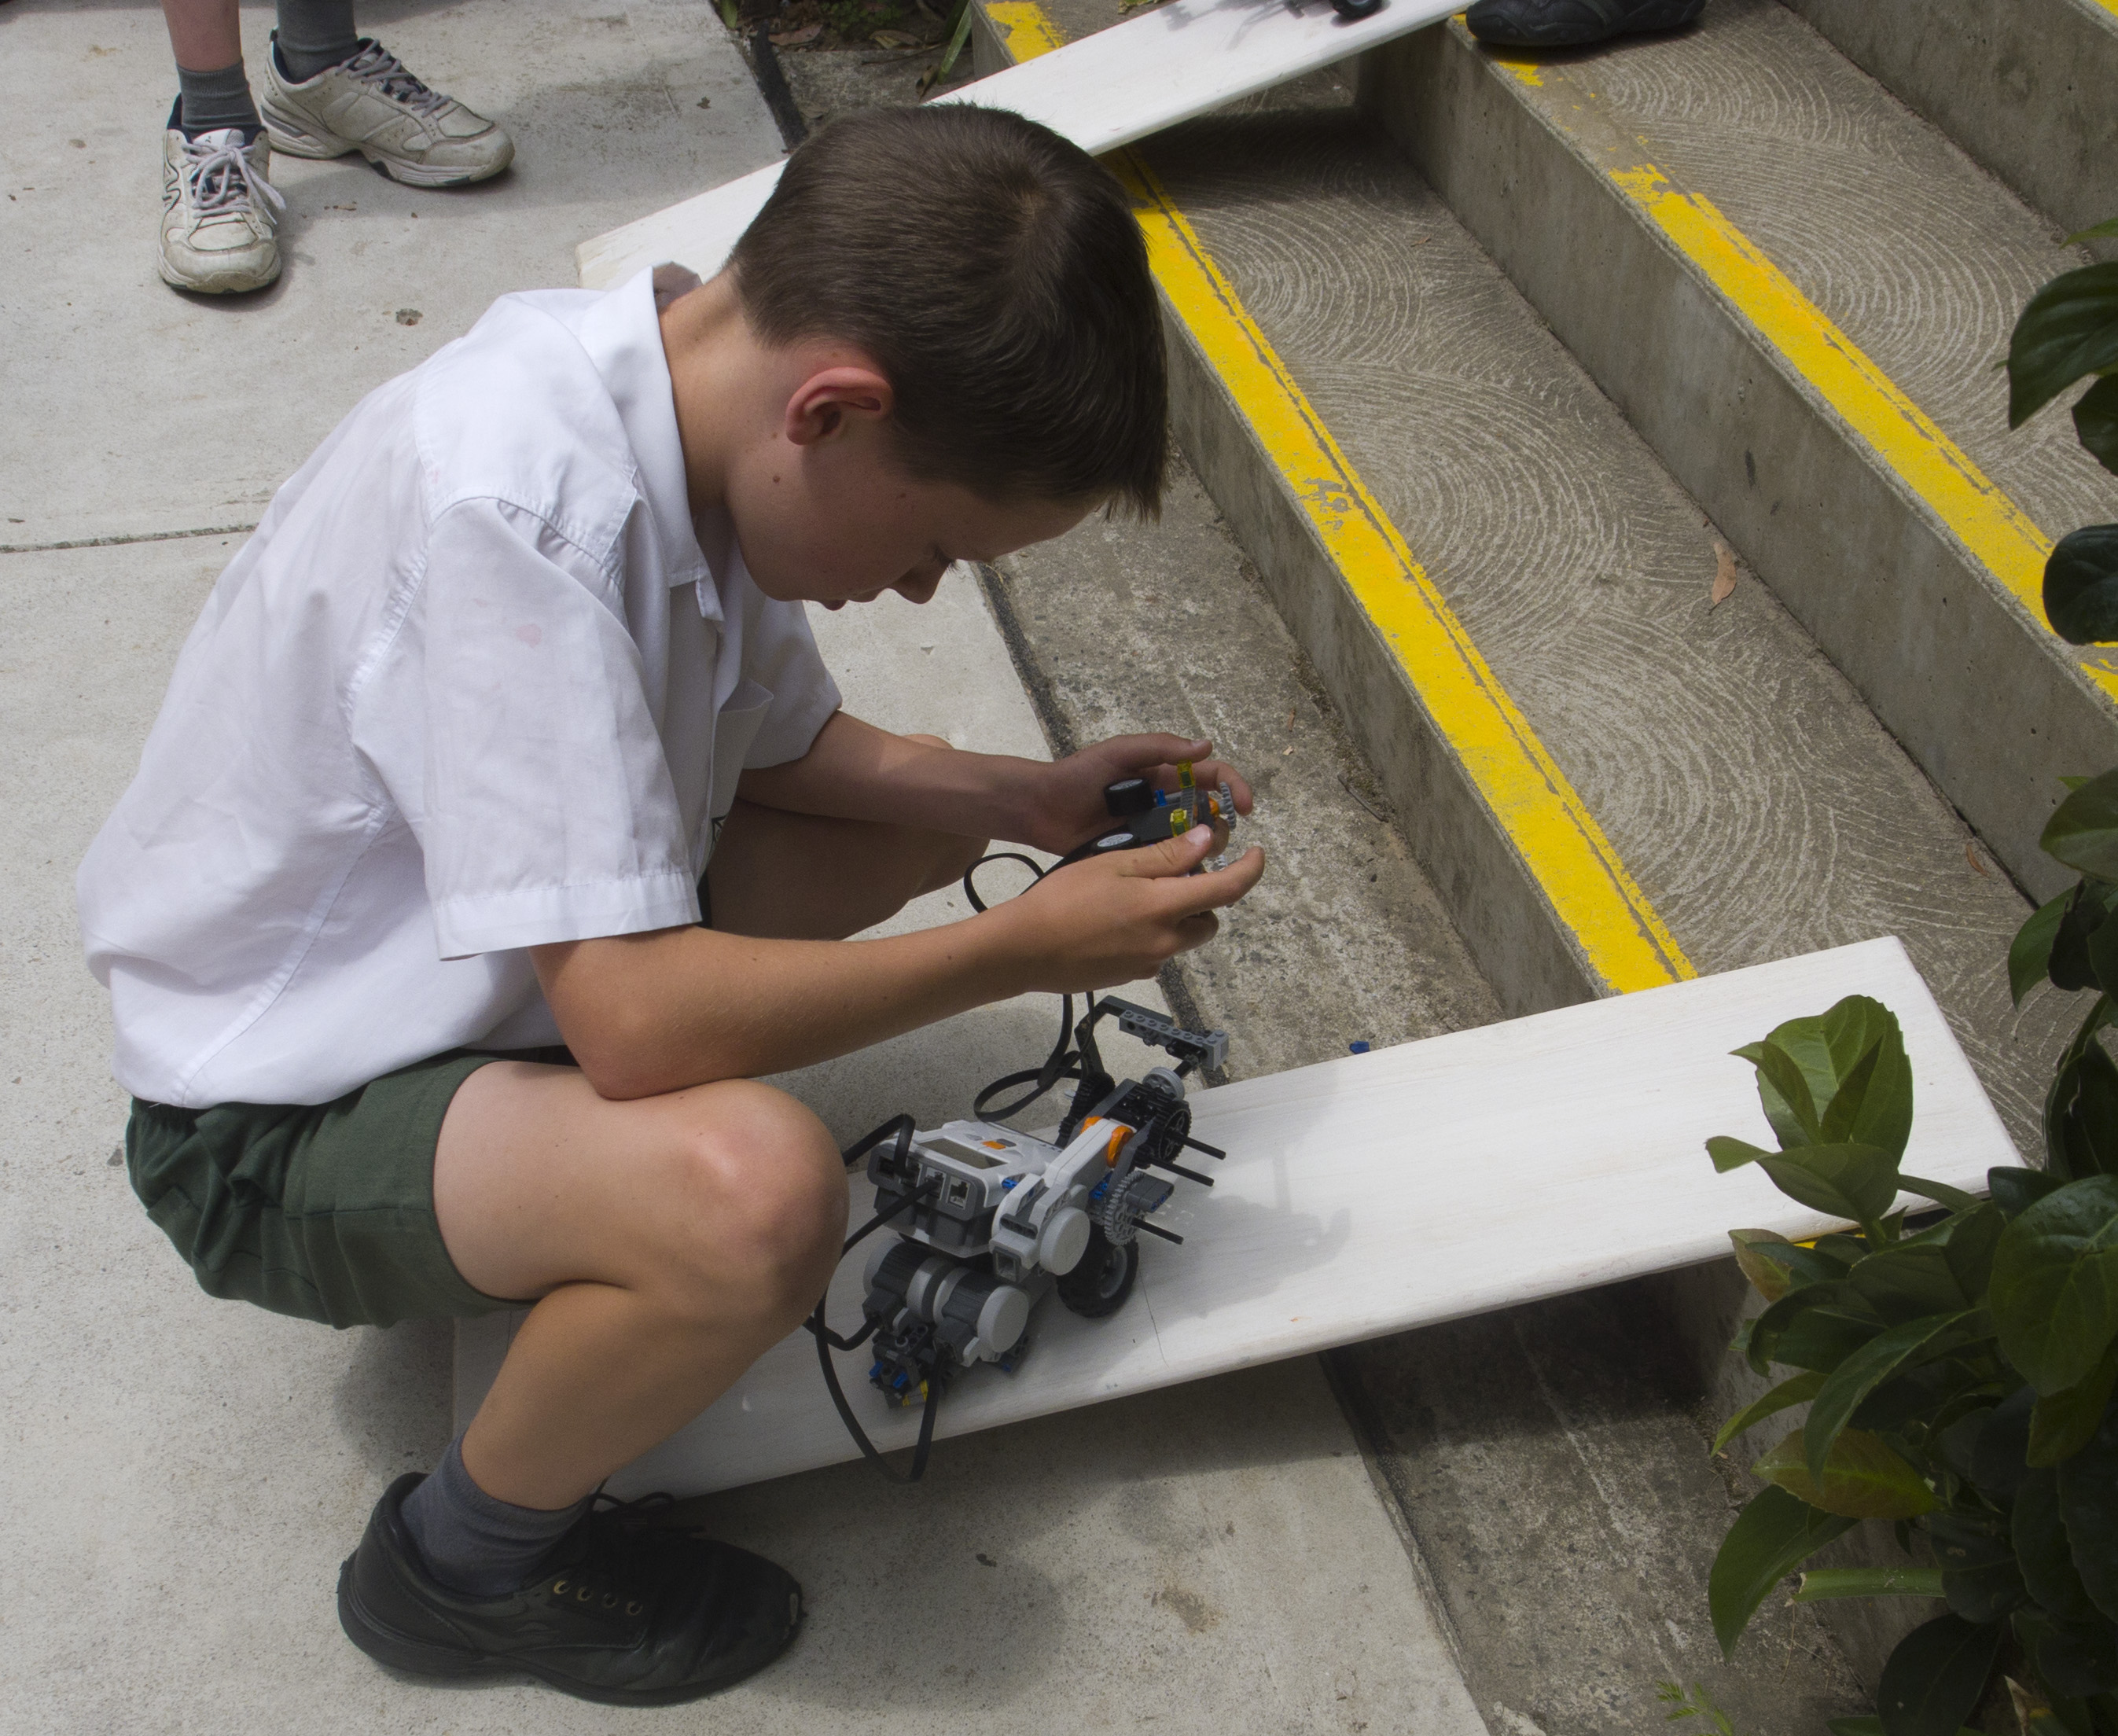
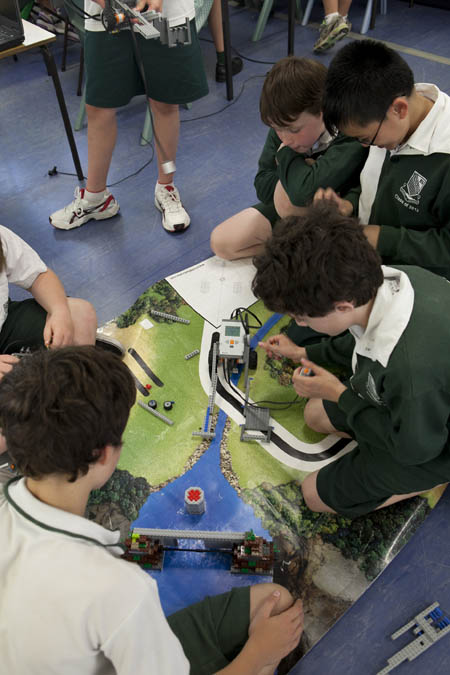
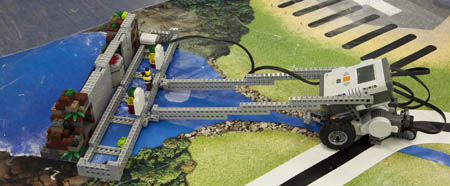
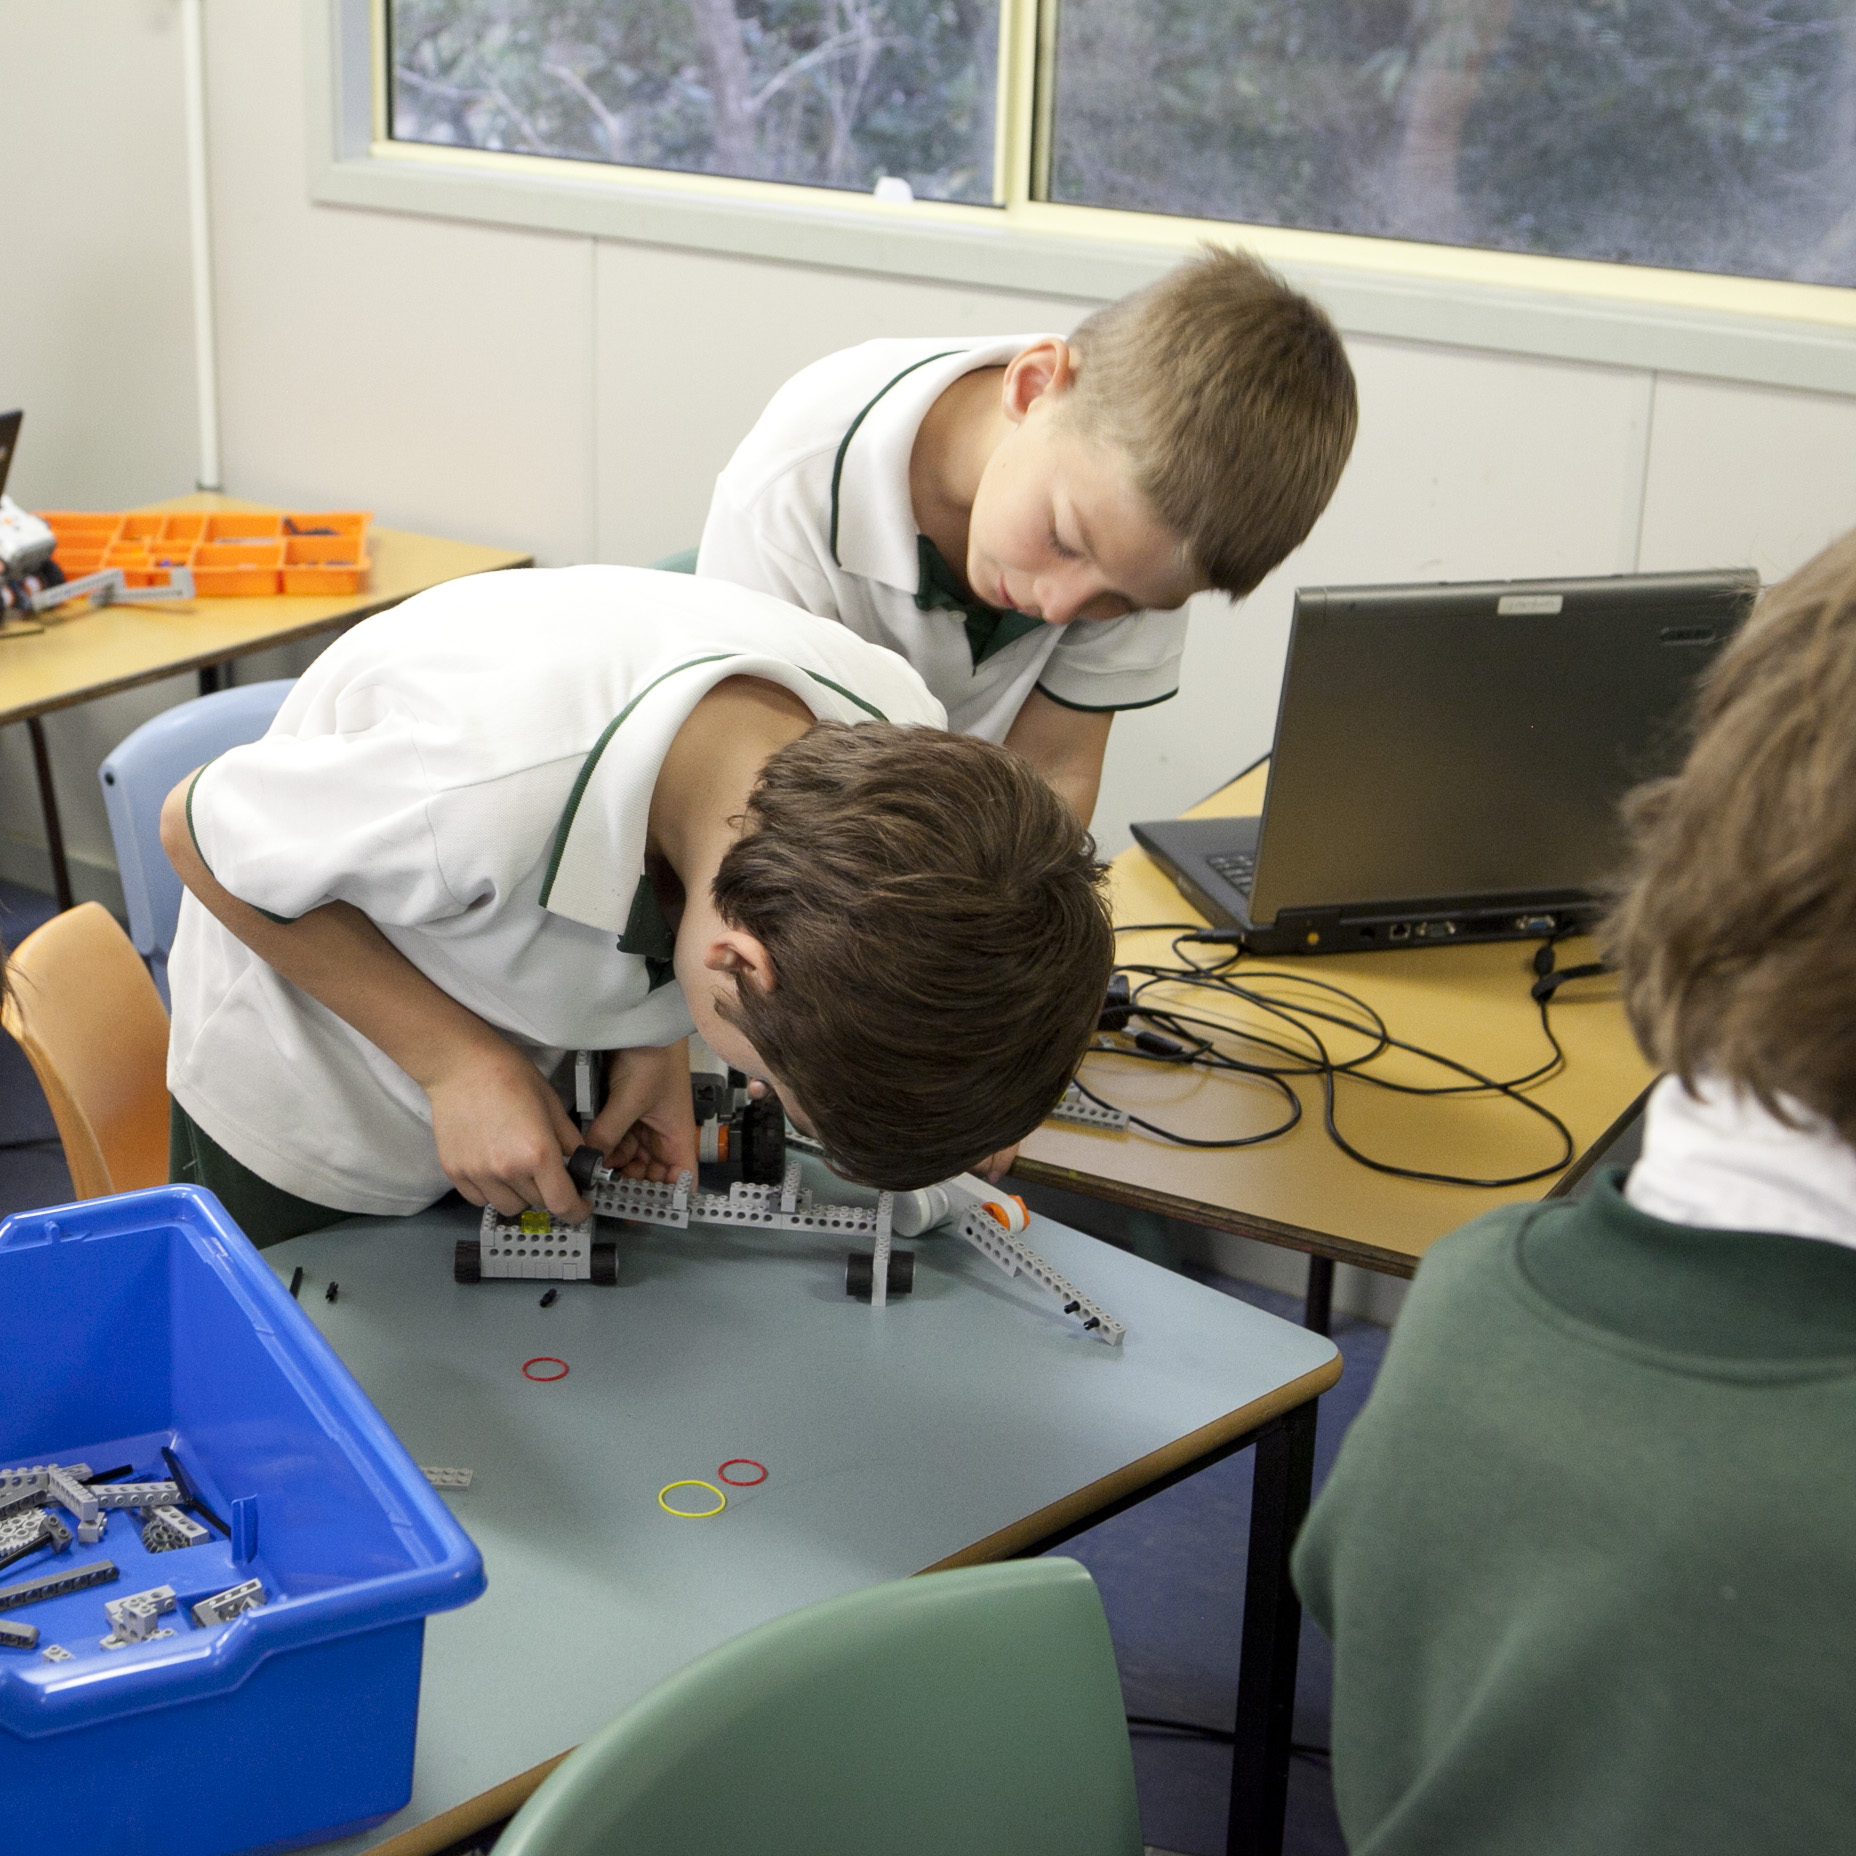
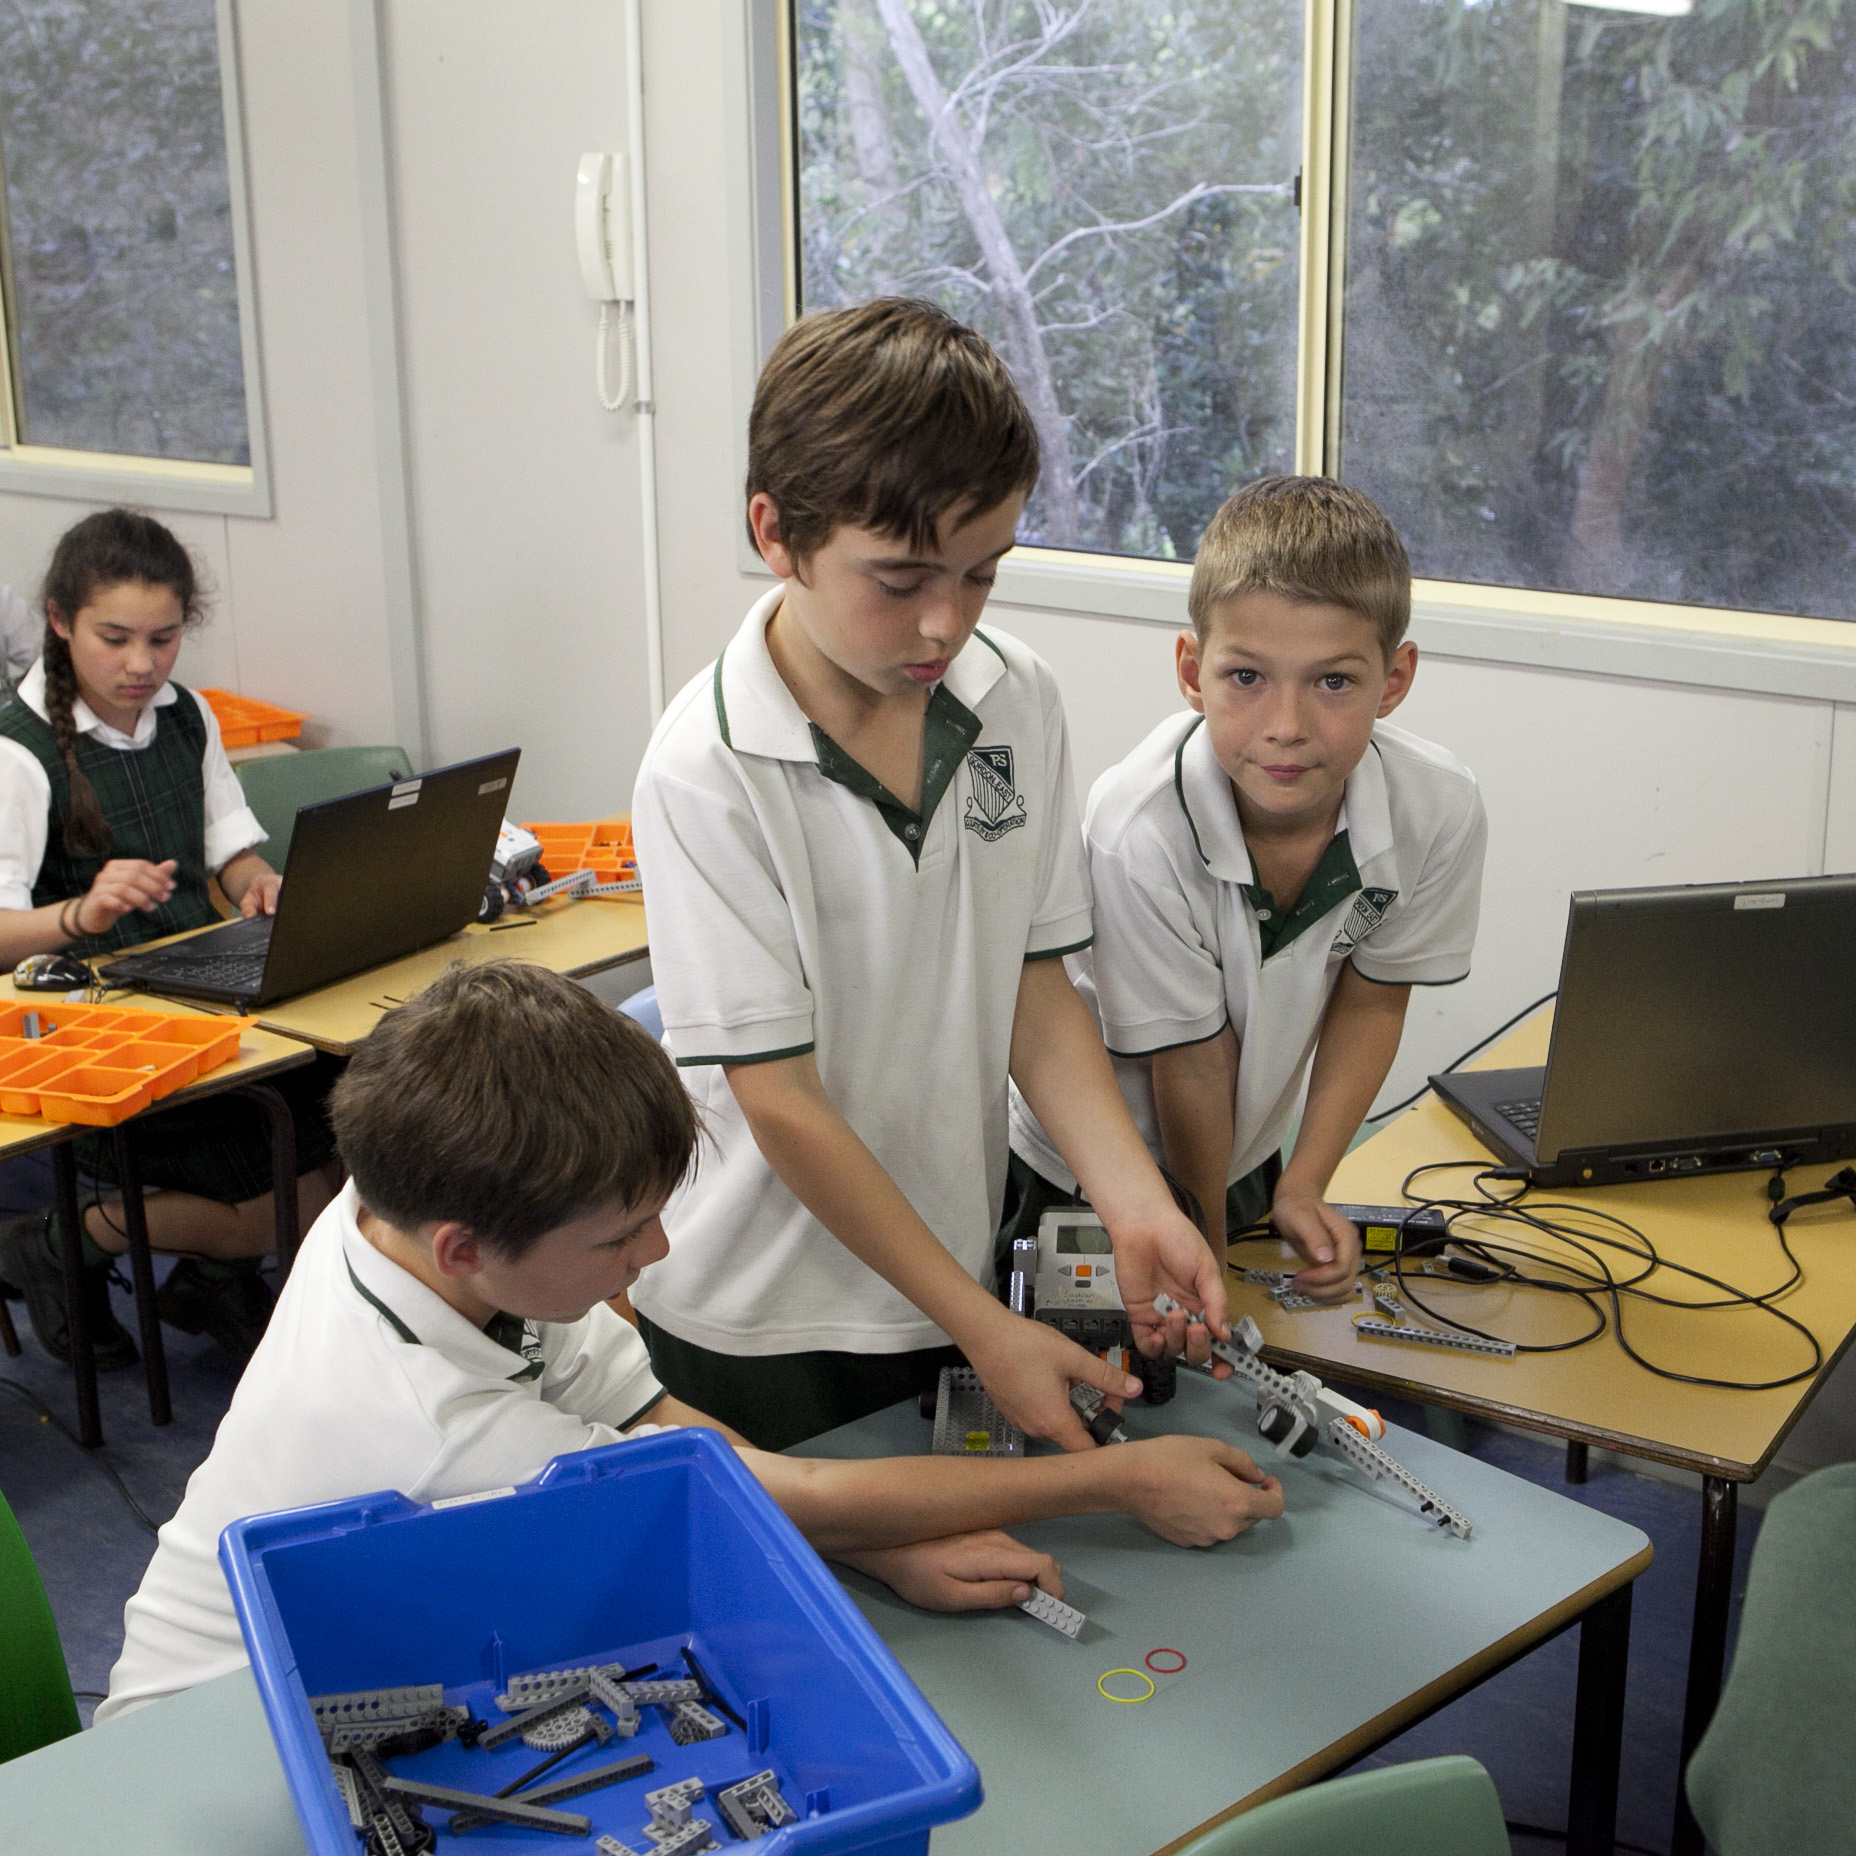
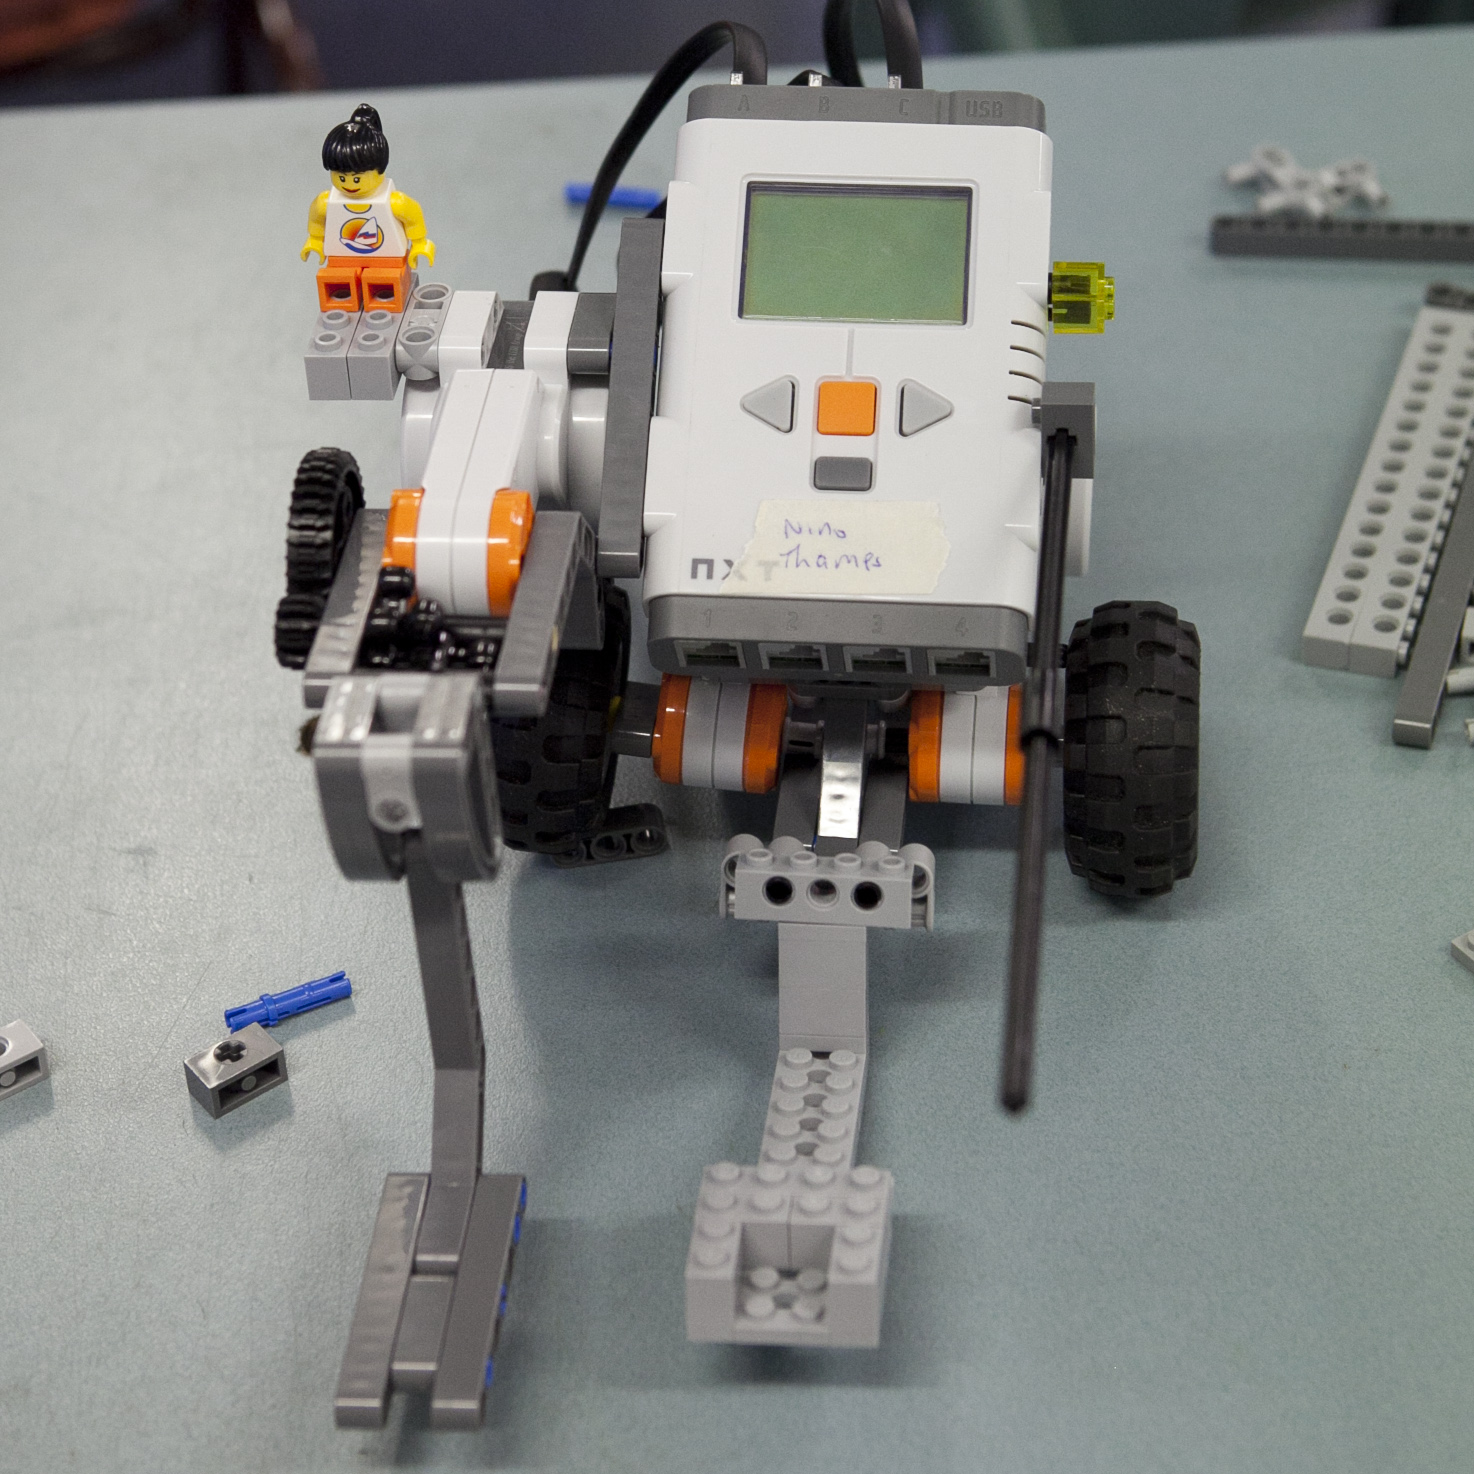
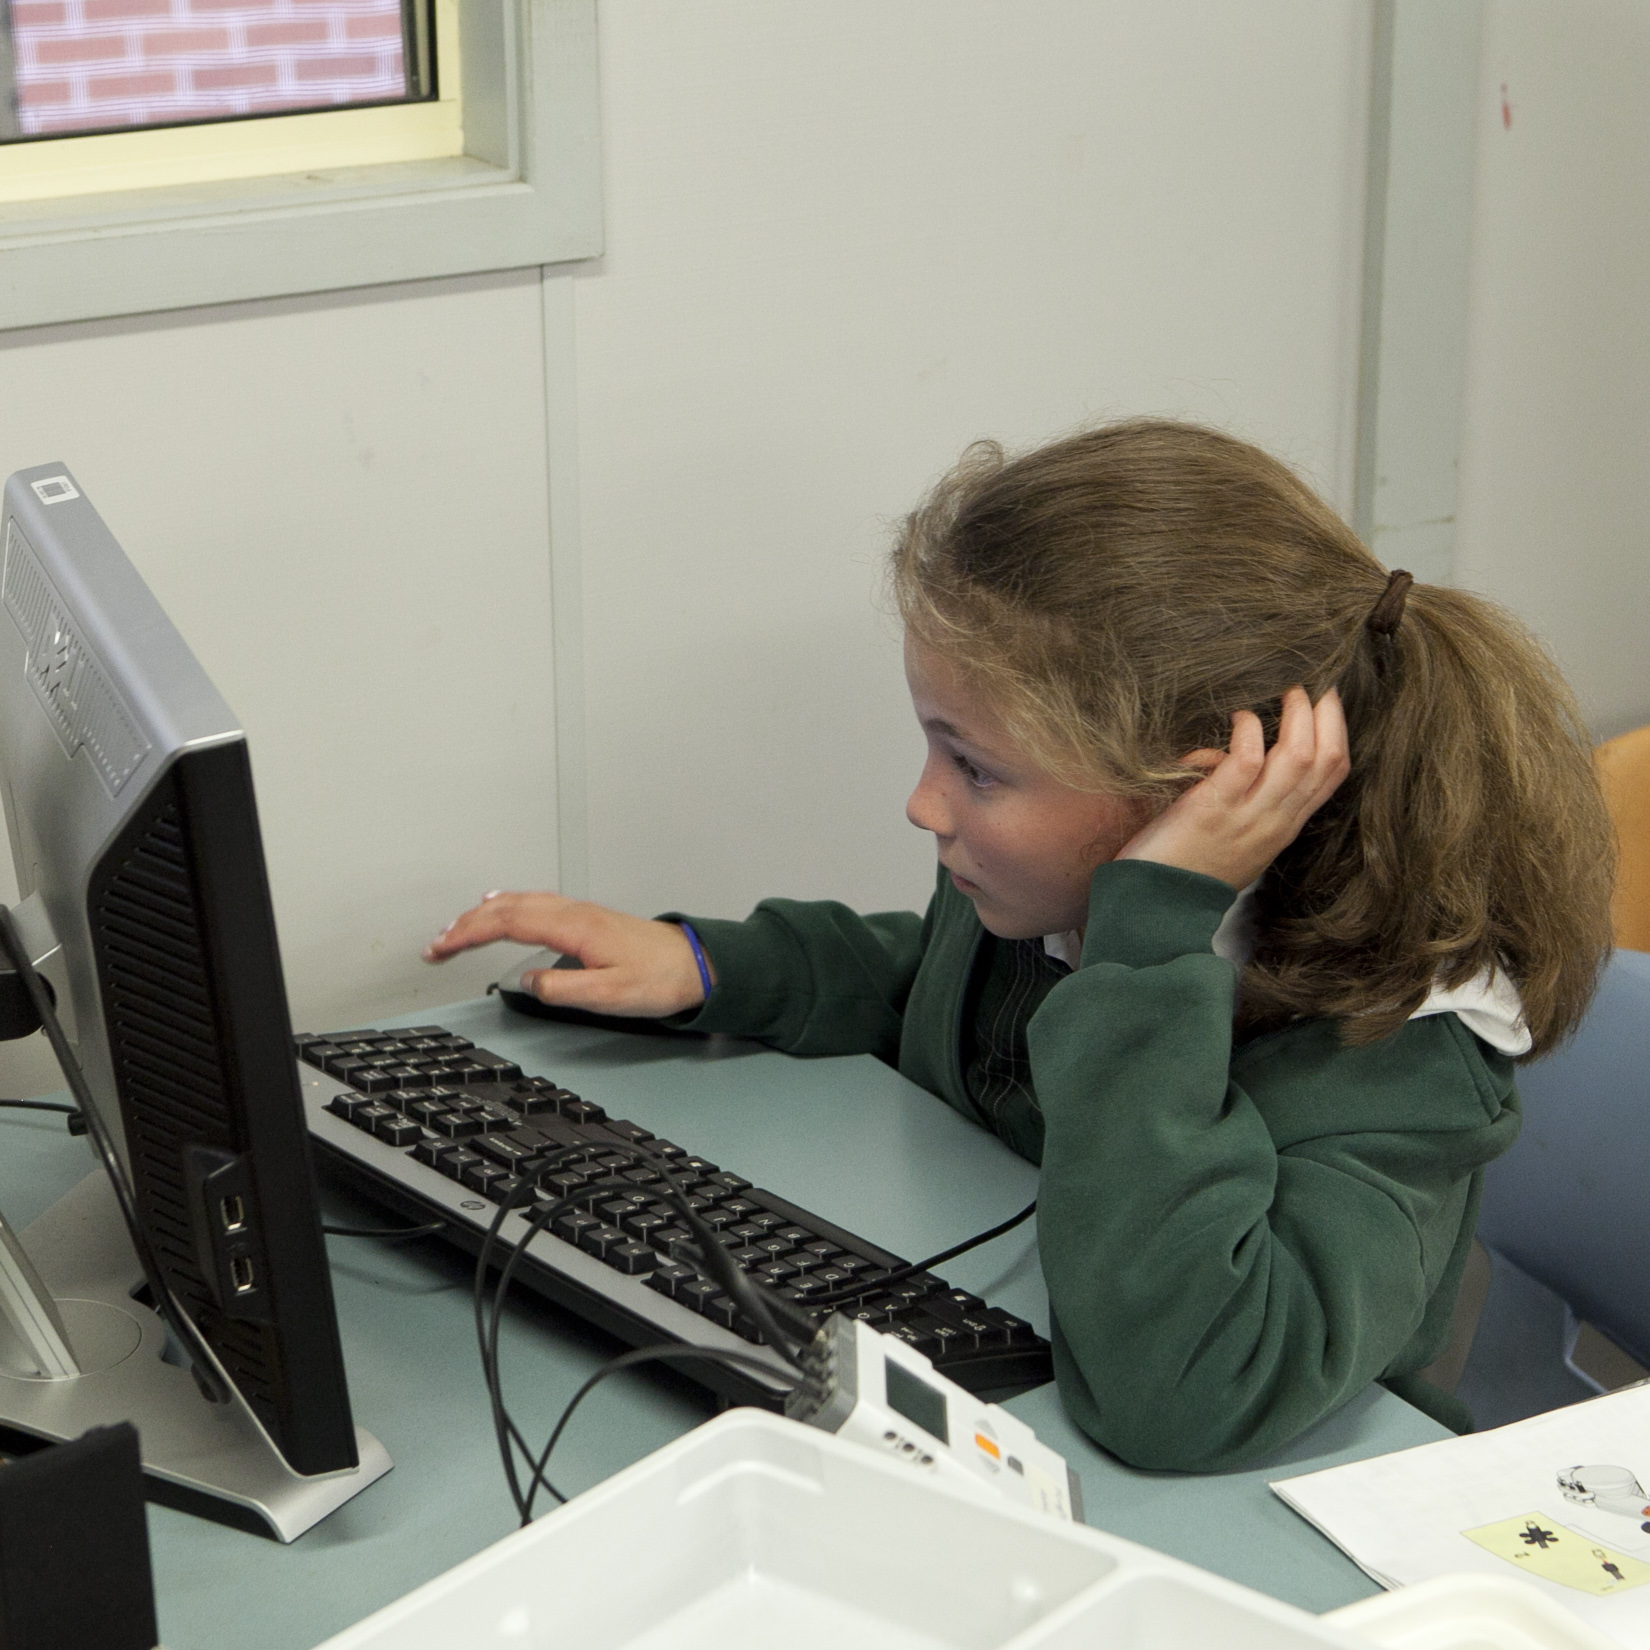
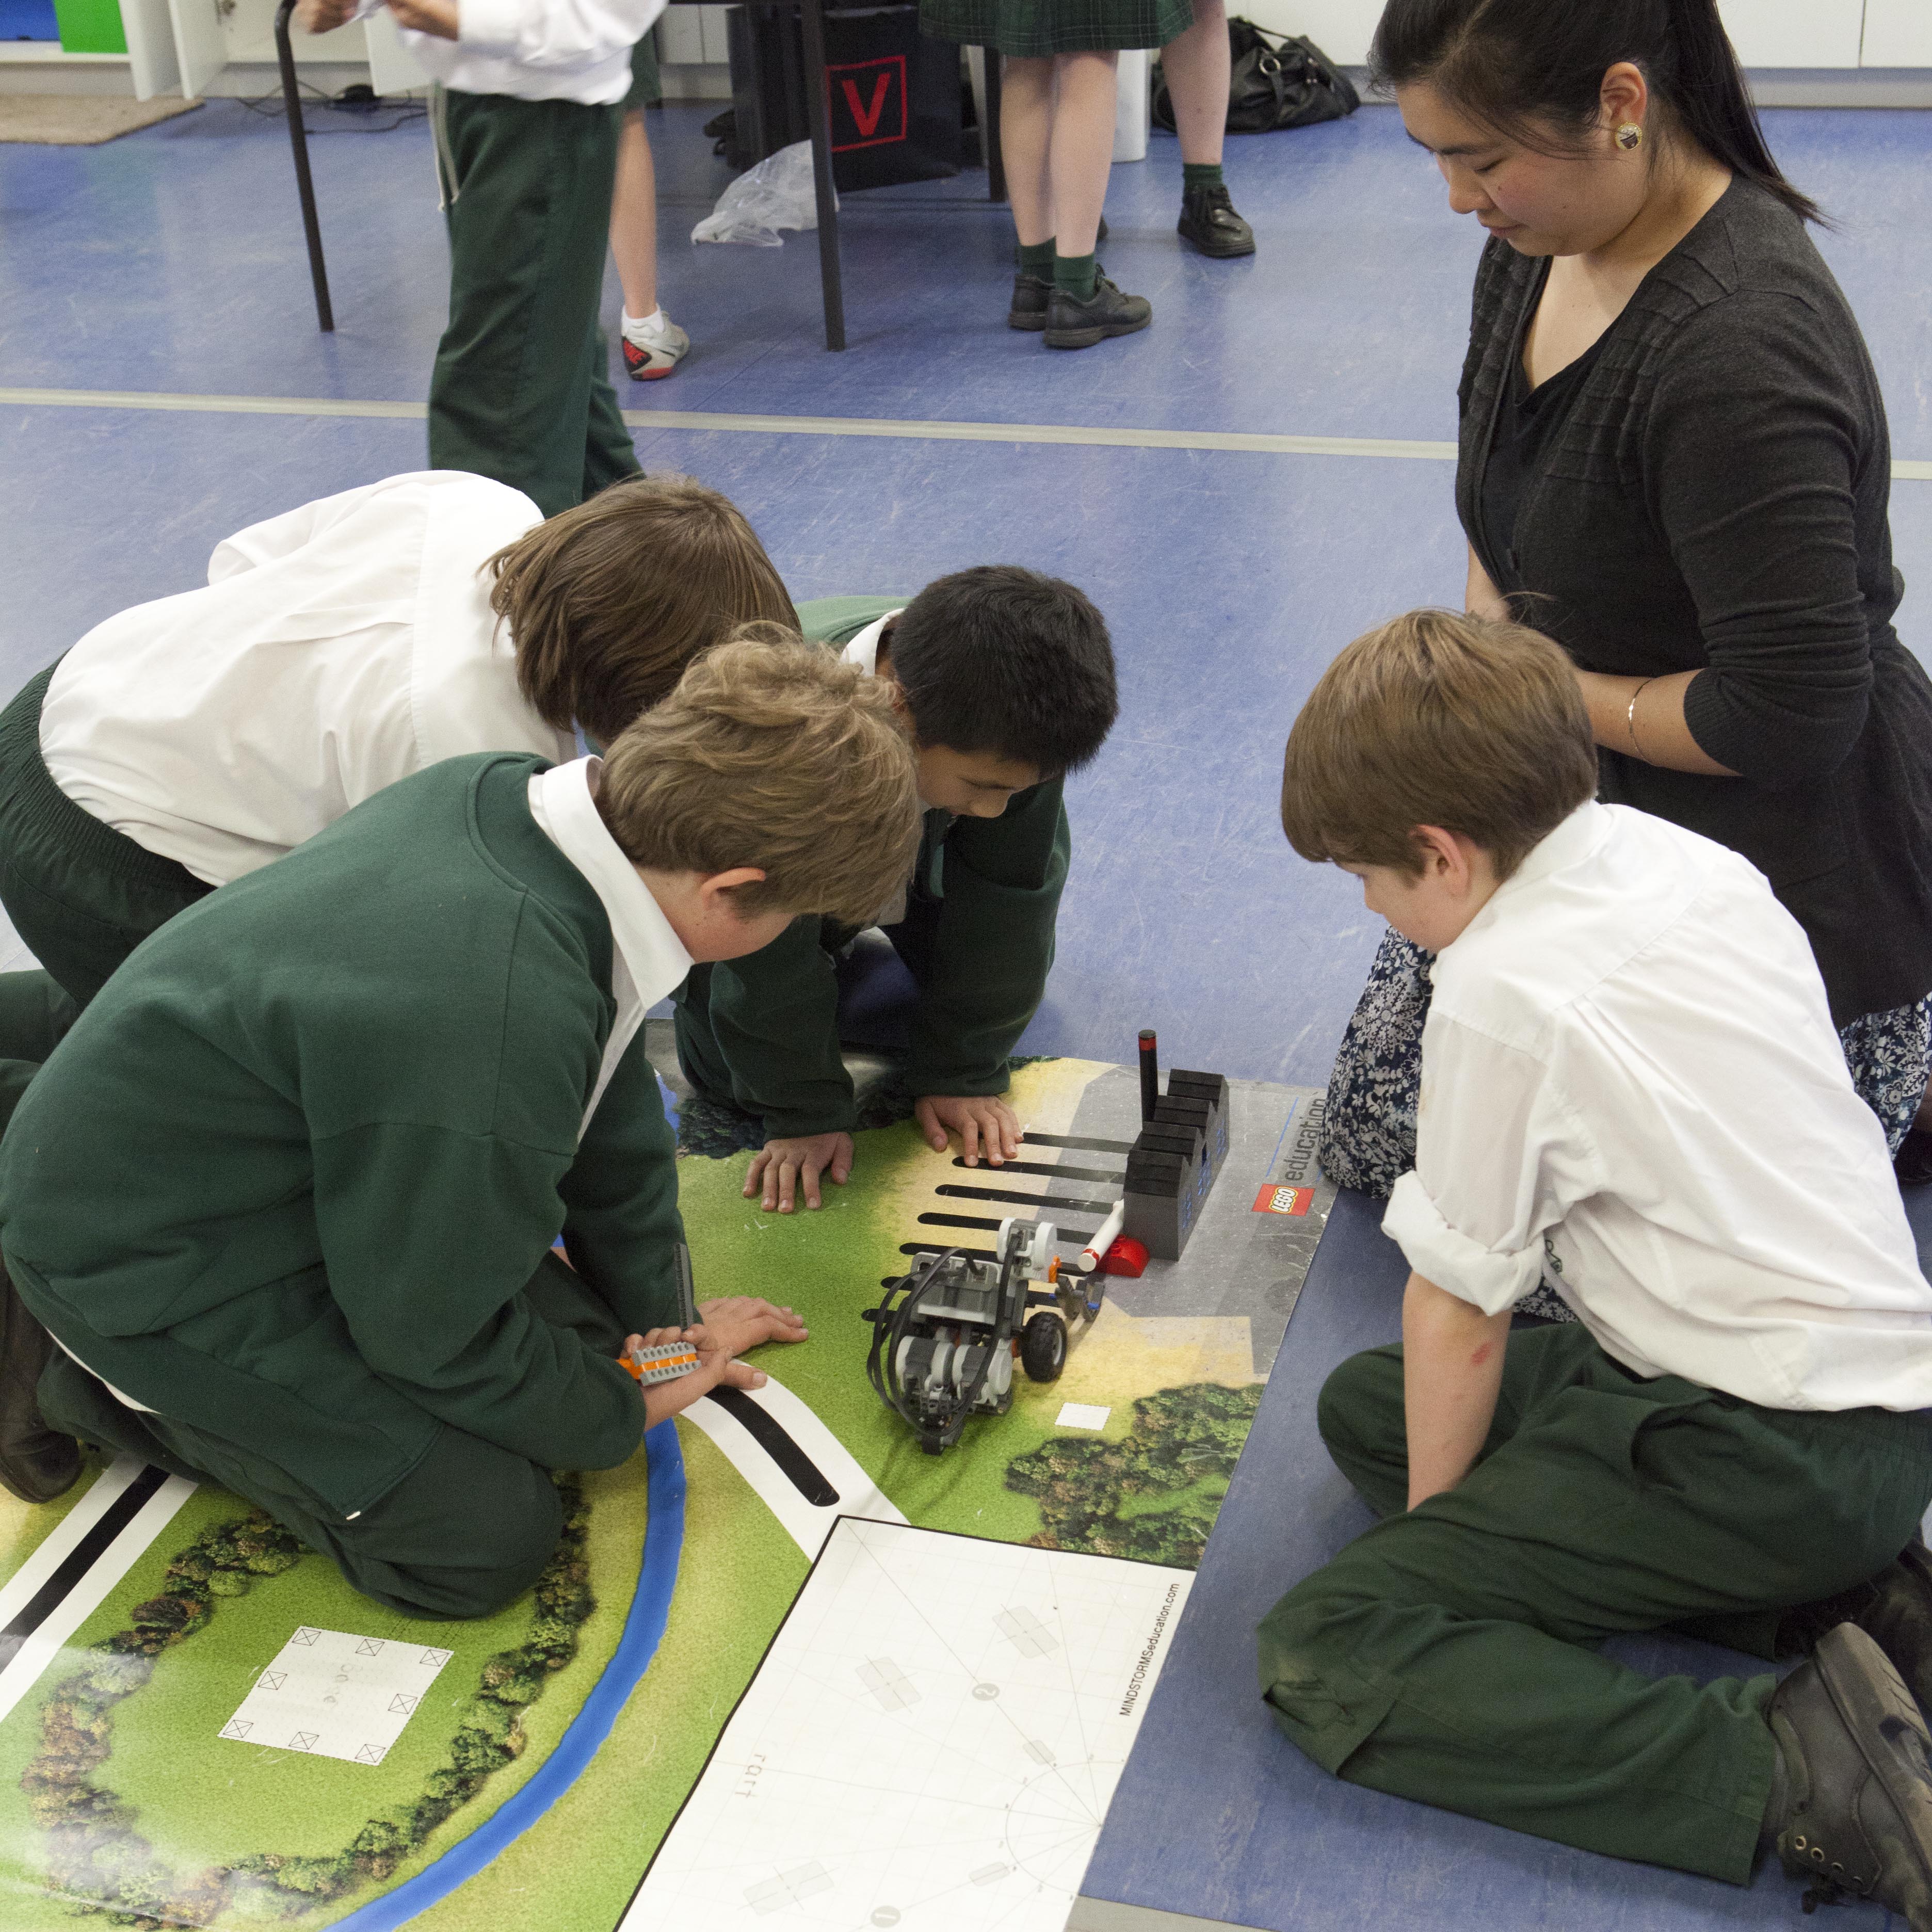
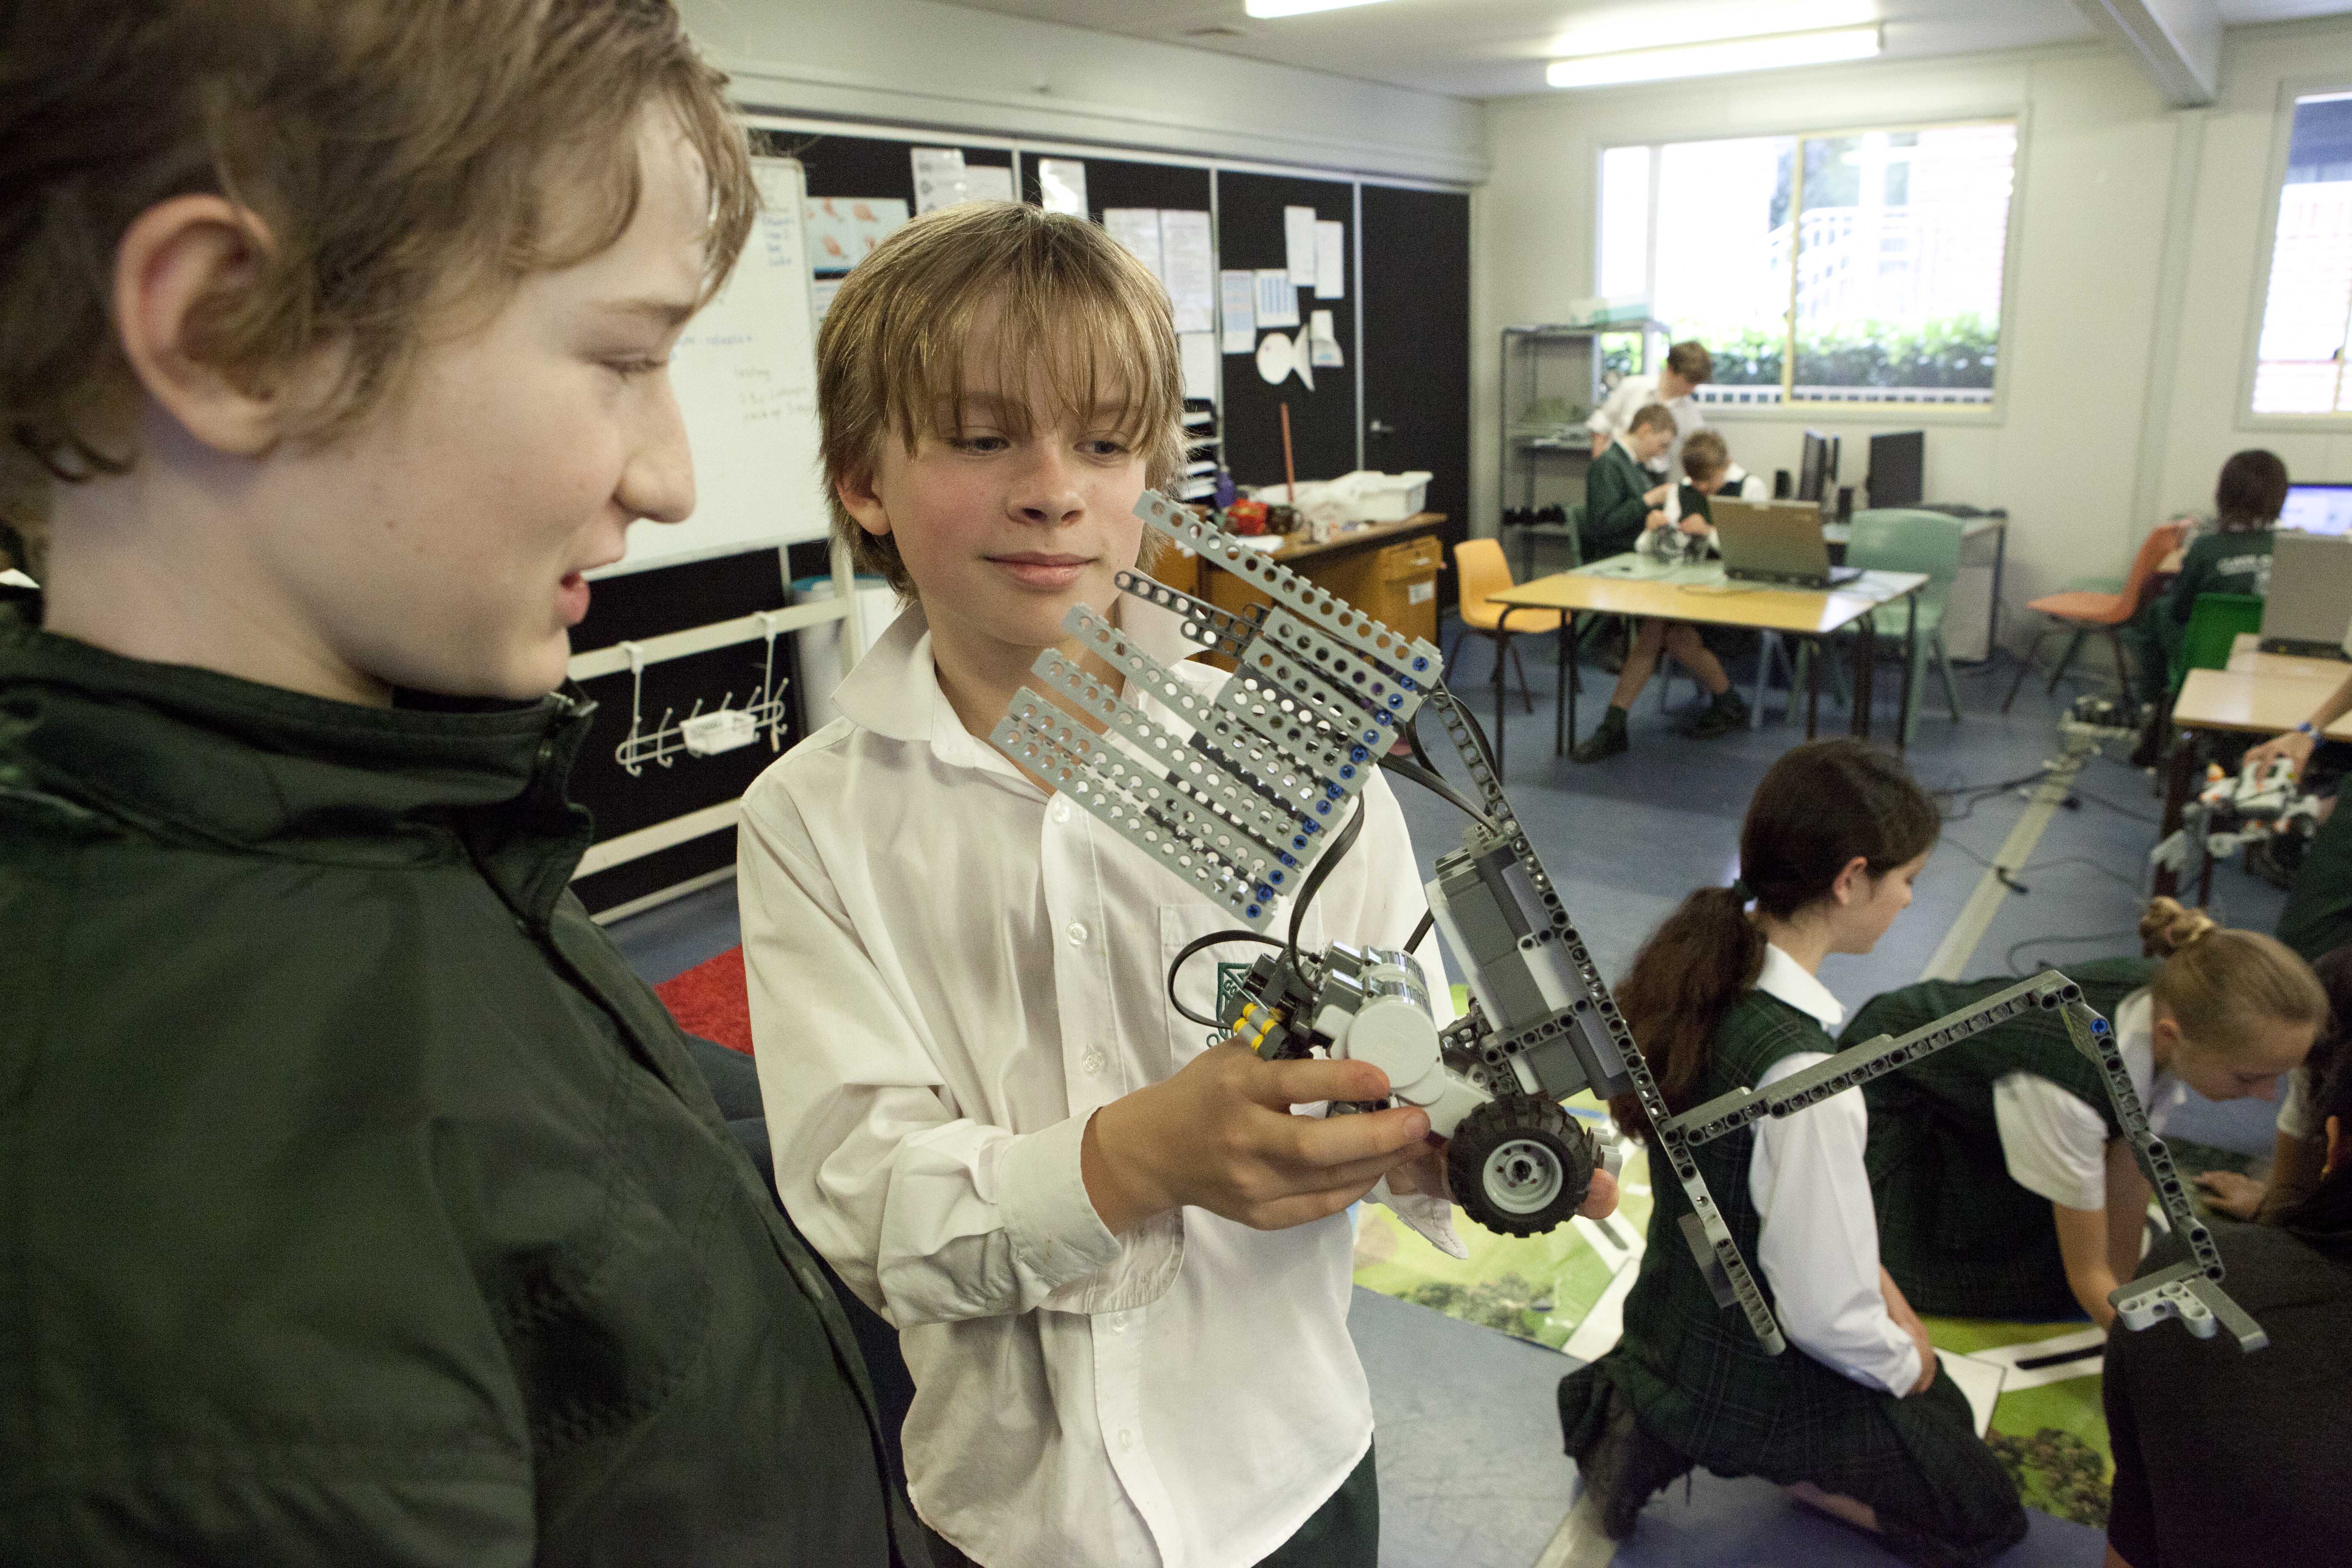
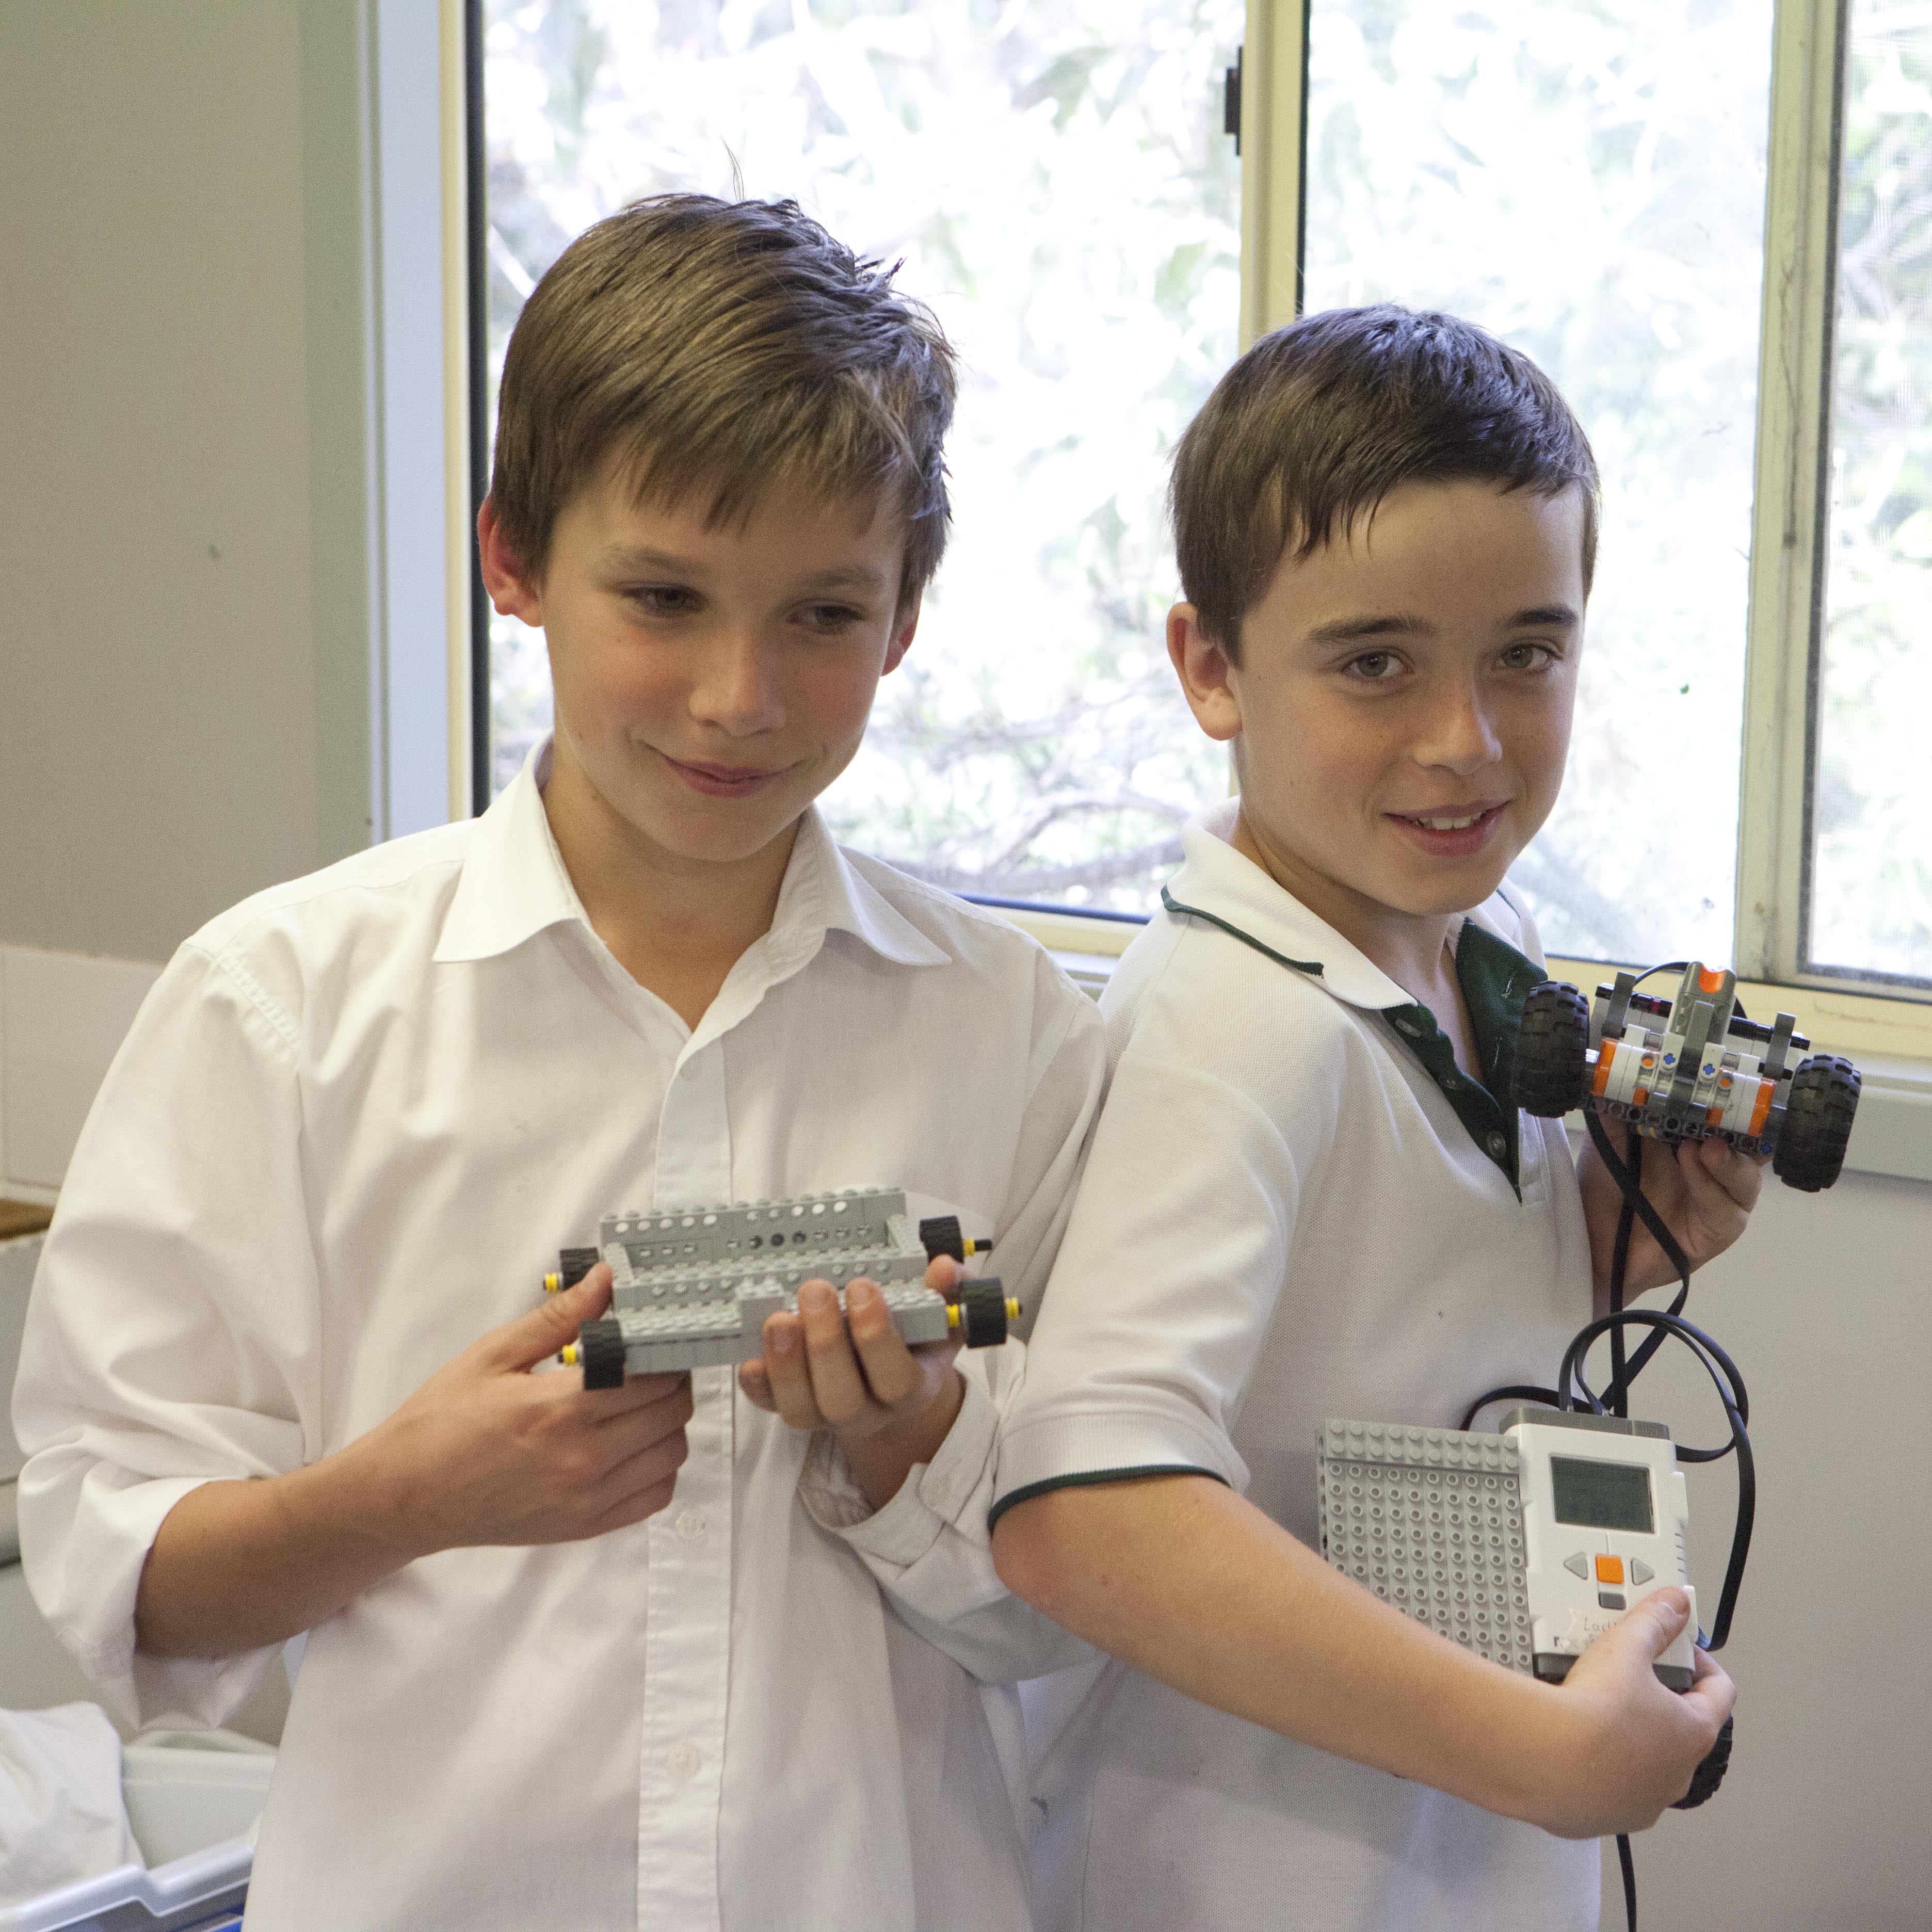
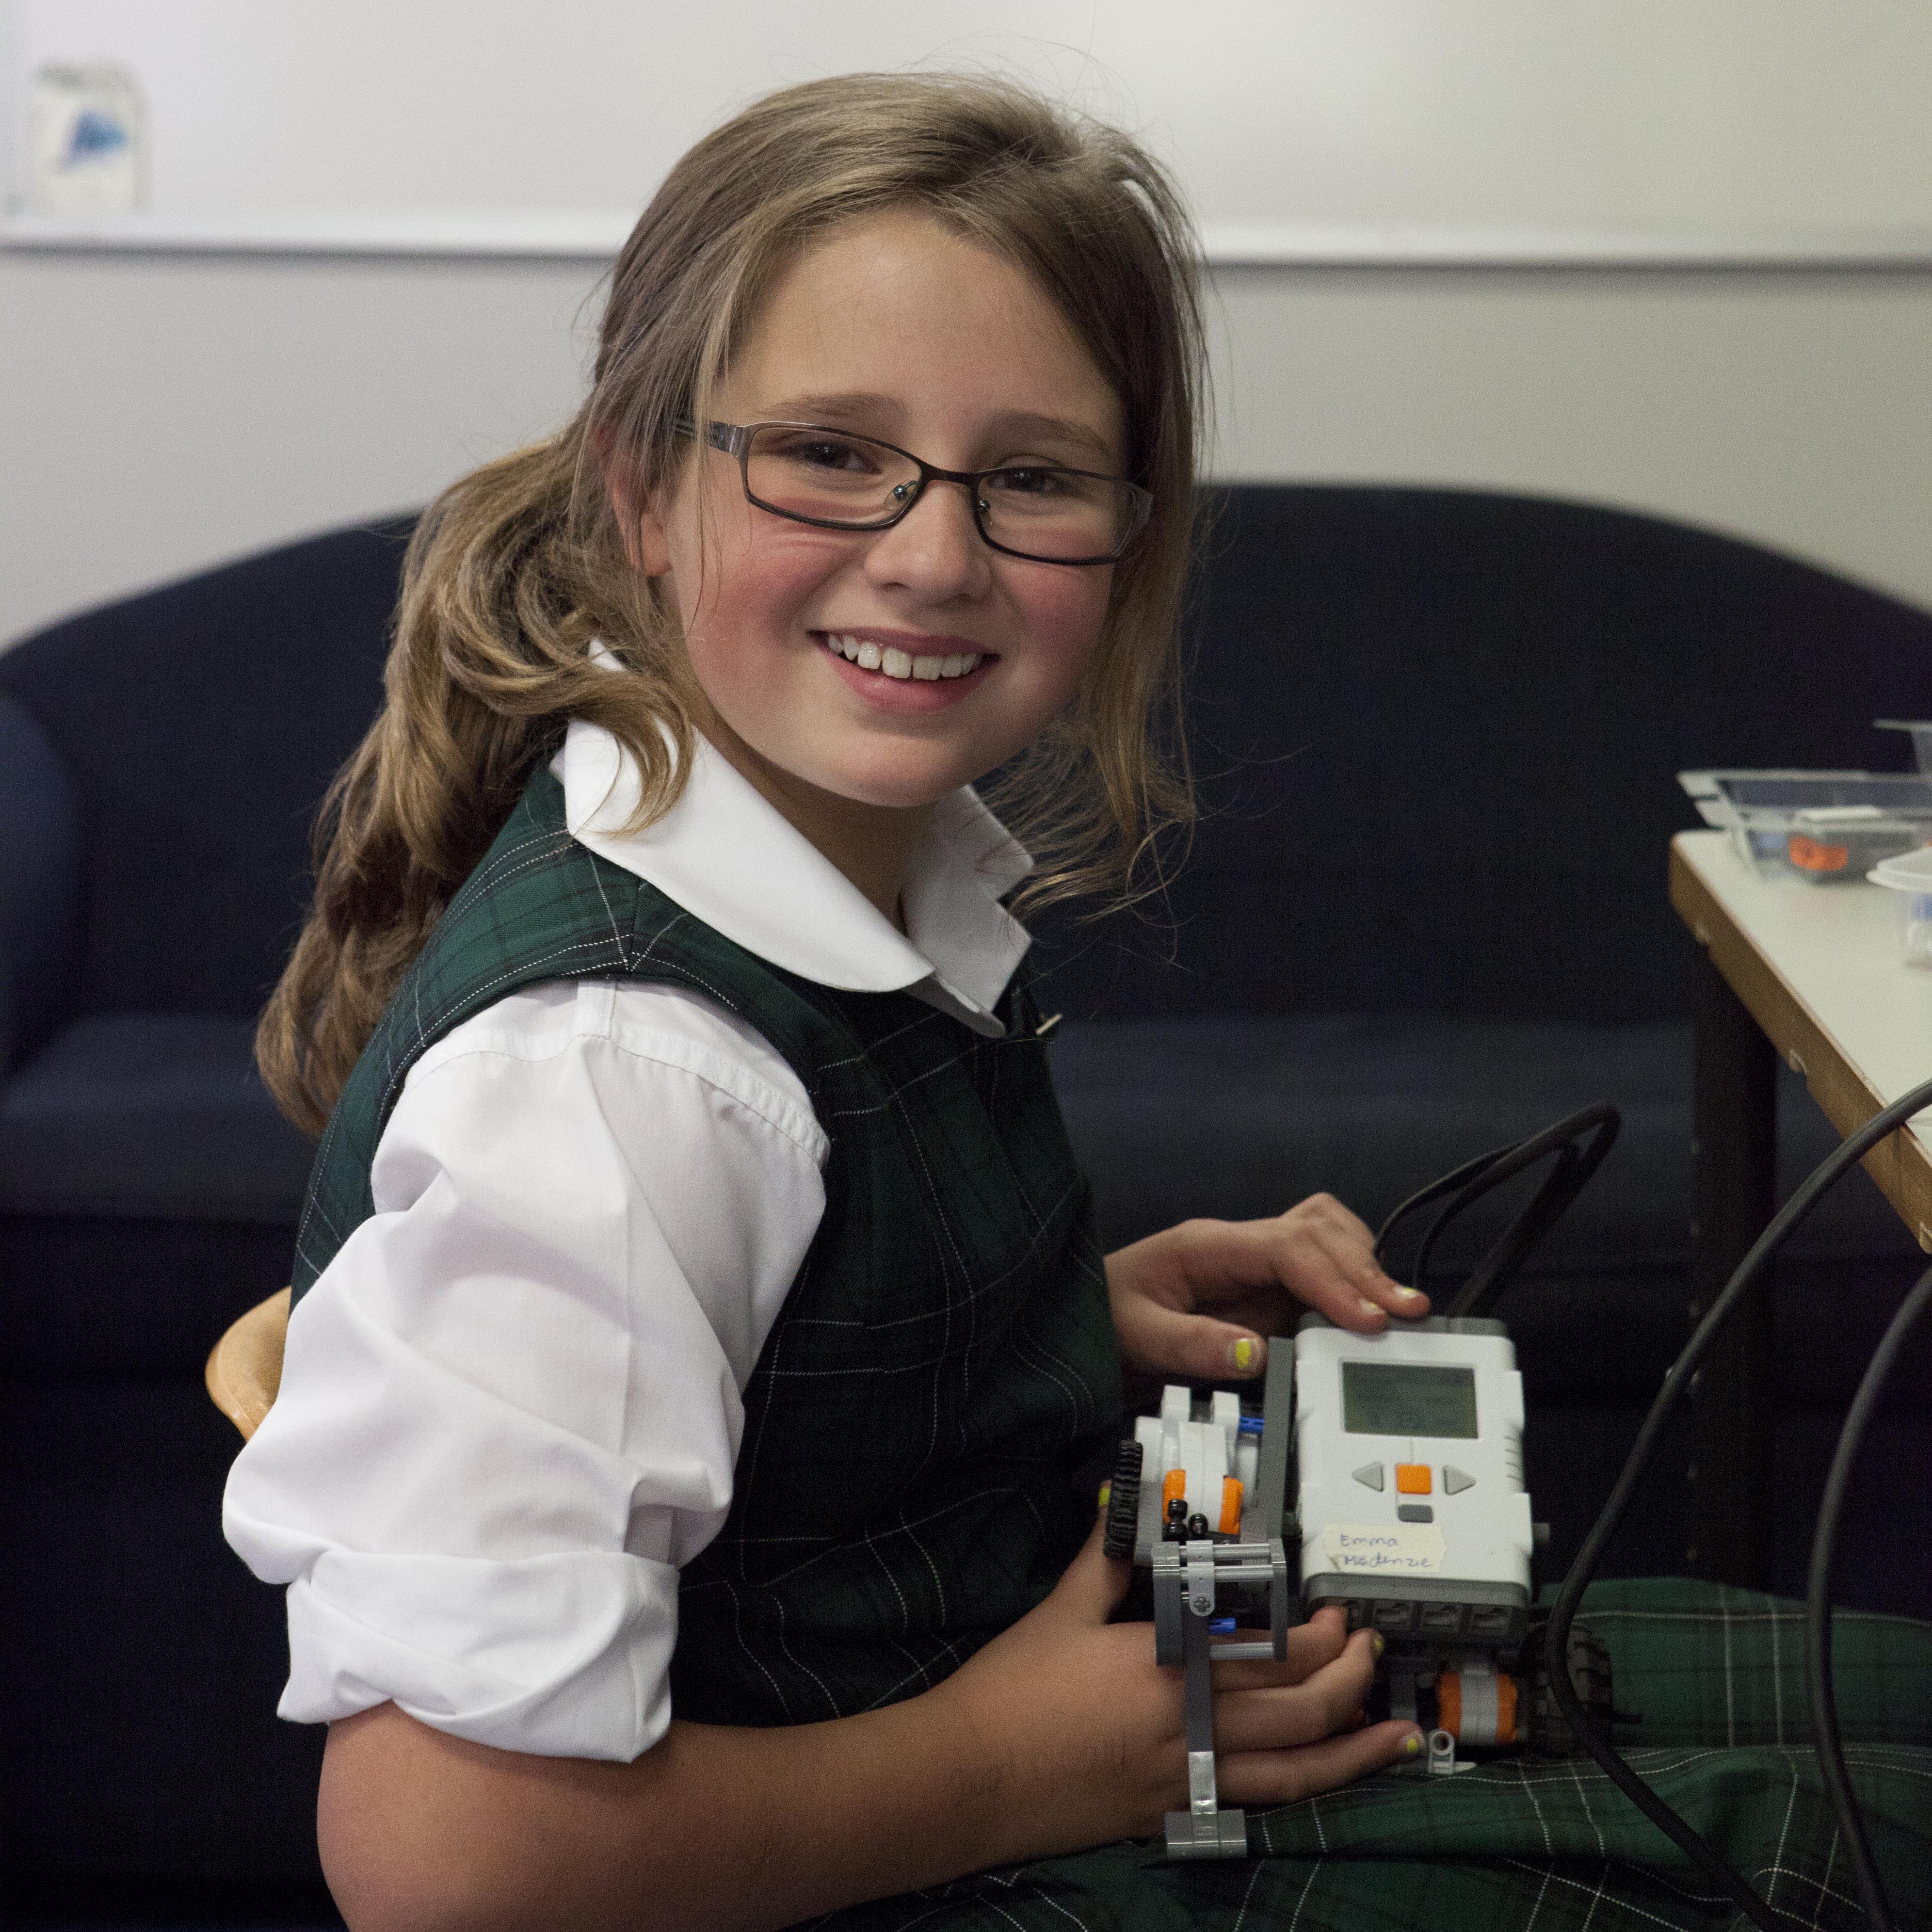
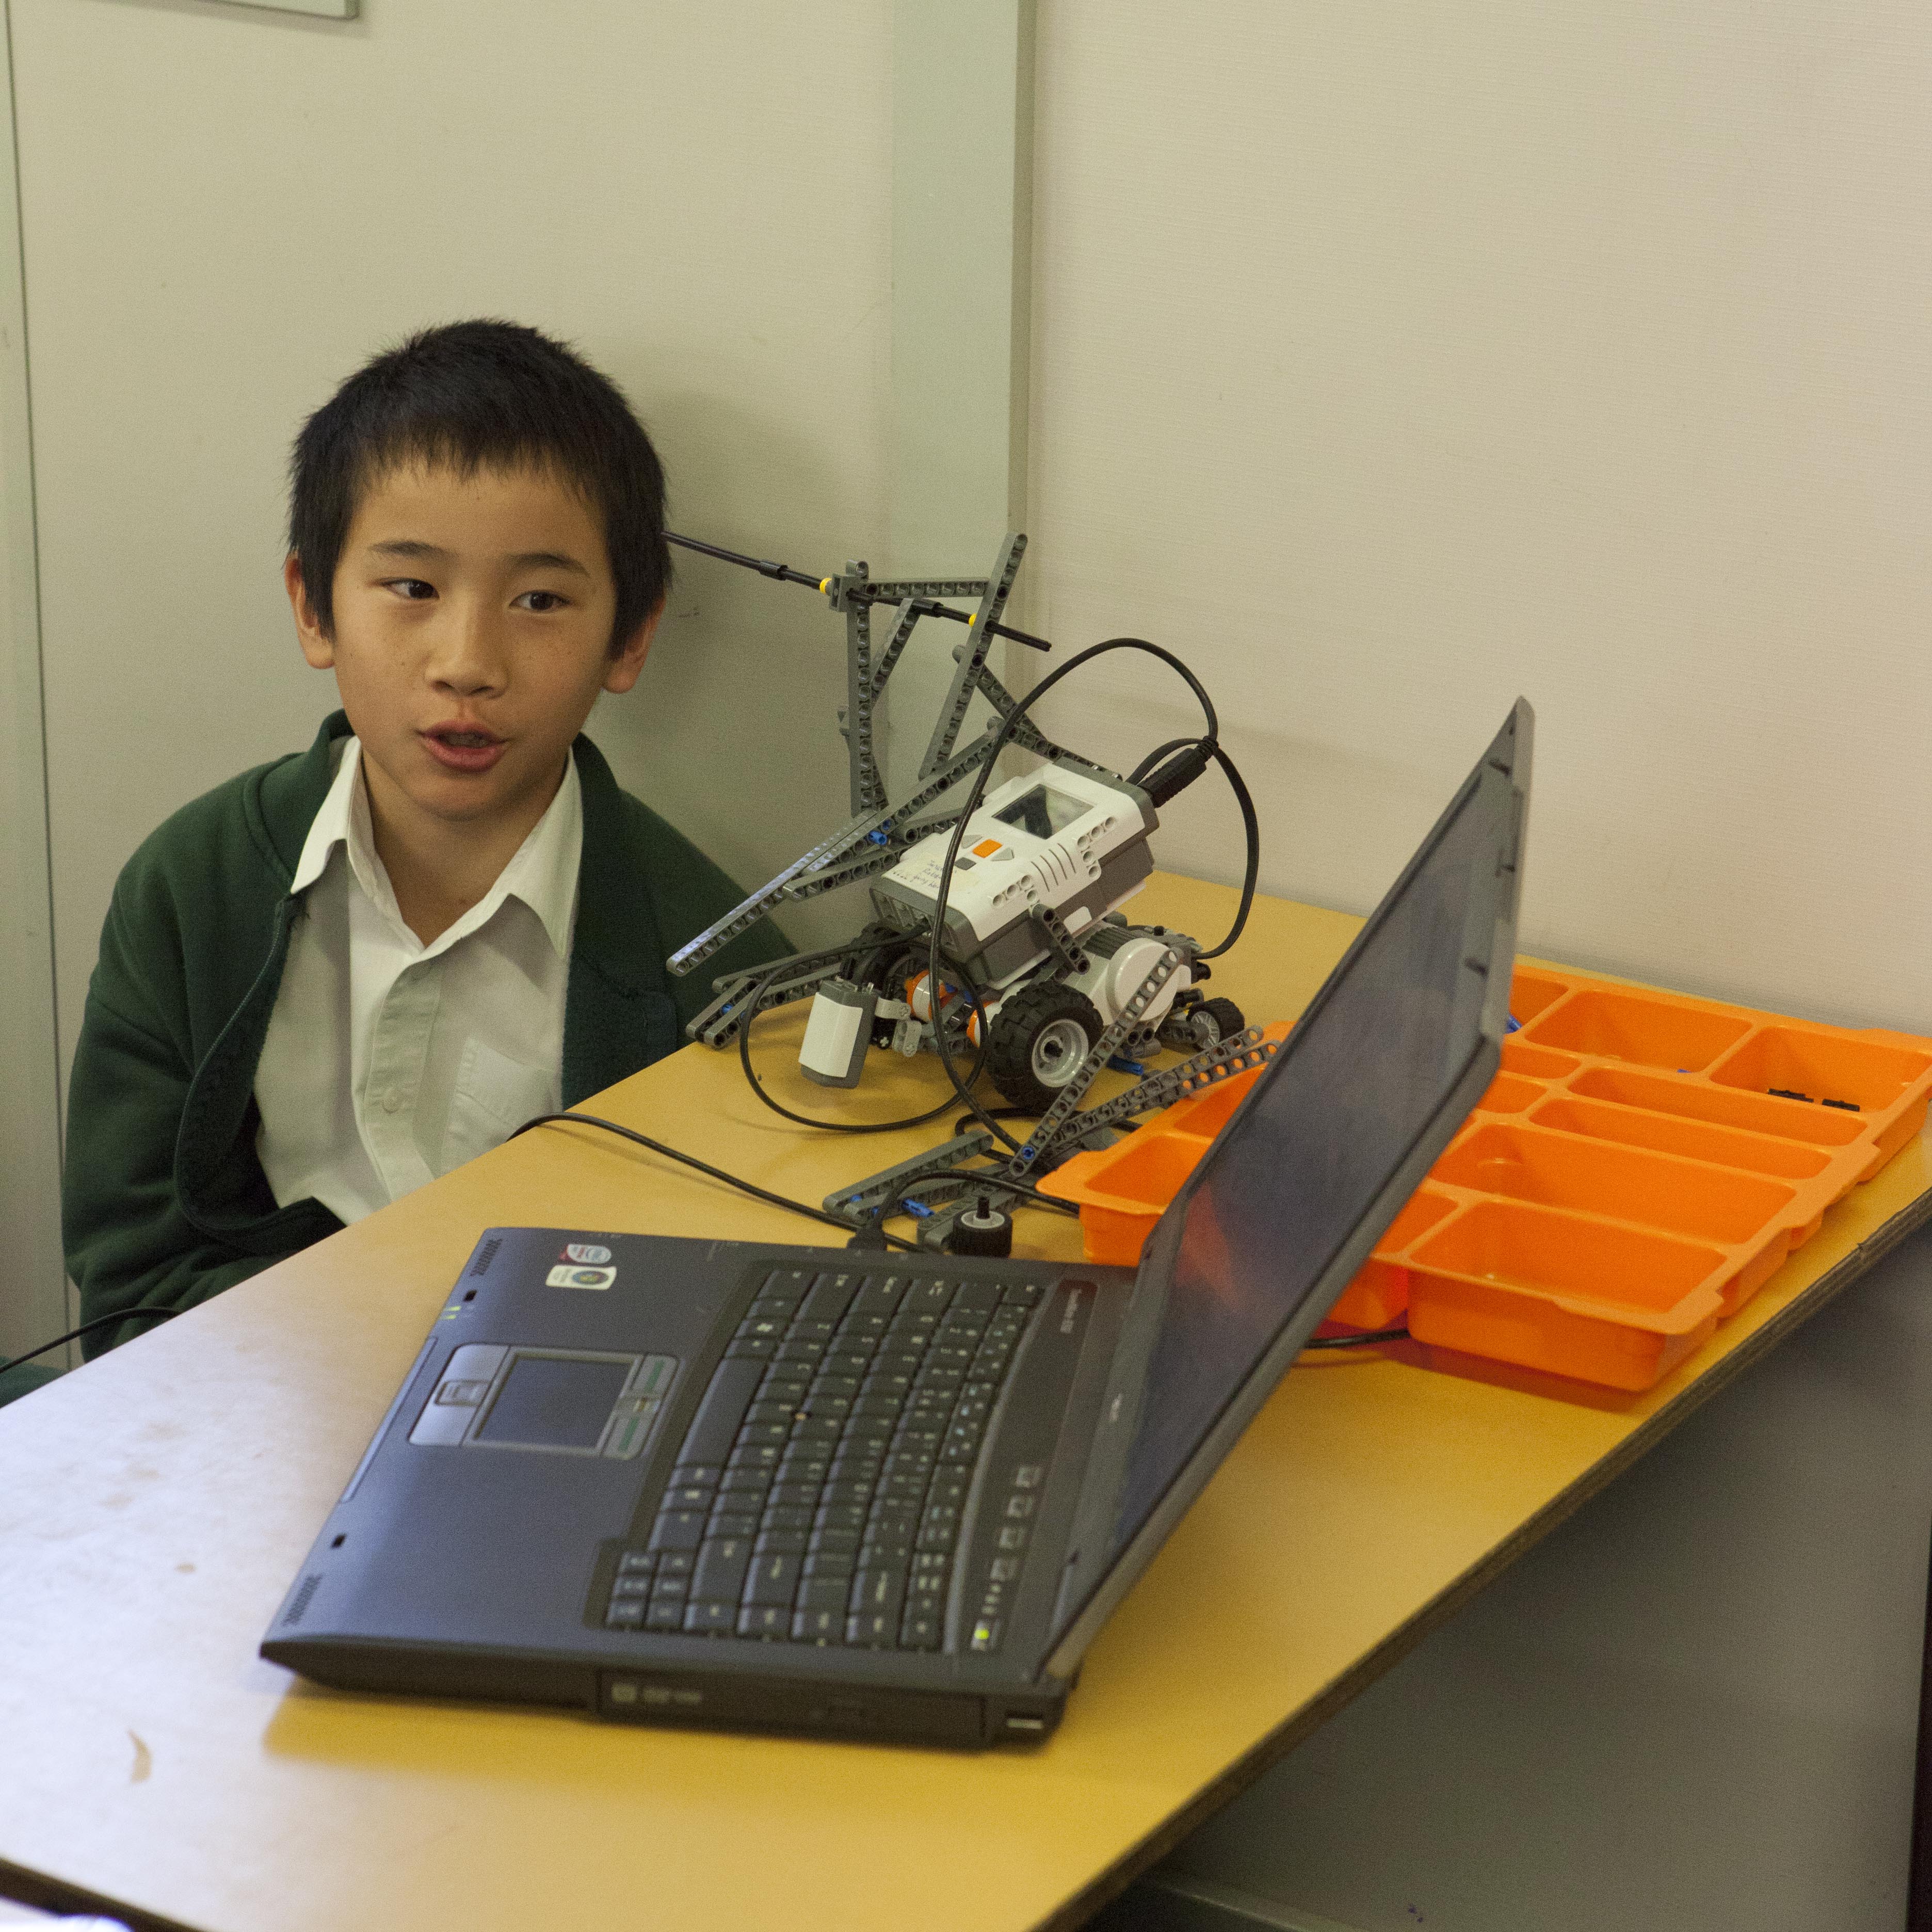
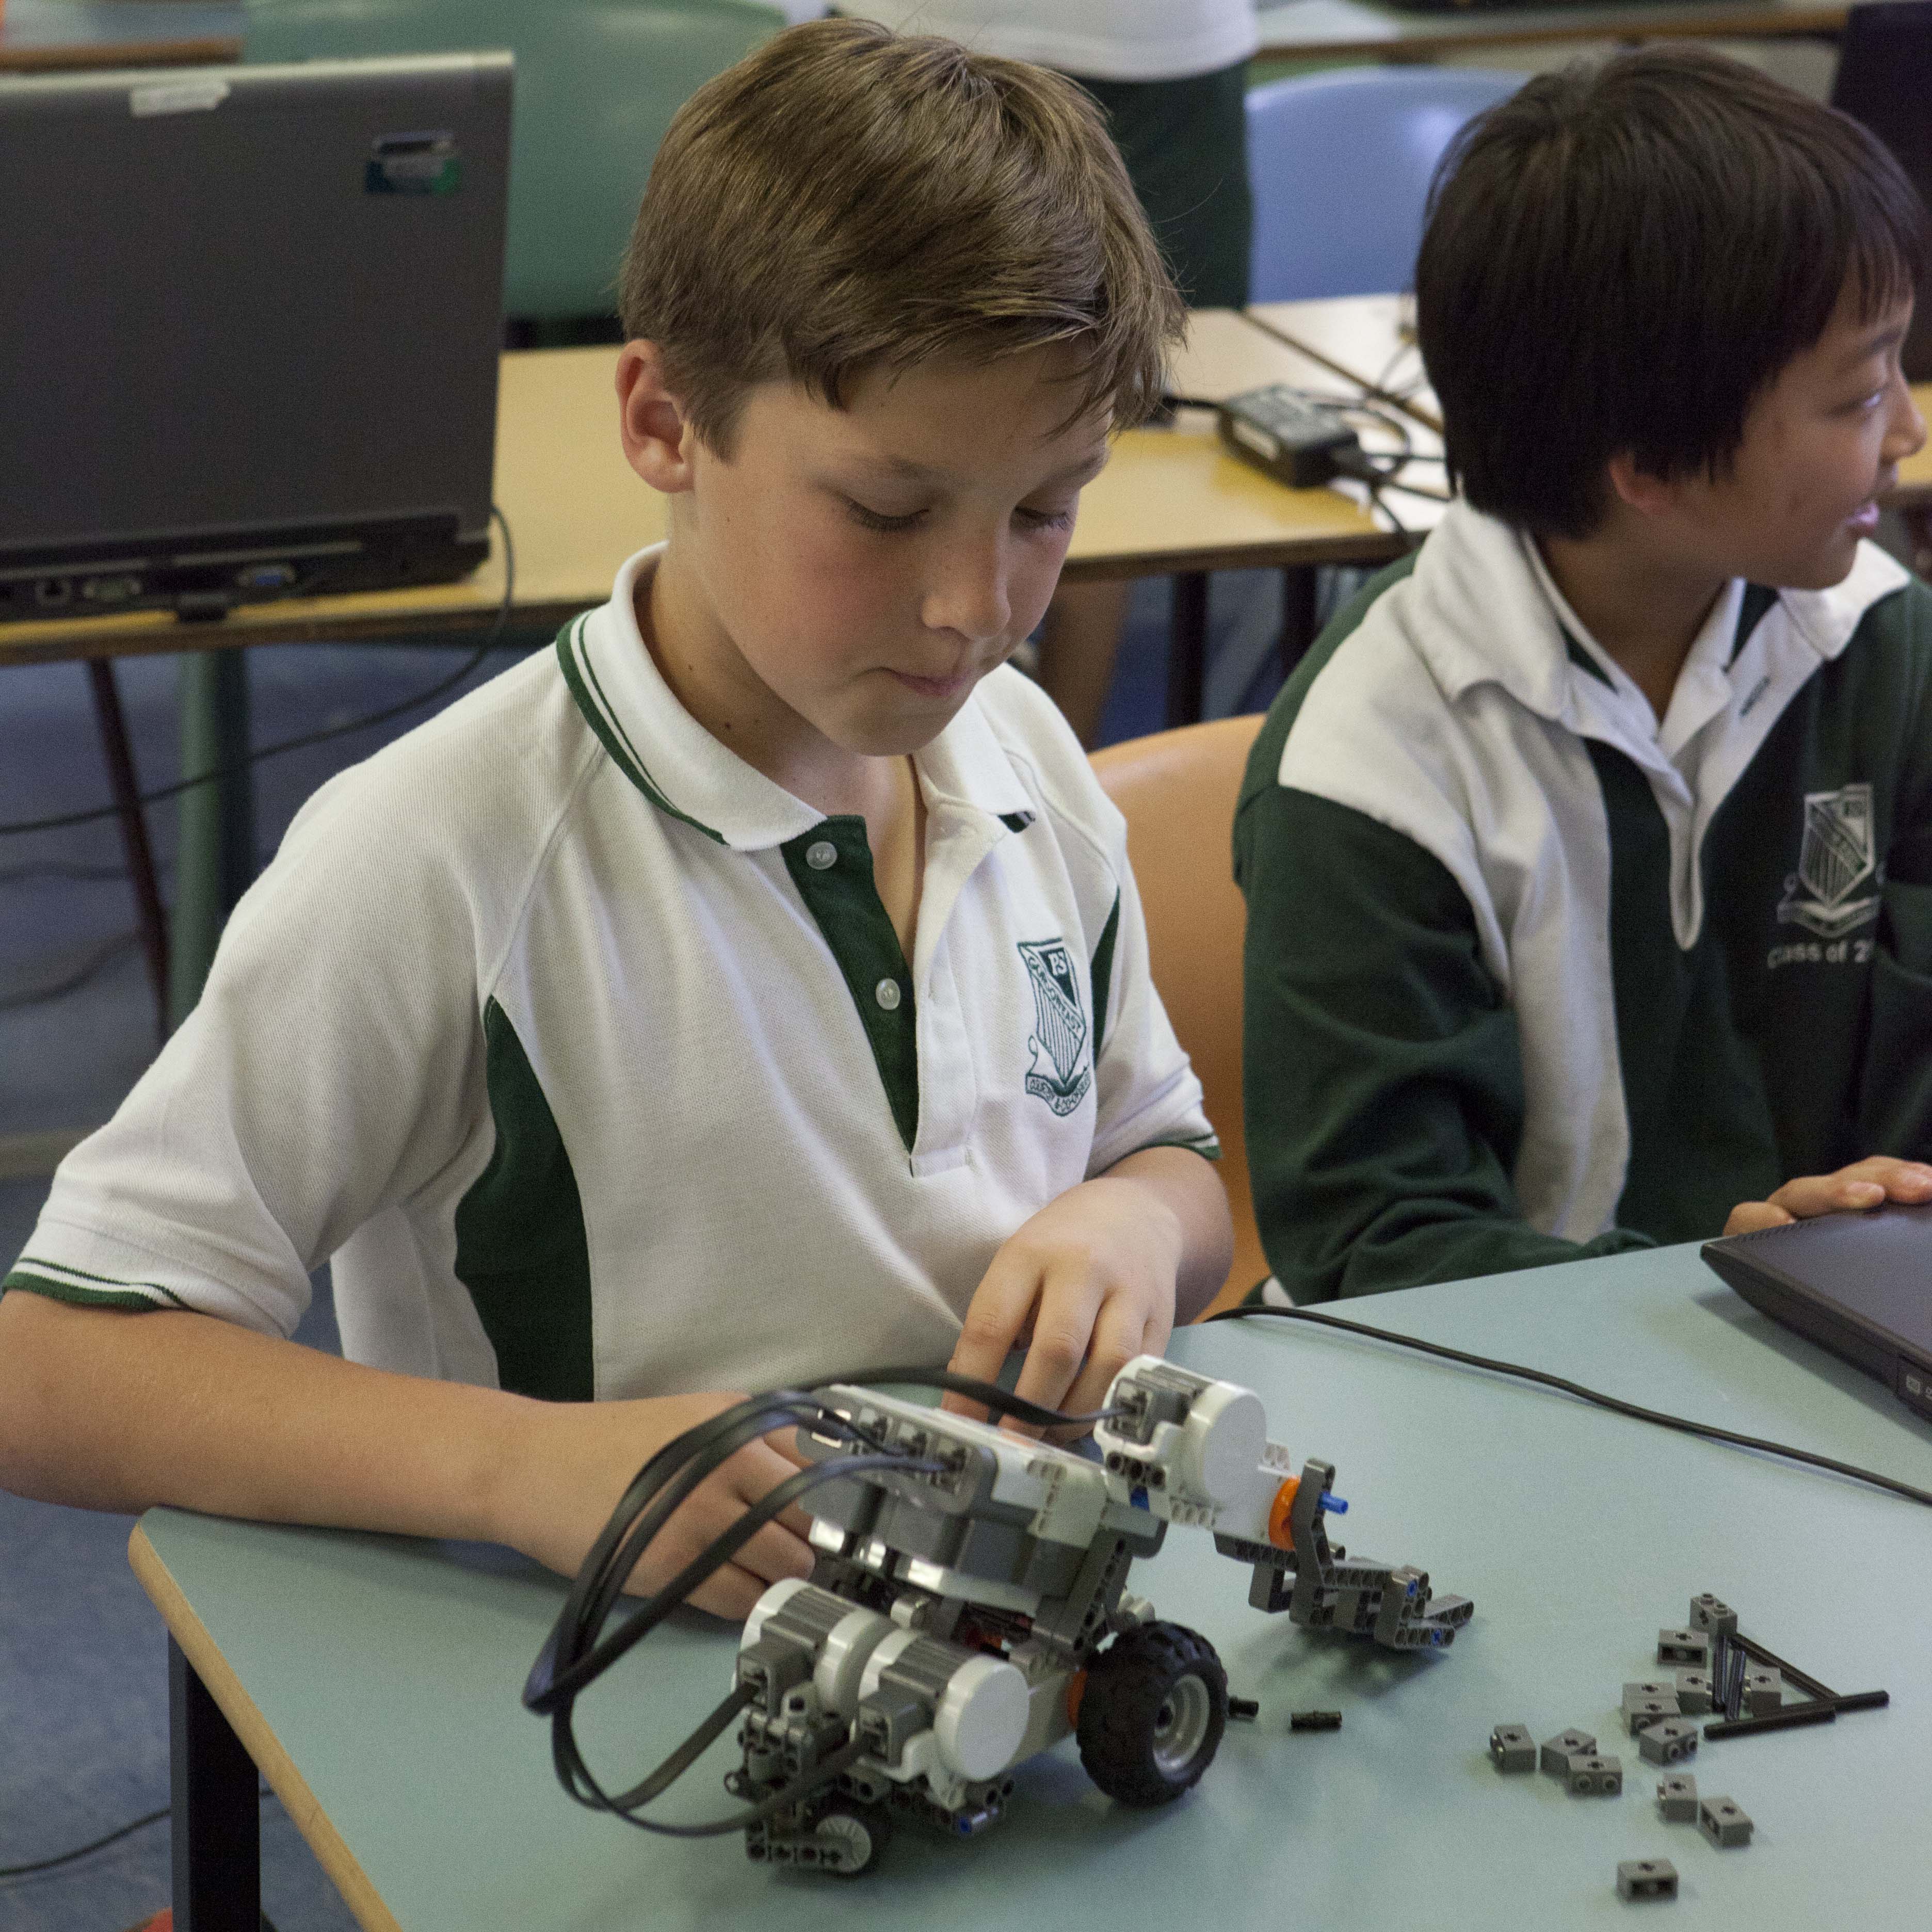
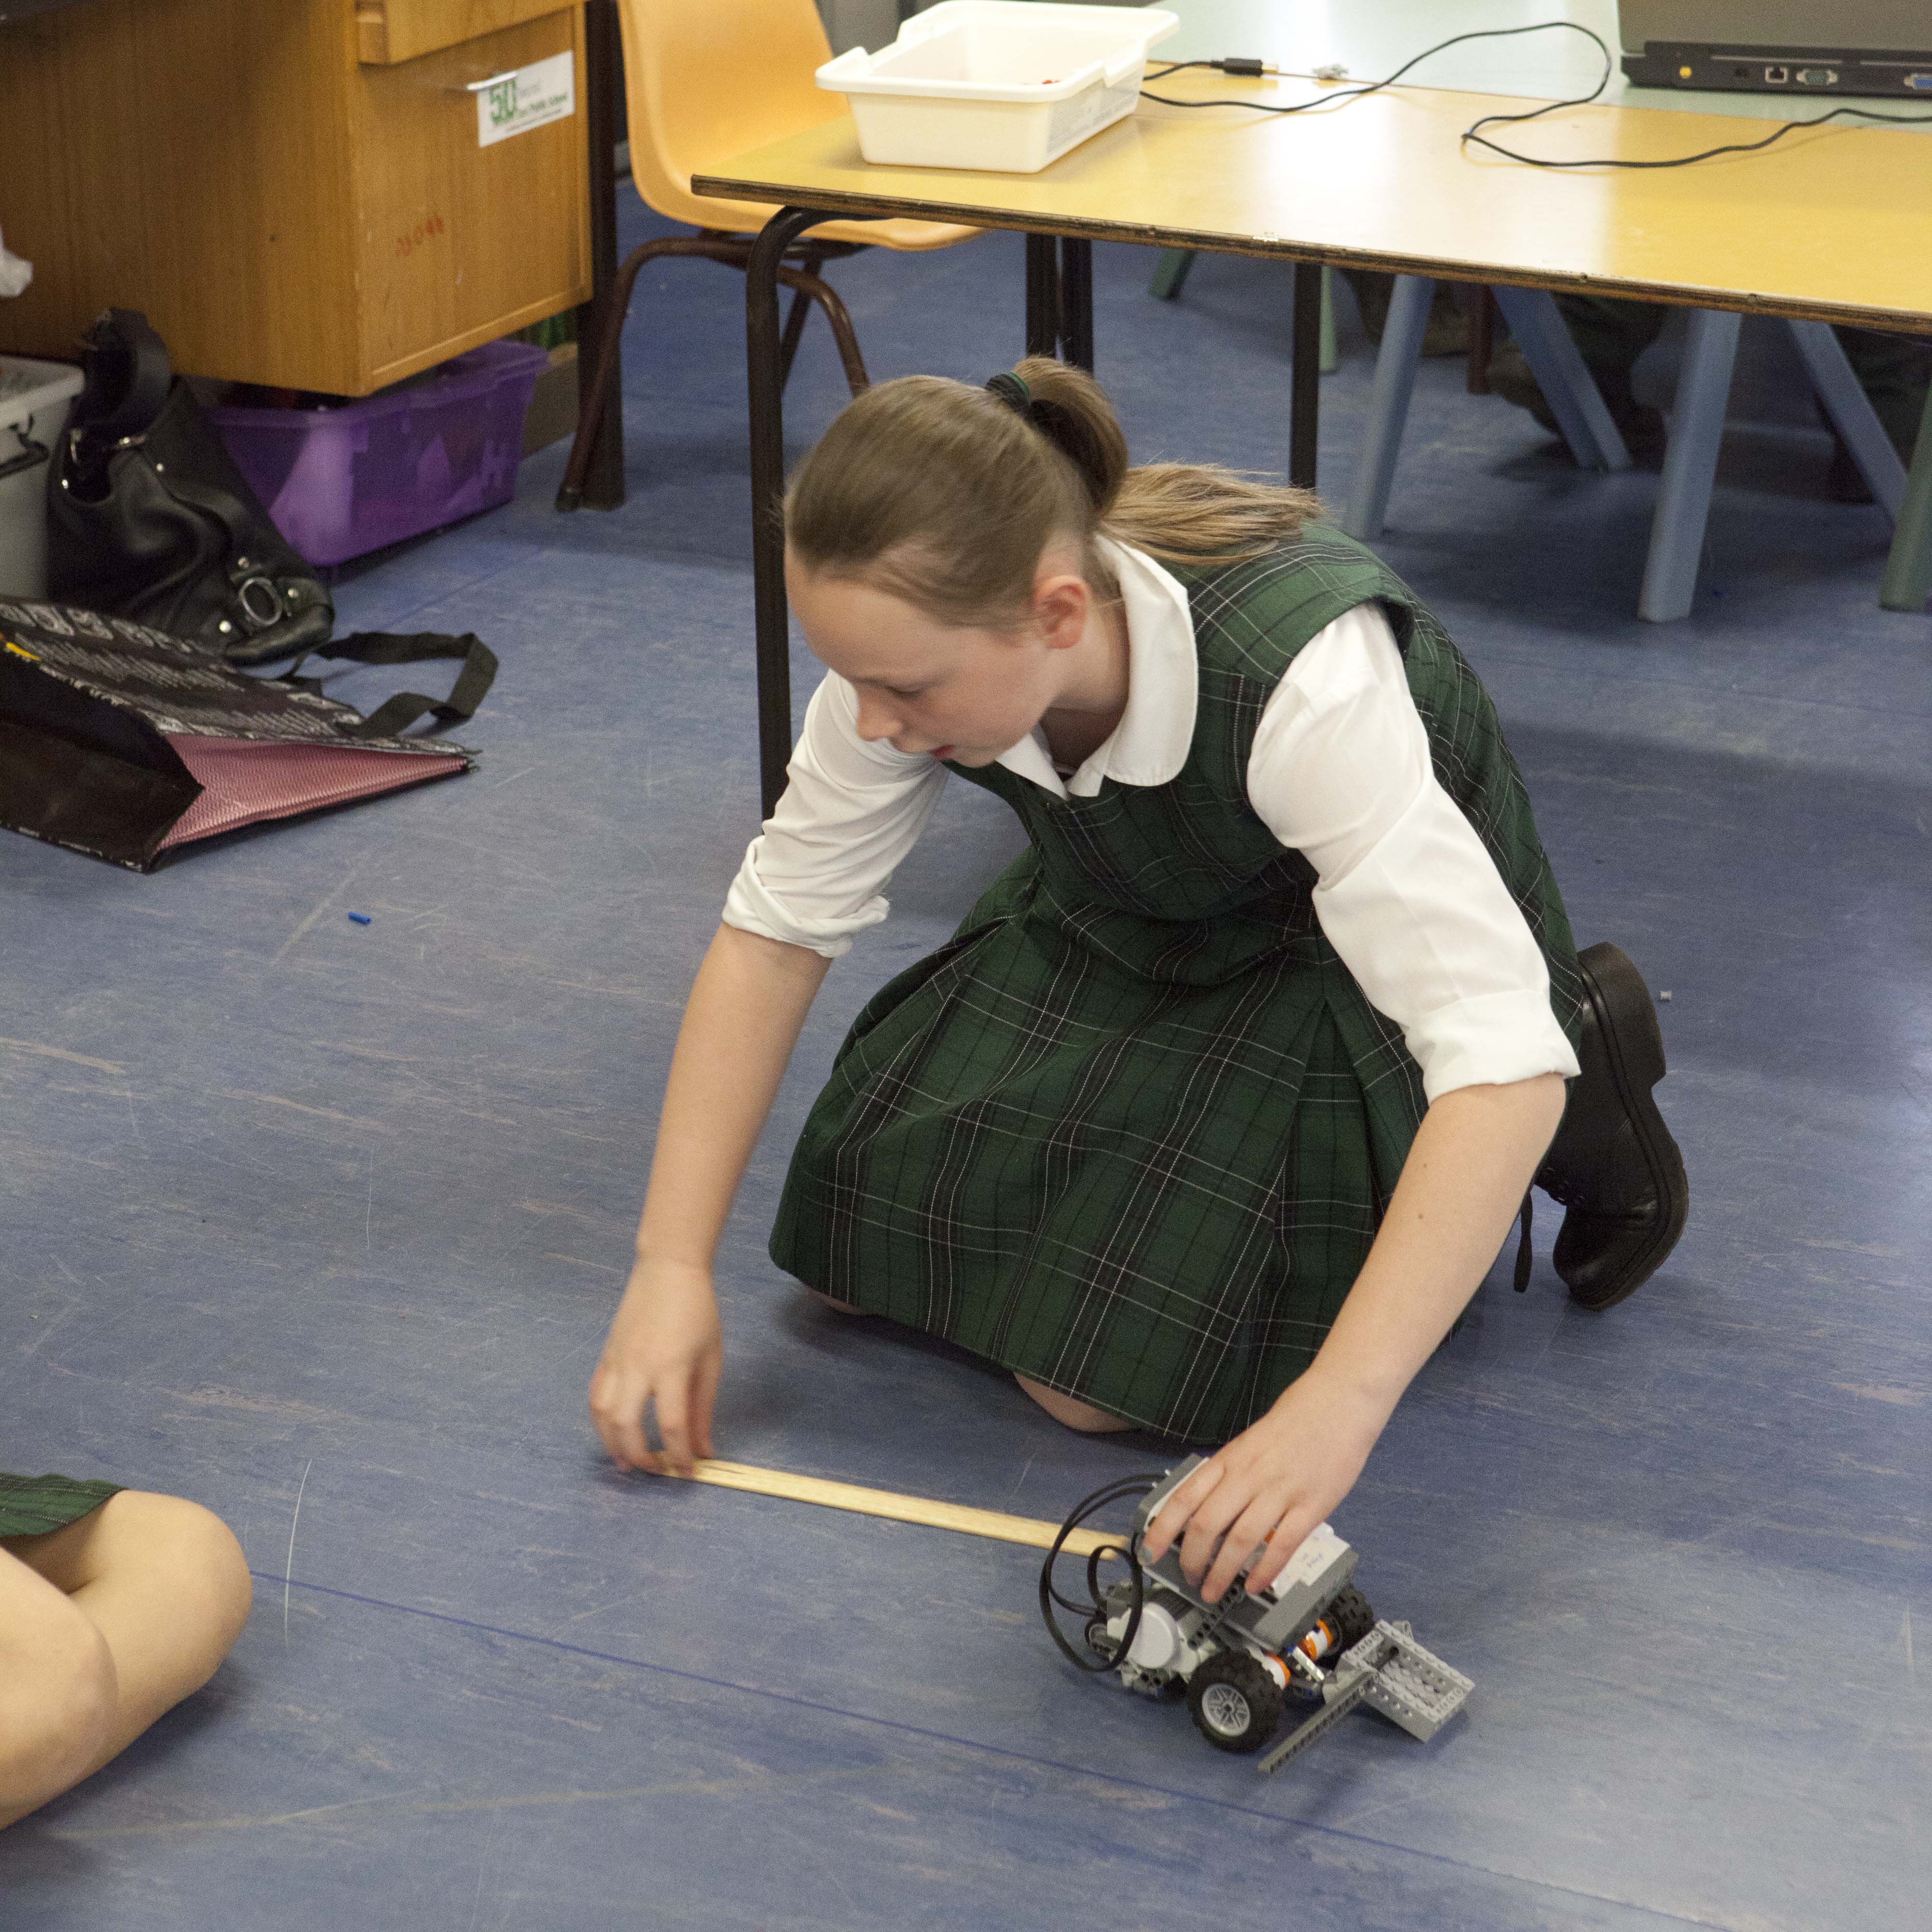
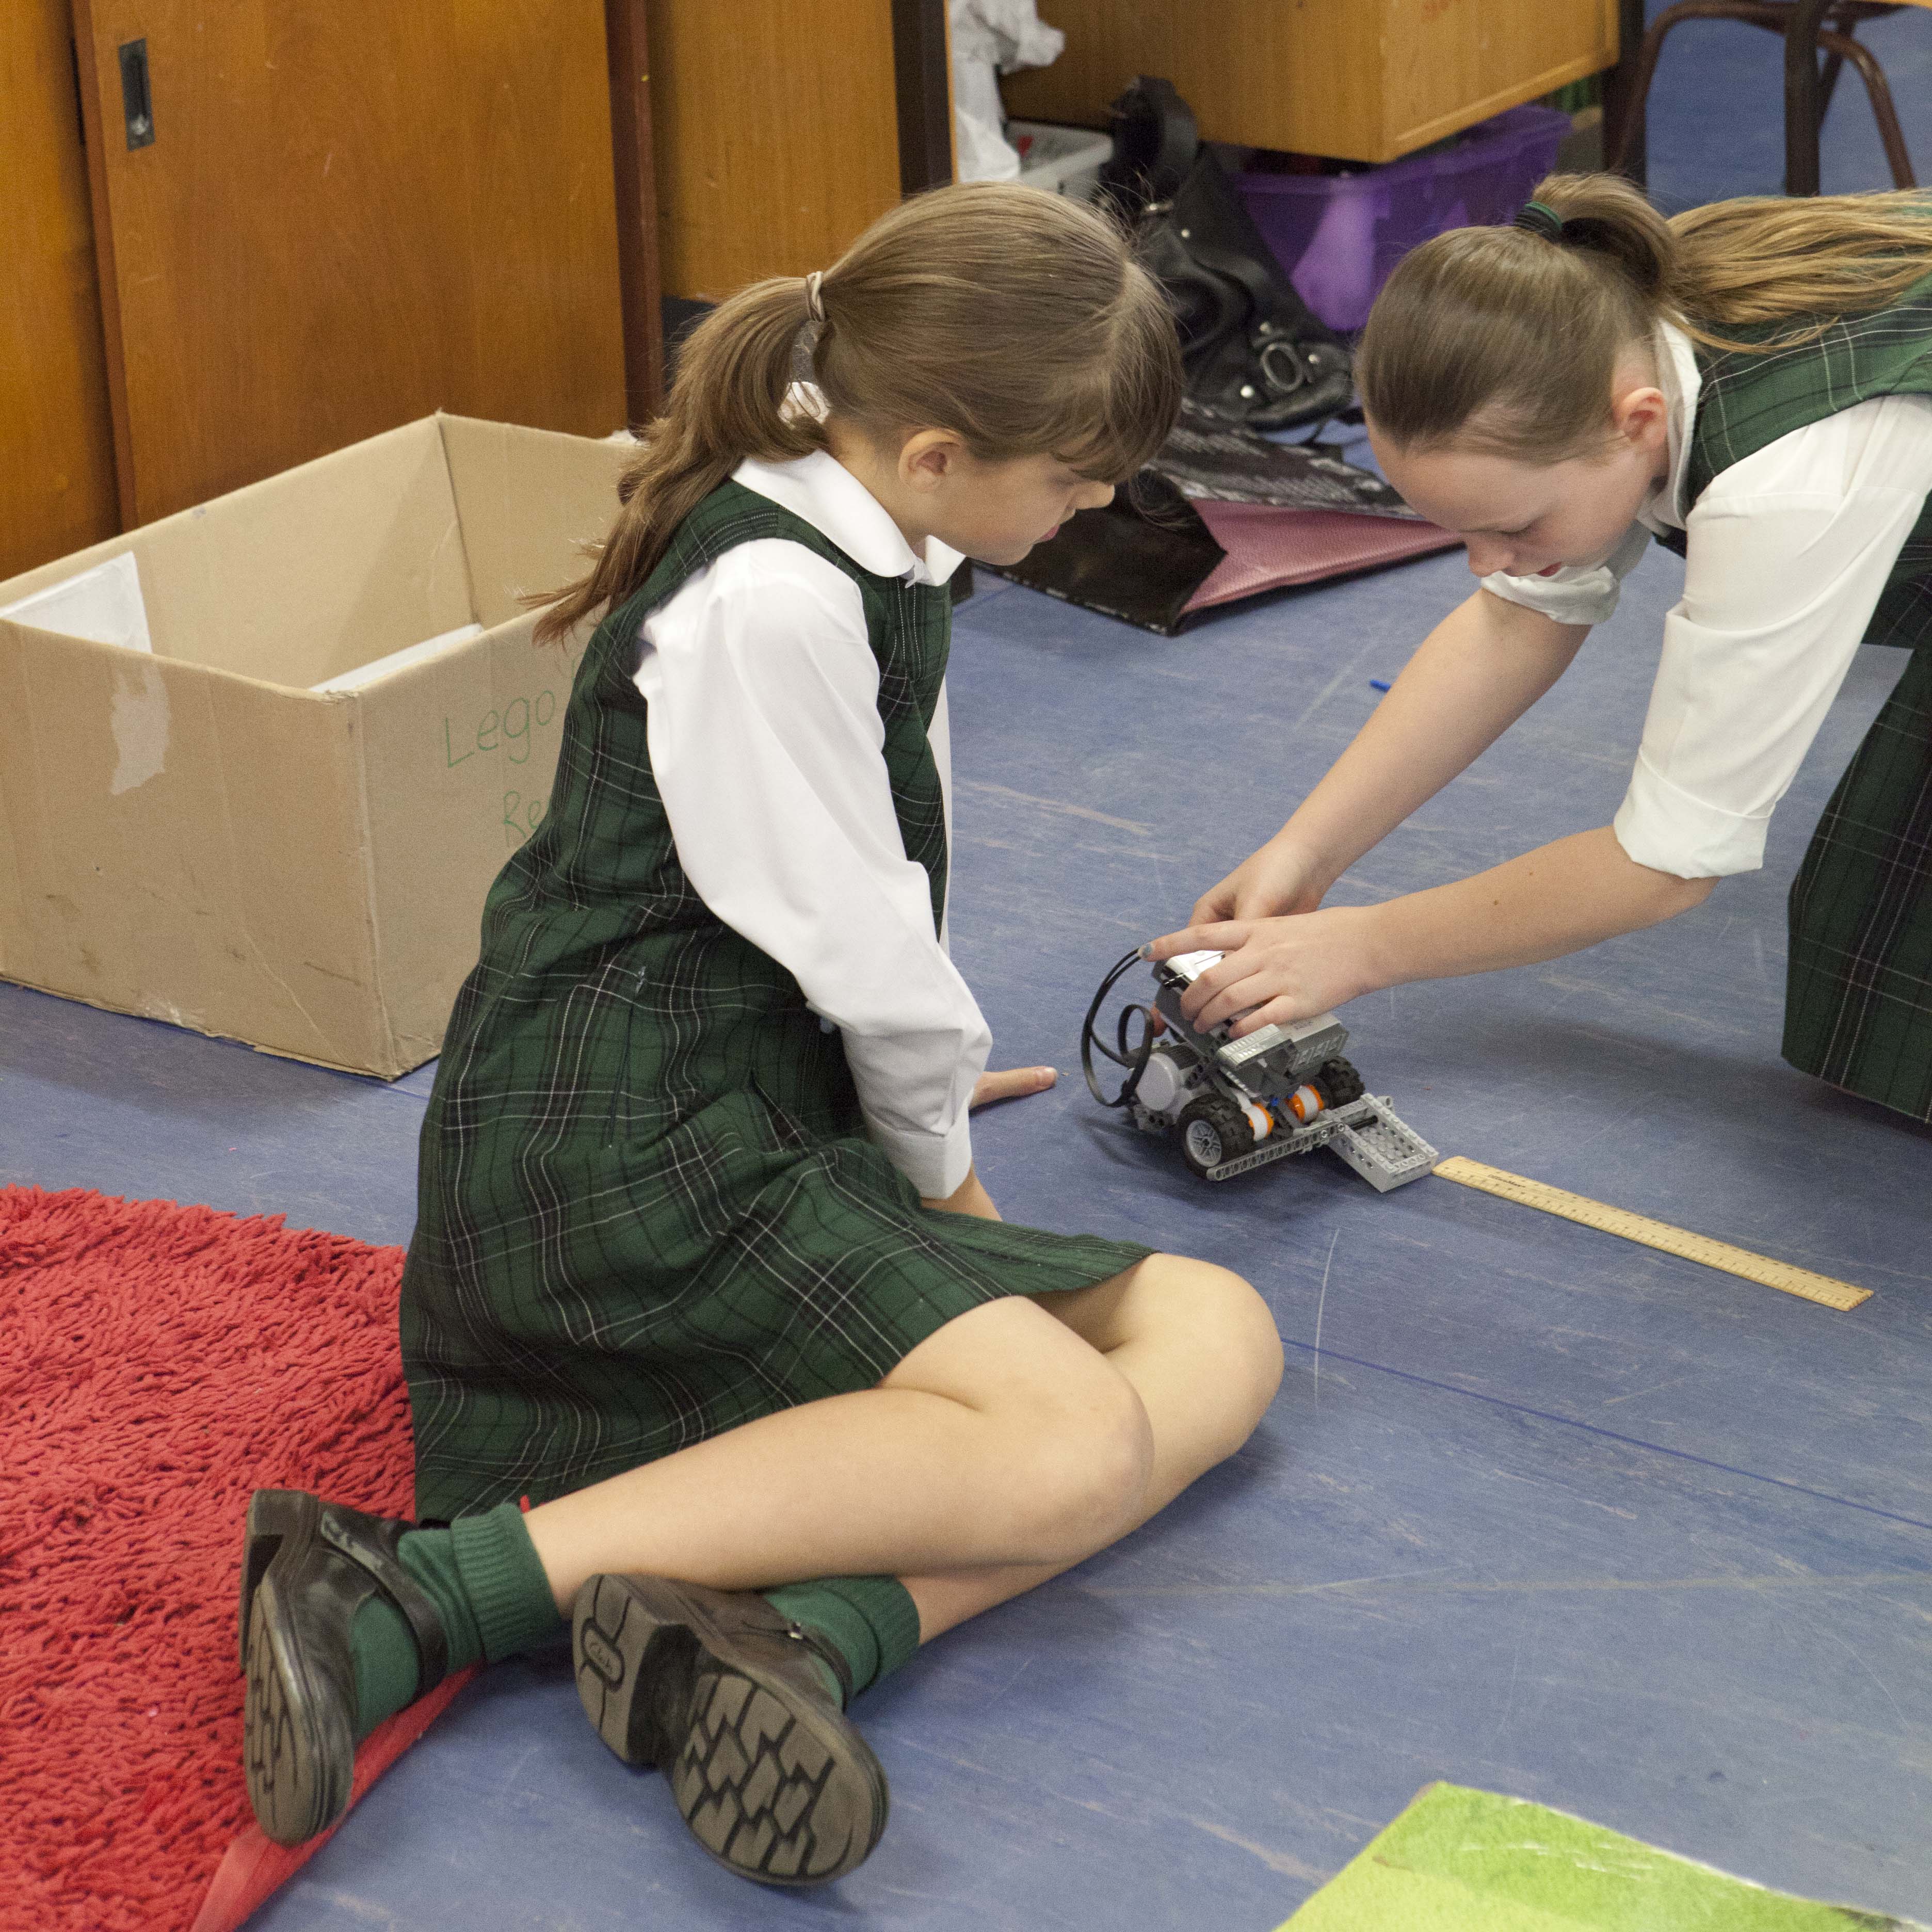
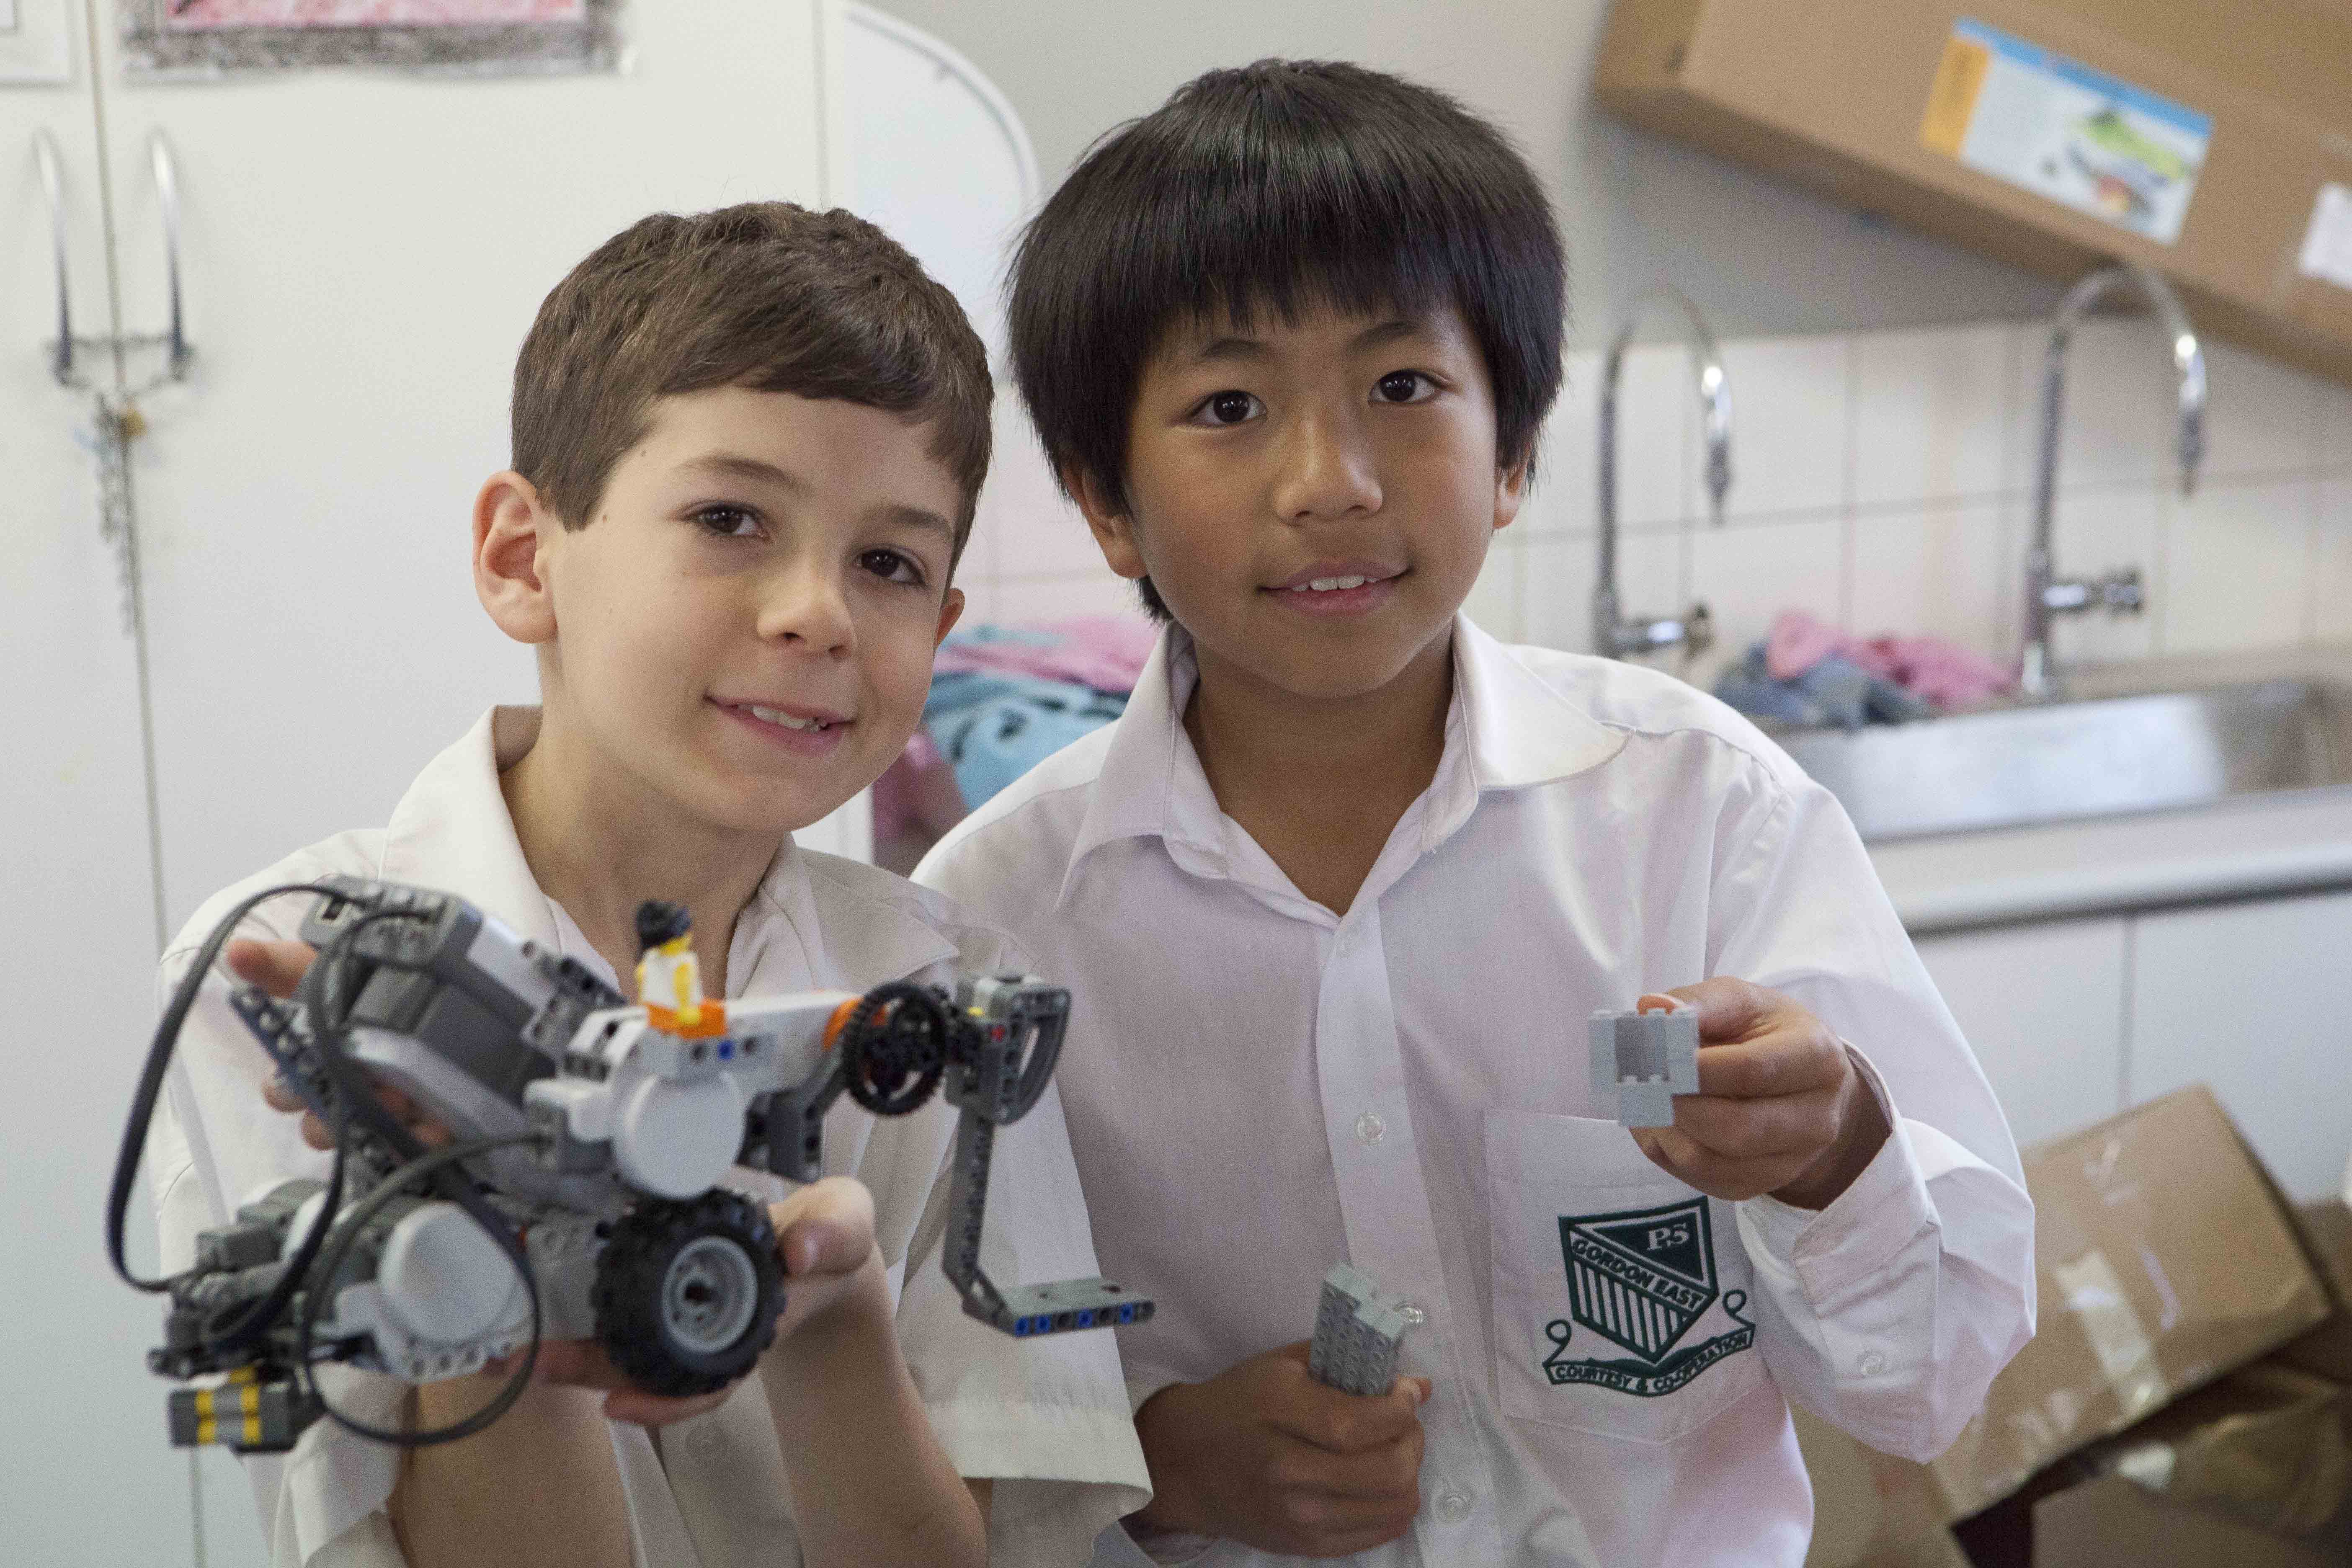
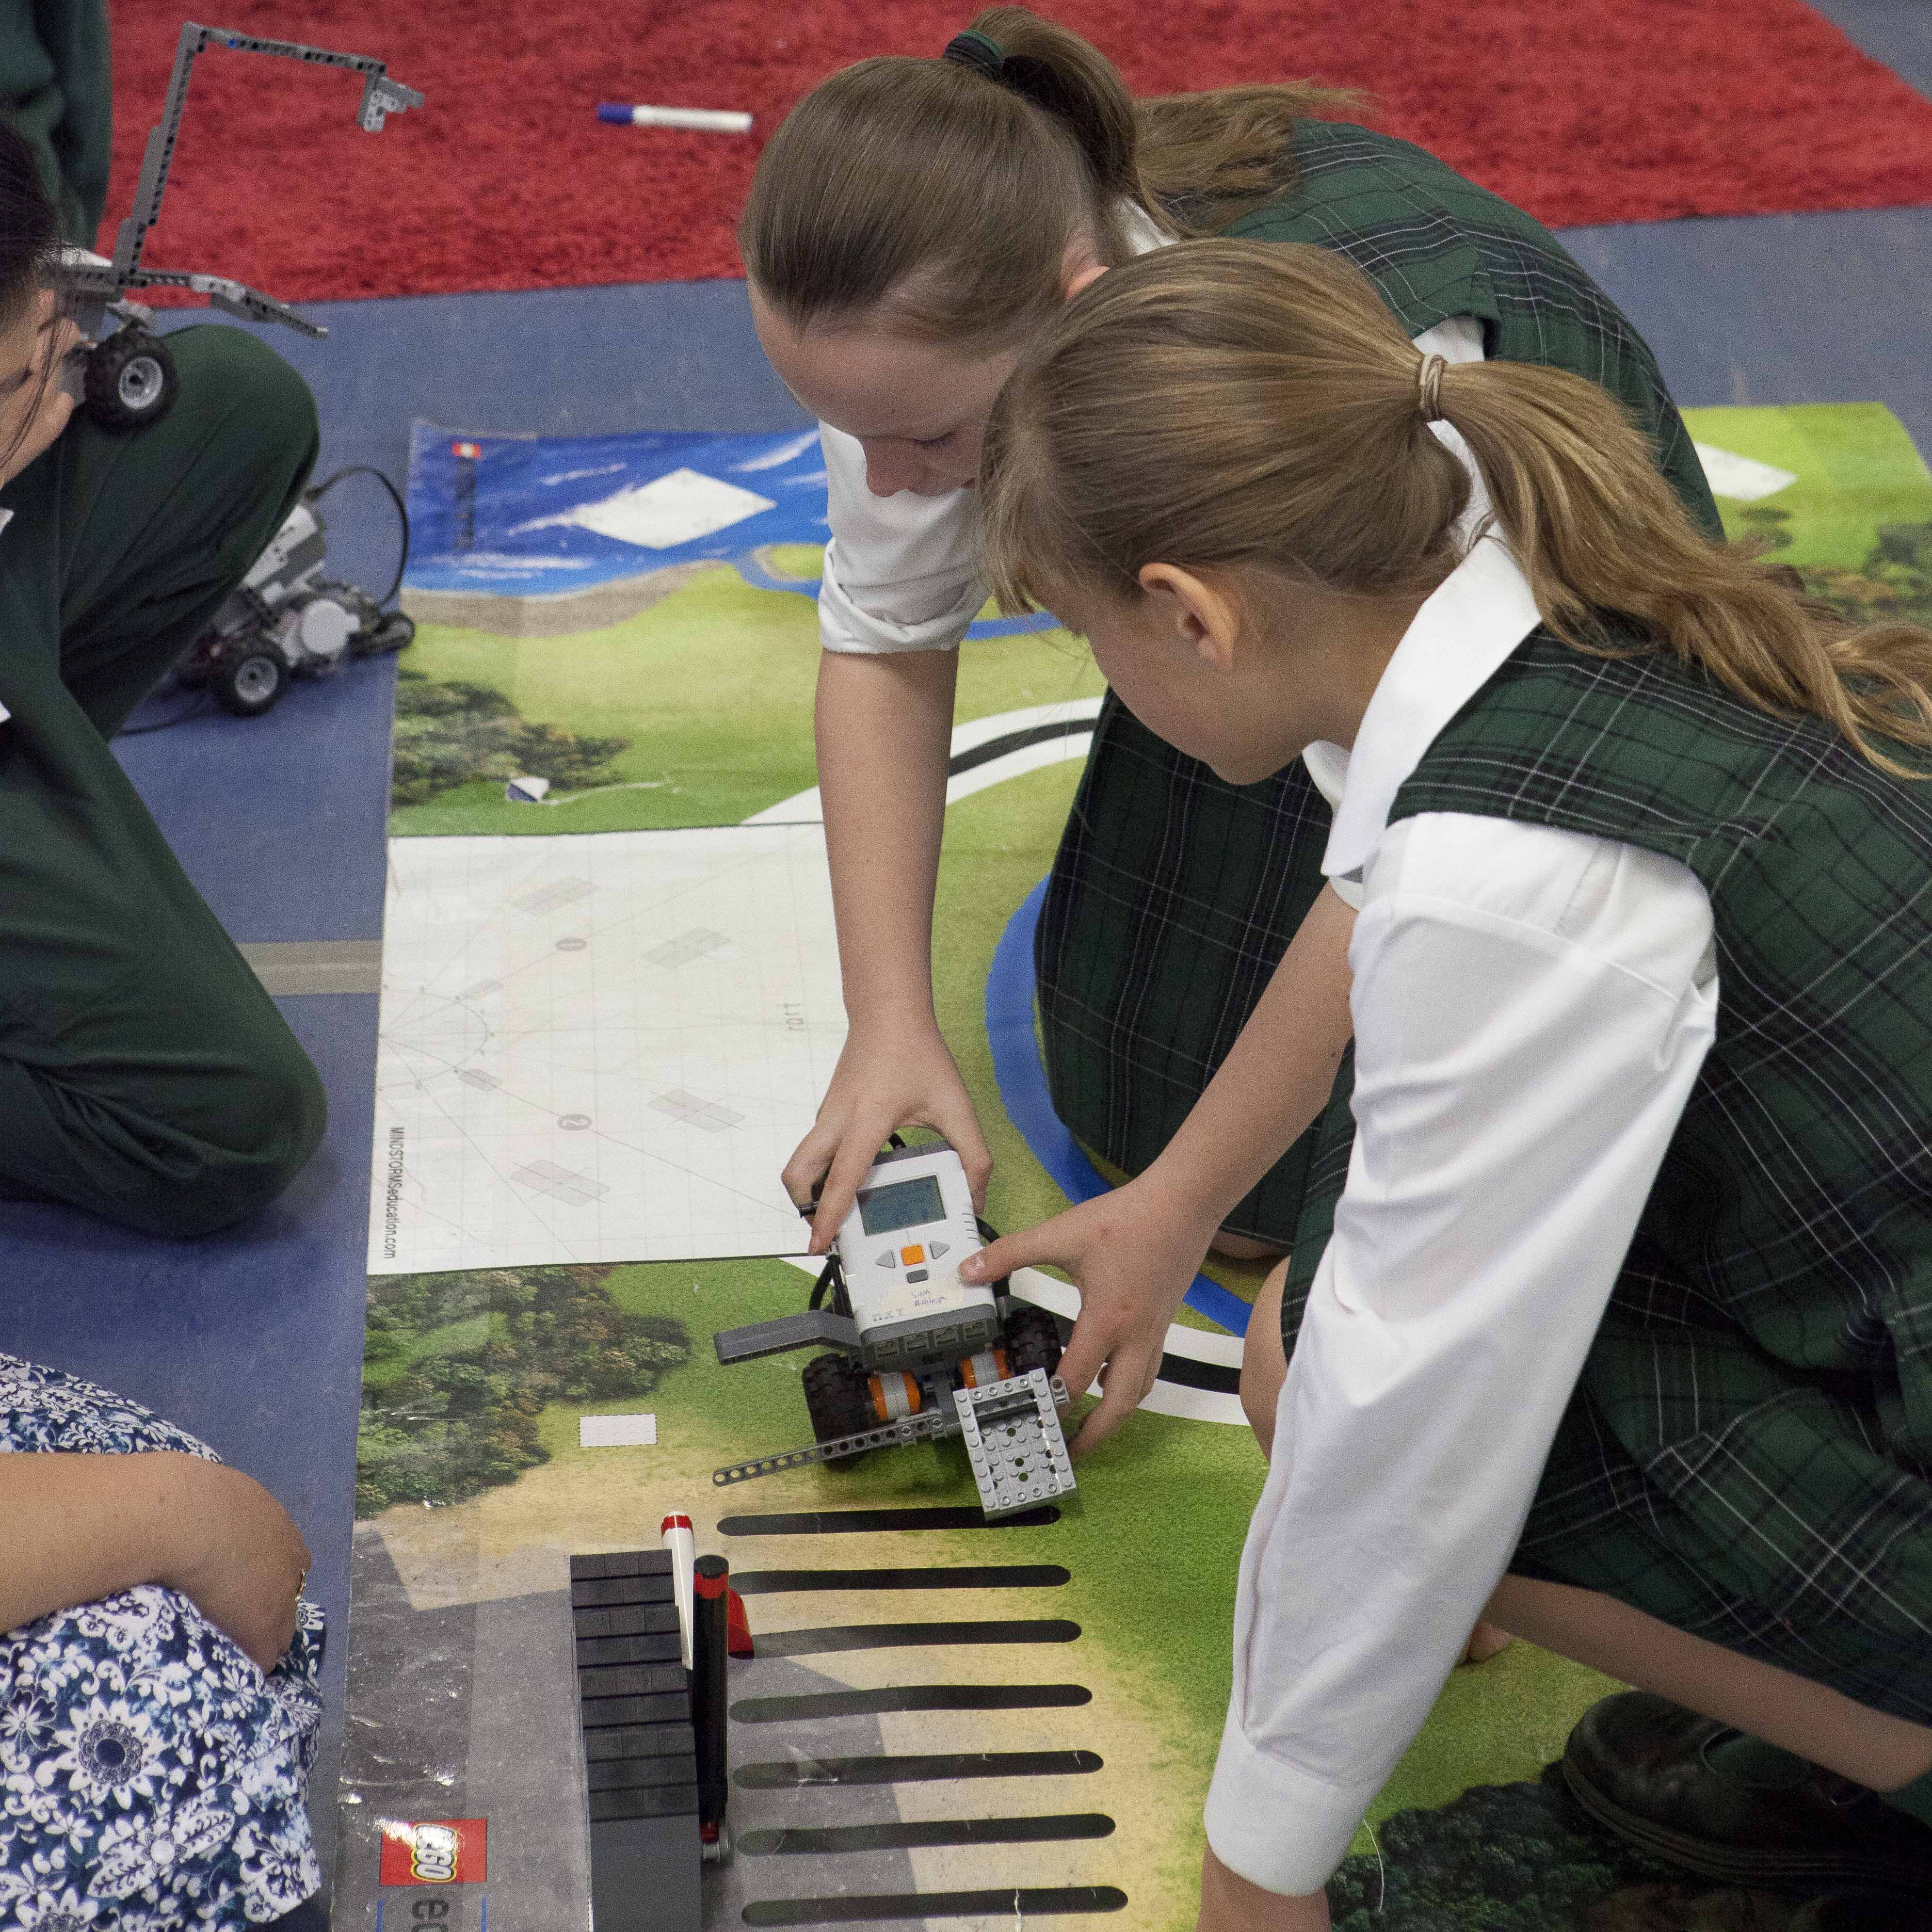
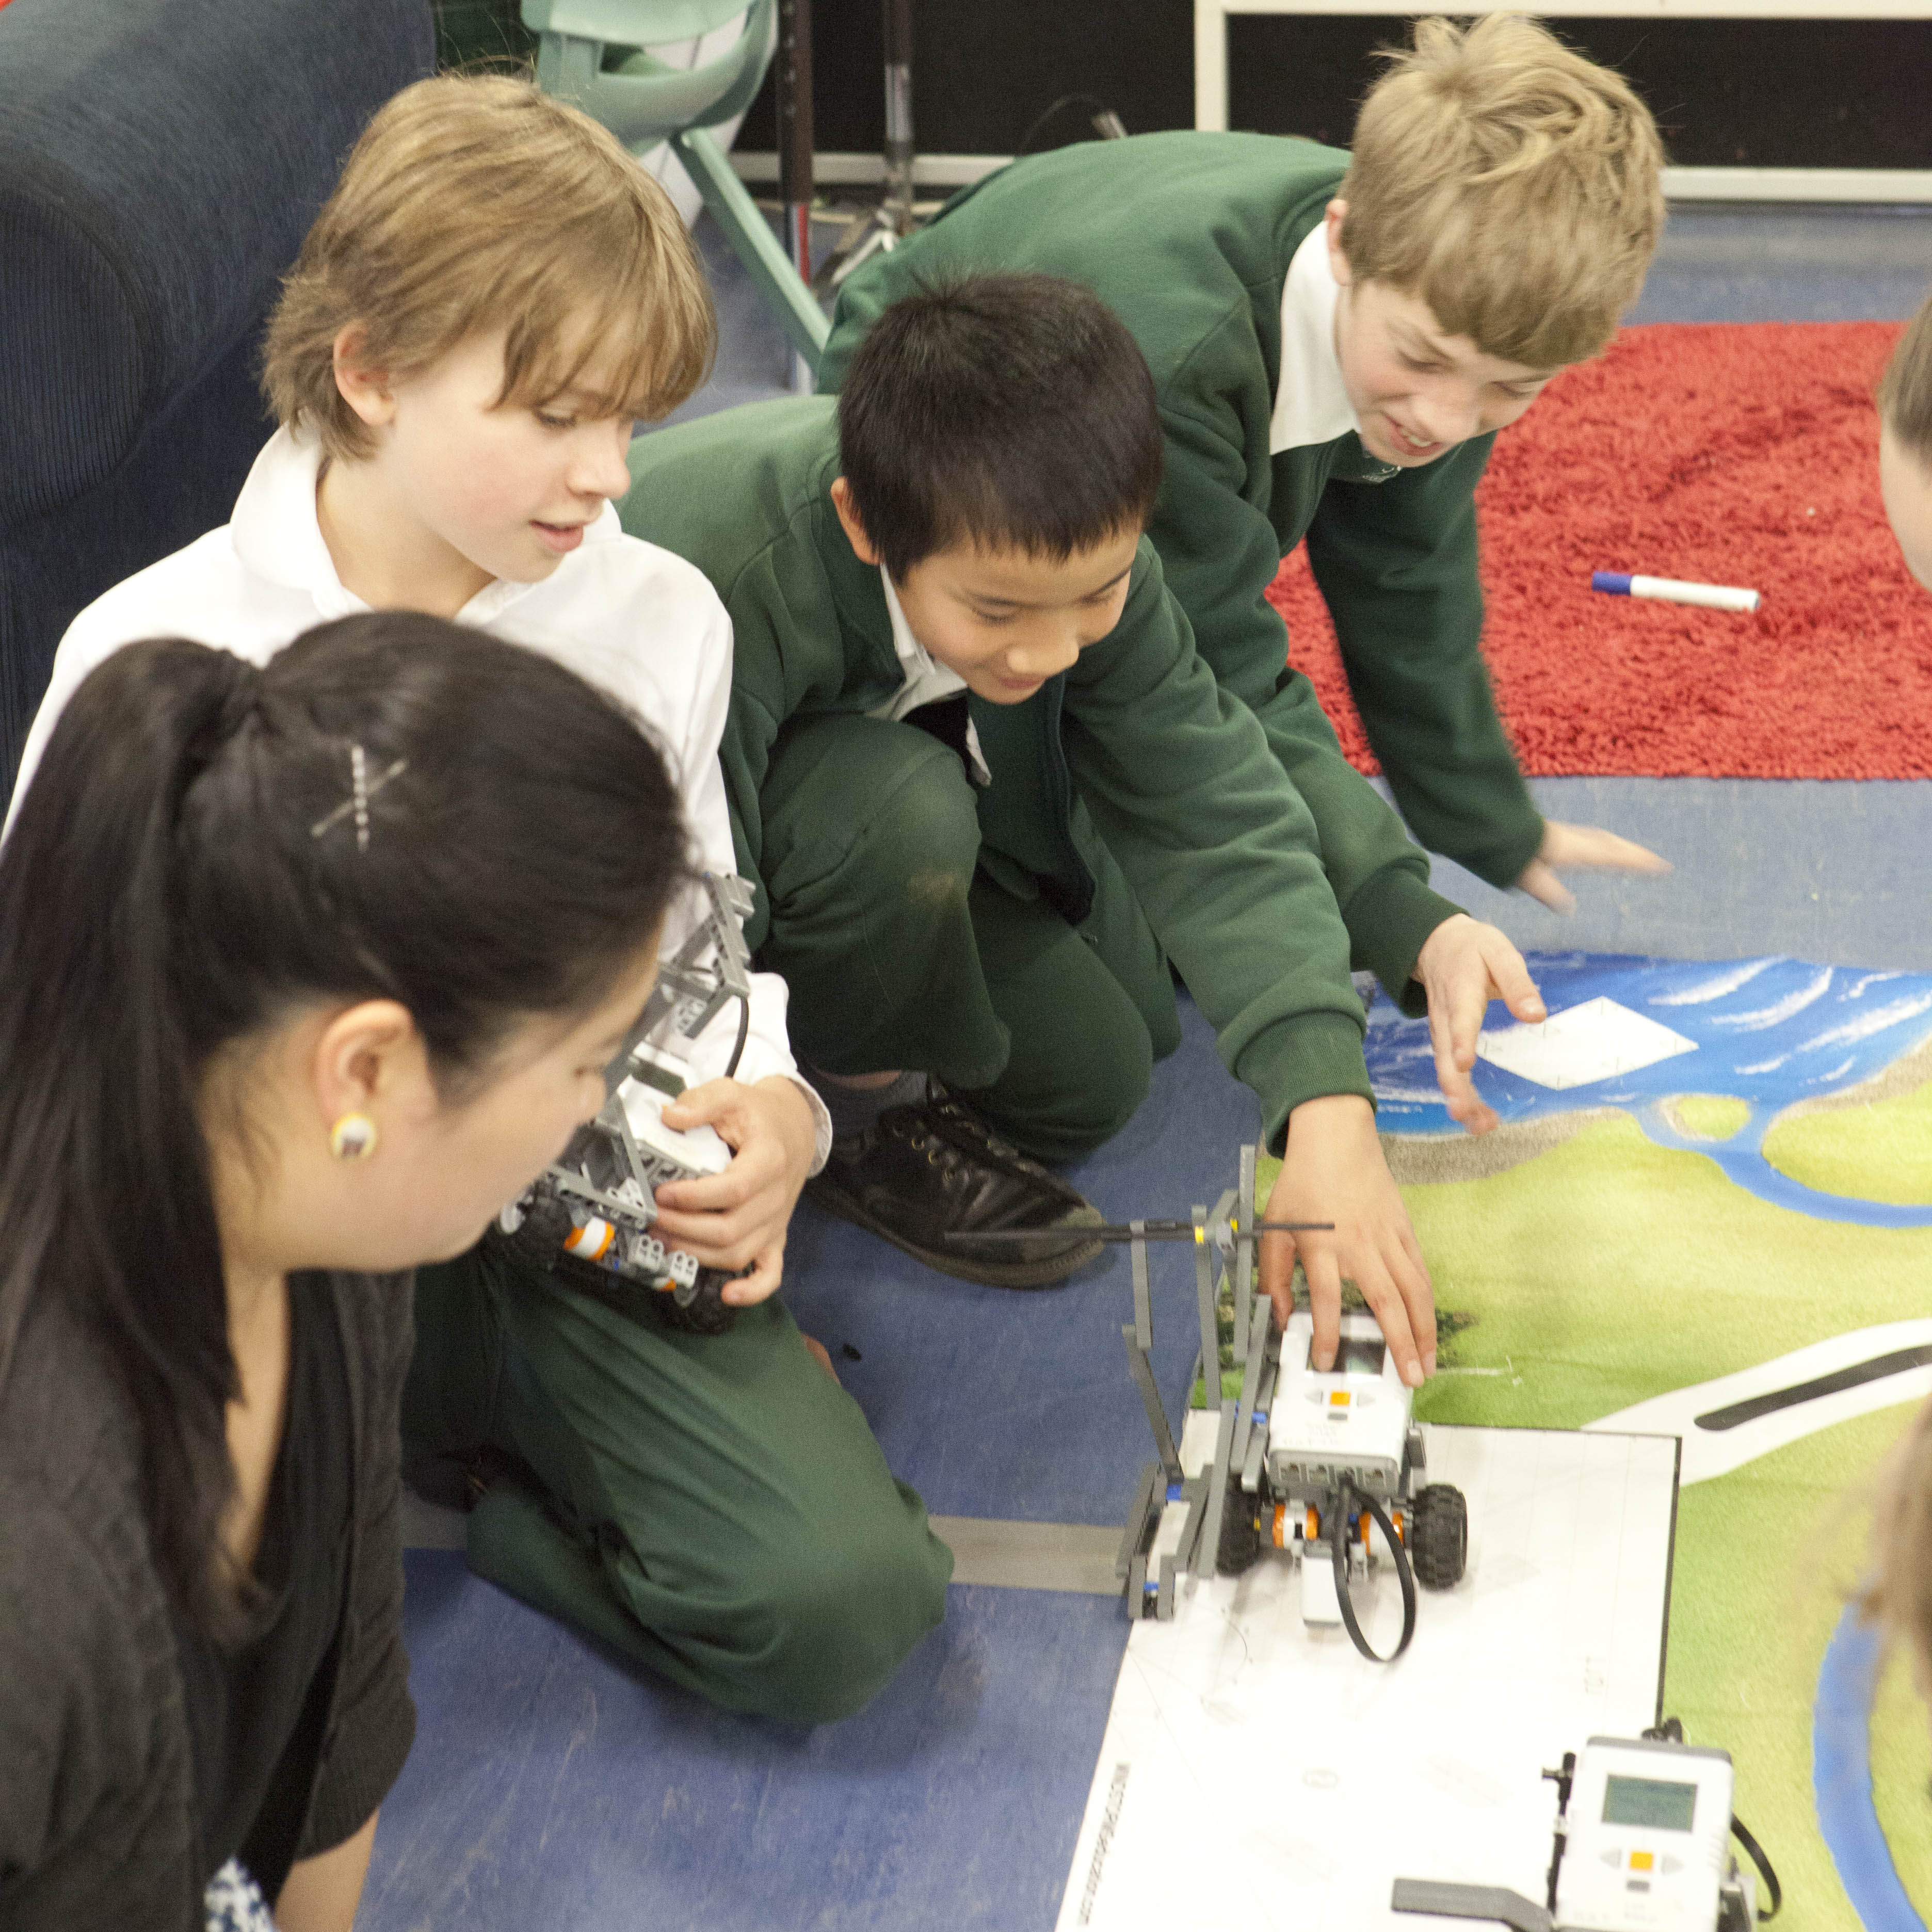
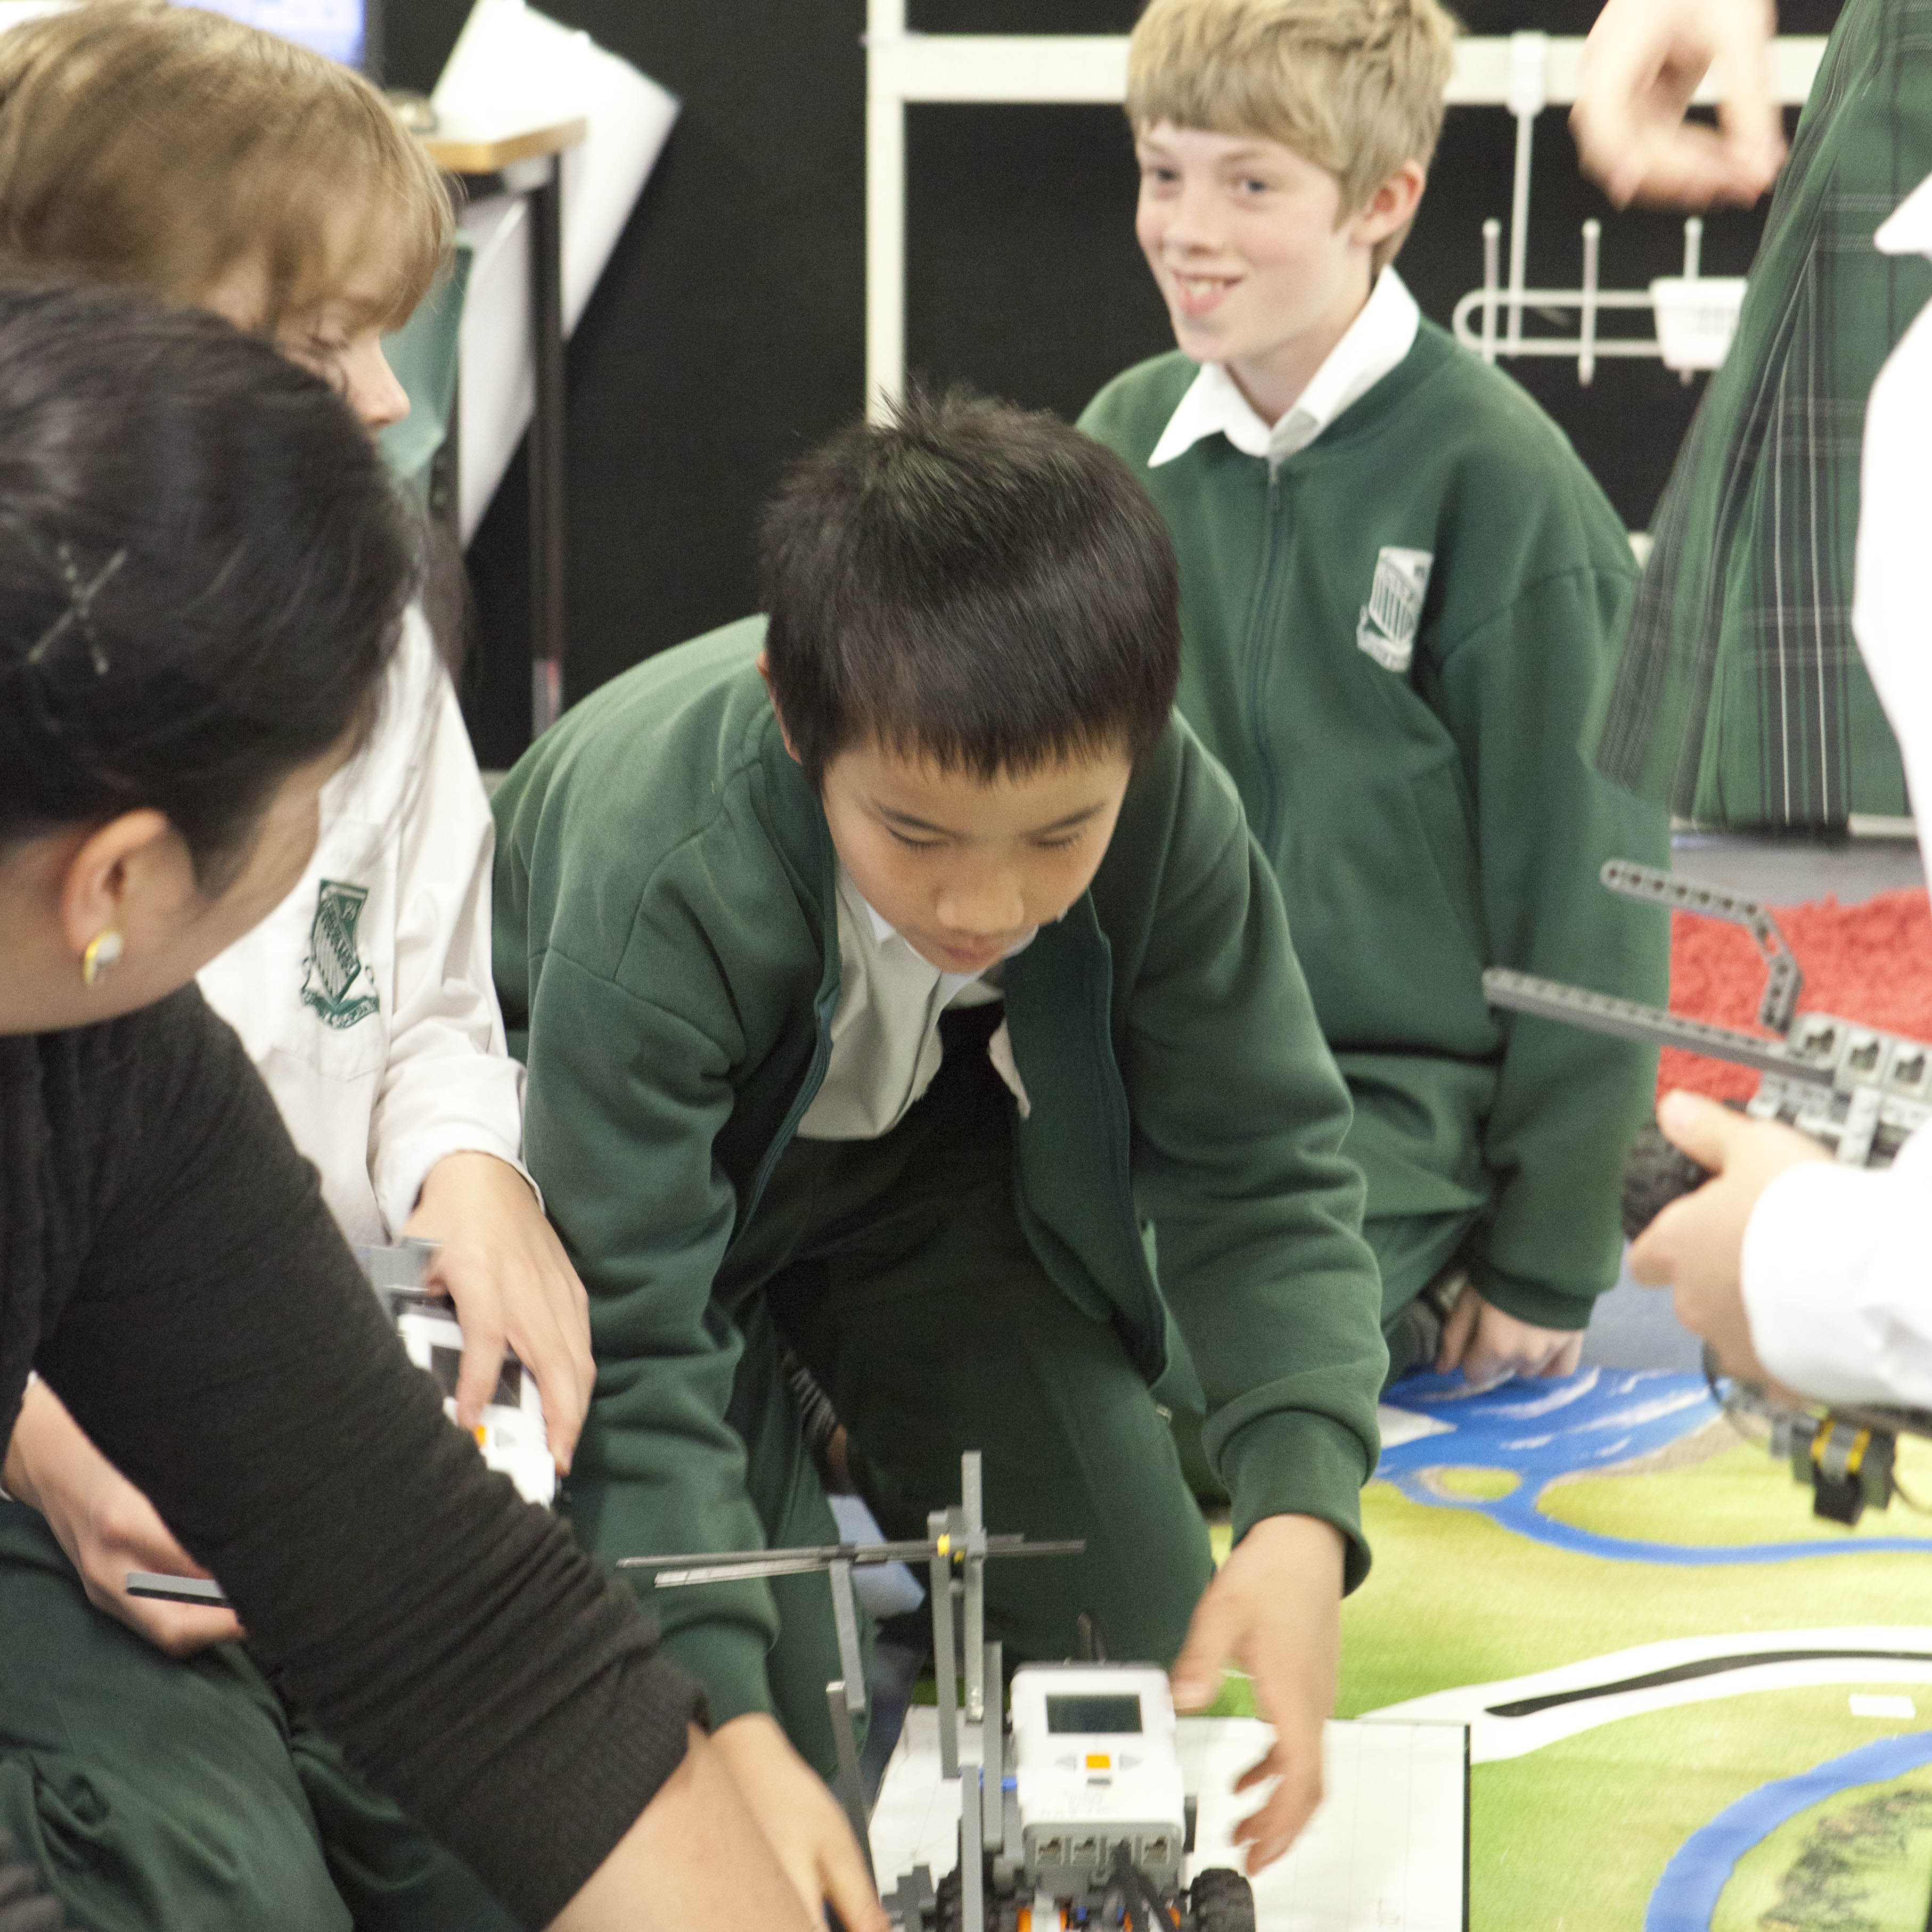
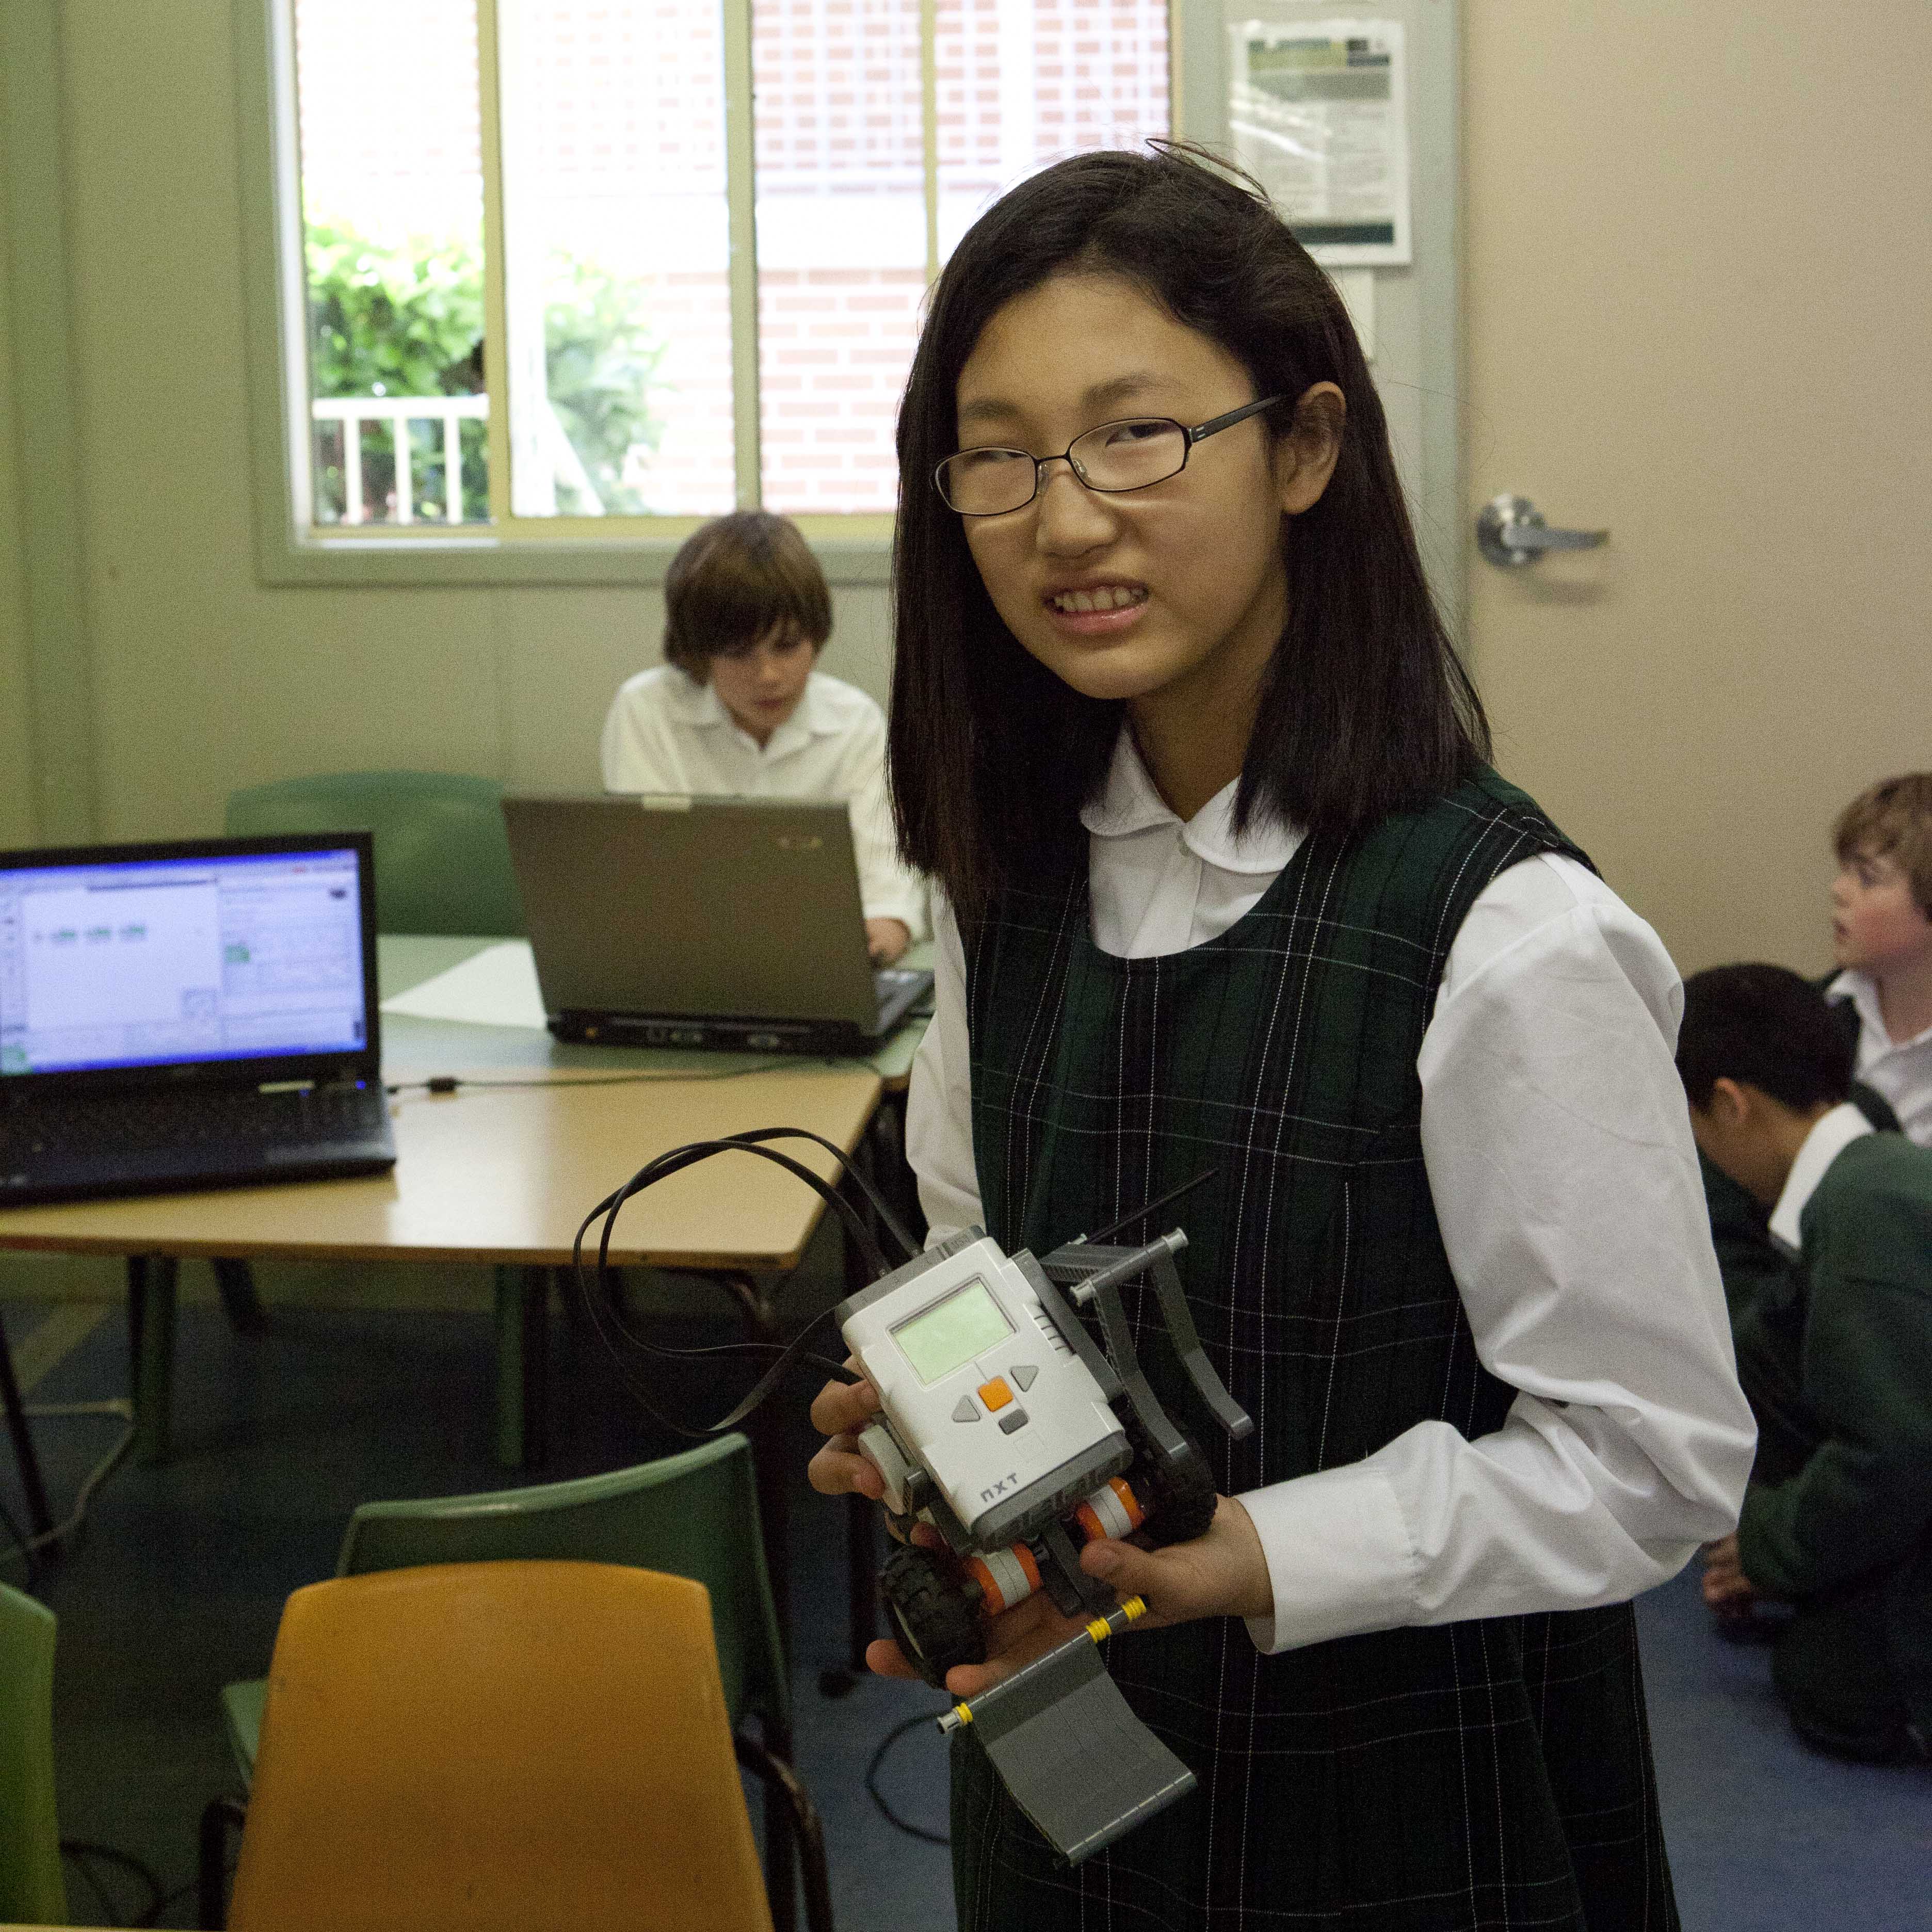
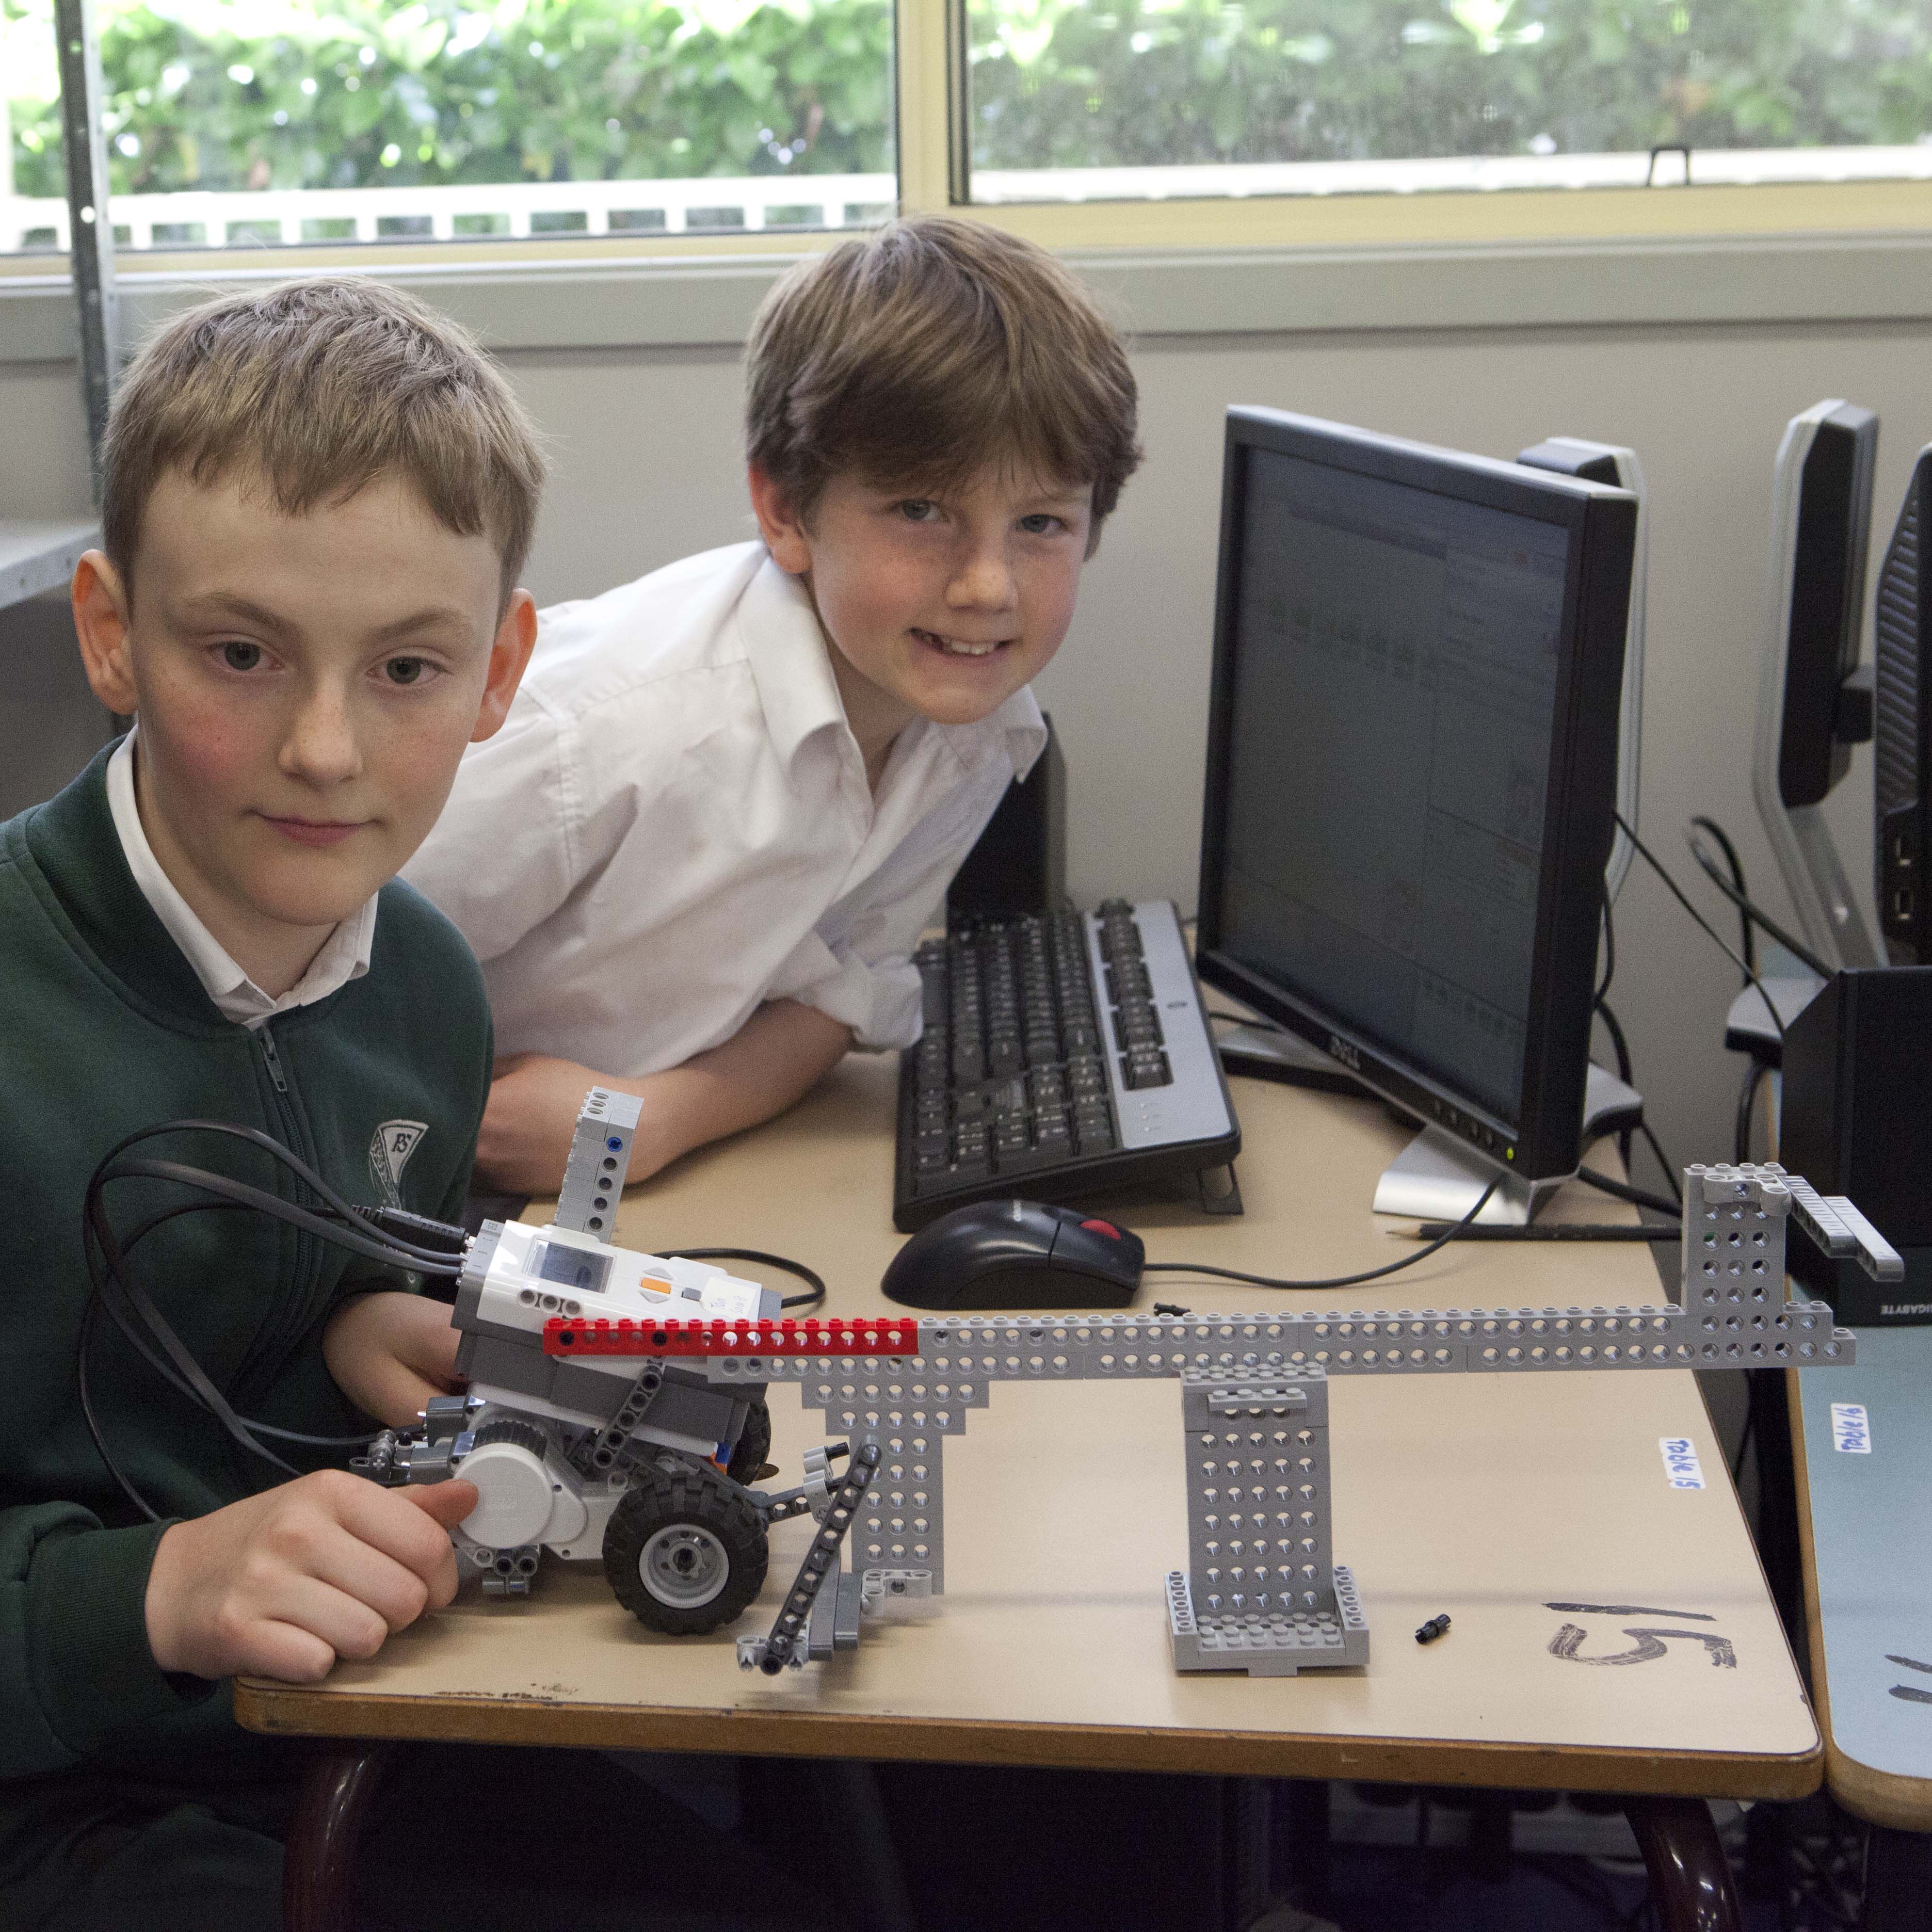
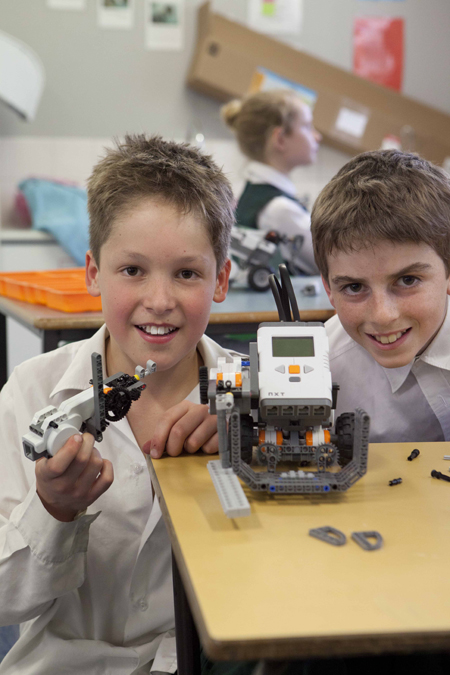
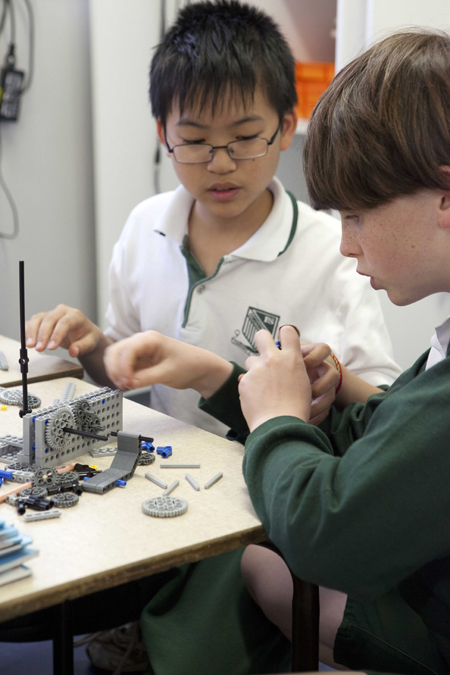
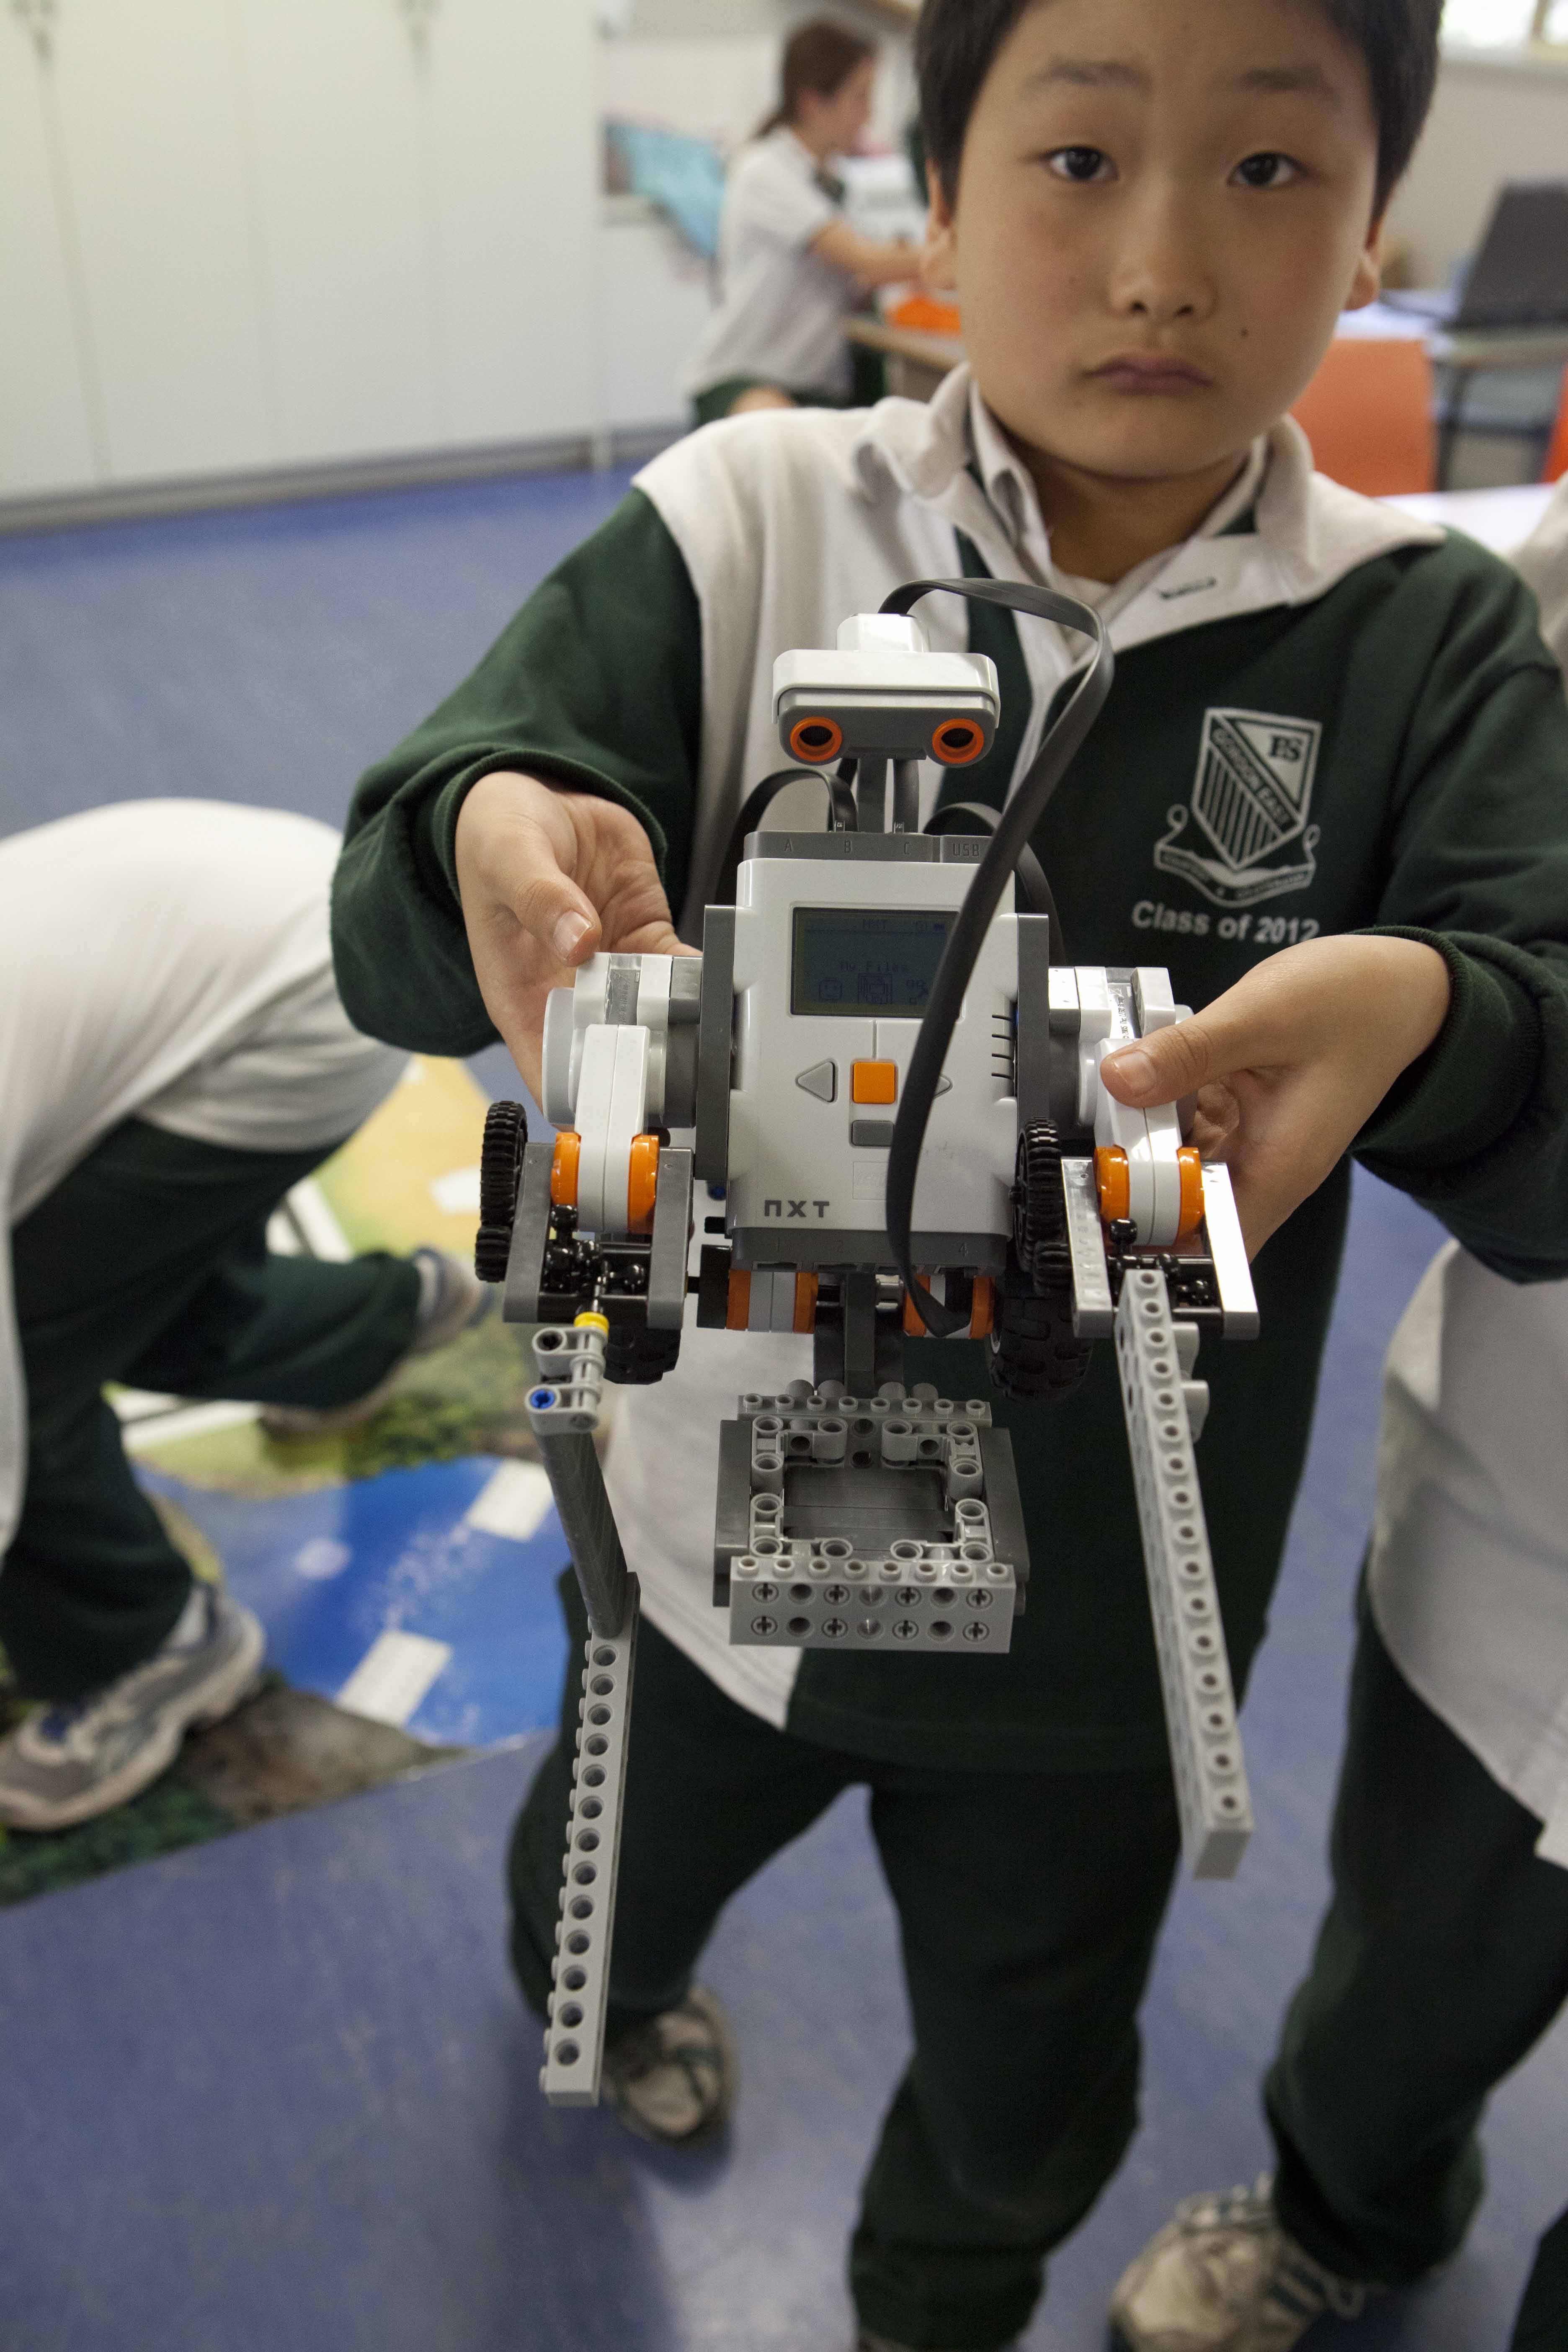
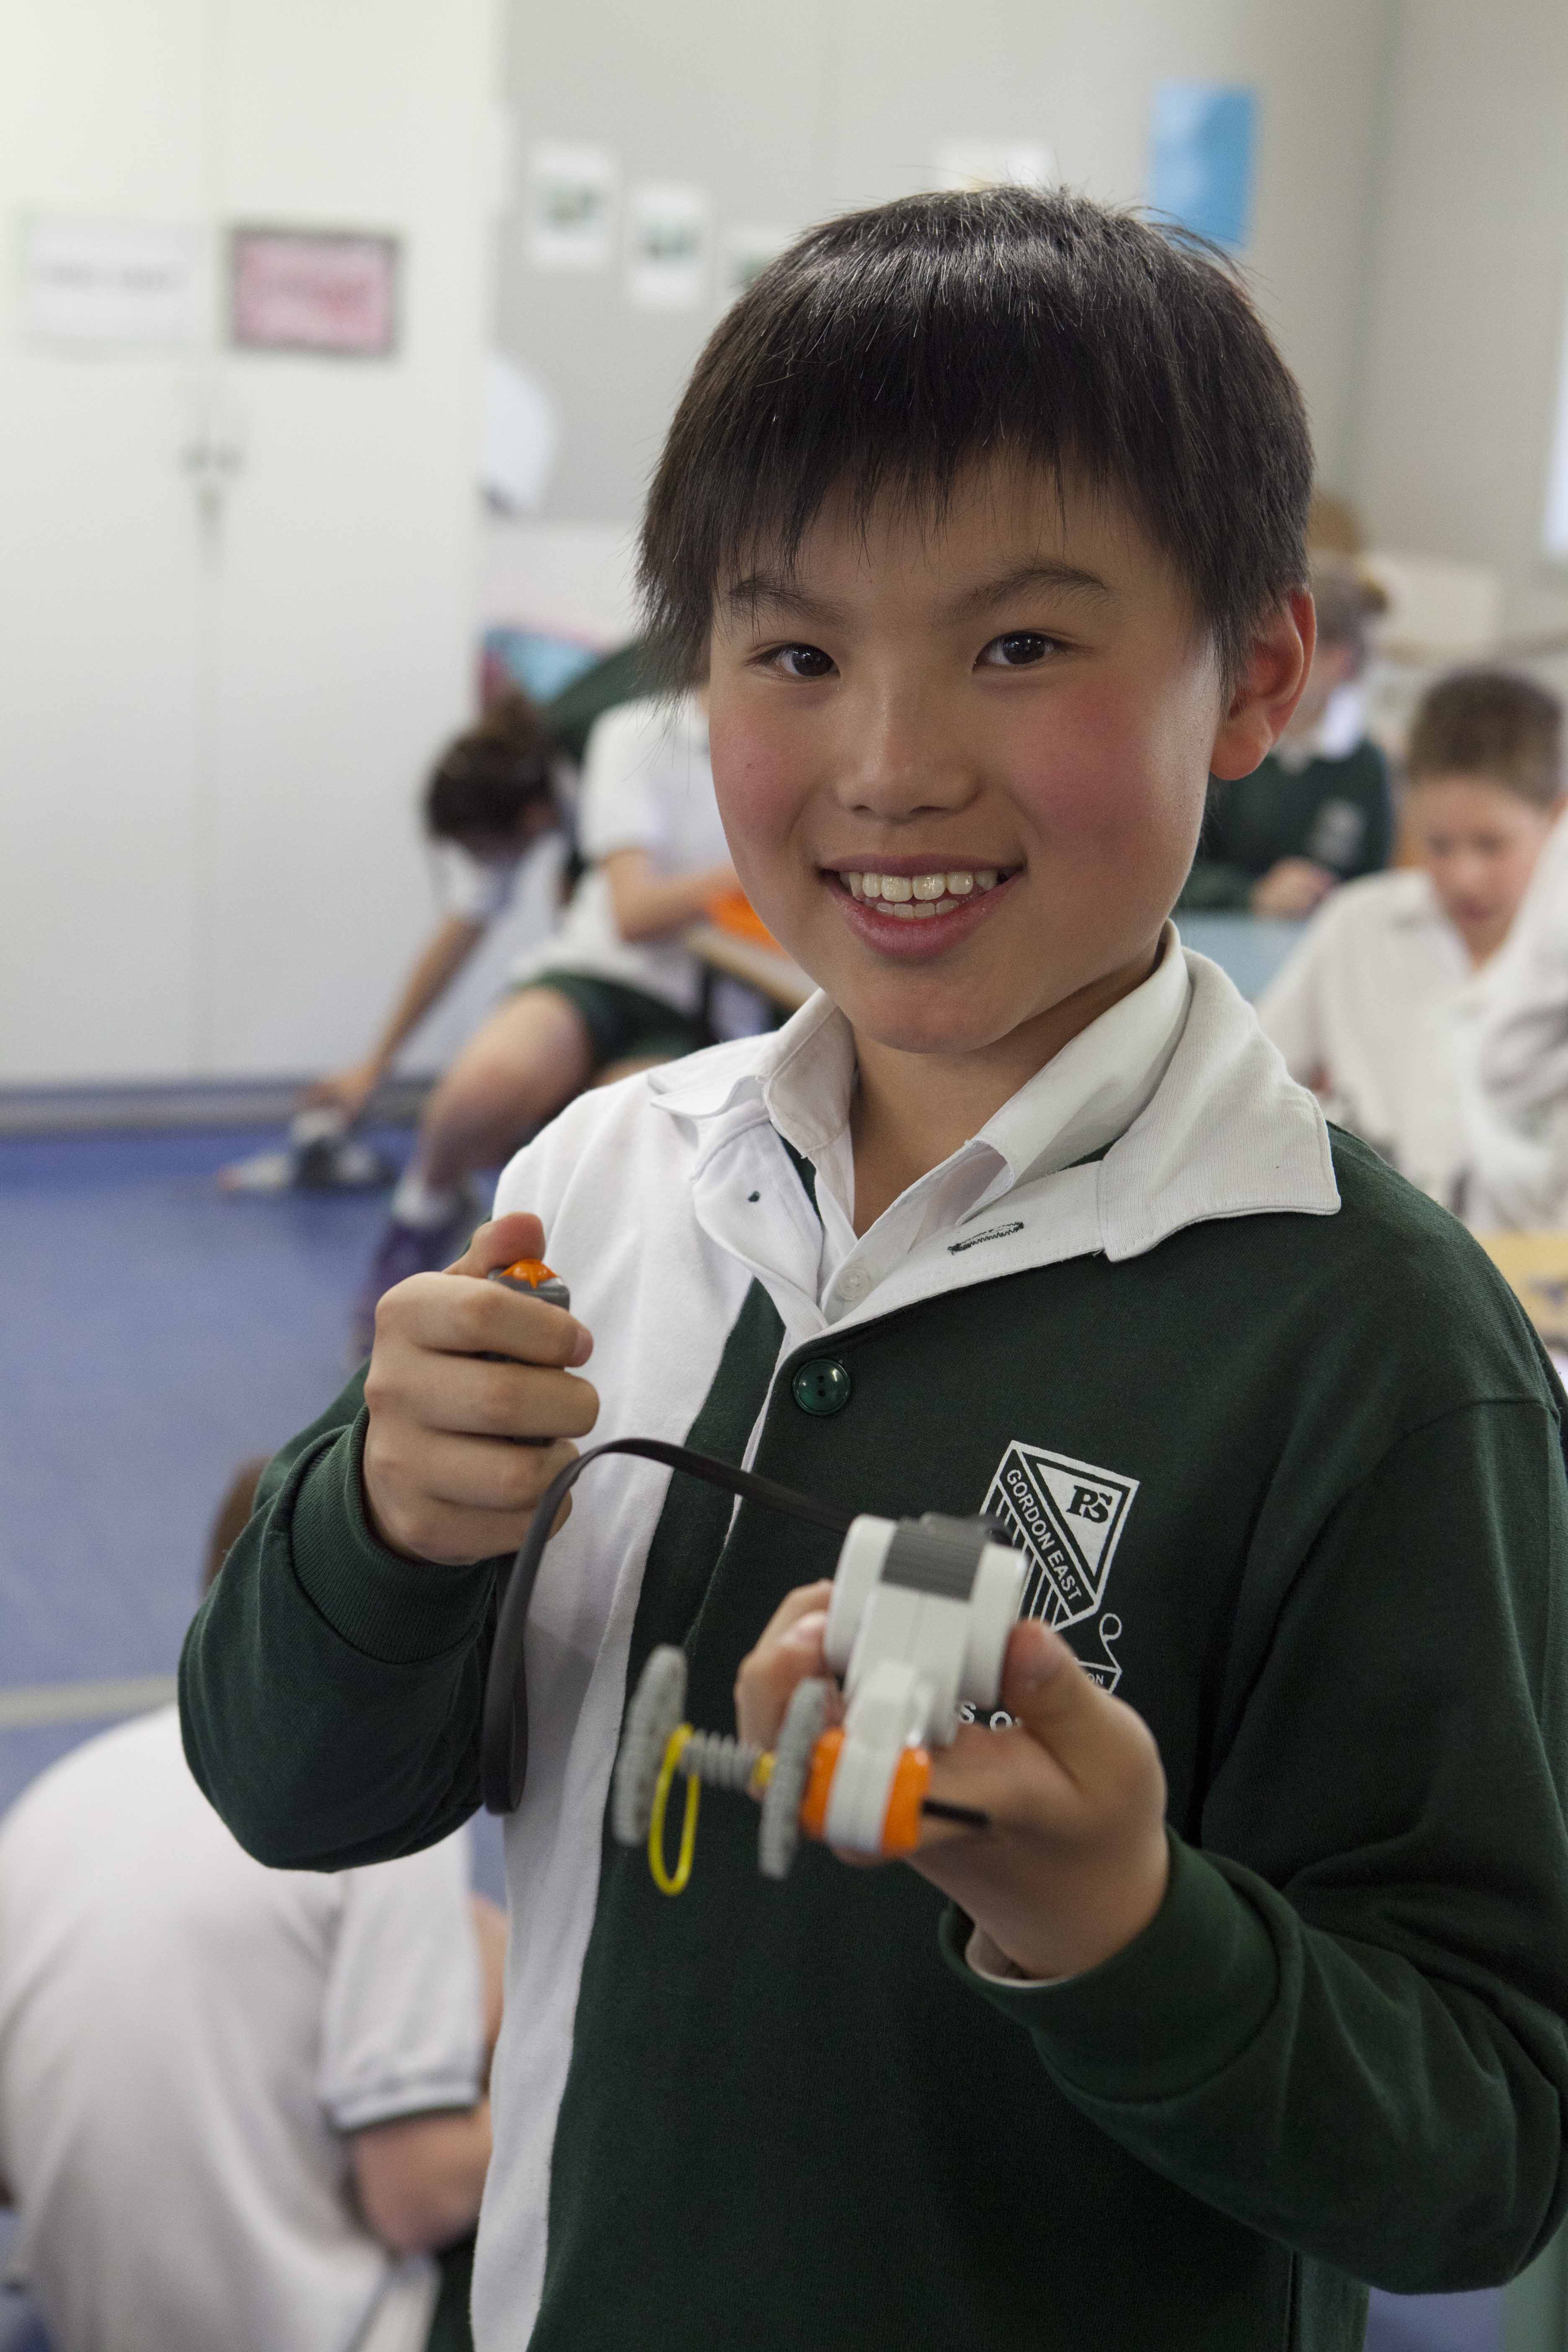
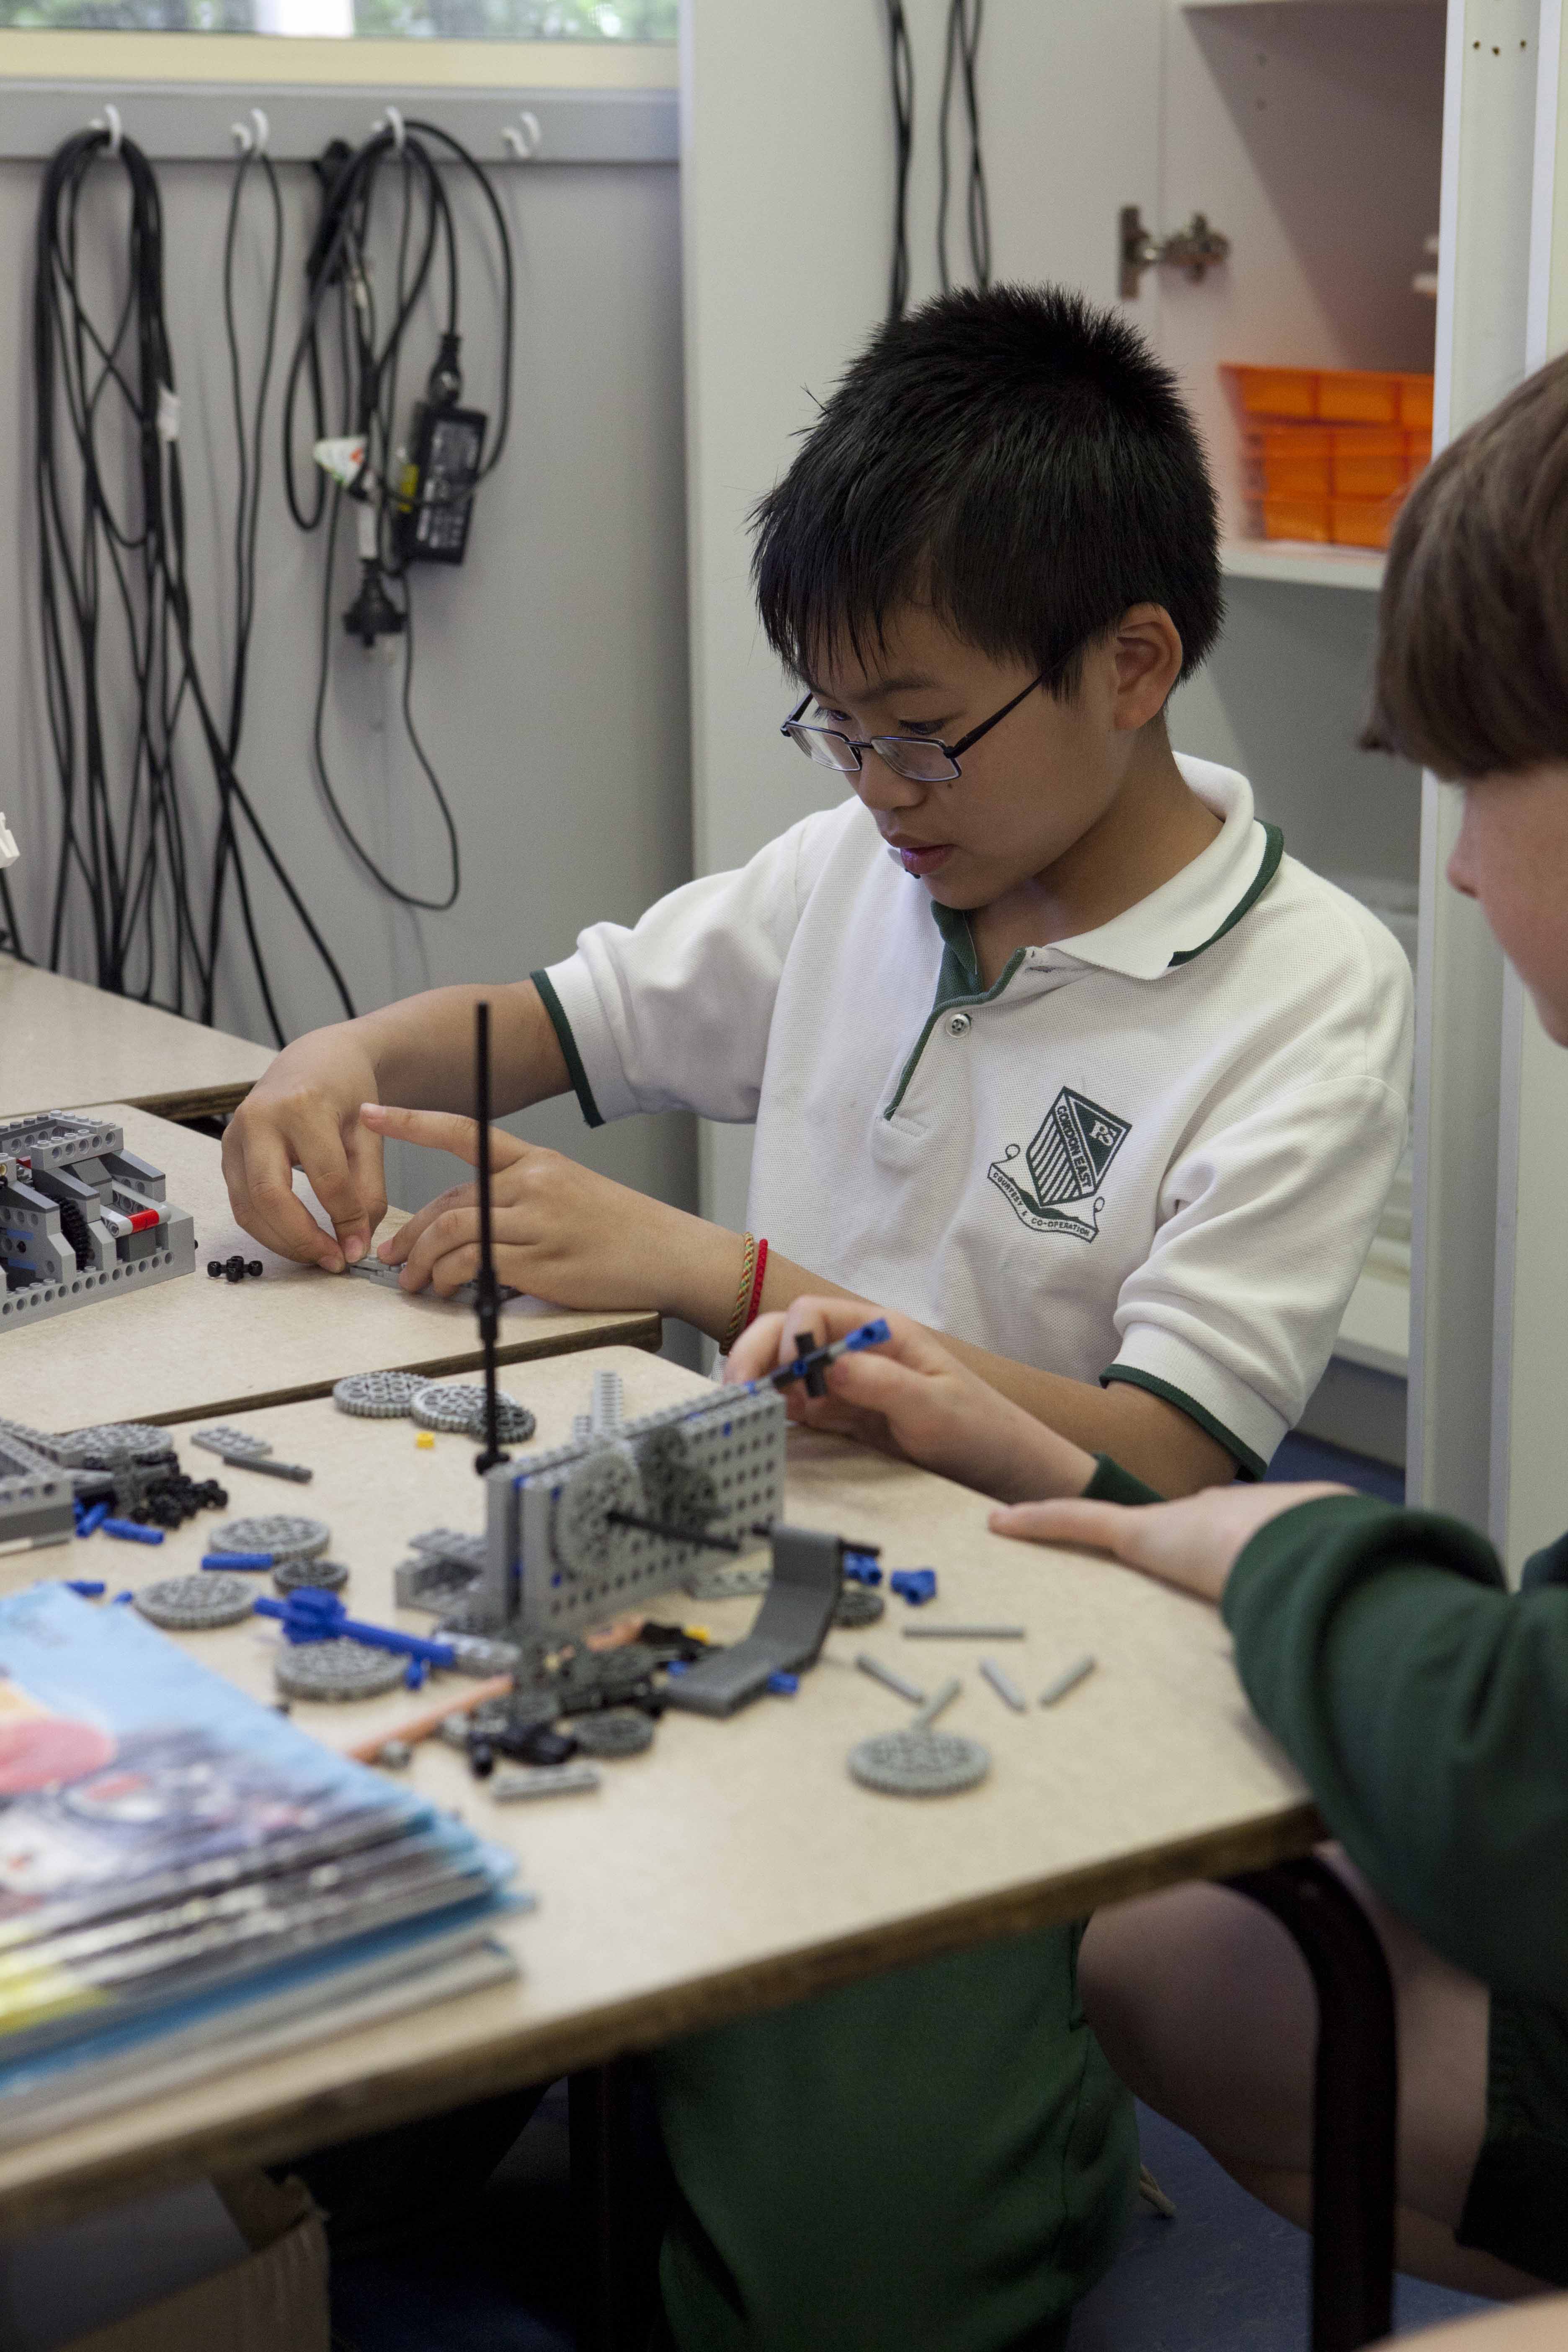
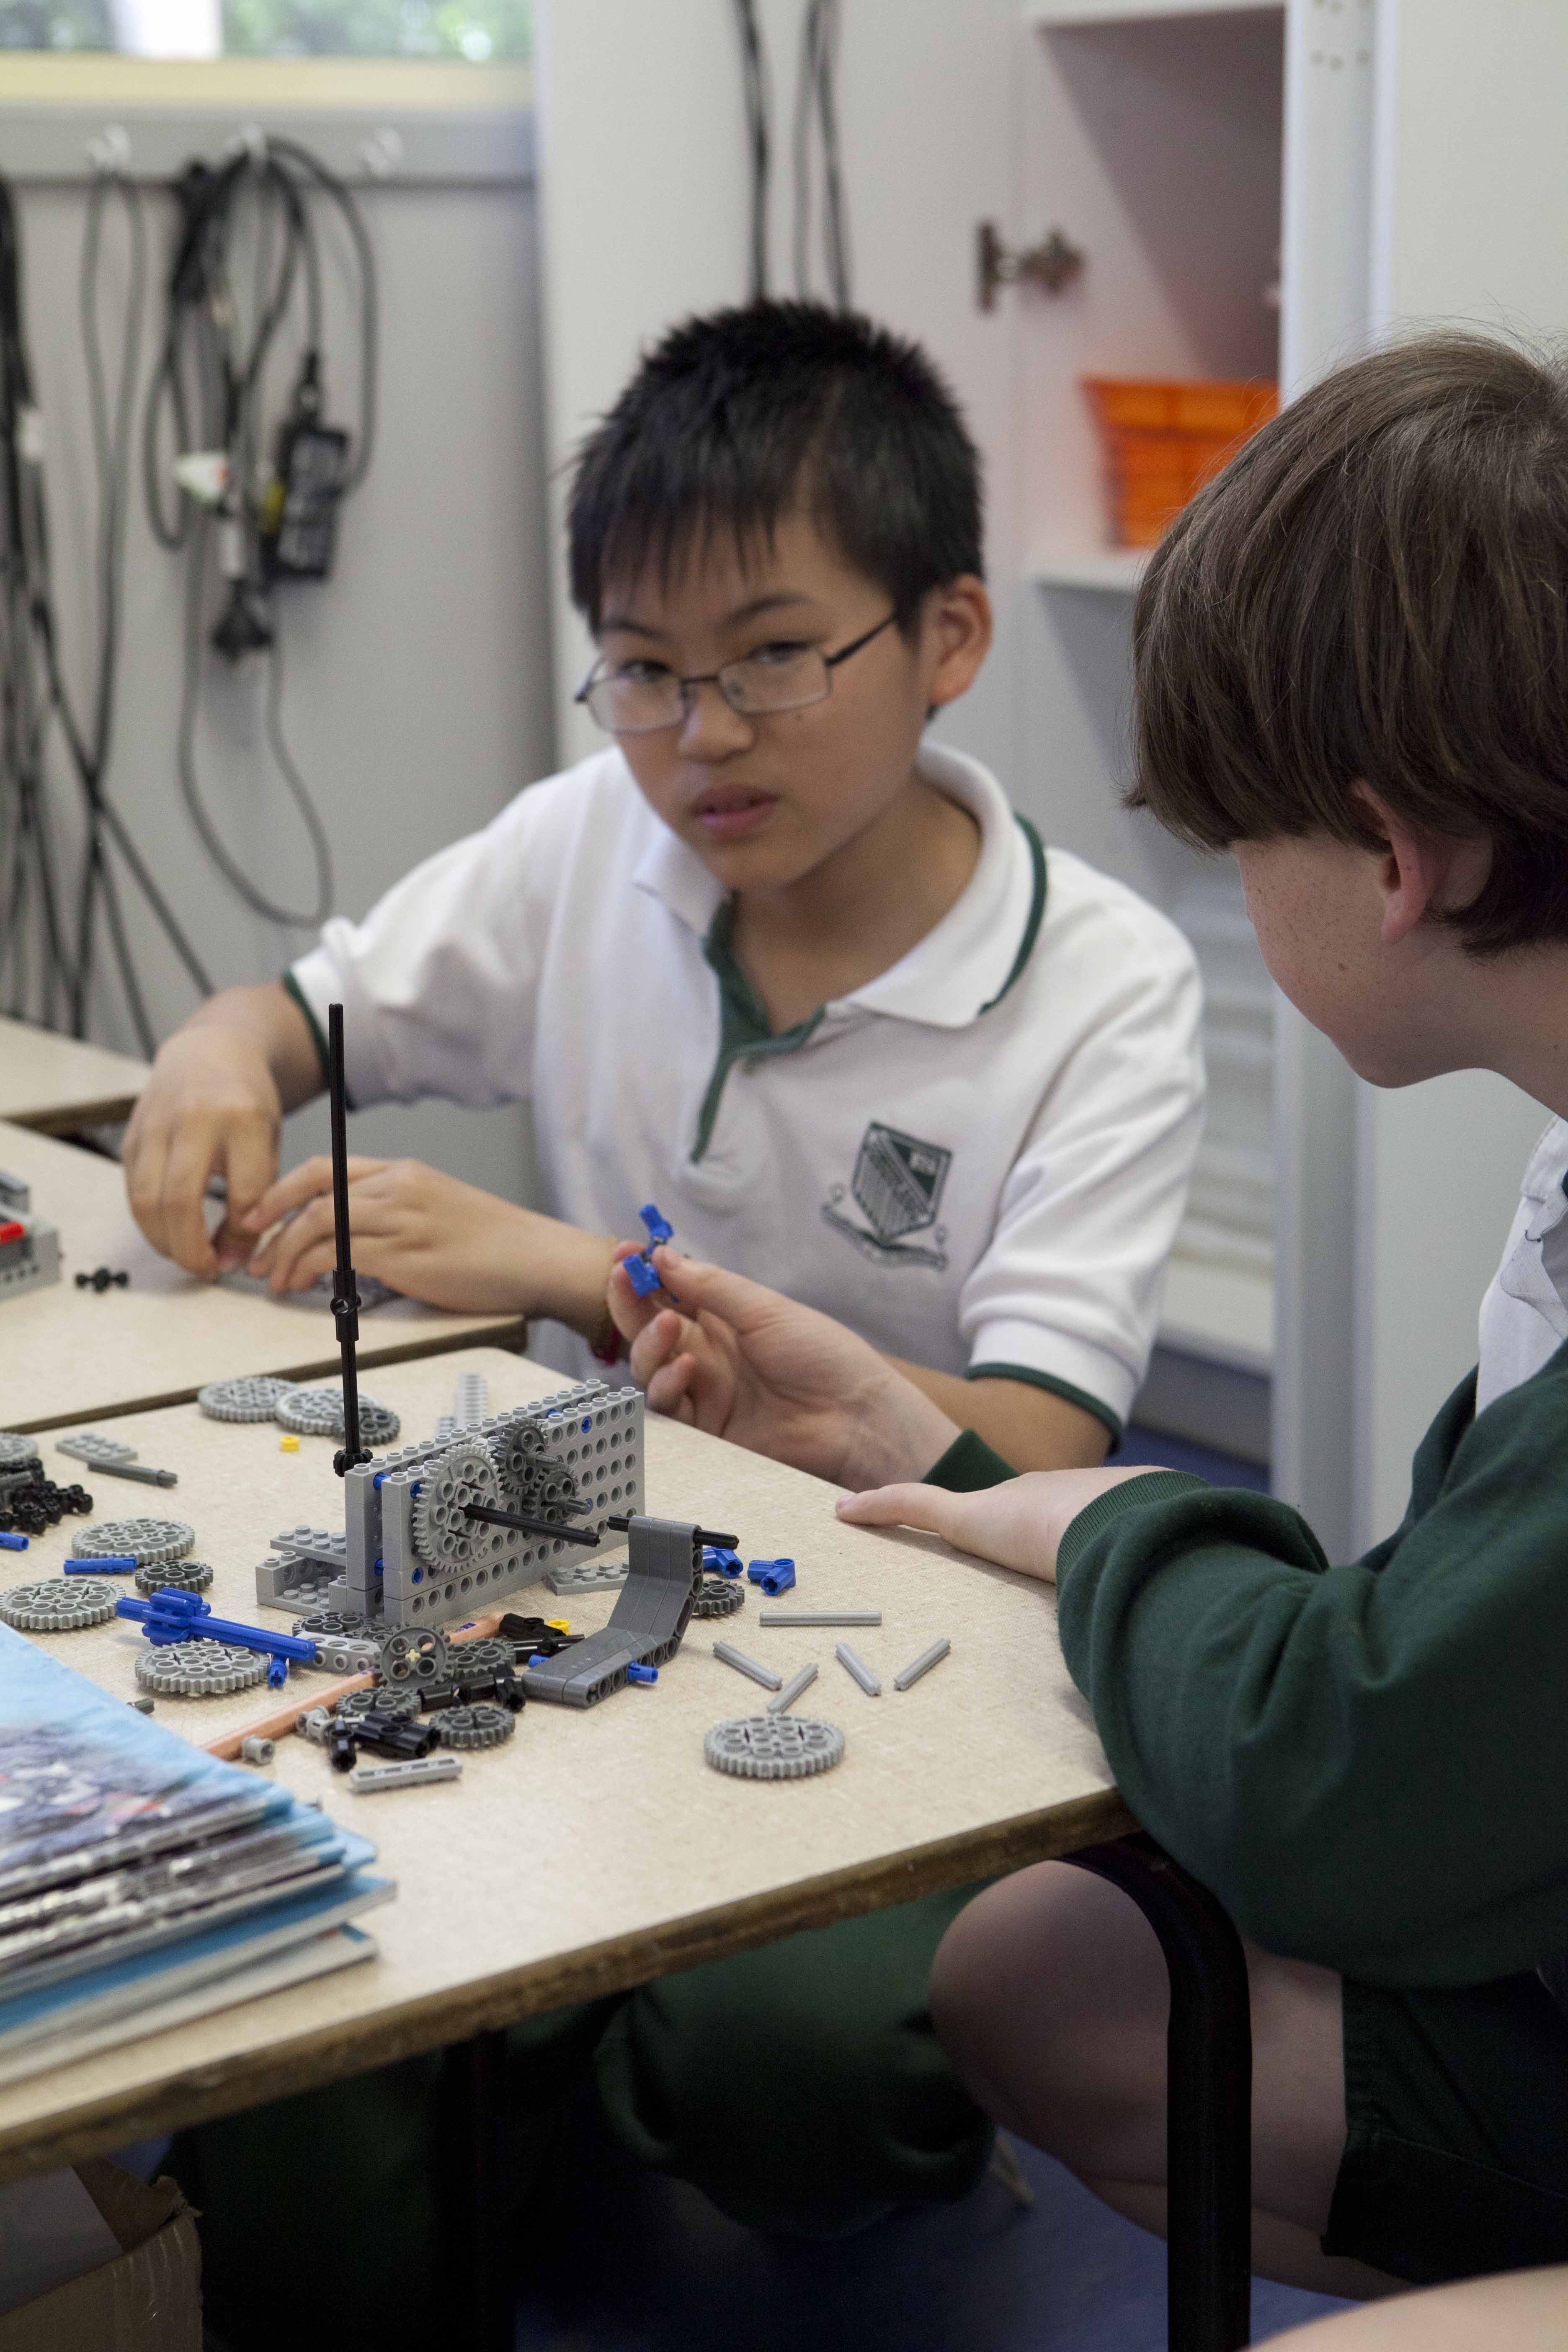
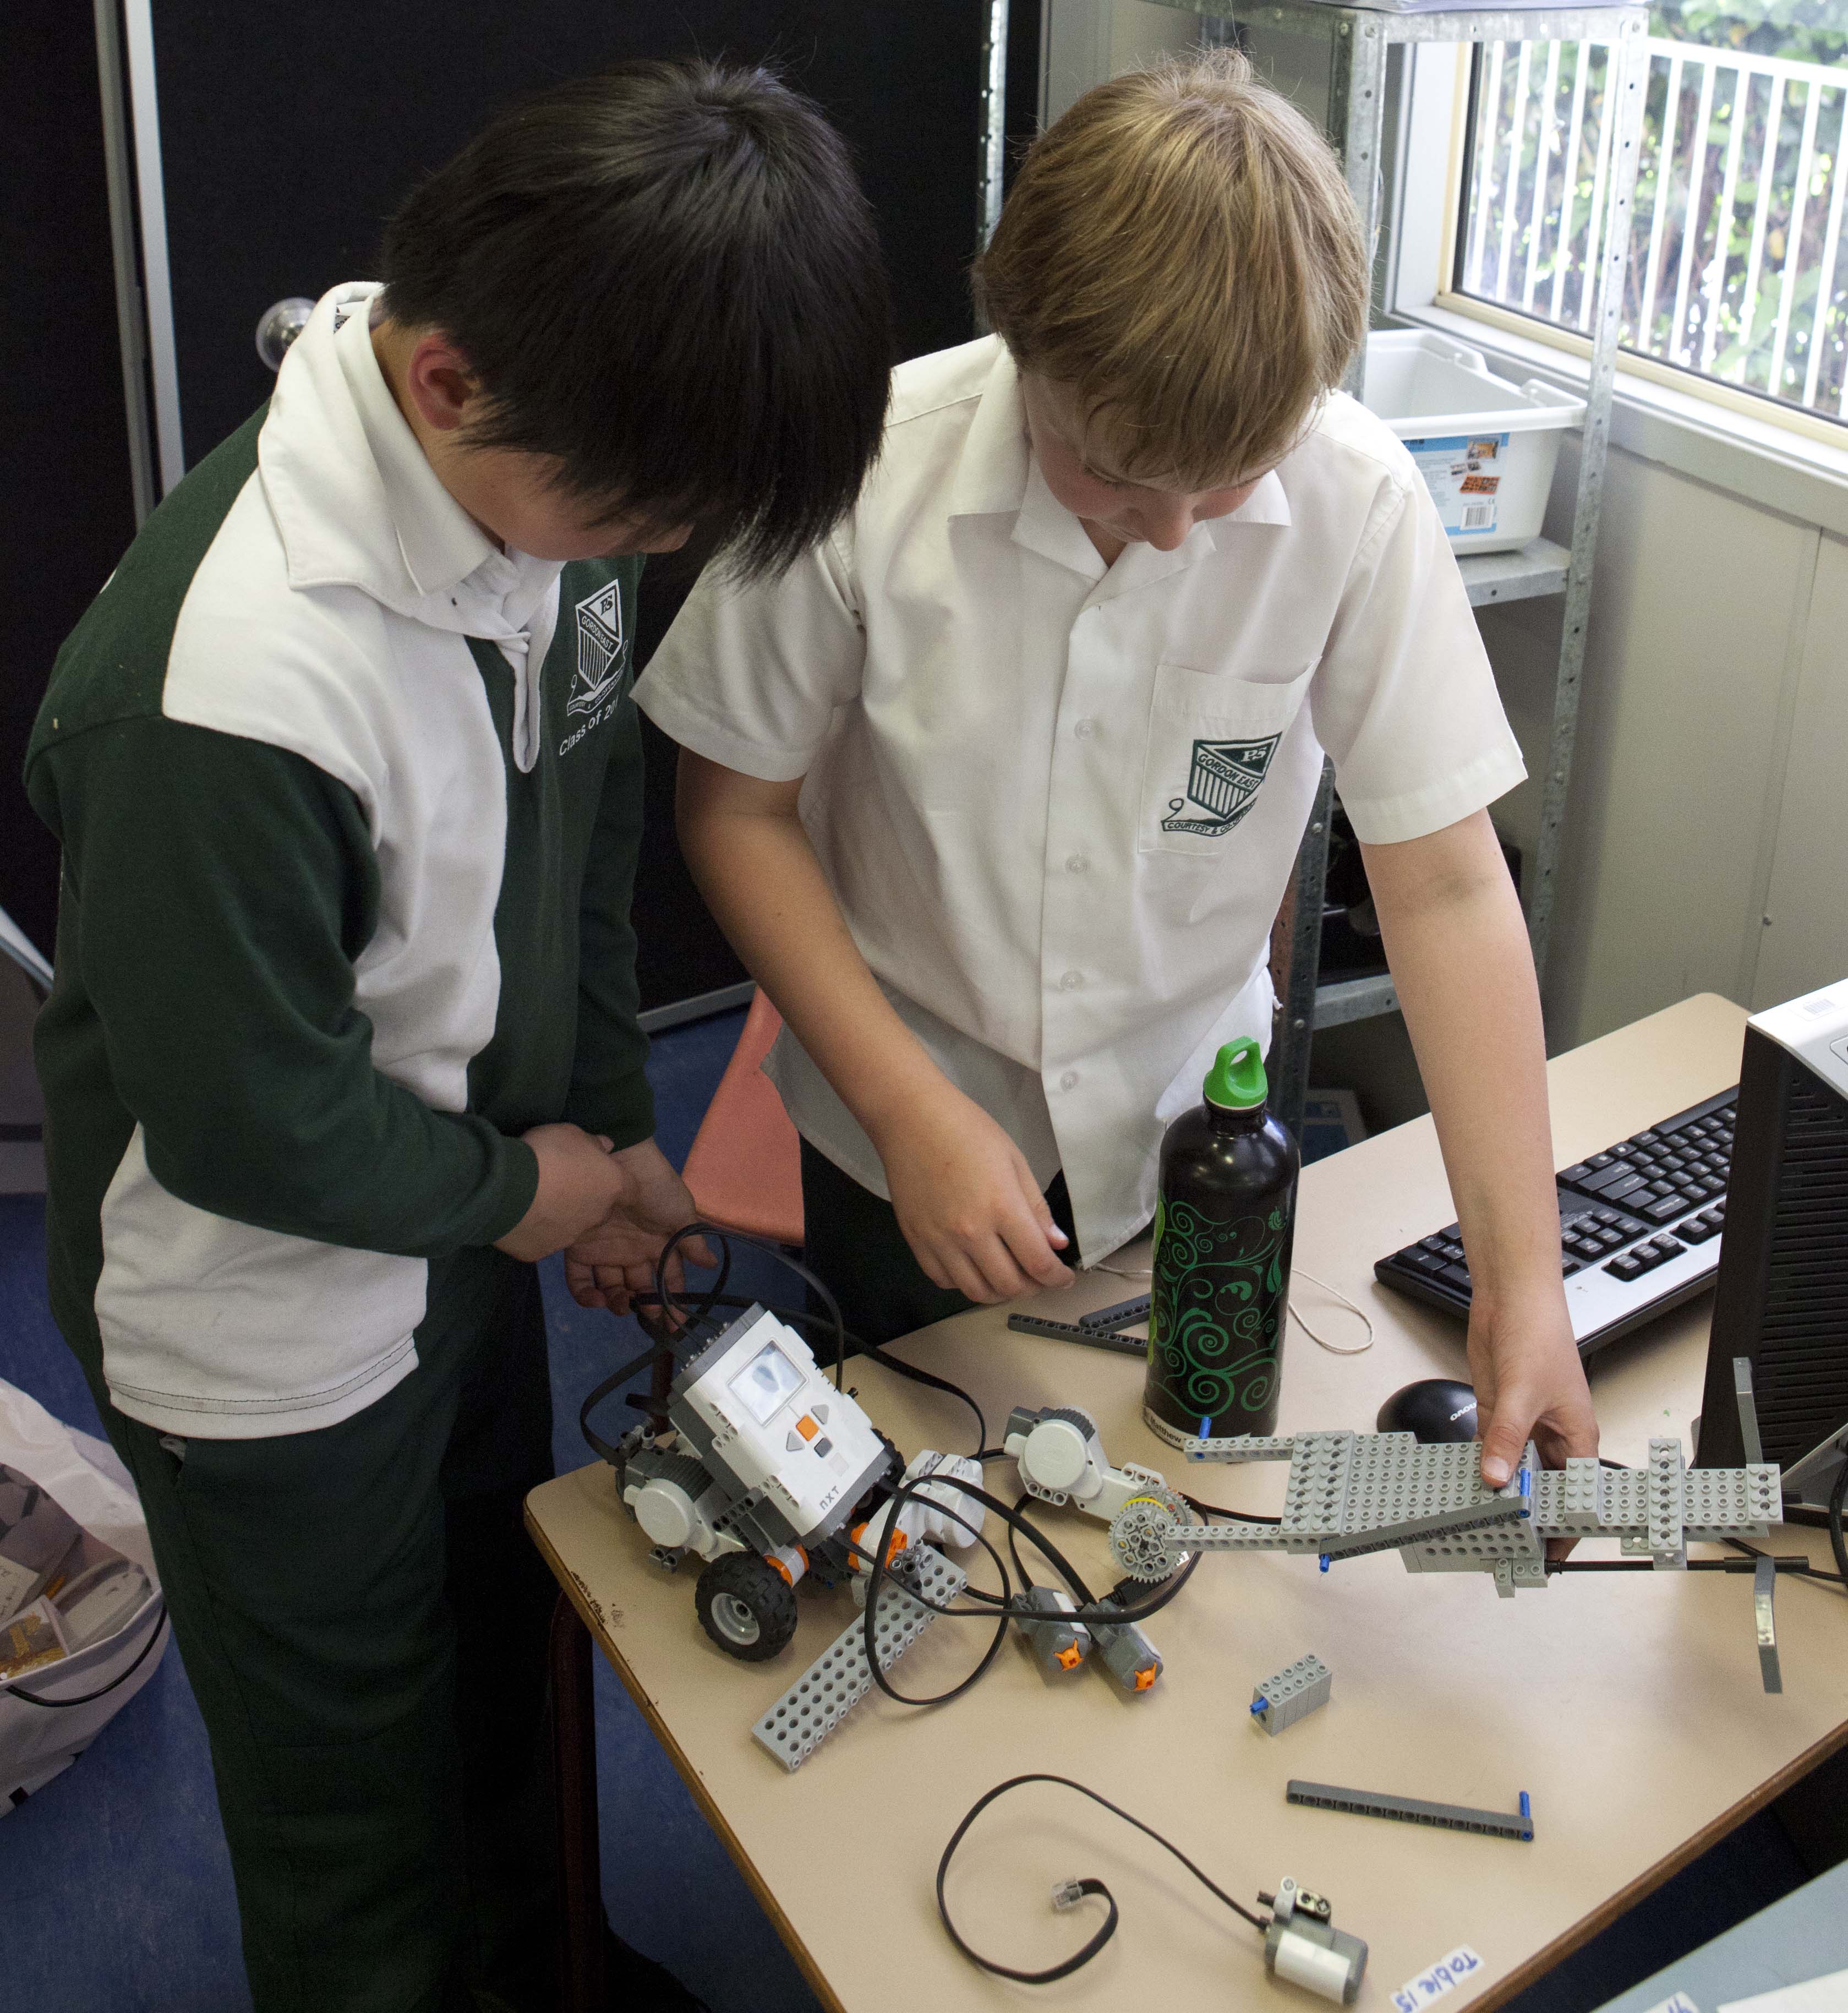
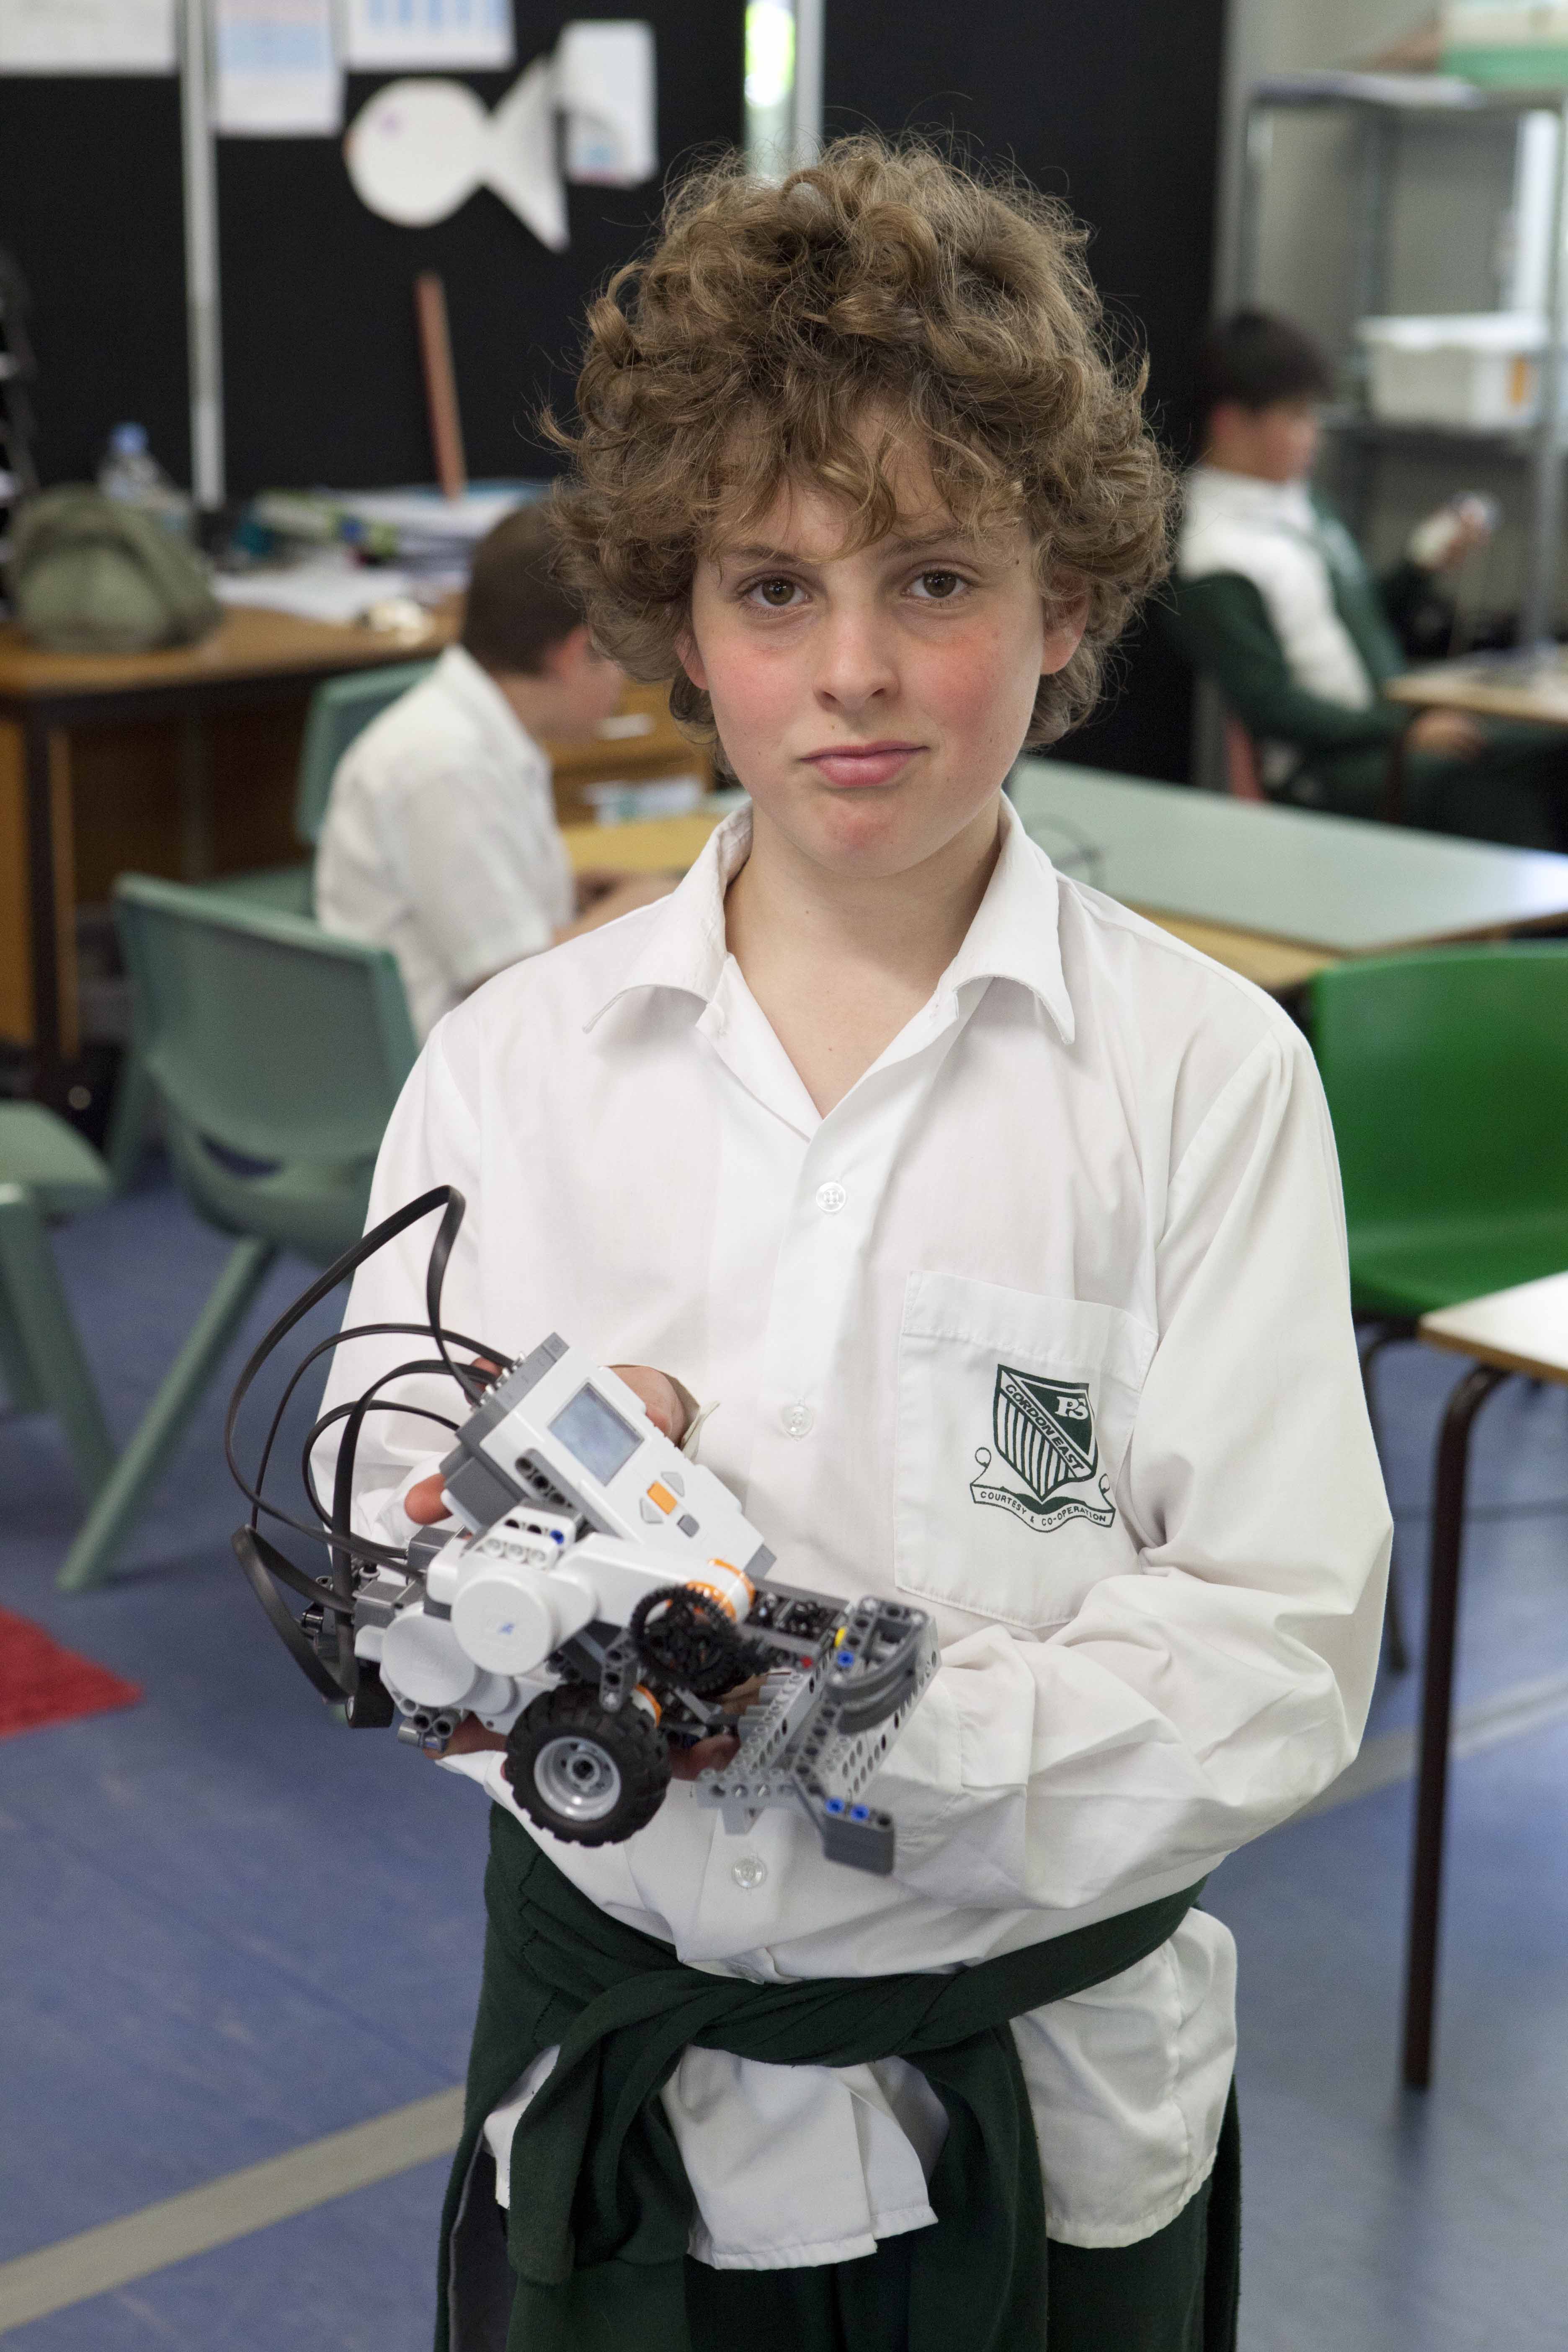
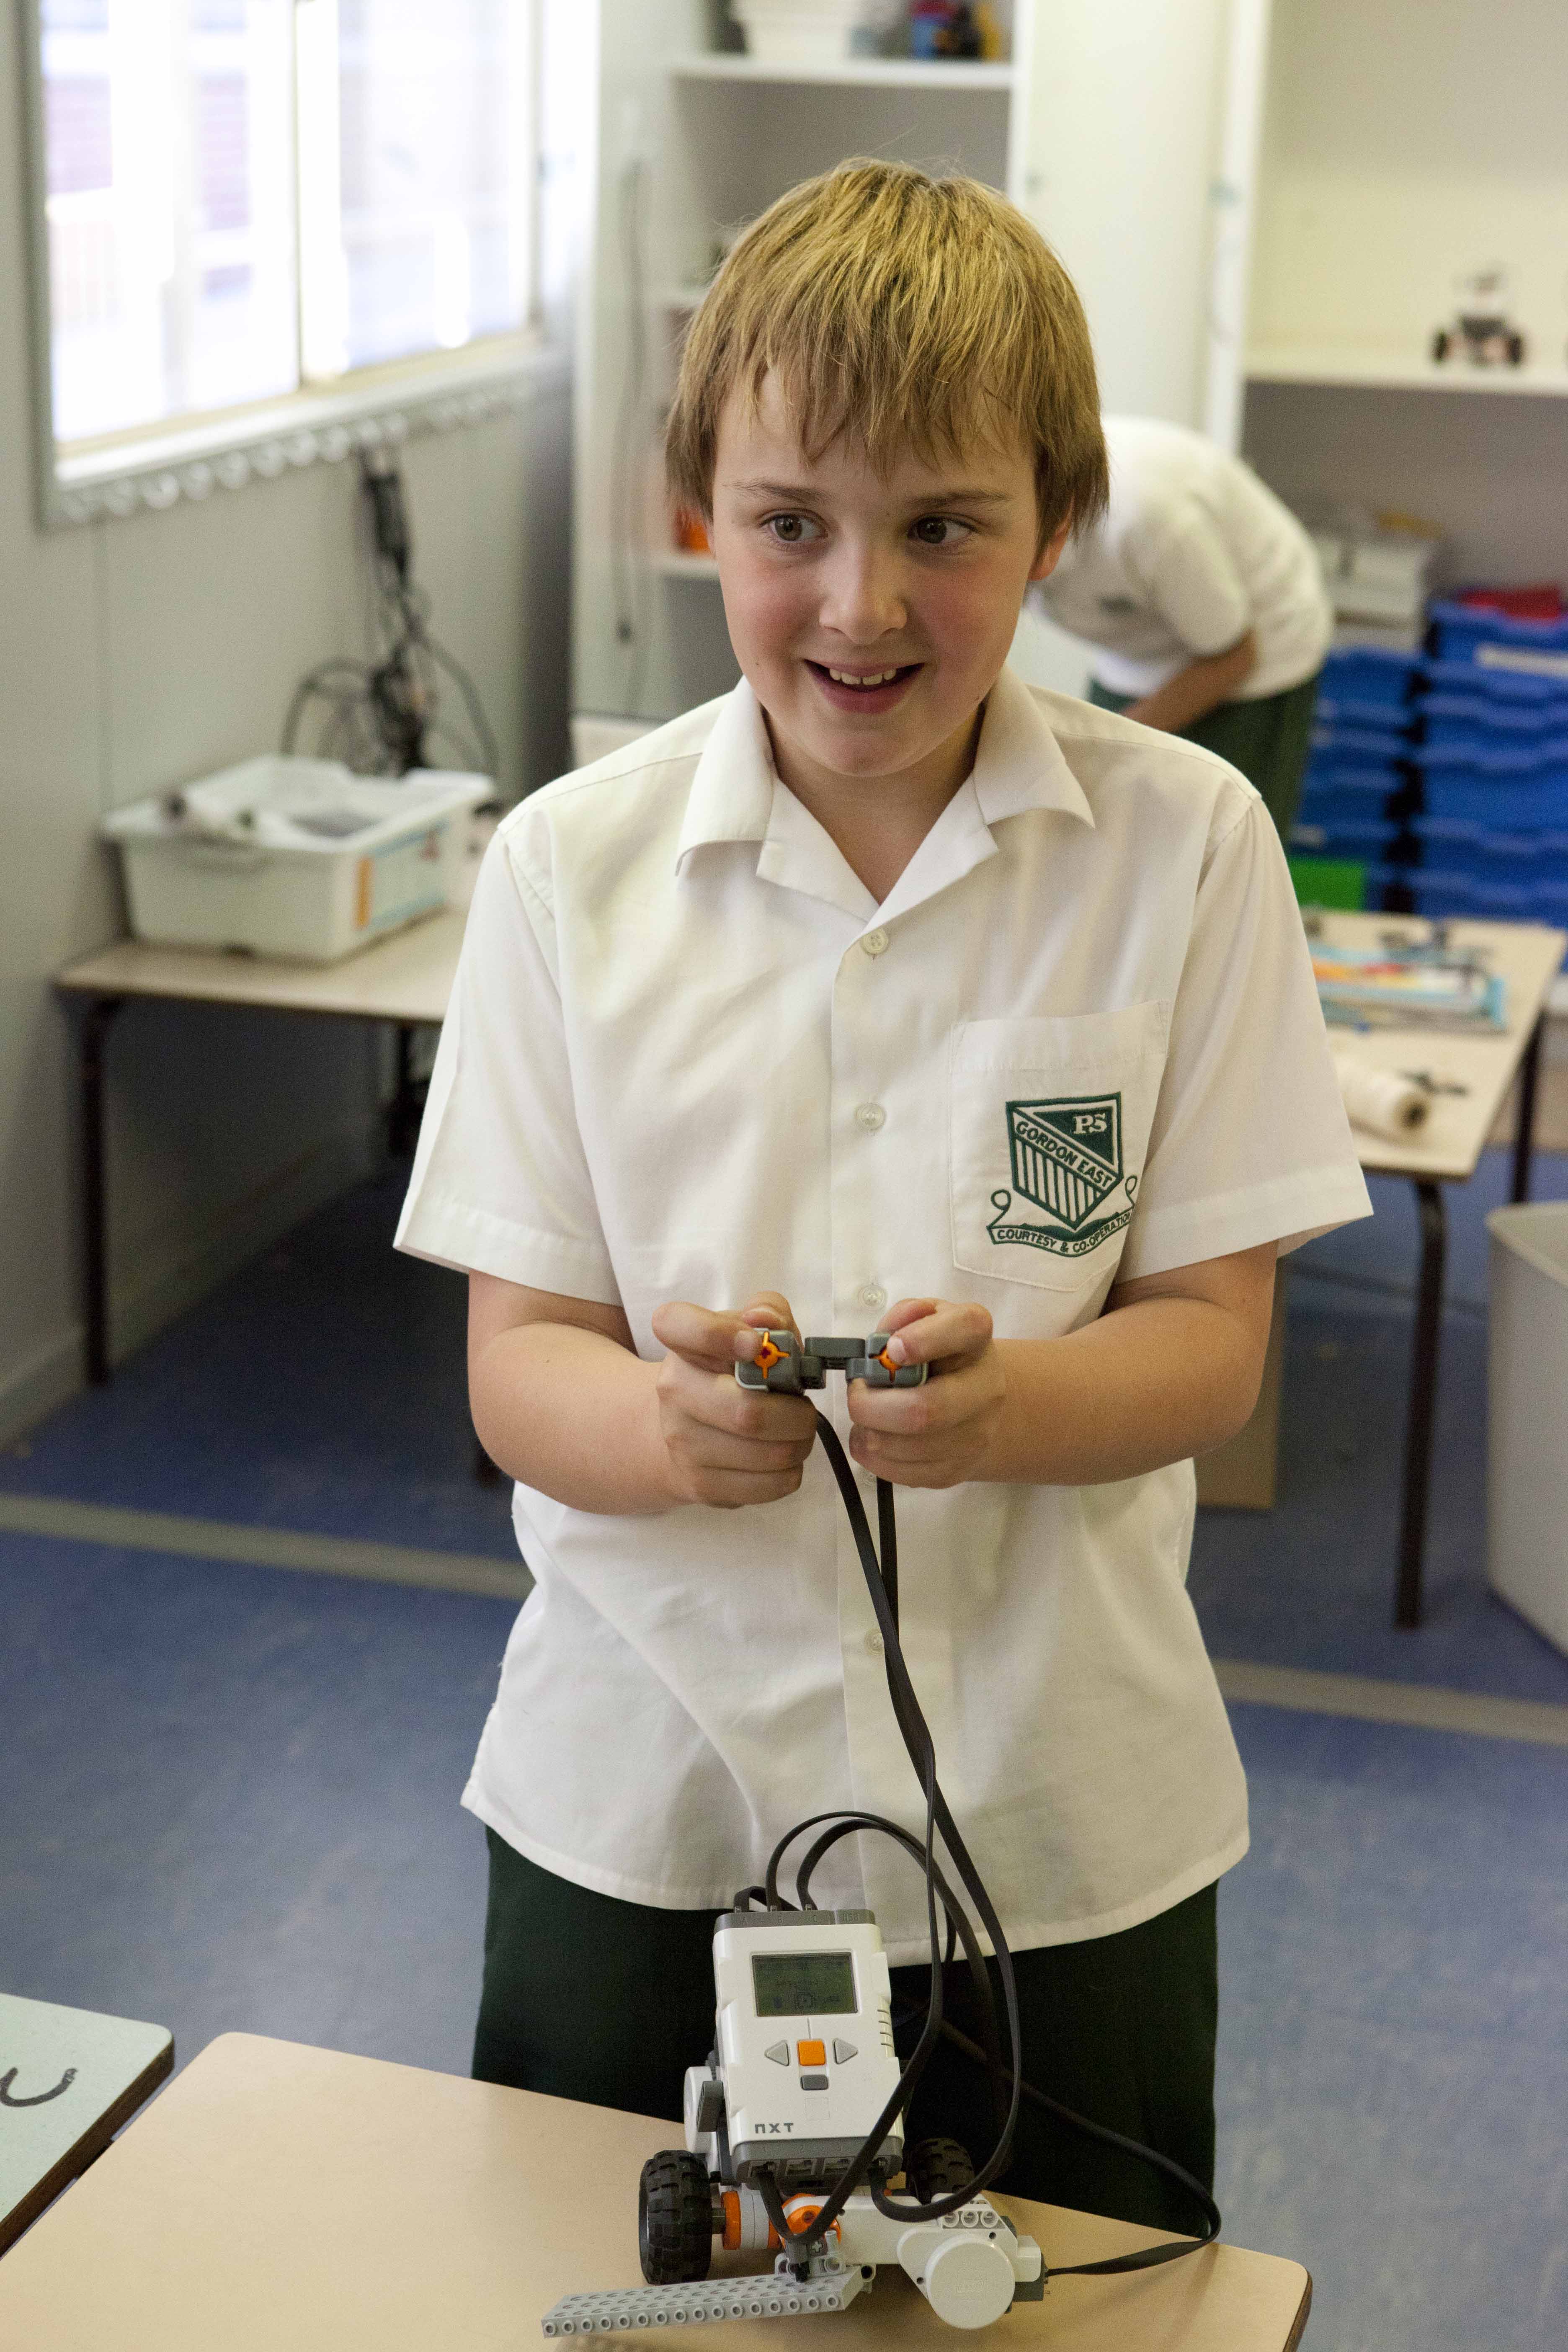
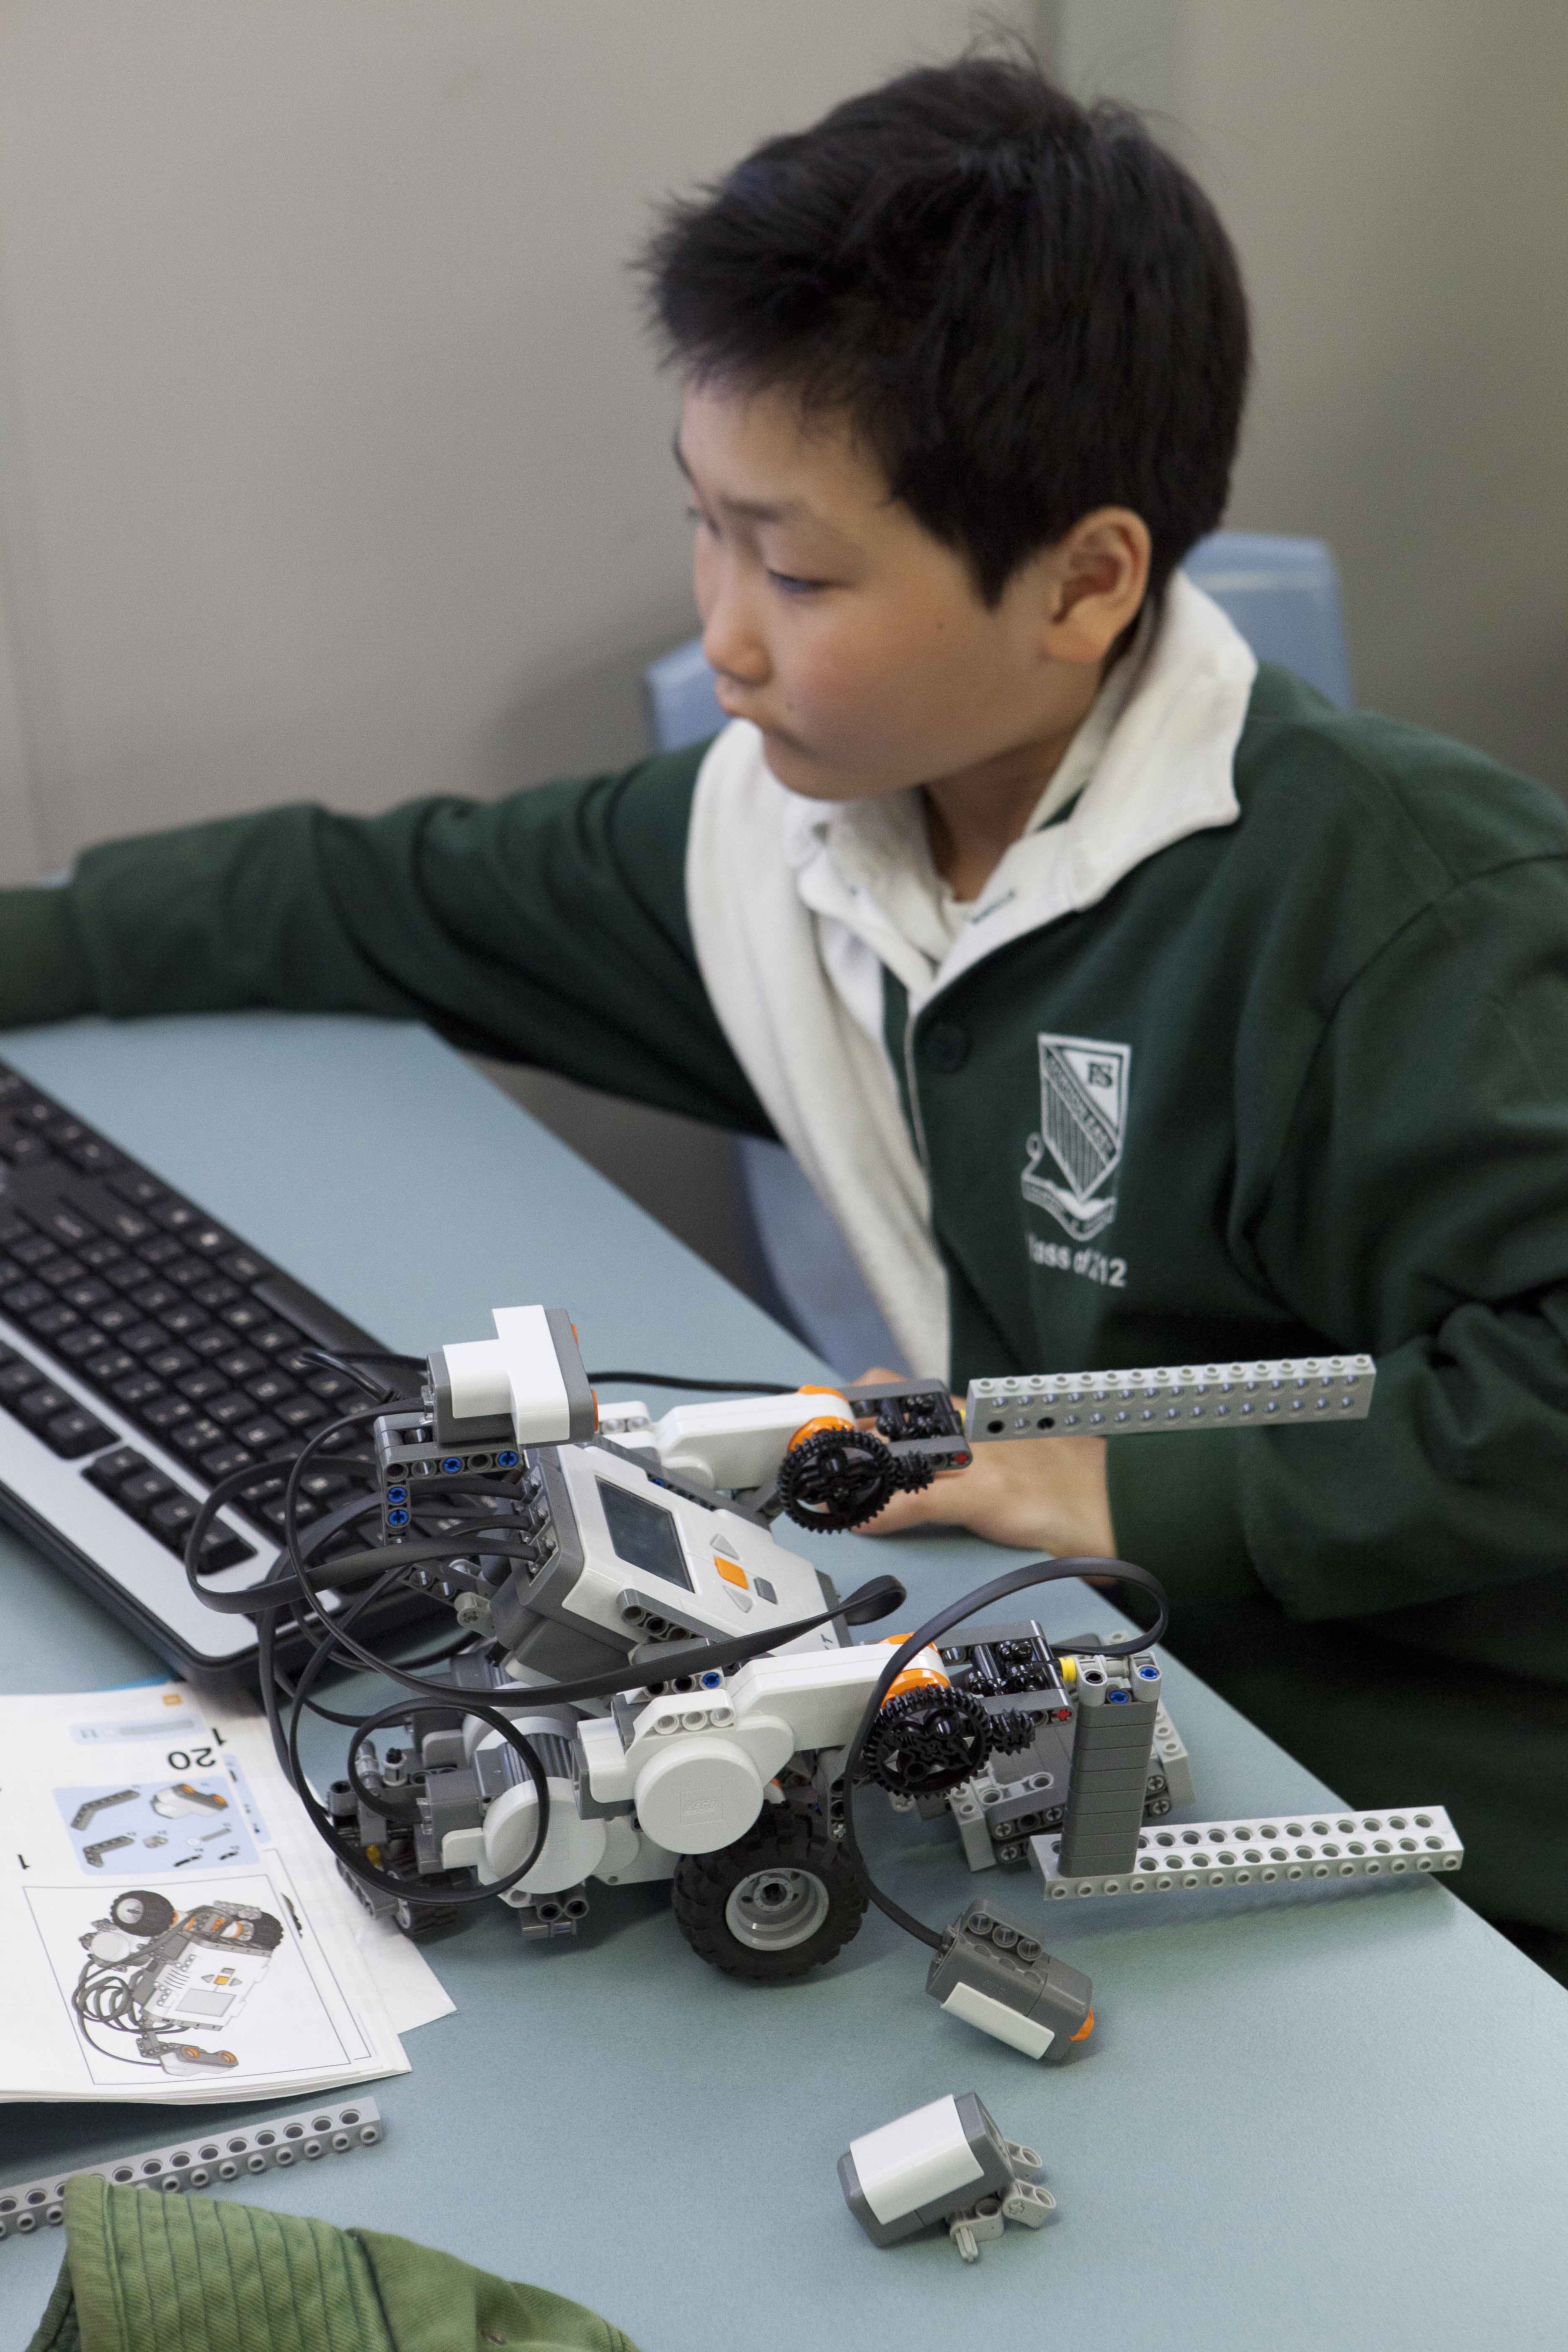
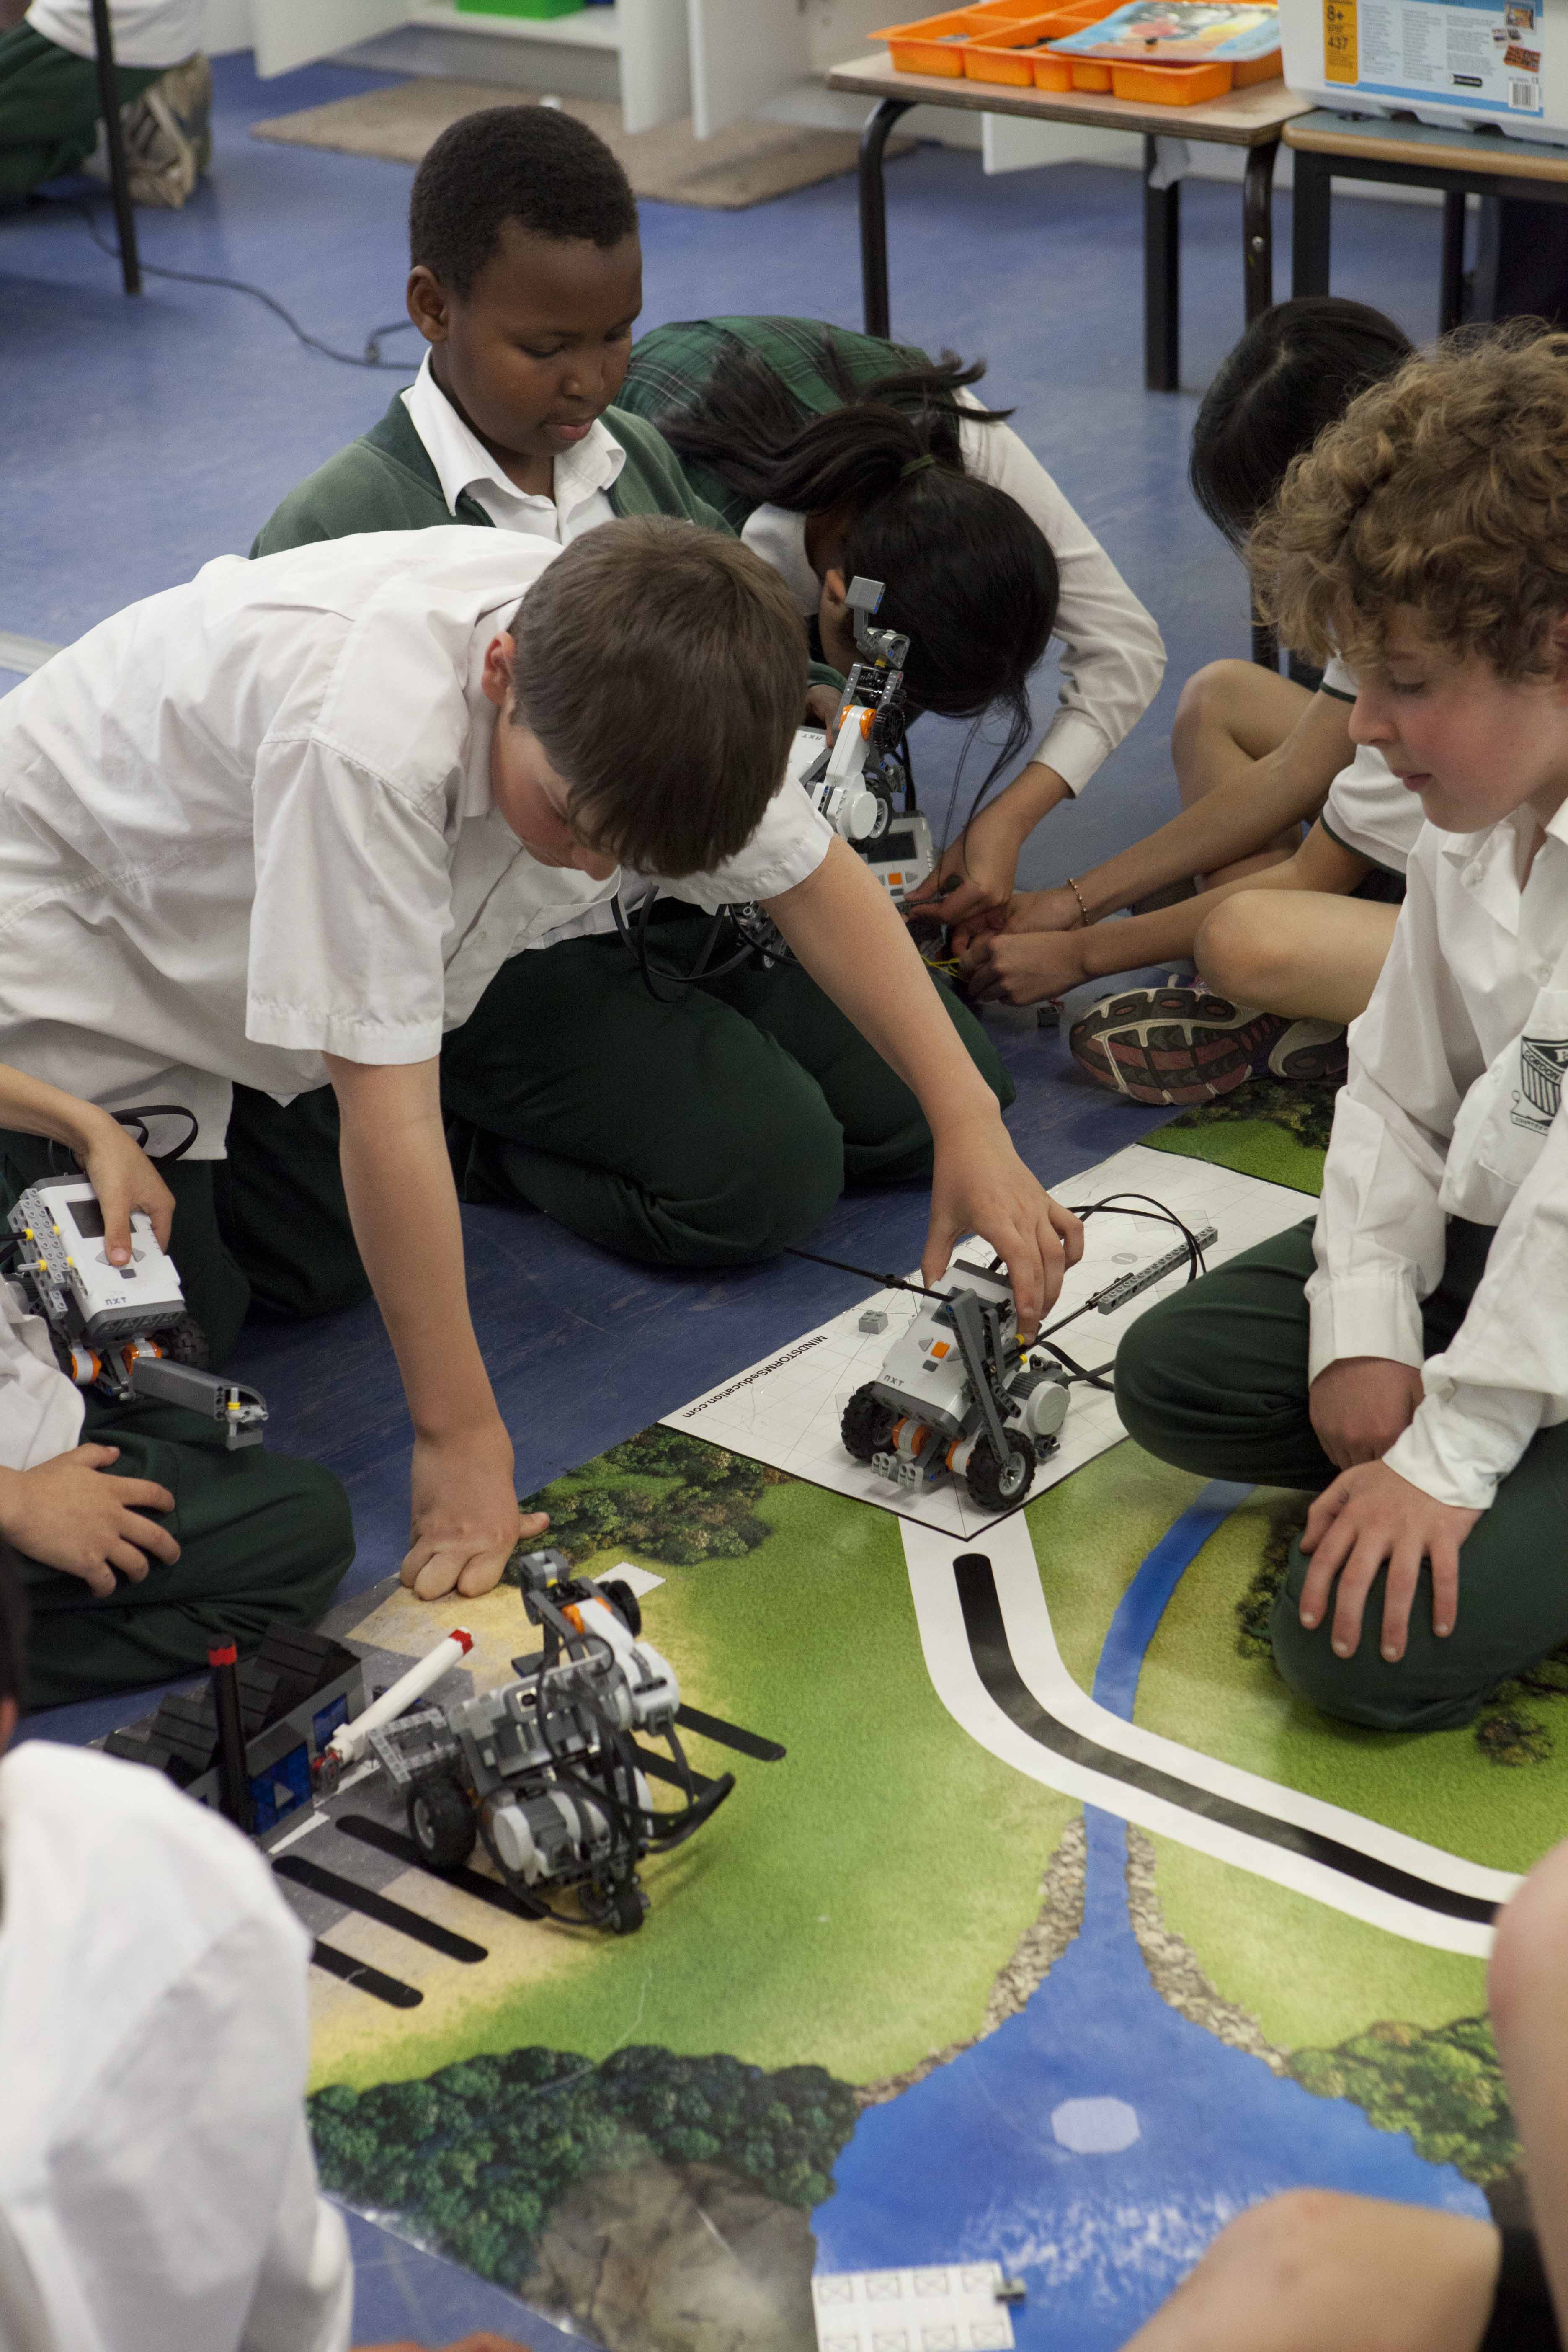
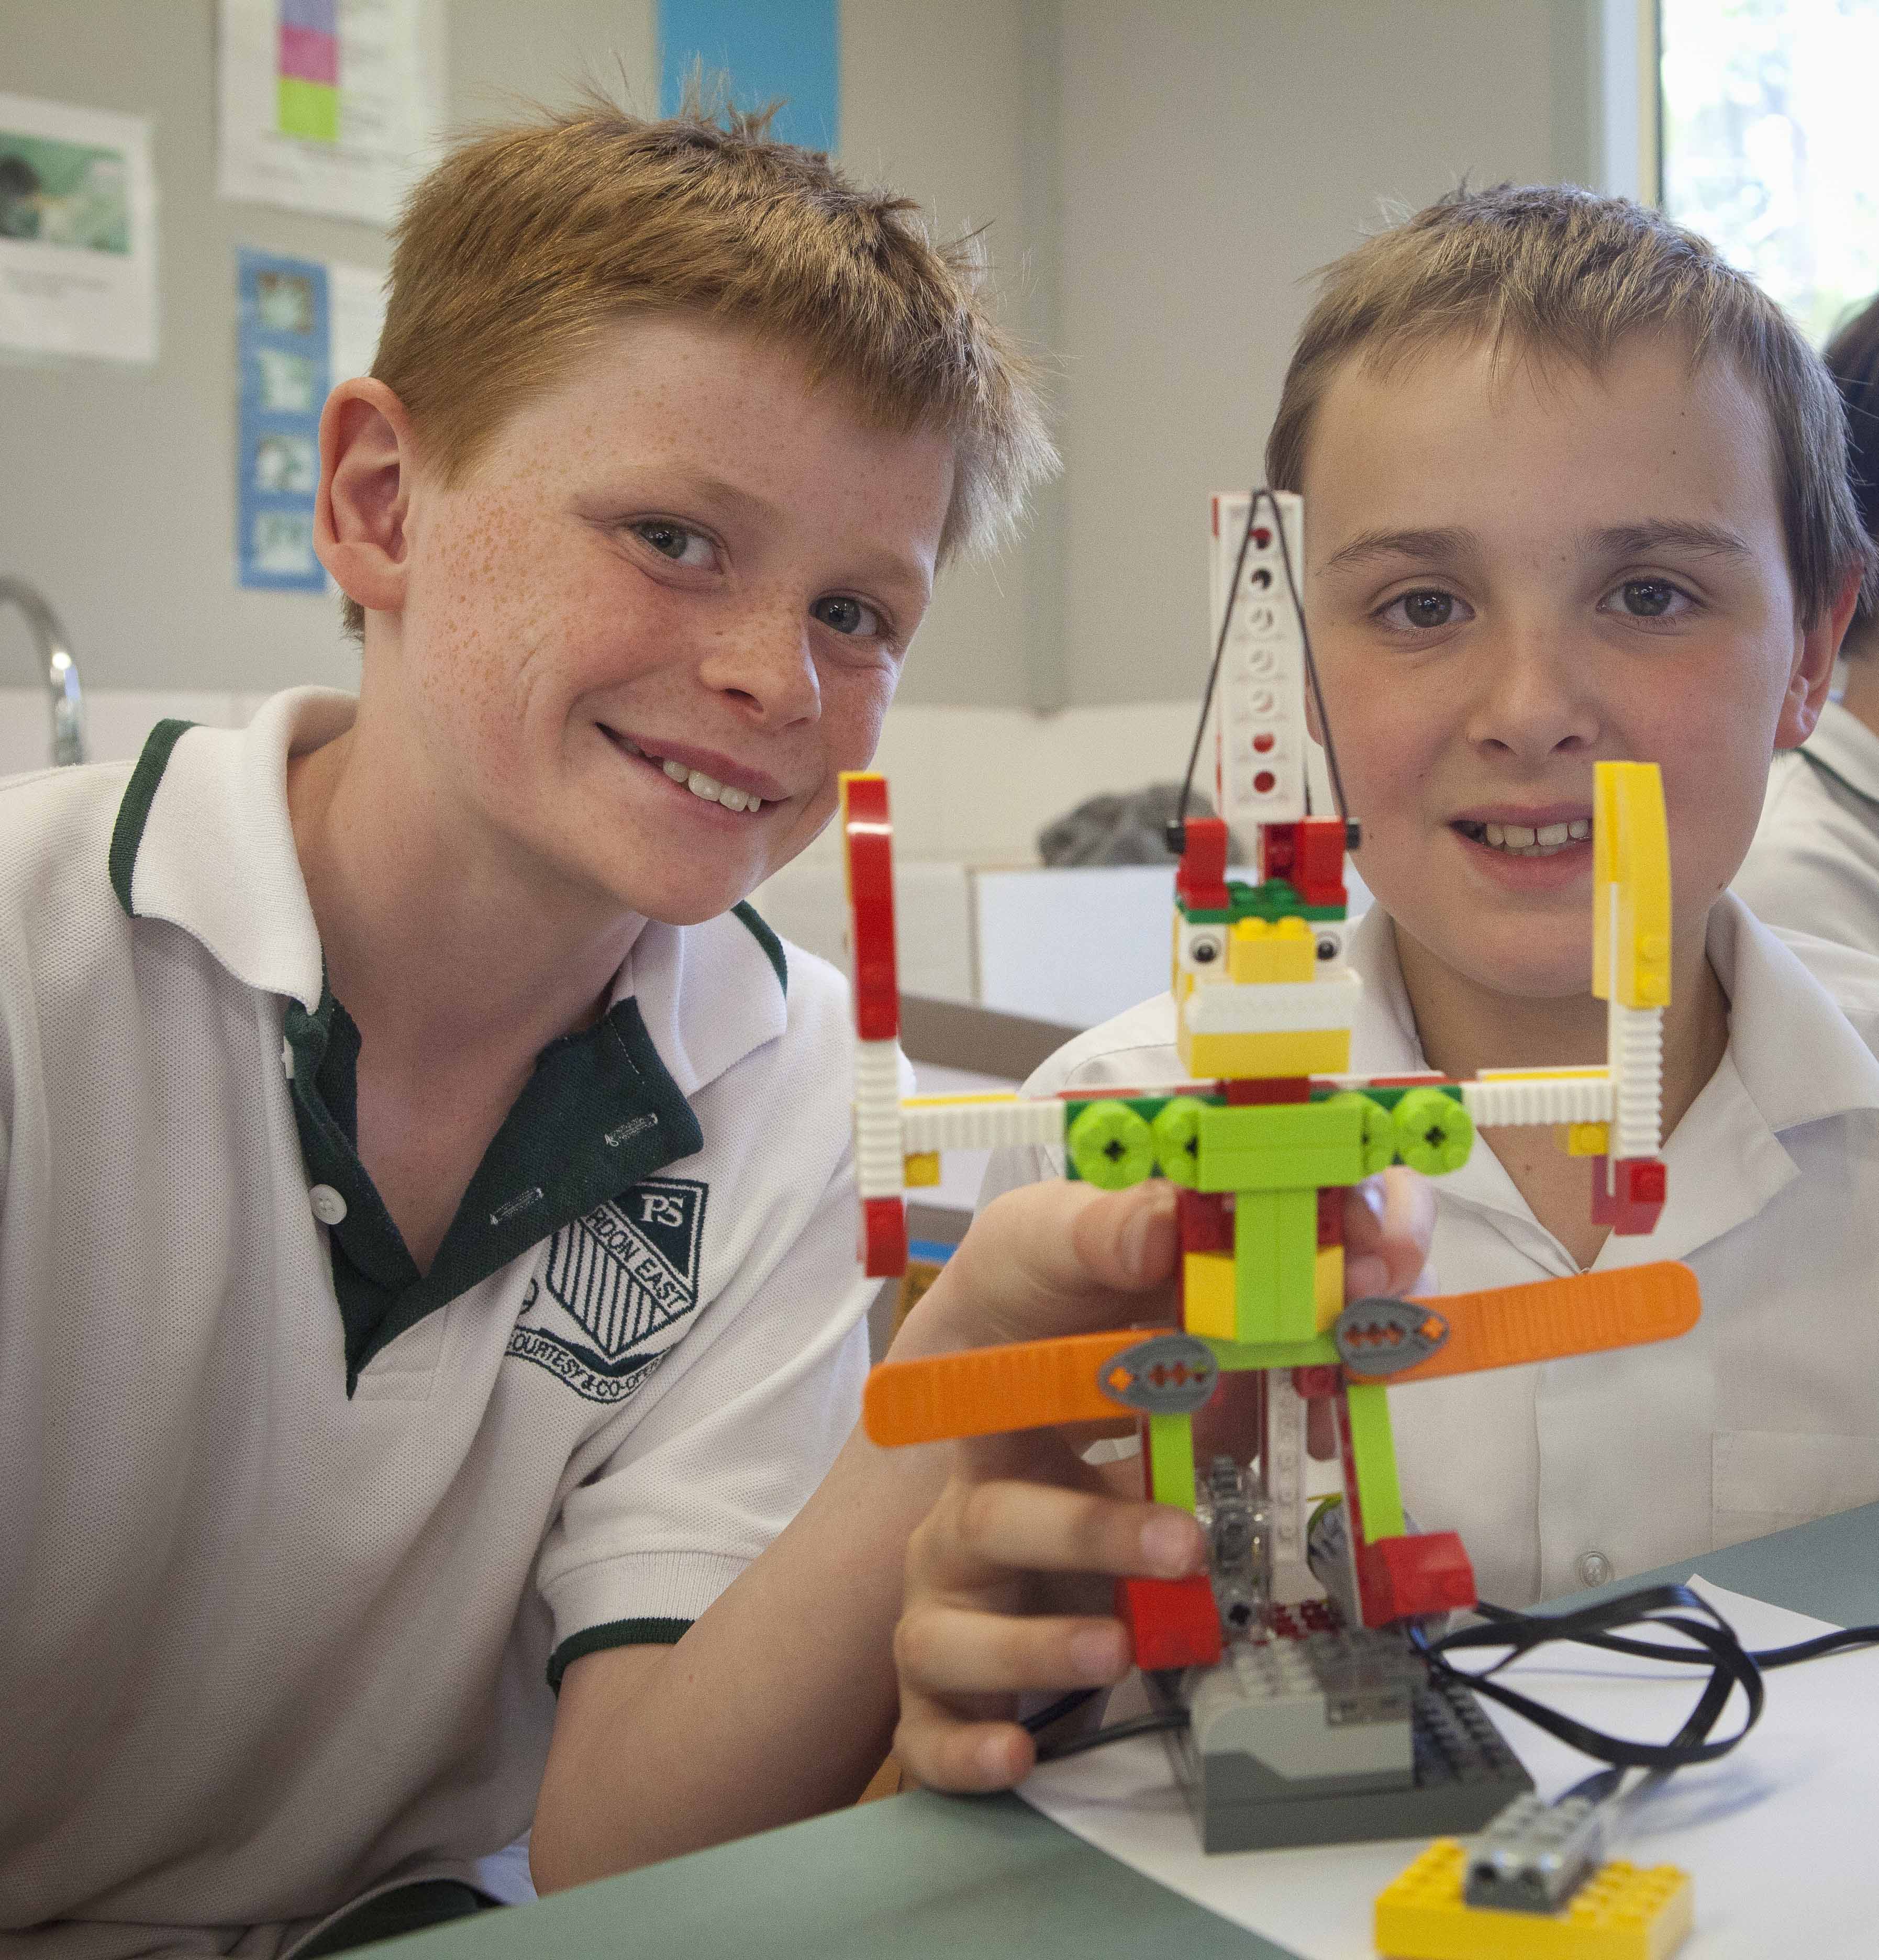
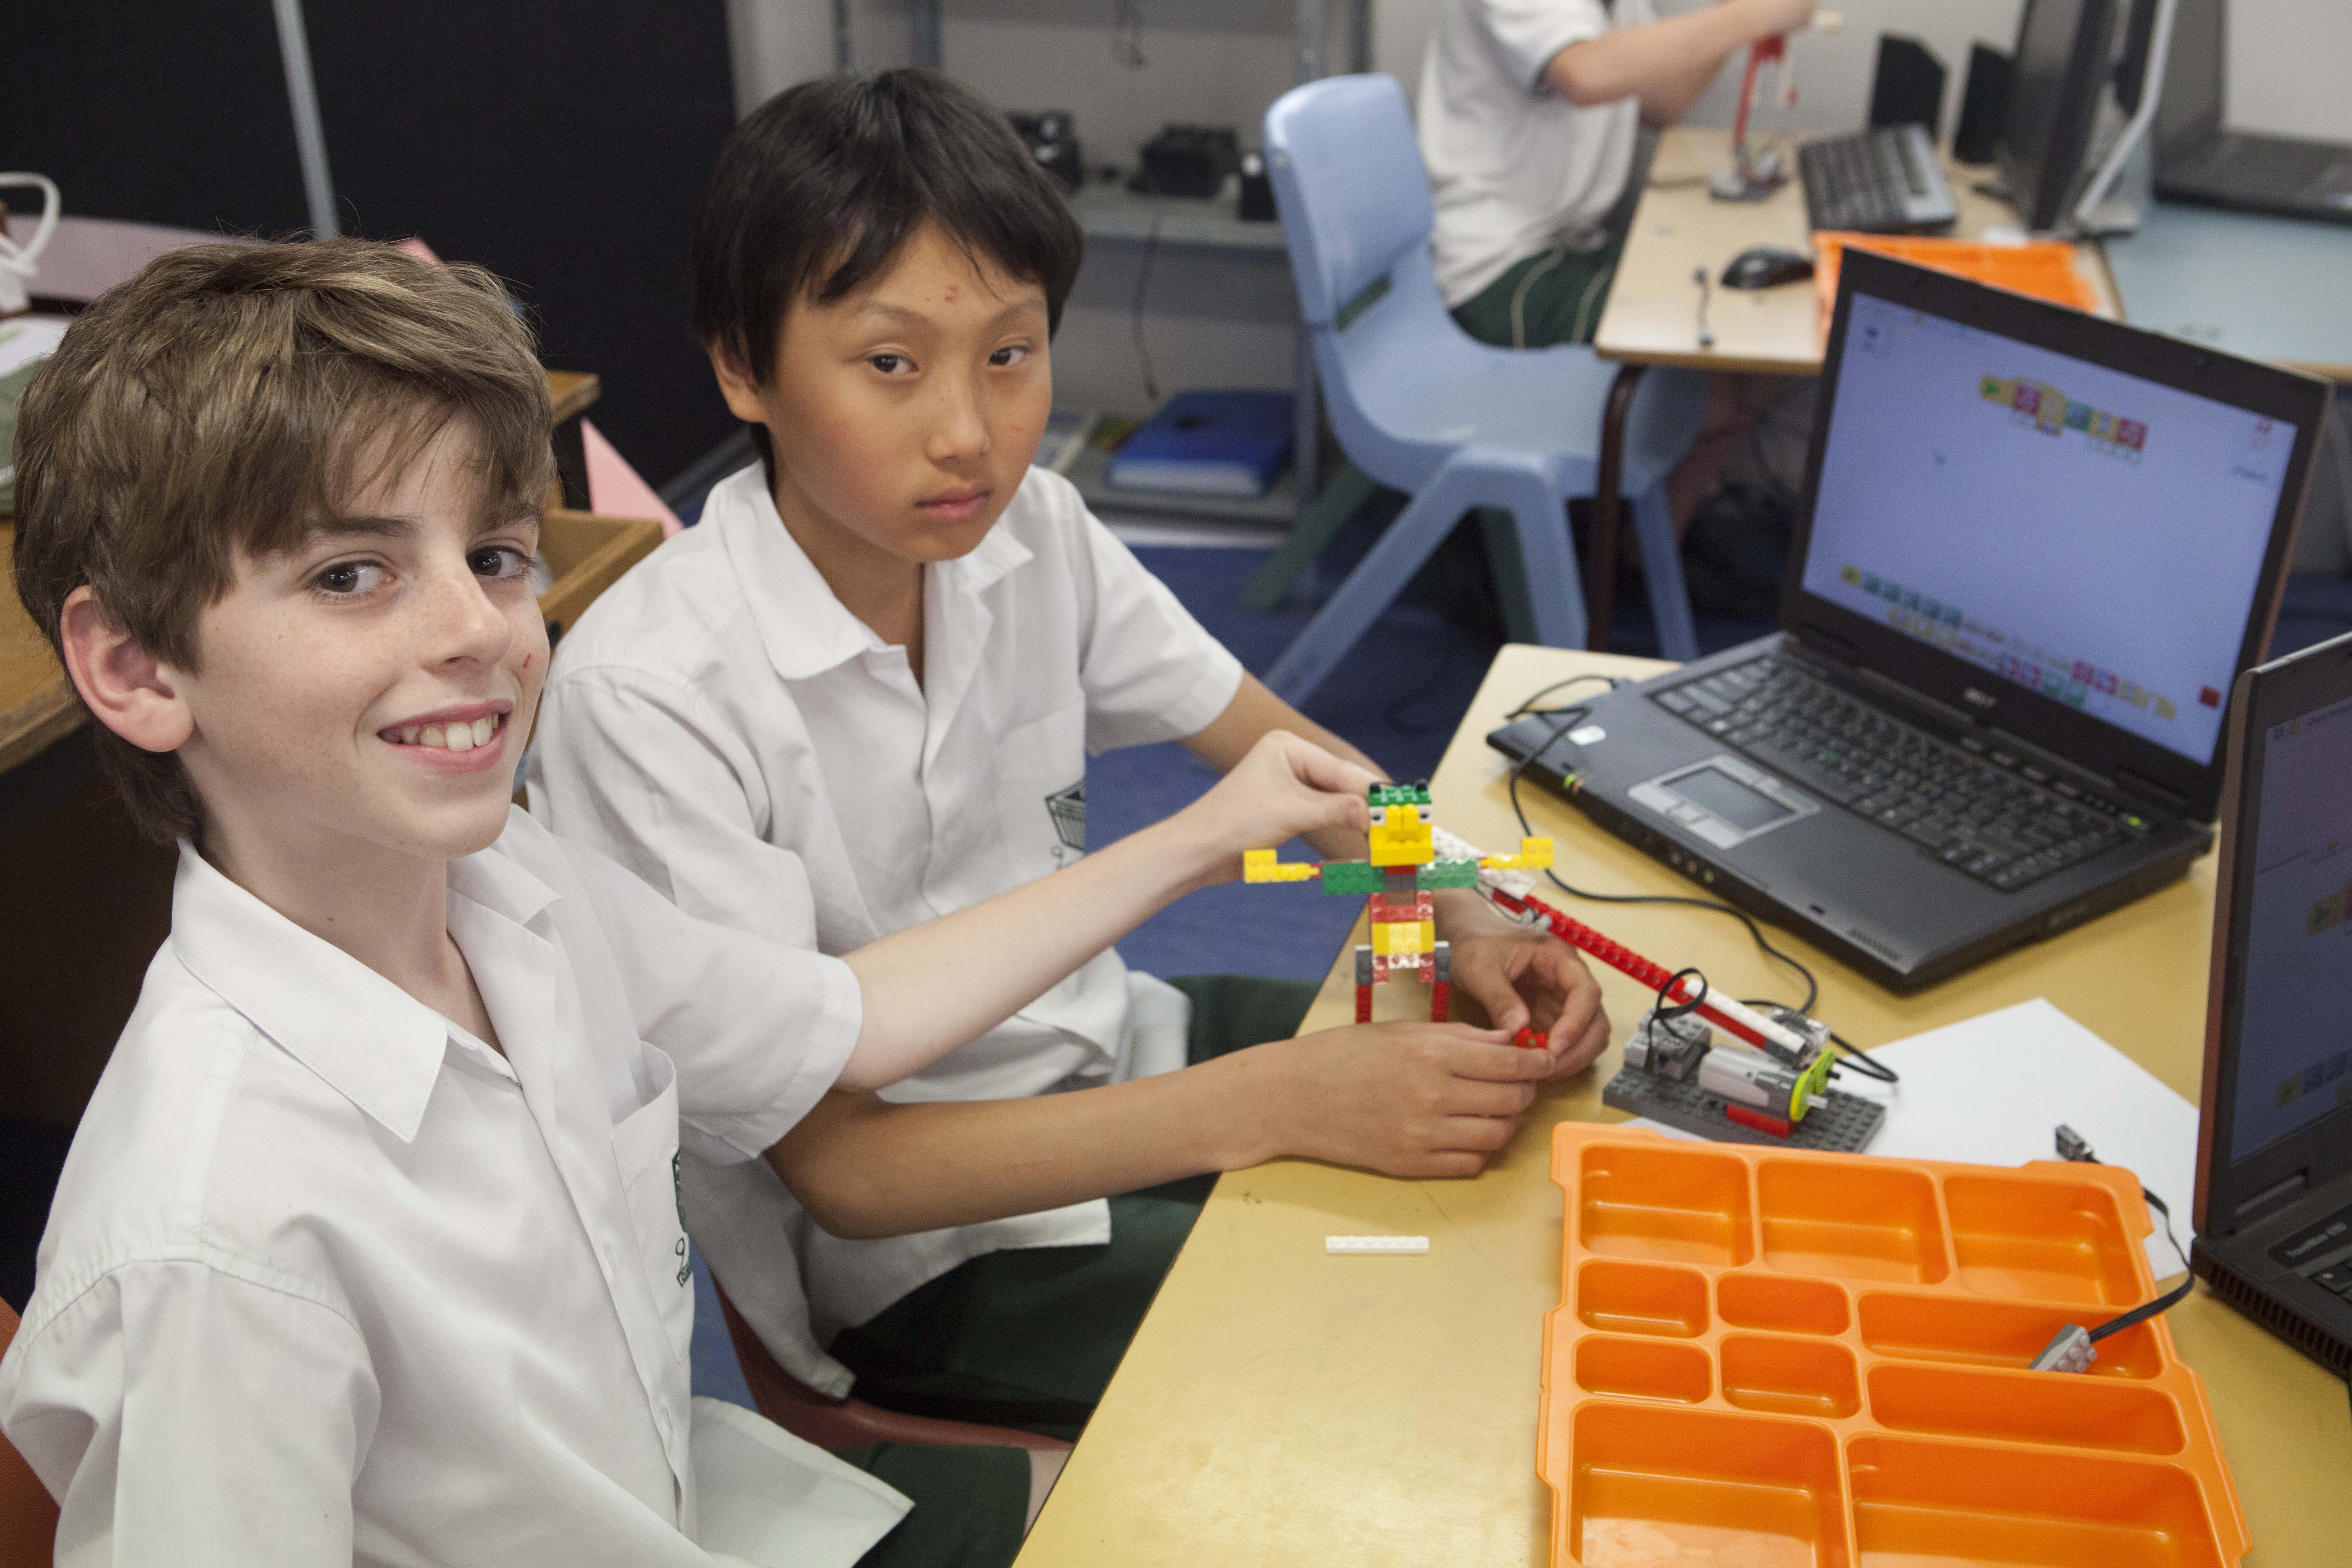
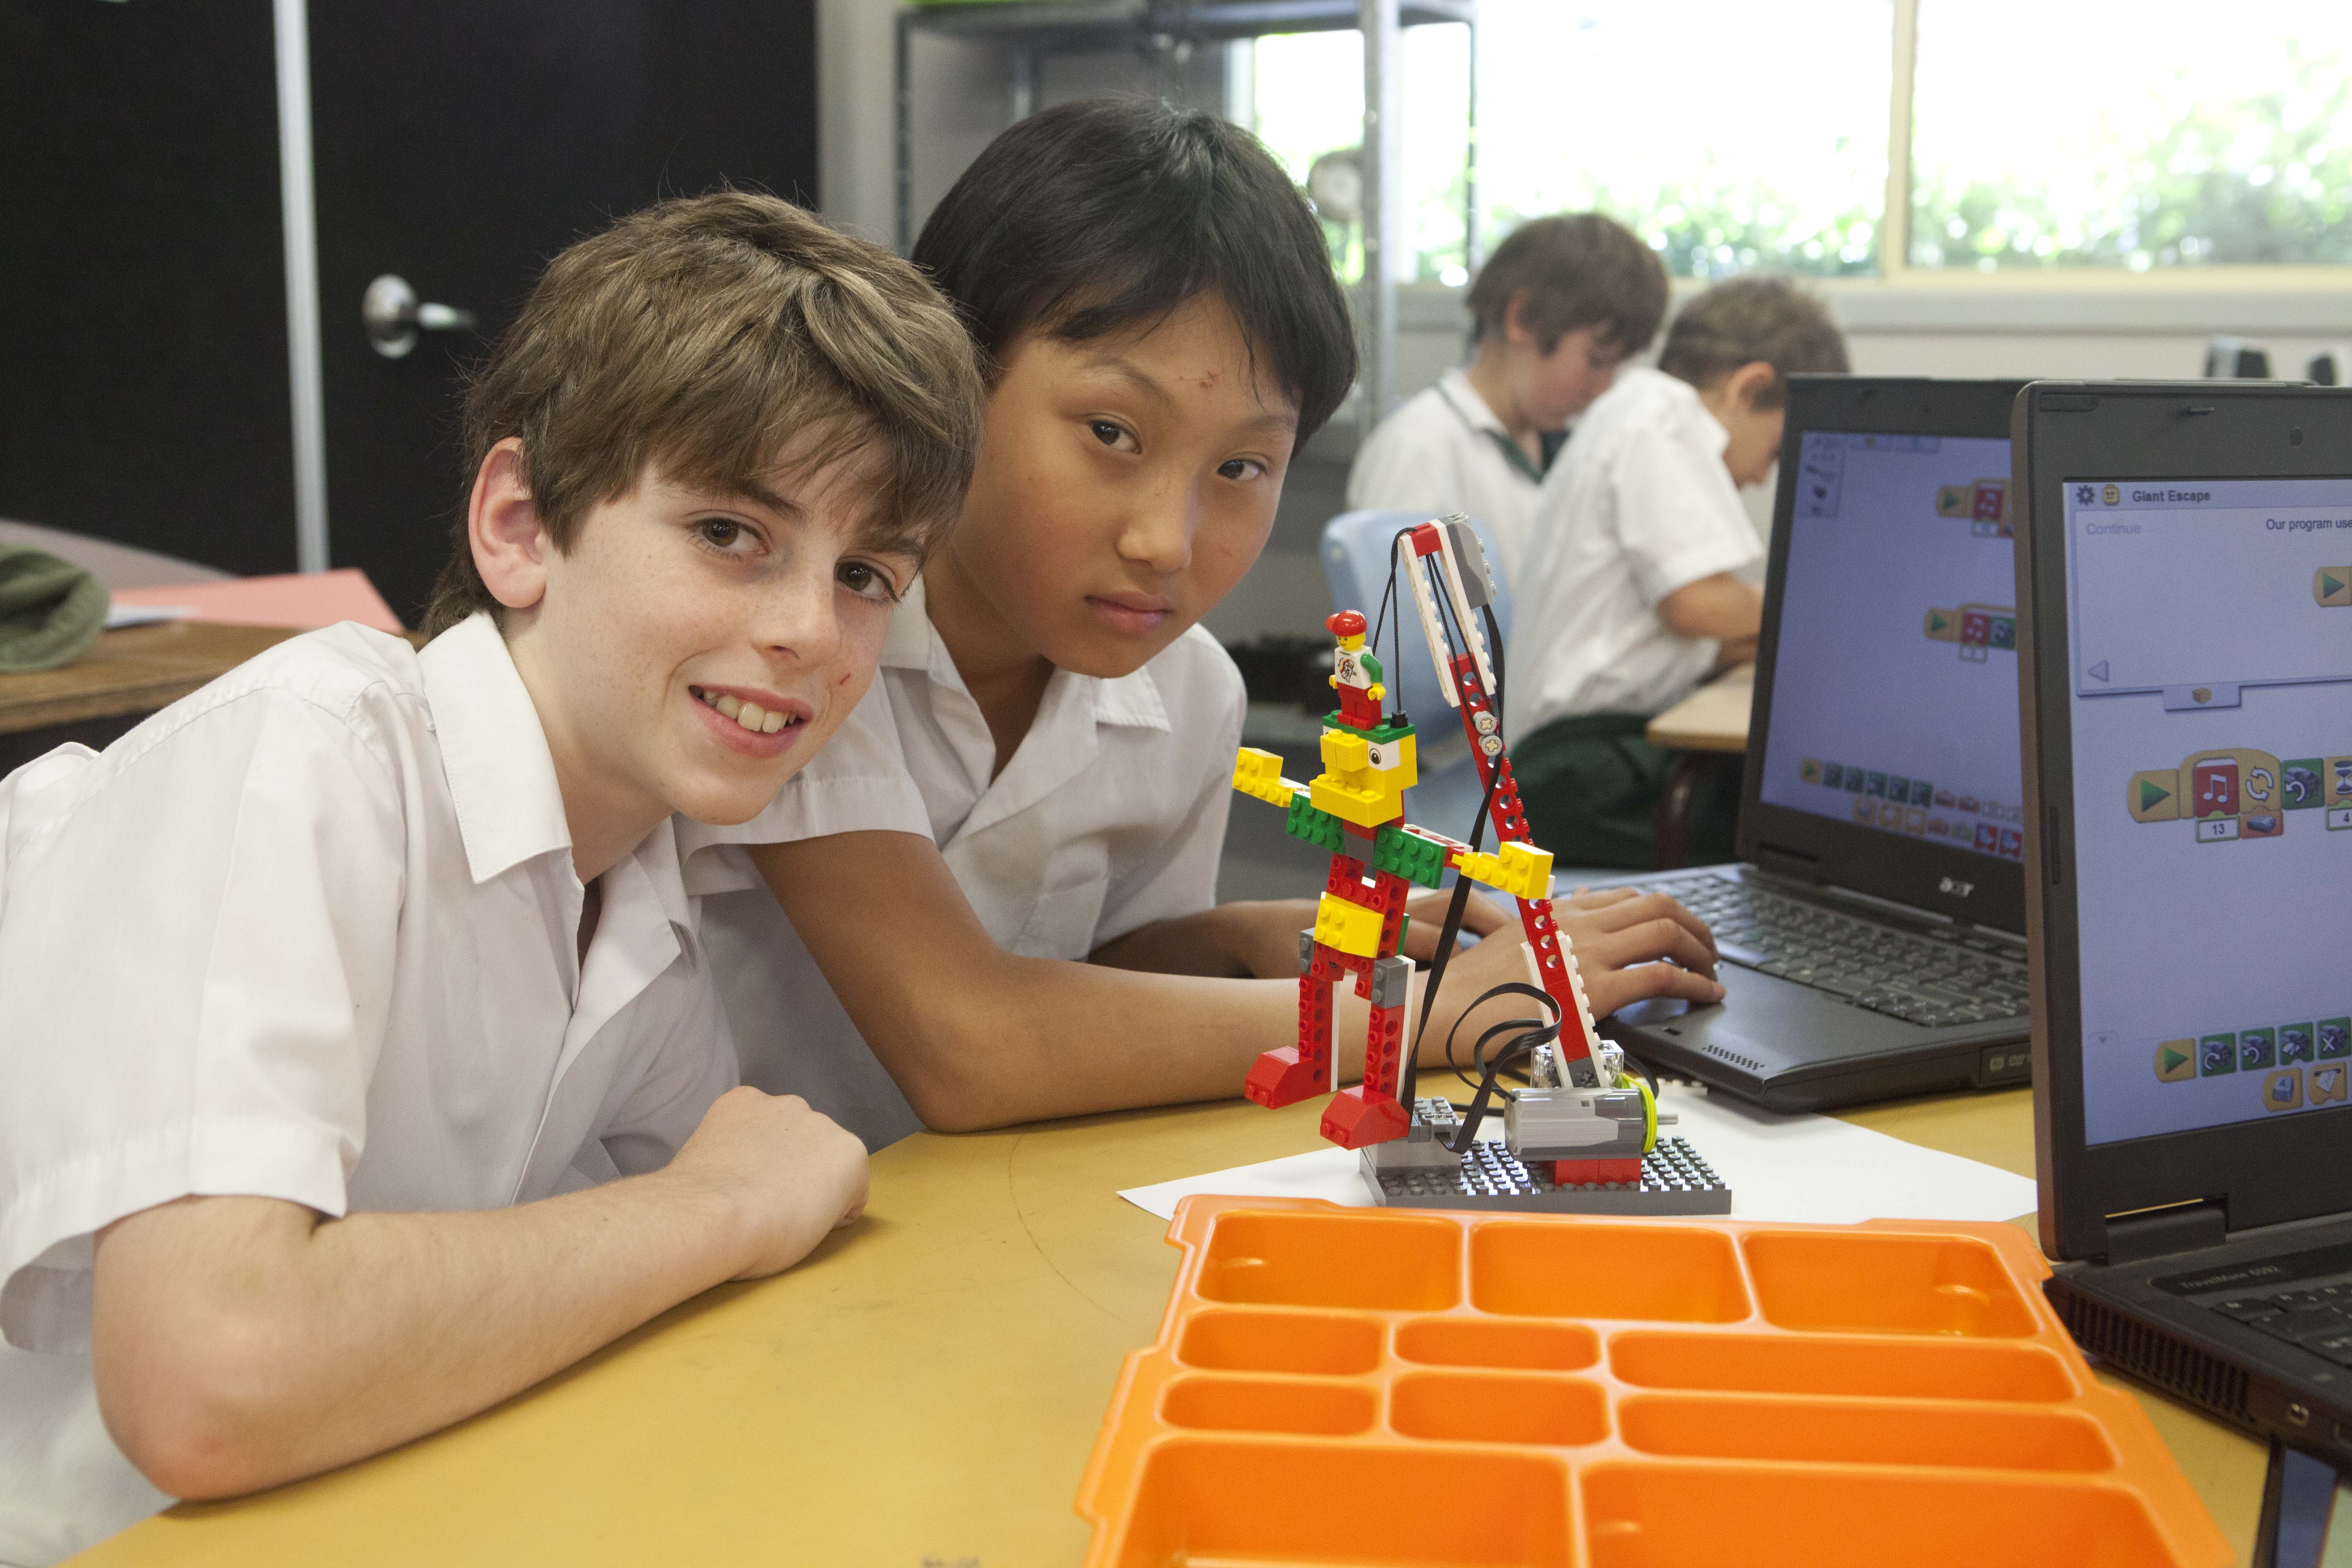
This Year’s 5 and 6 have not used it as they are using the more advanced NXT system.  I wanted them to have just a little taste of the’ We Do’ so I set them an advanced challenge and saw what they came up with.

Have a look for yourself.

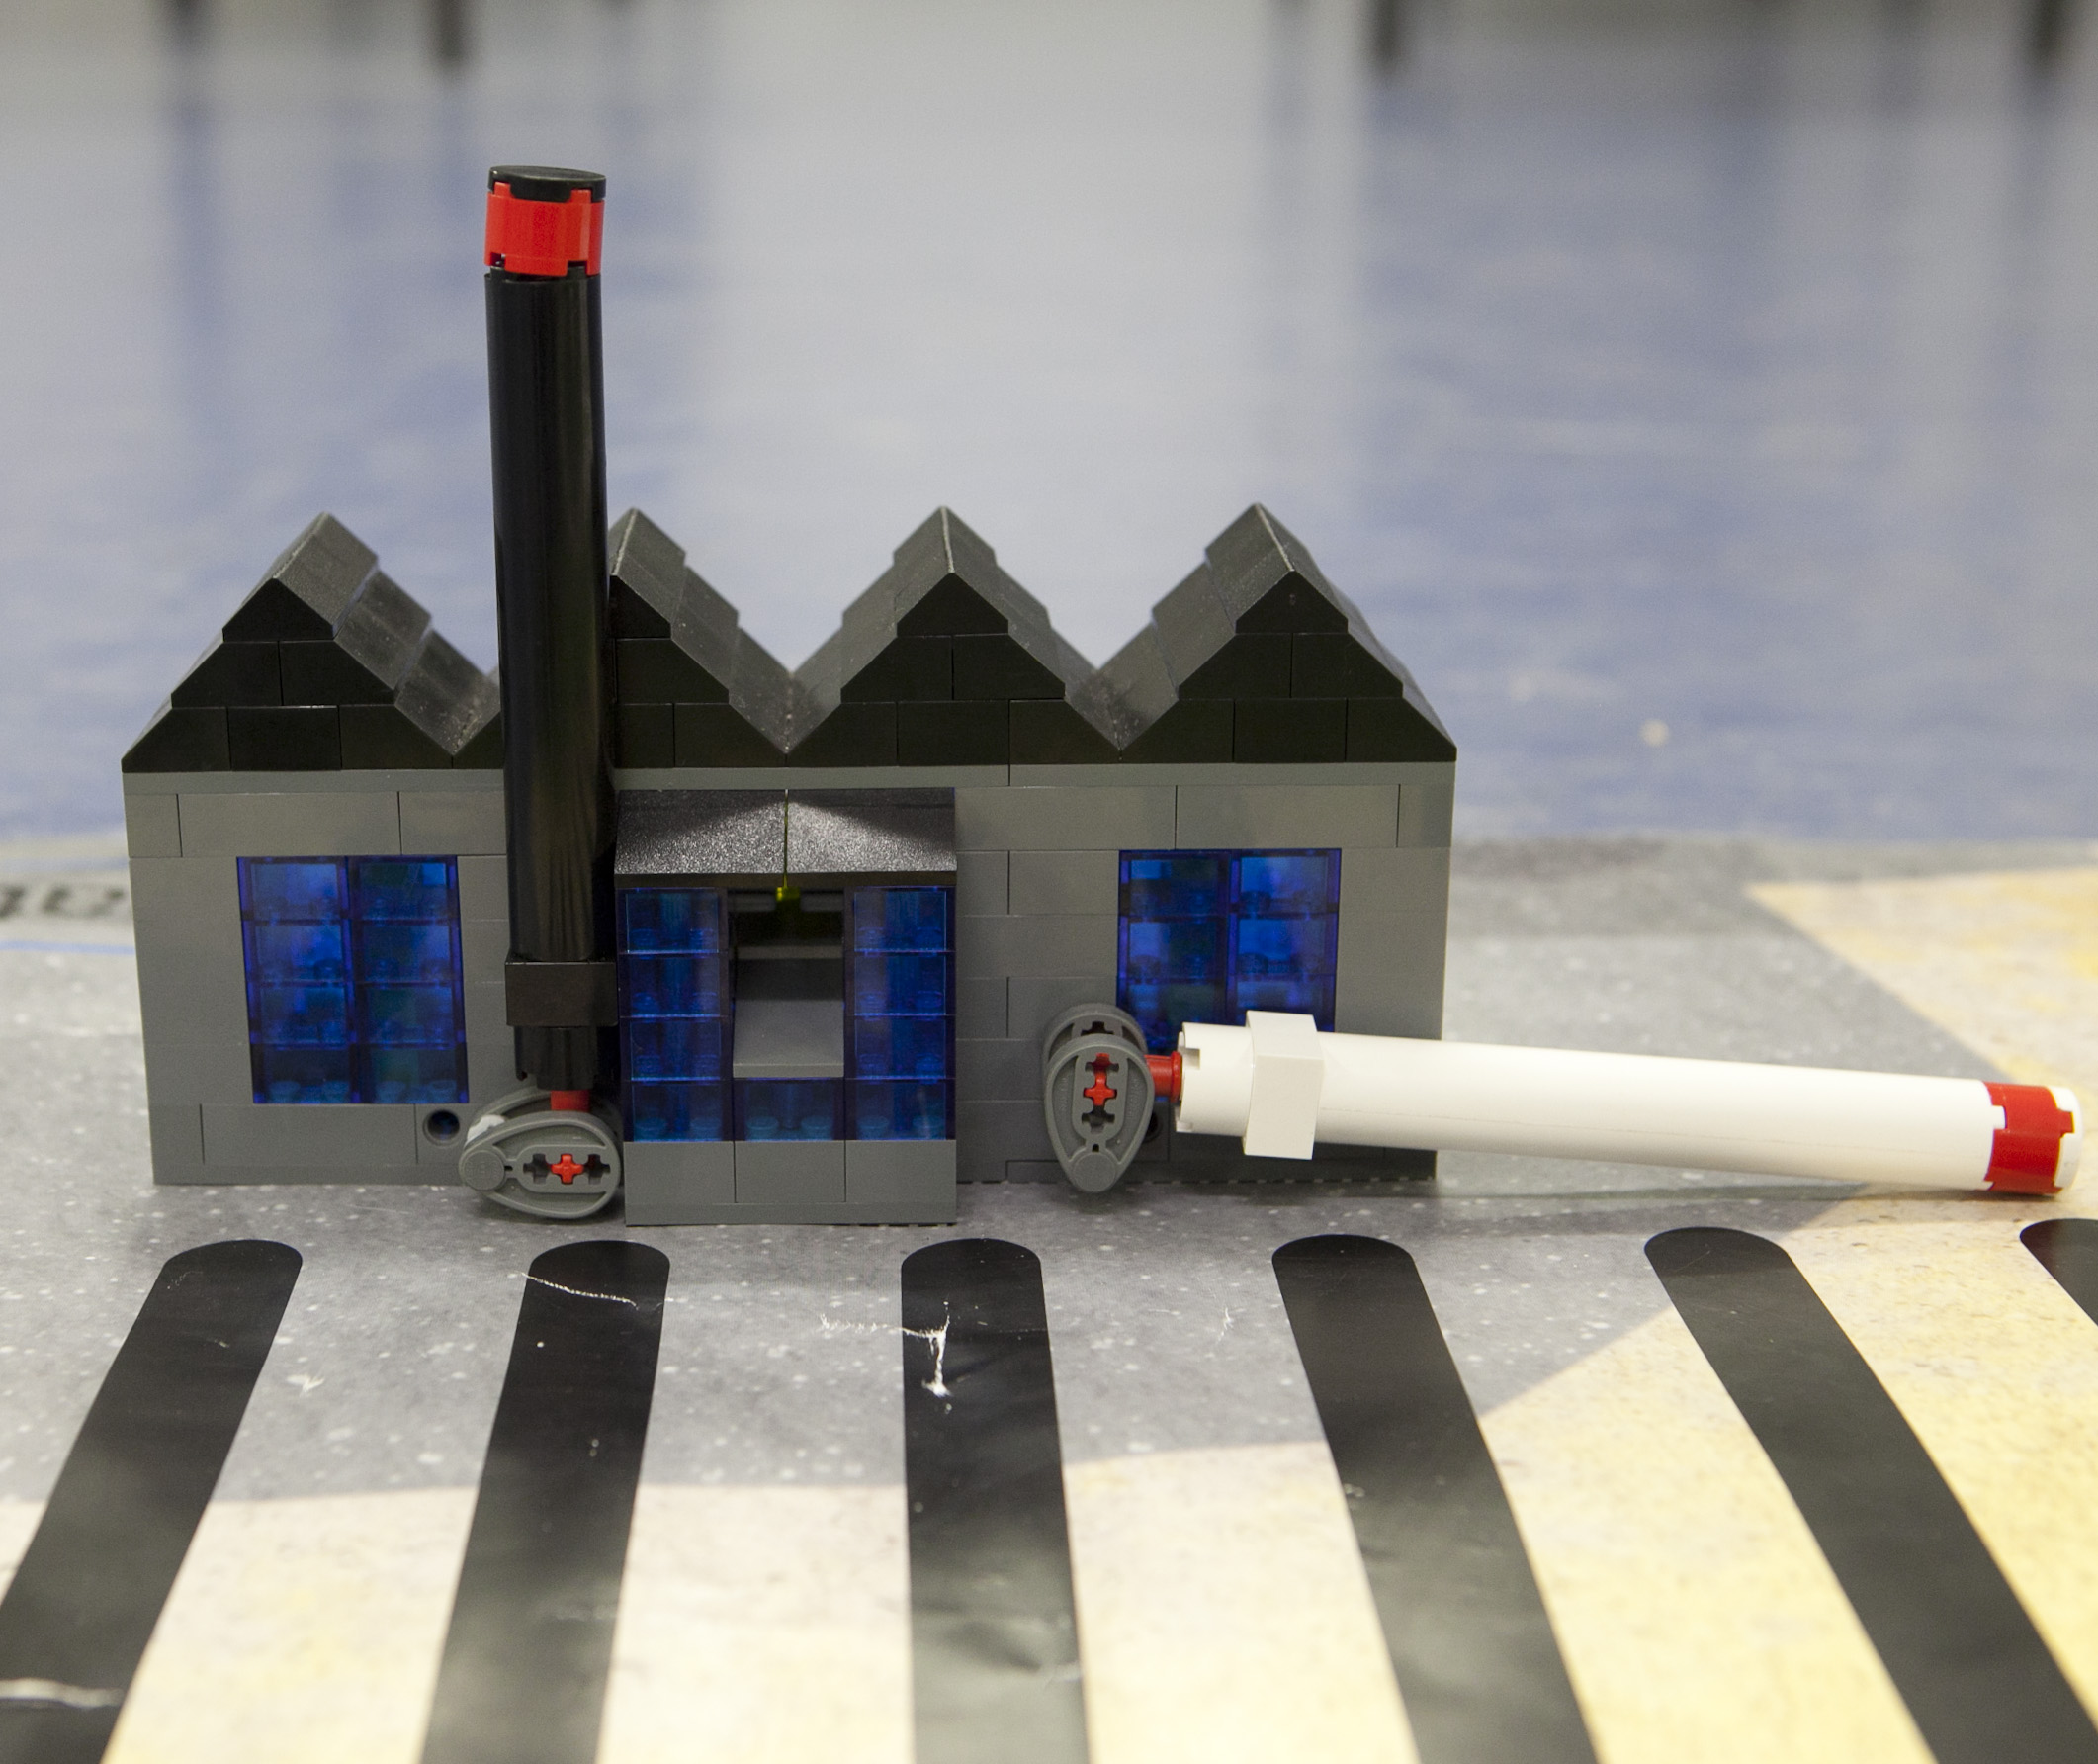
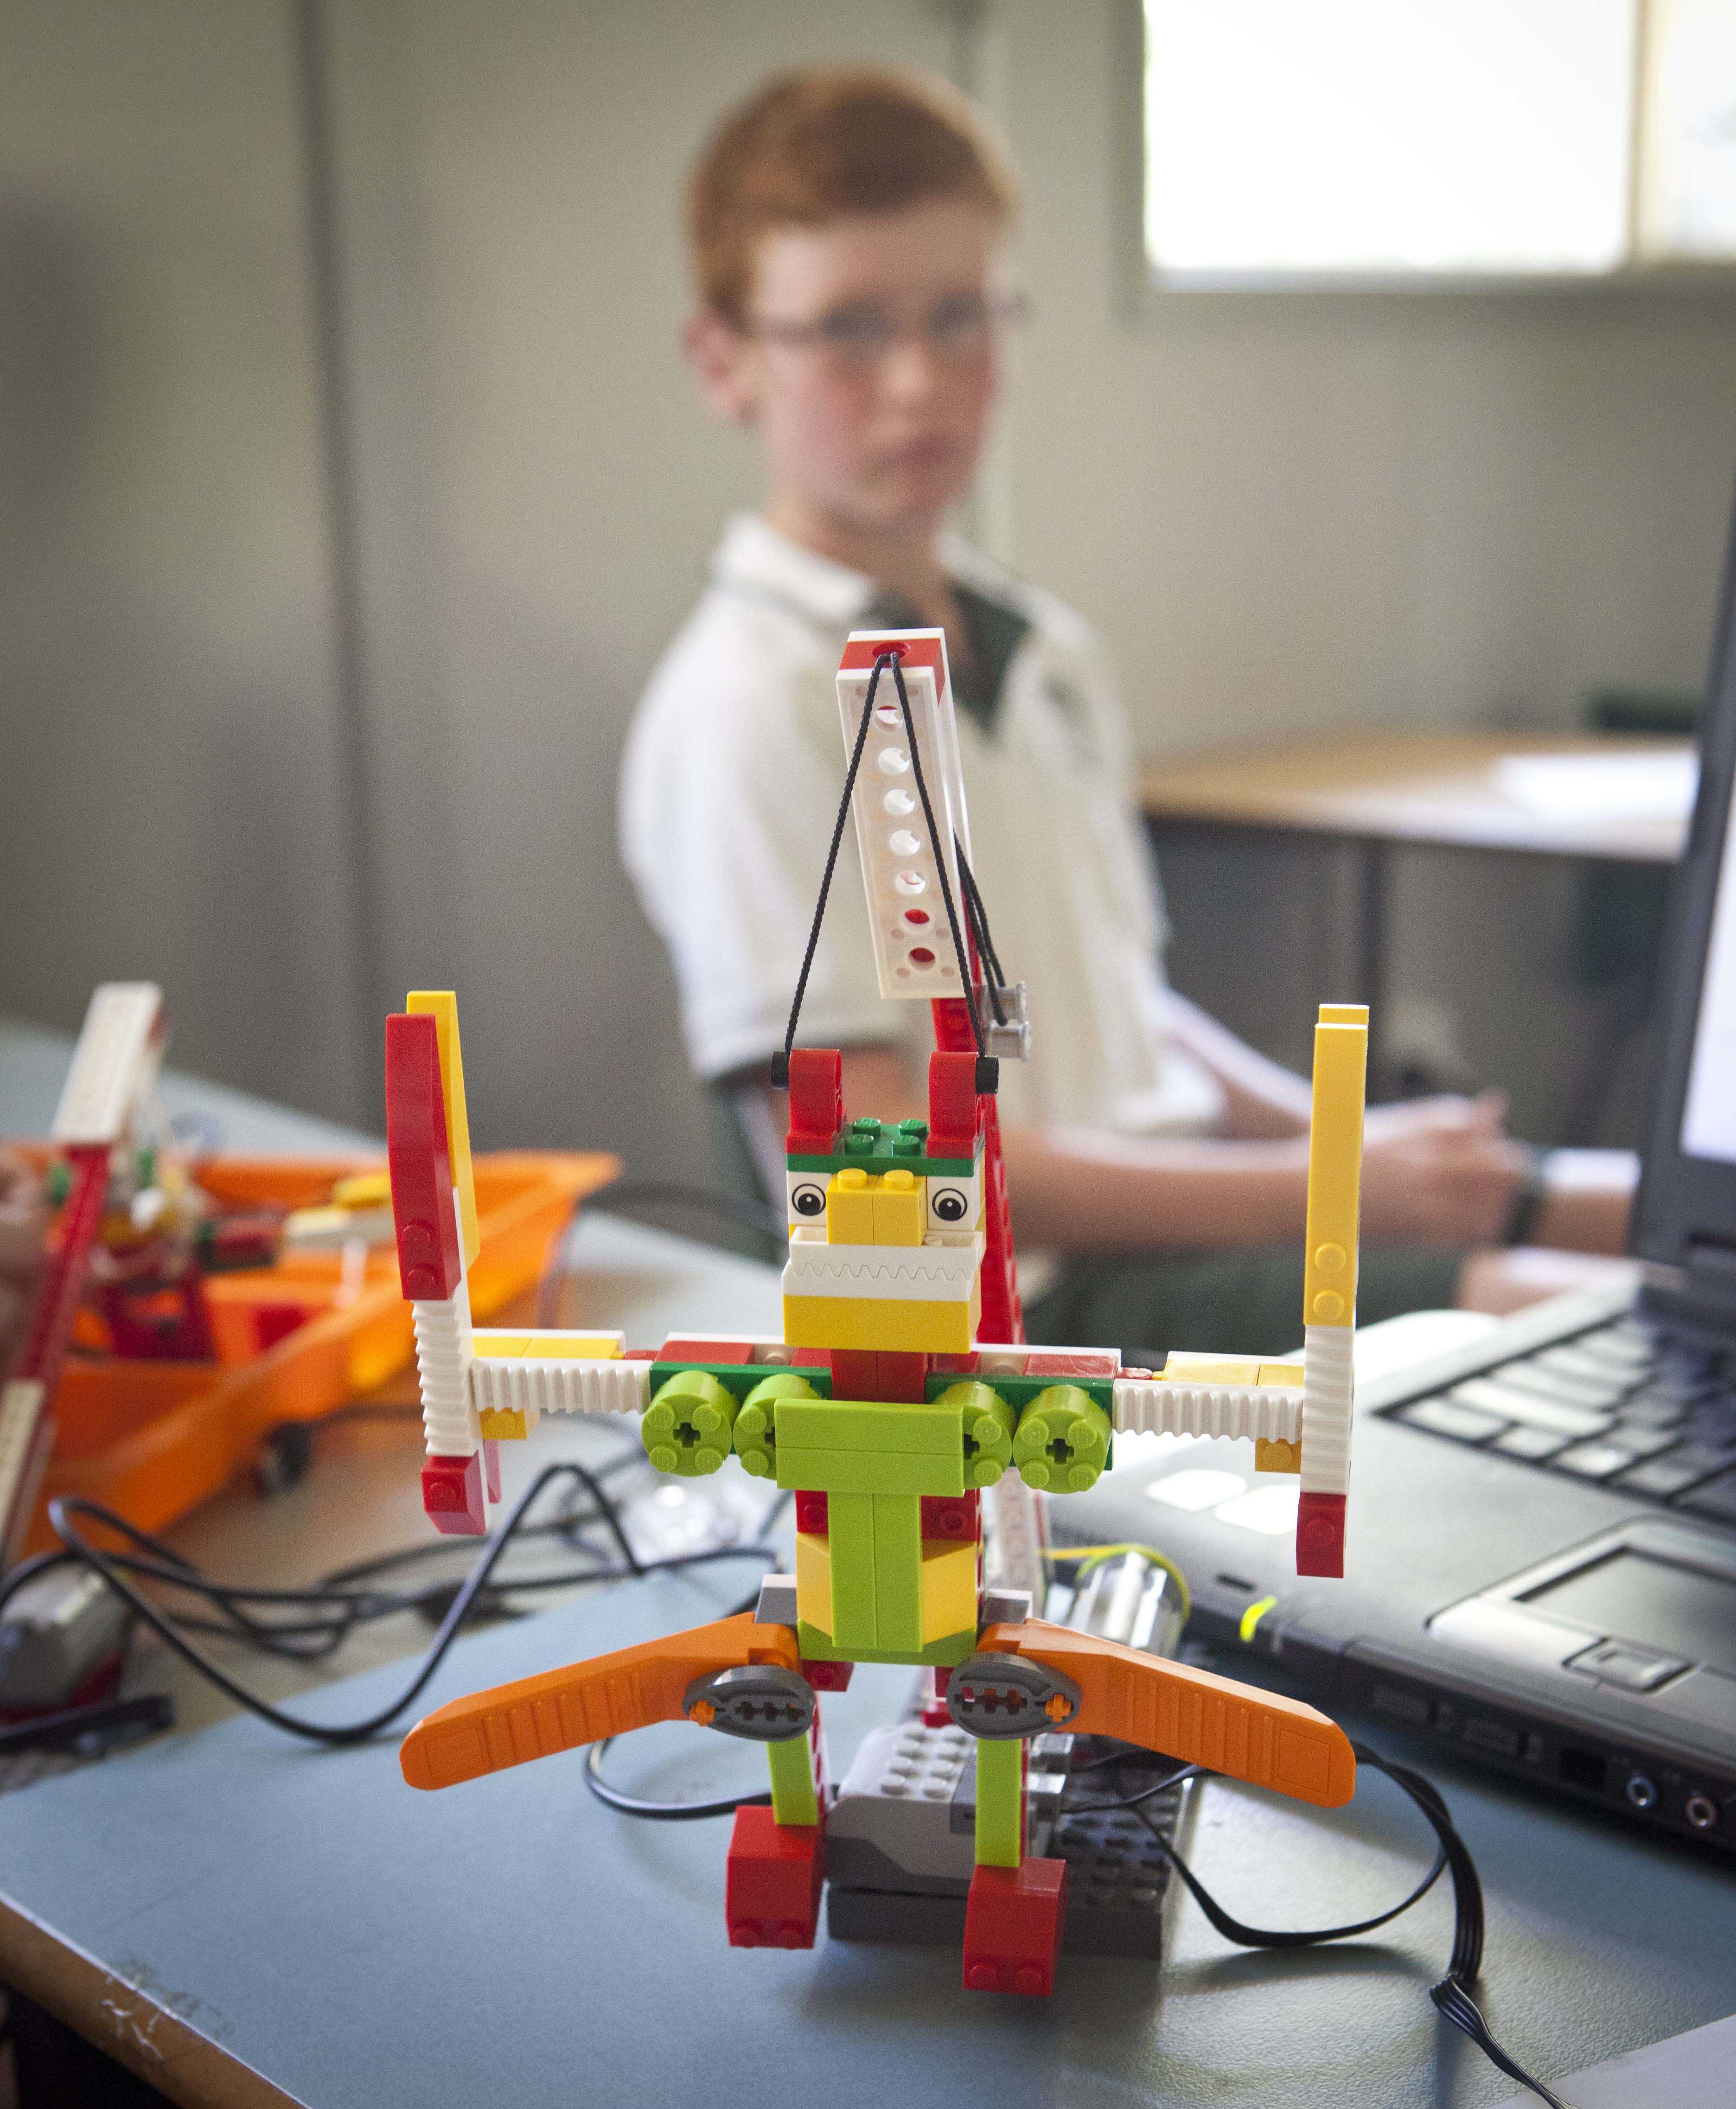
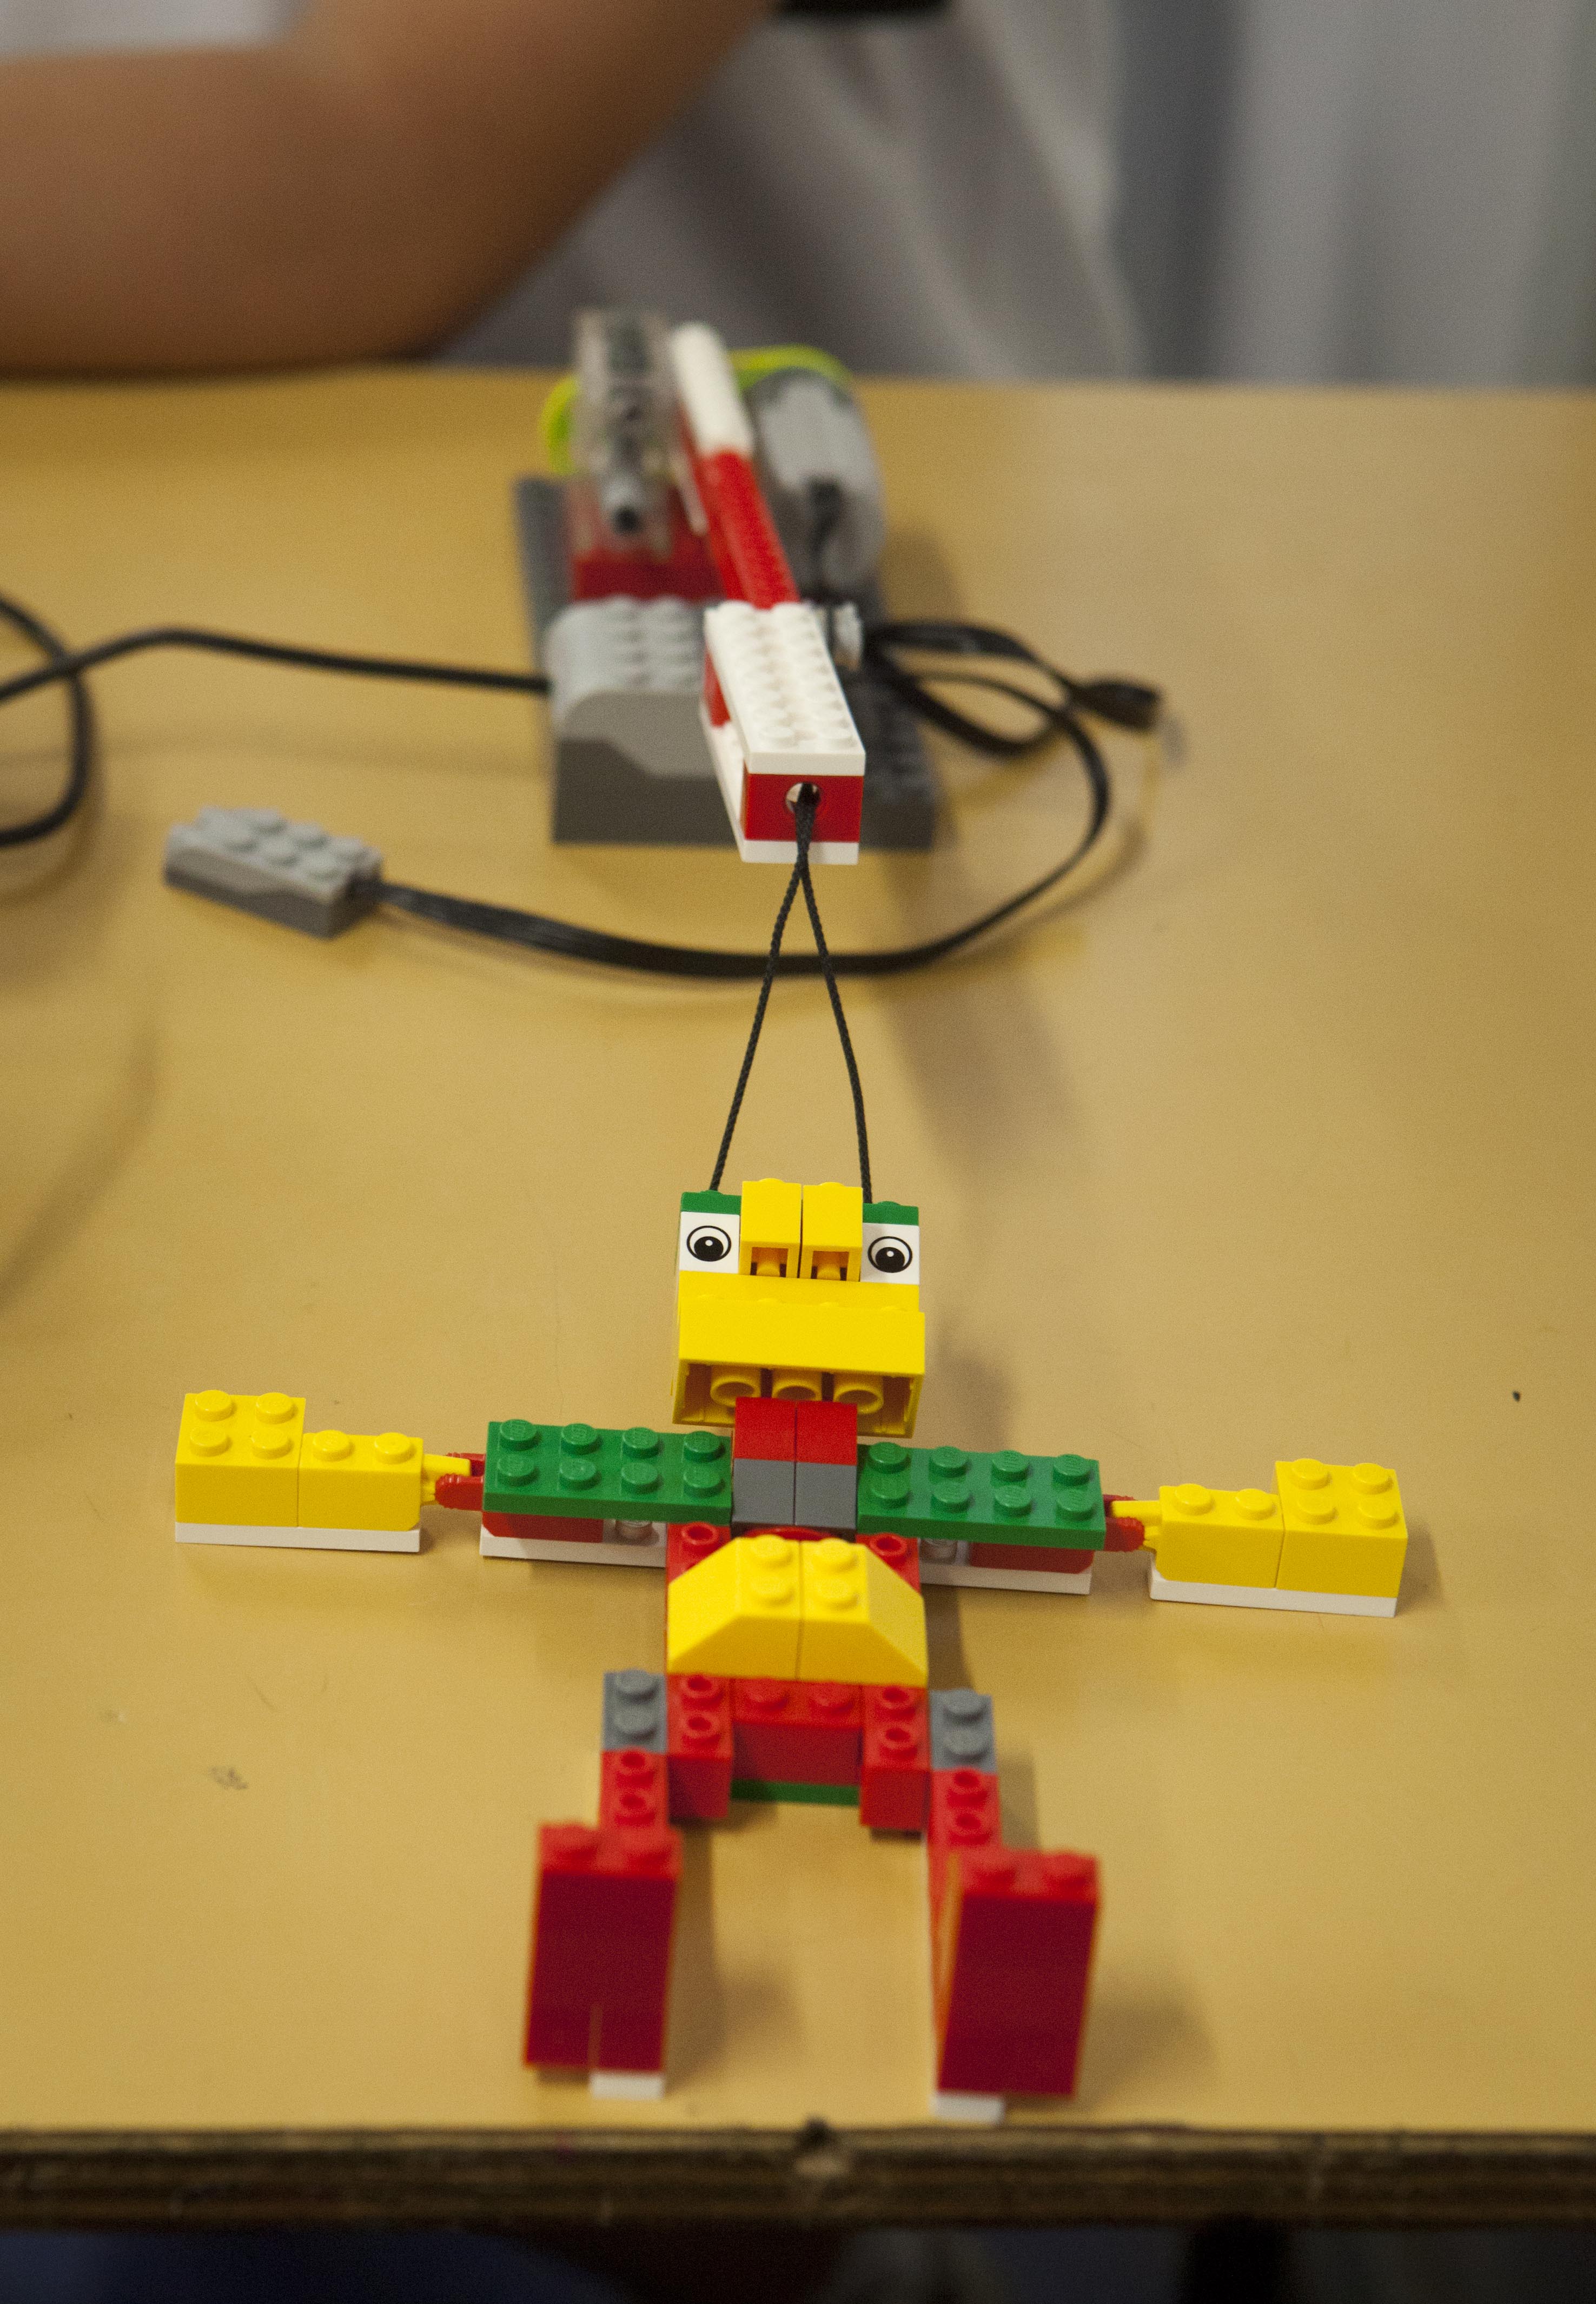
The giant is sleeping on the ground

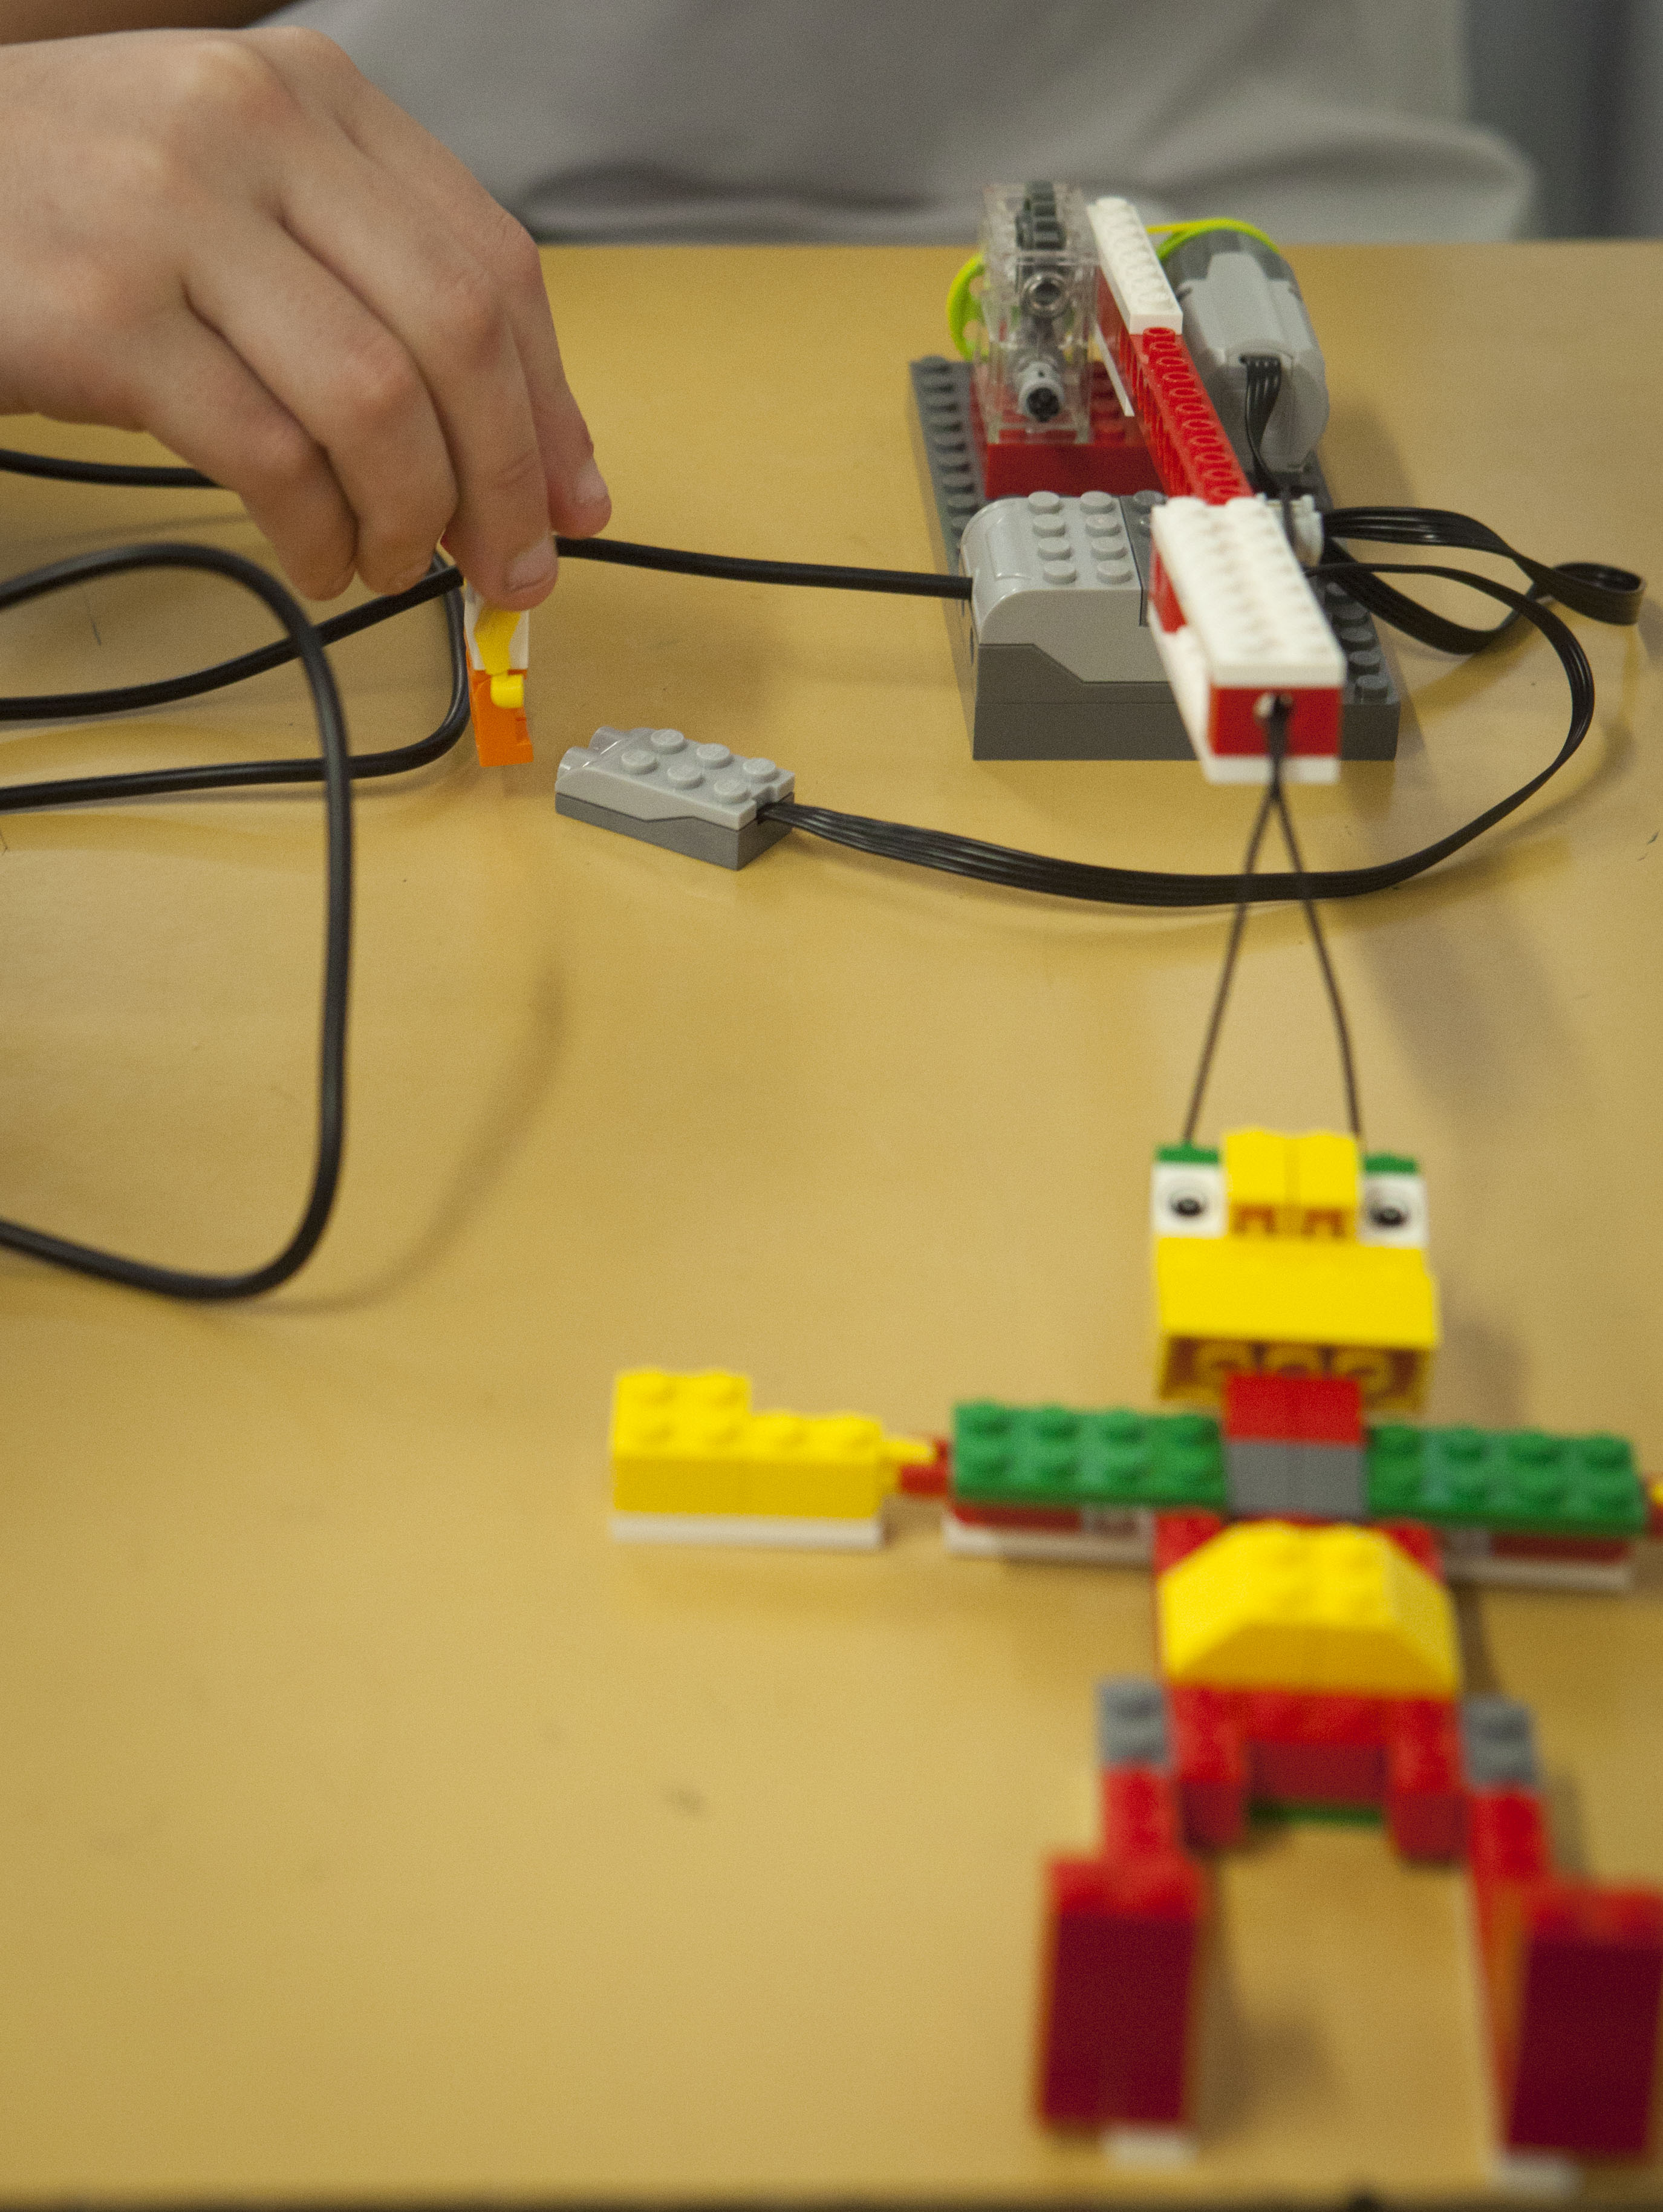
Person walks by the motion sensor and wakes up the robot

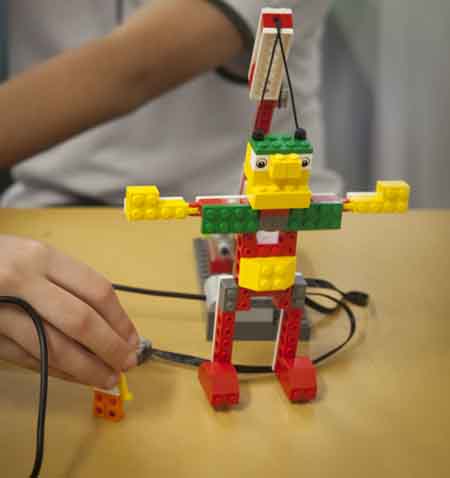
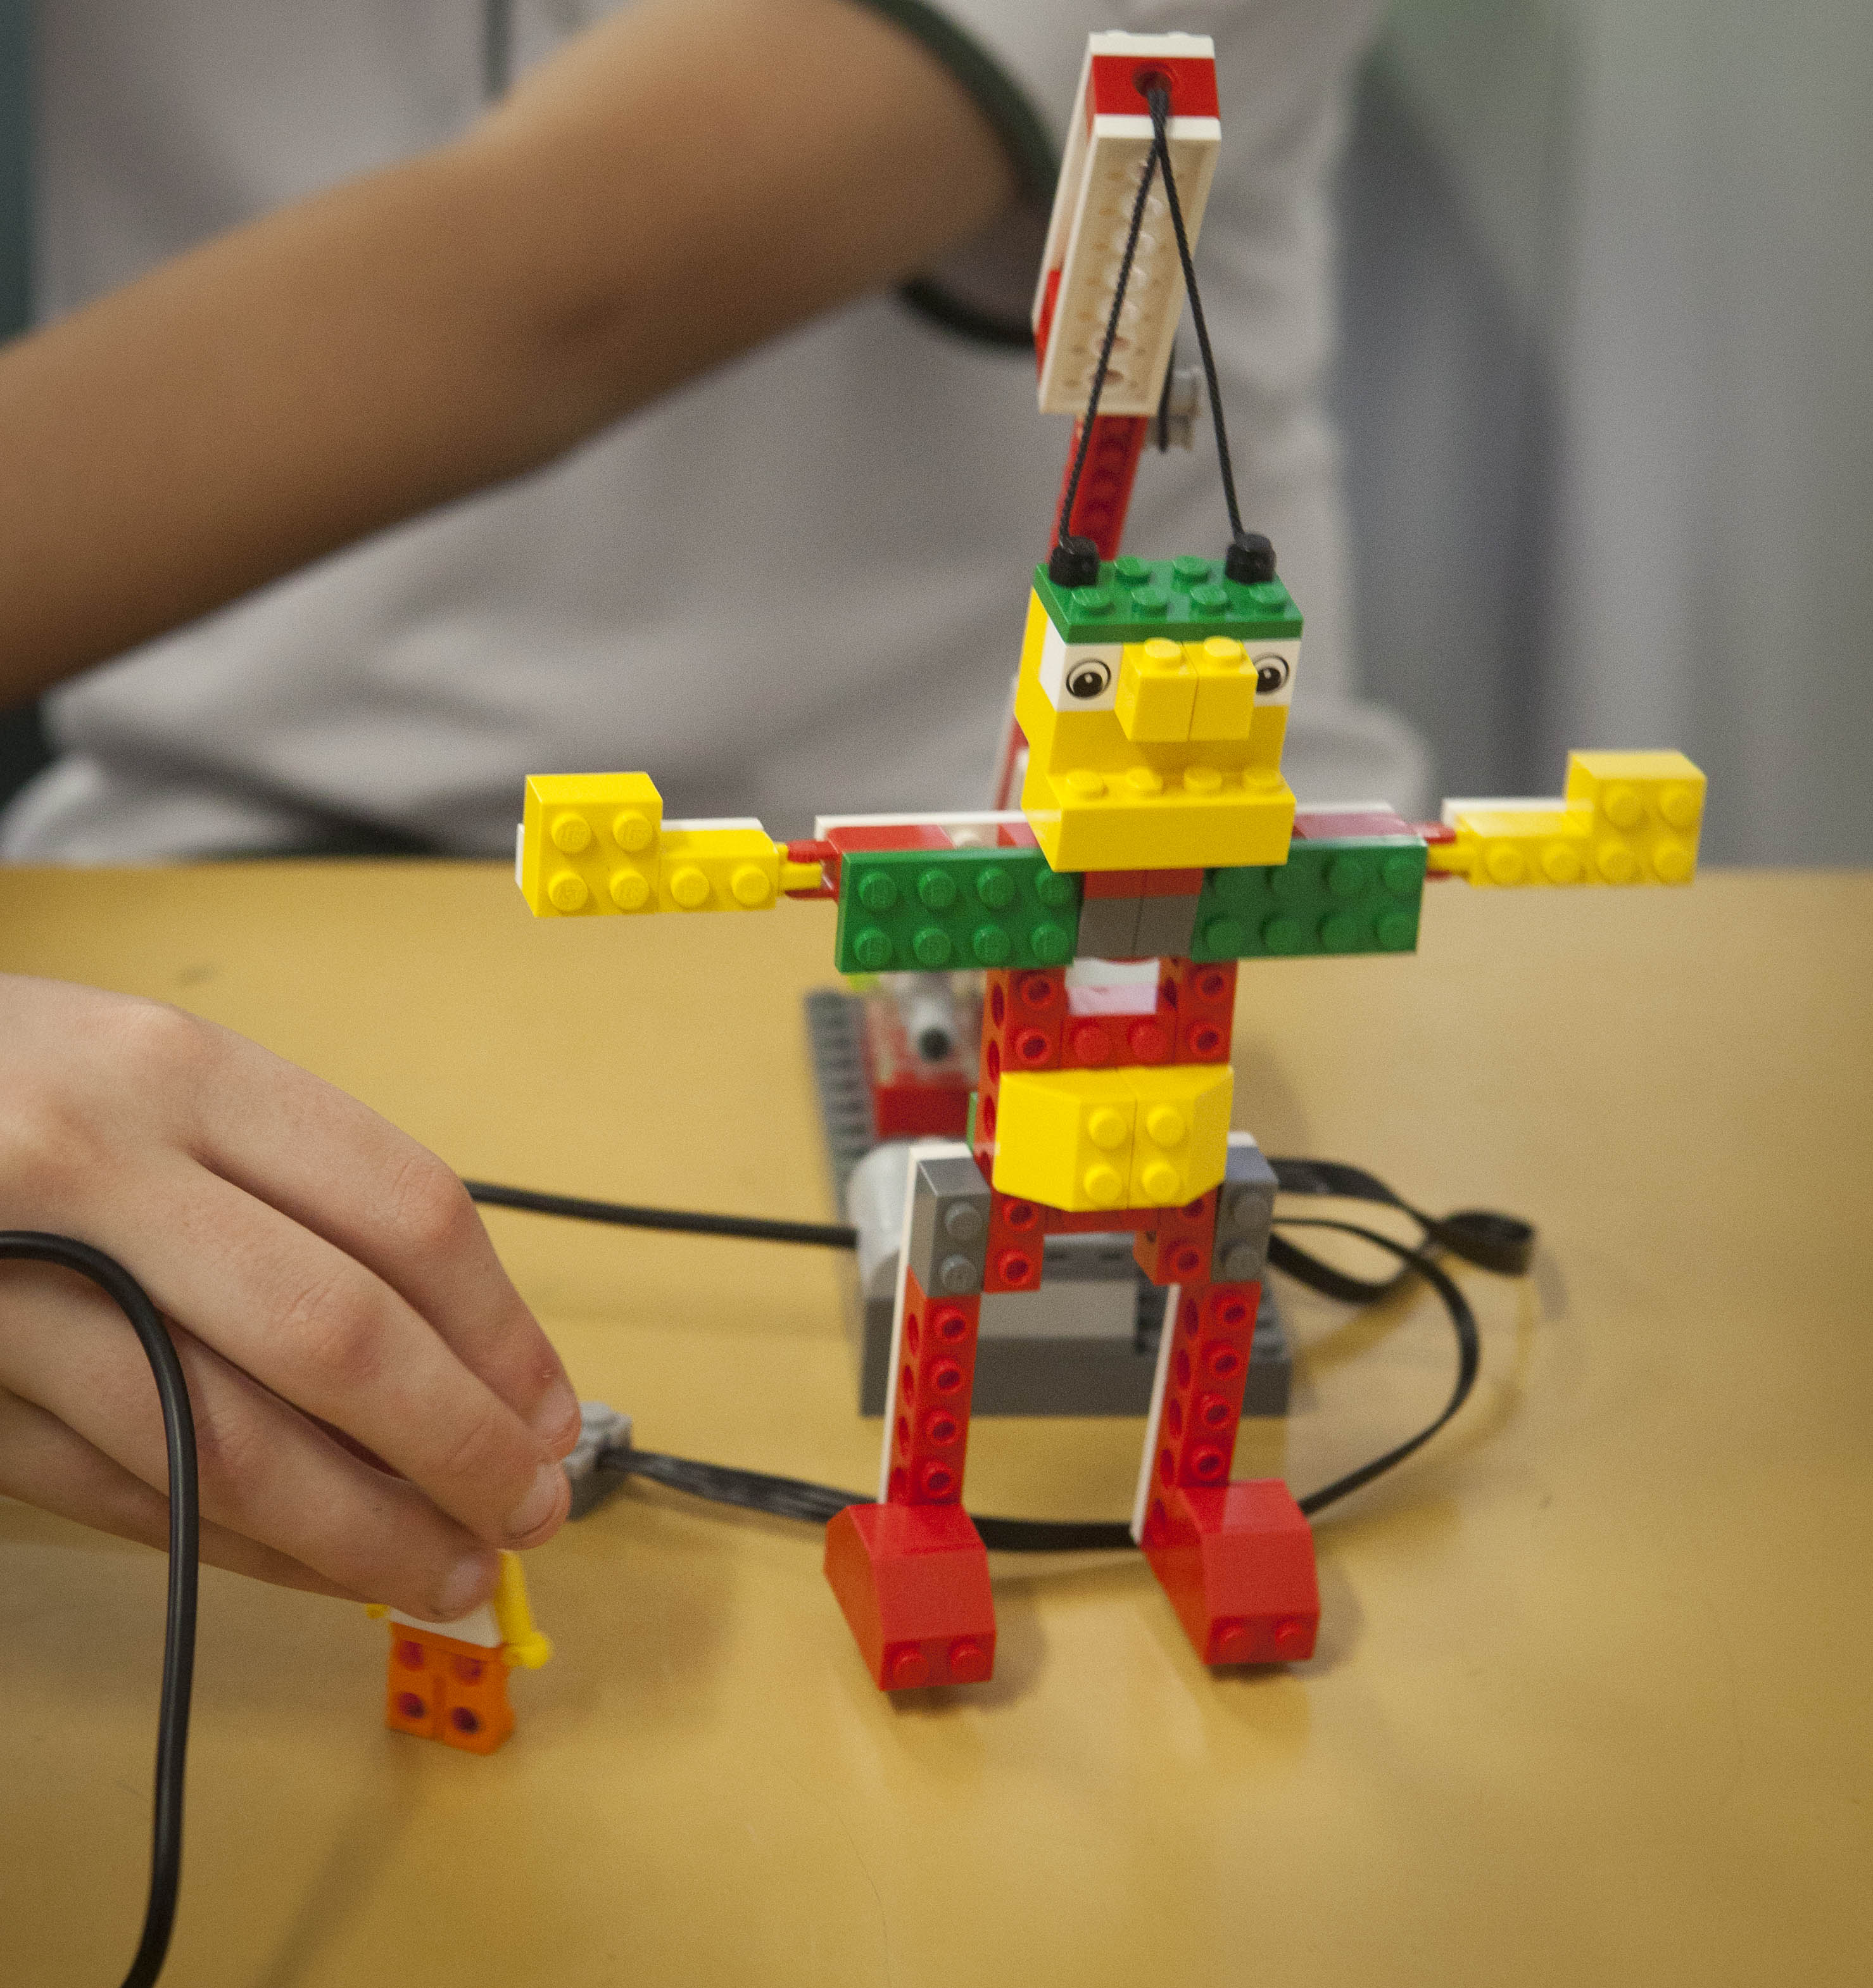
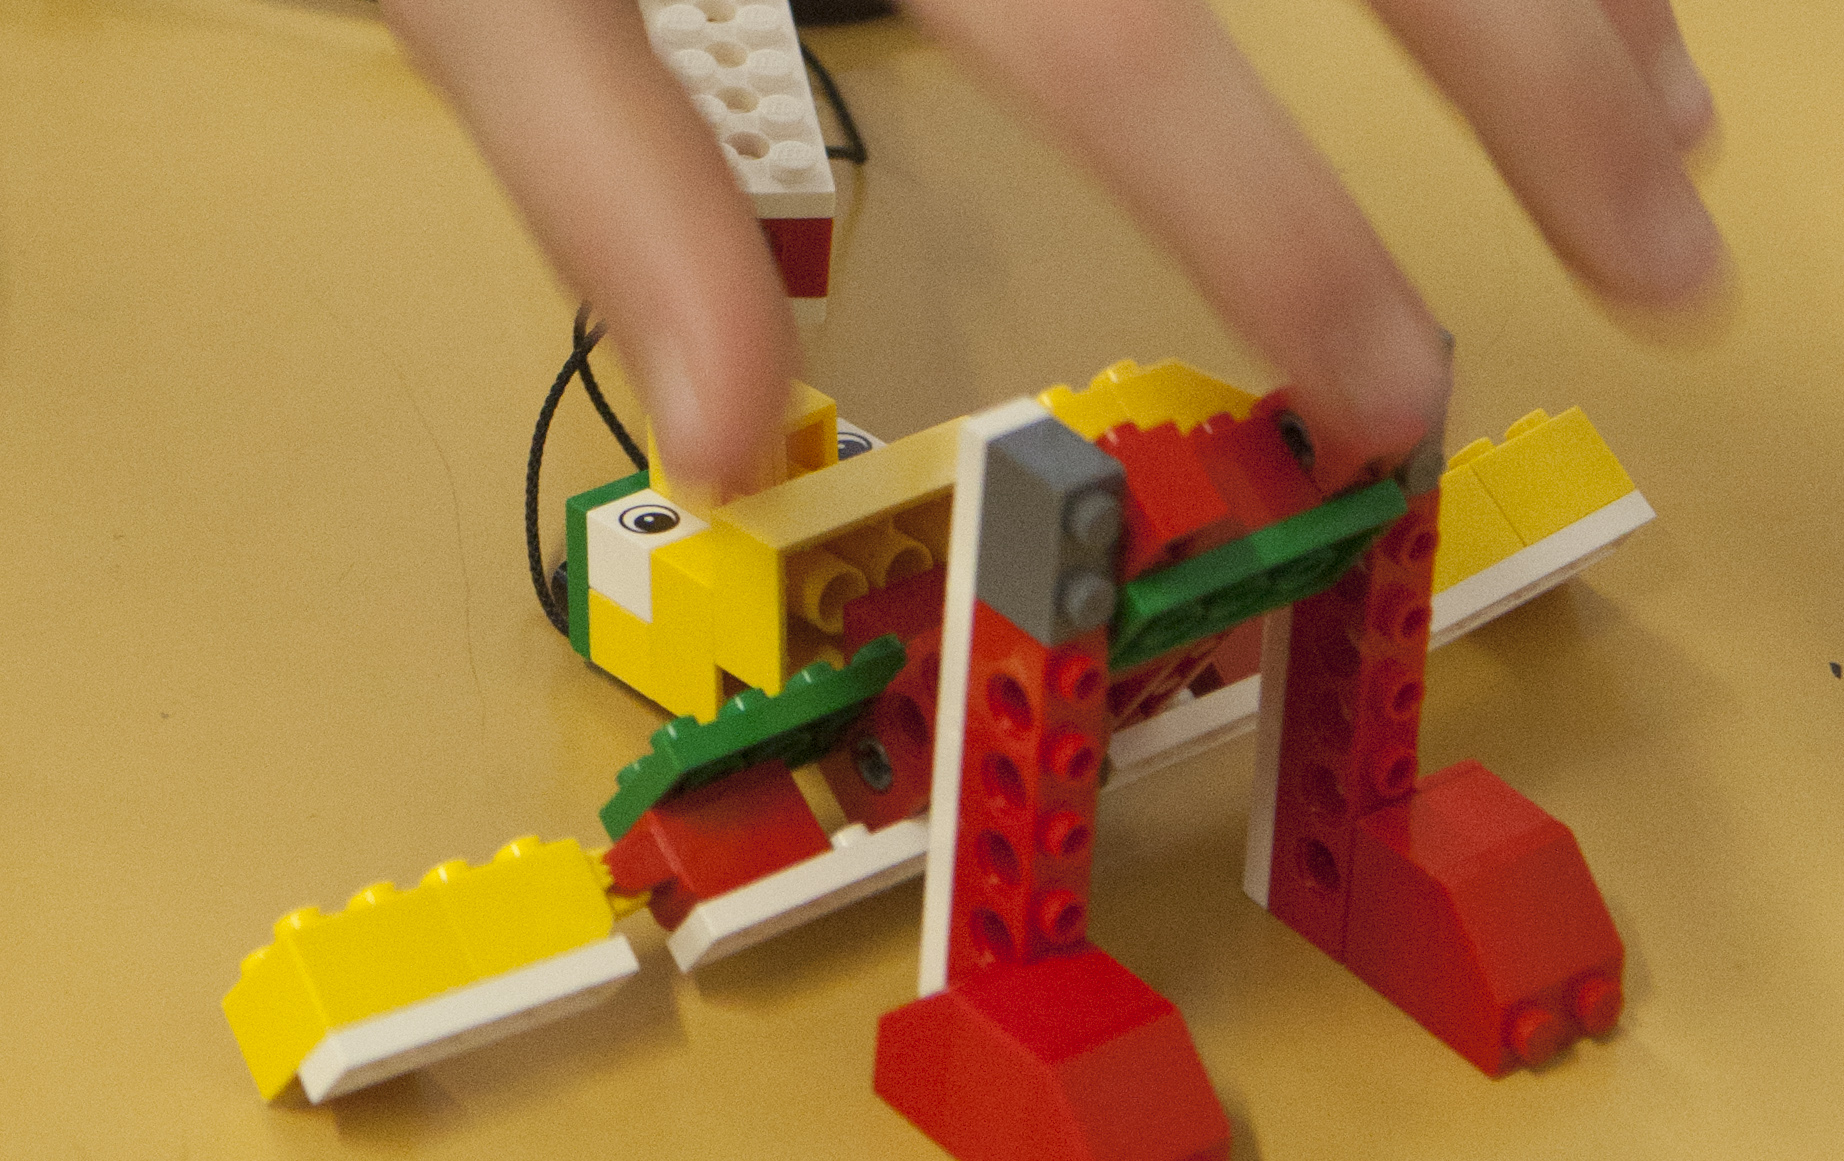
The giant who was snoring and sleeping – now rises up and roars. He is pulled up by a crane and operates like a puppet.

Students program the robot to go back to sleep.

When years 3 and 4 carried out a more simplified version of this activity they wrote a script for the giant and the offending Lego person.  This script included the way they escaped from the giant.  Some very innovative and fun scripts were created!!!!!

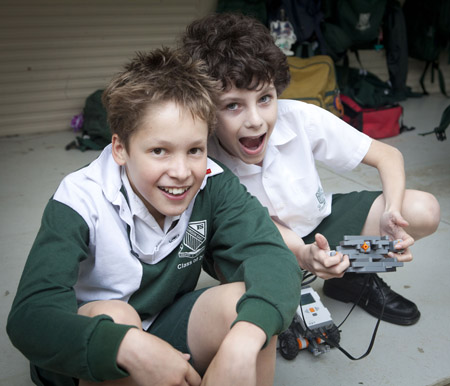
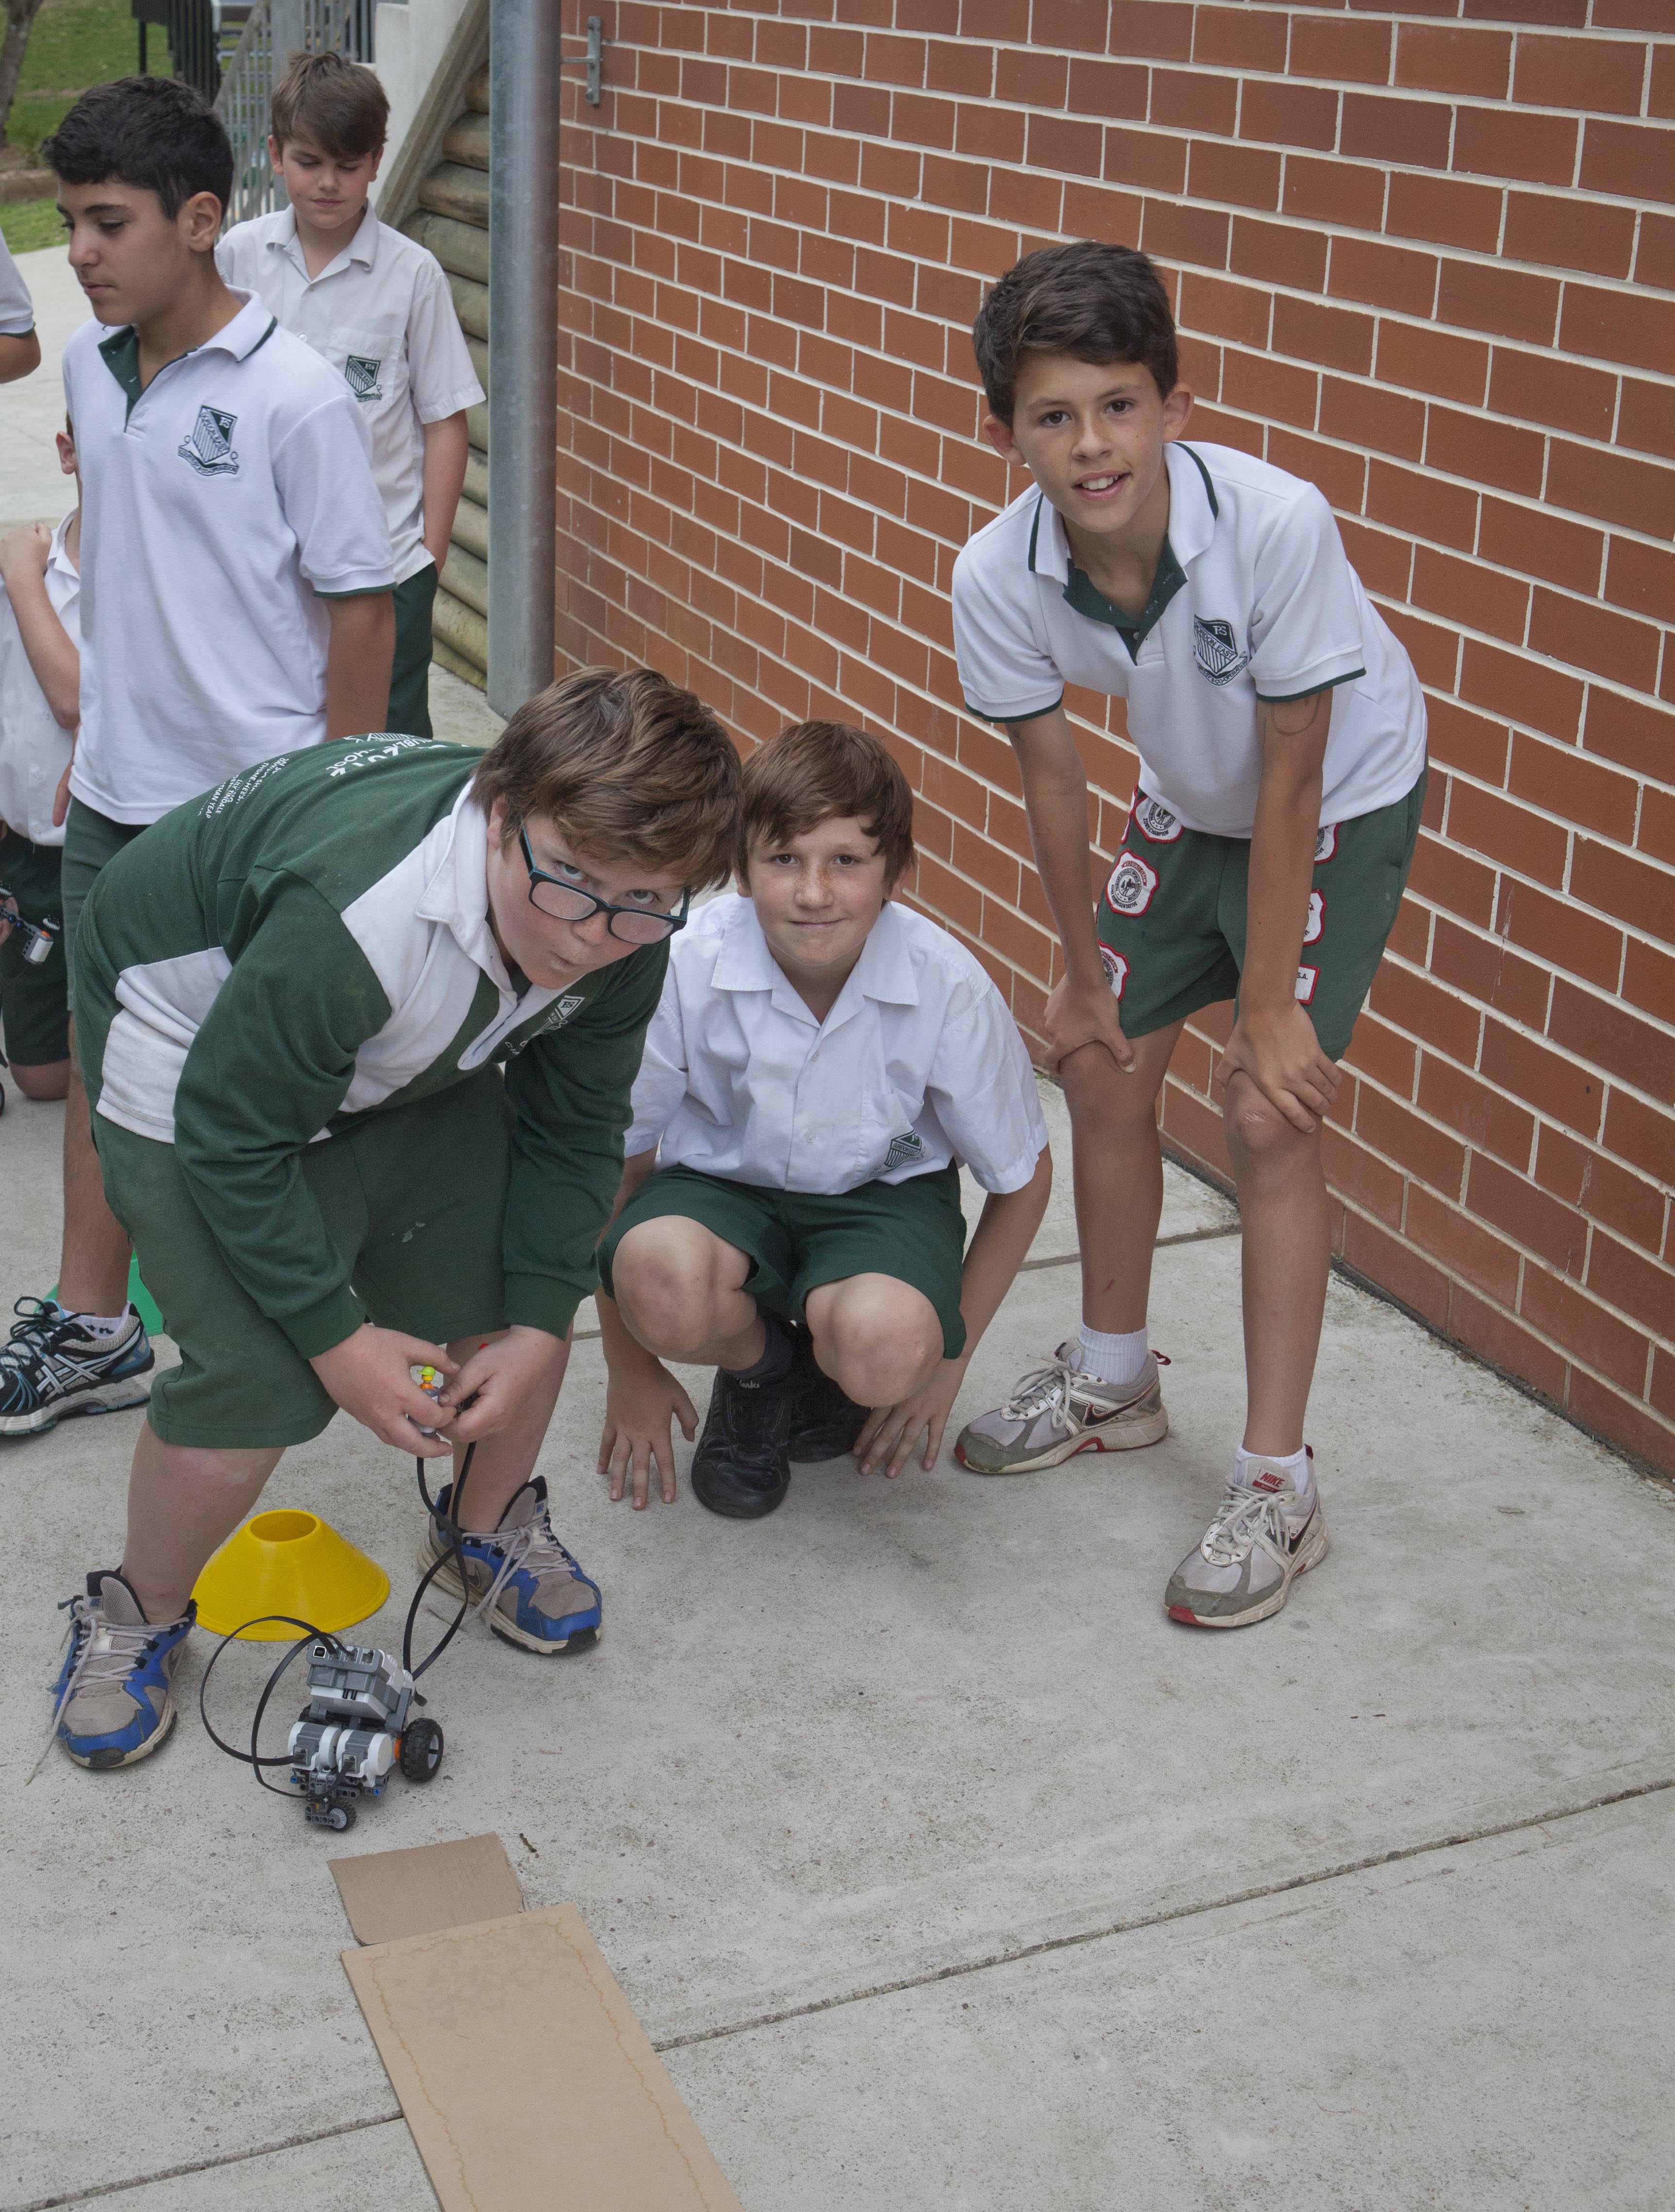
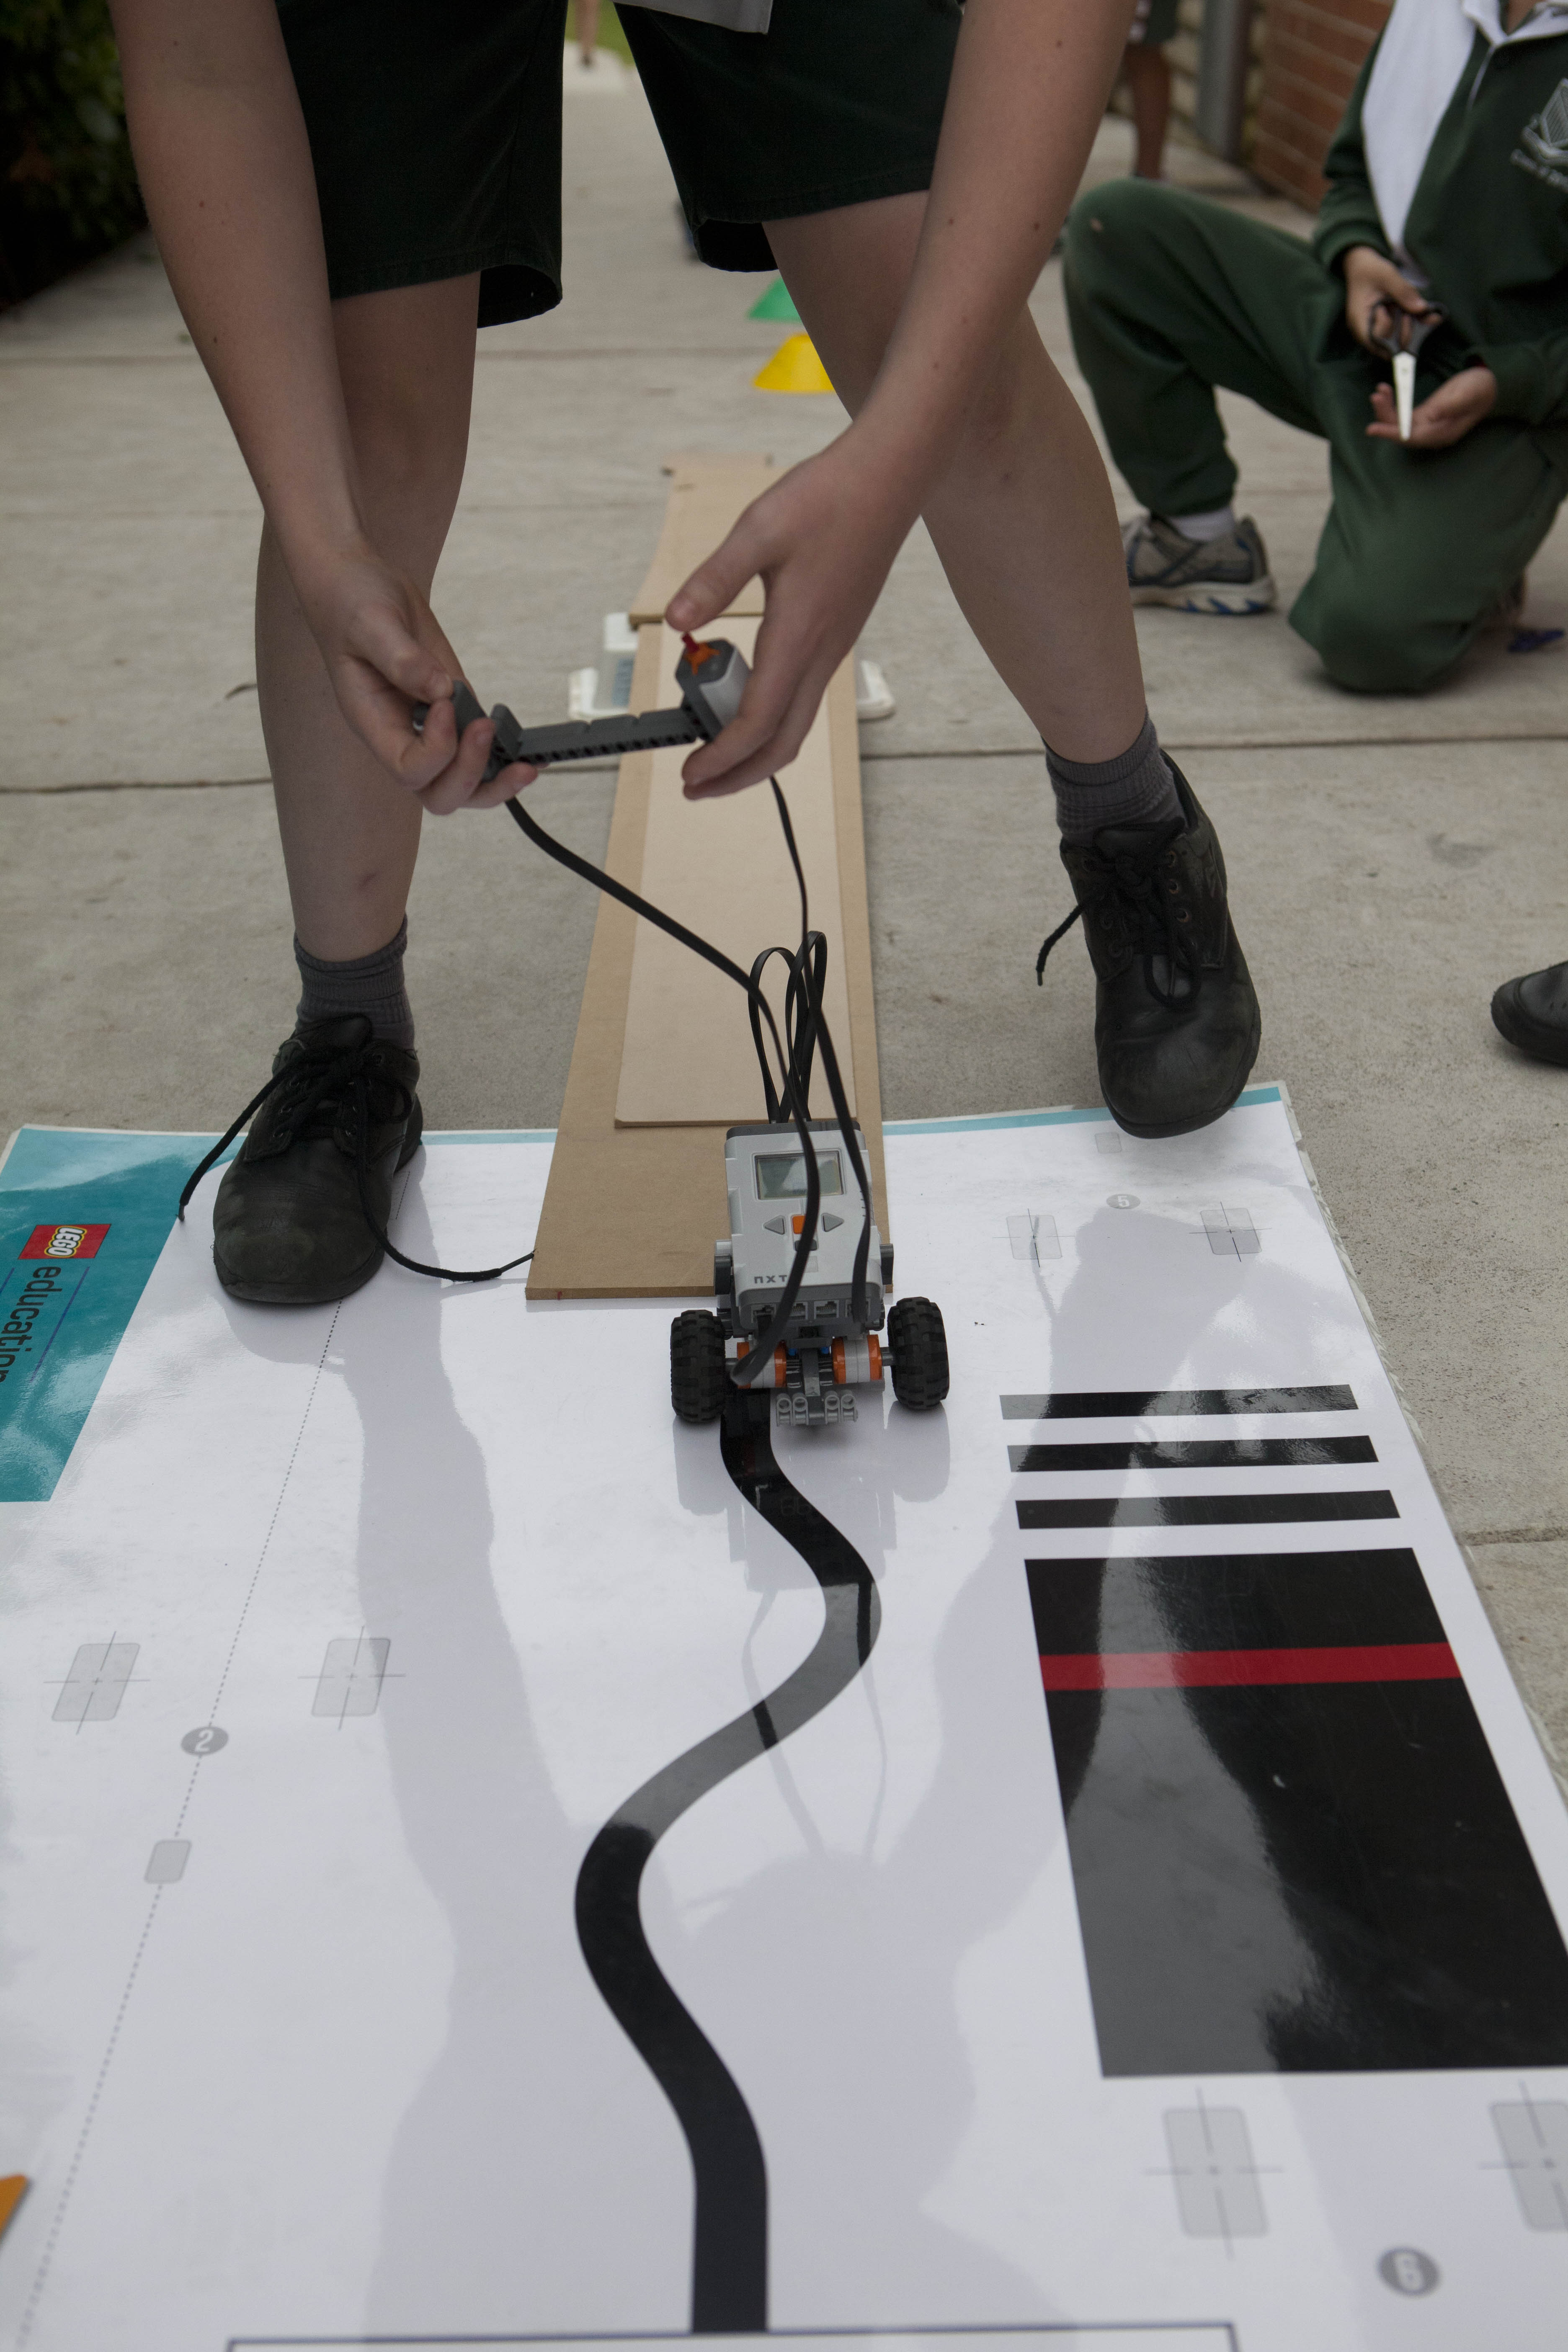
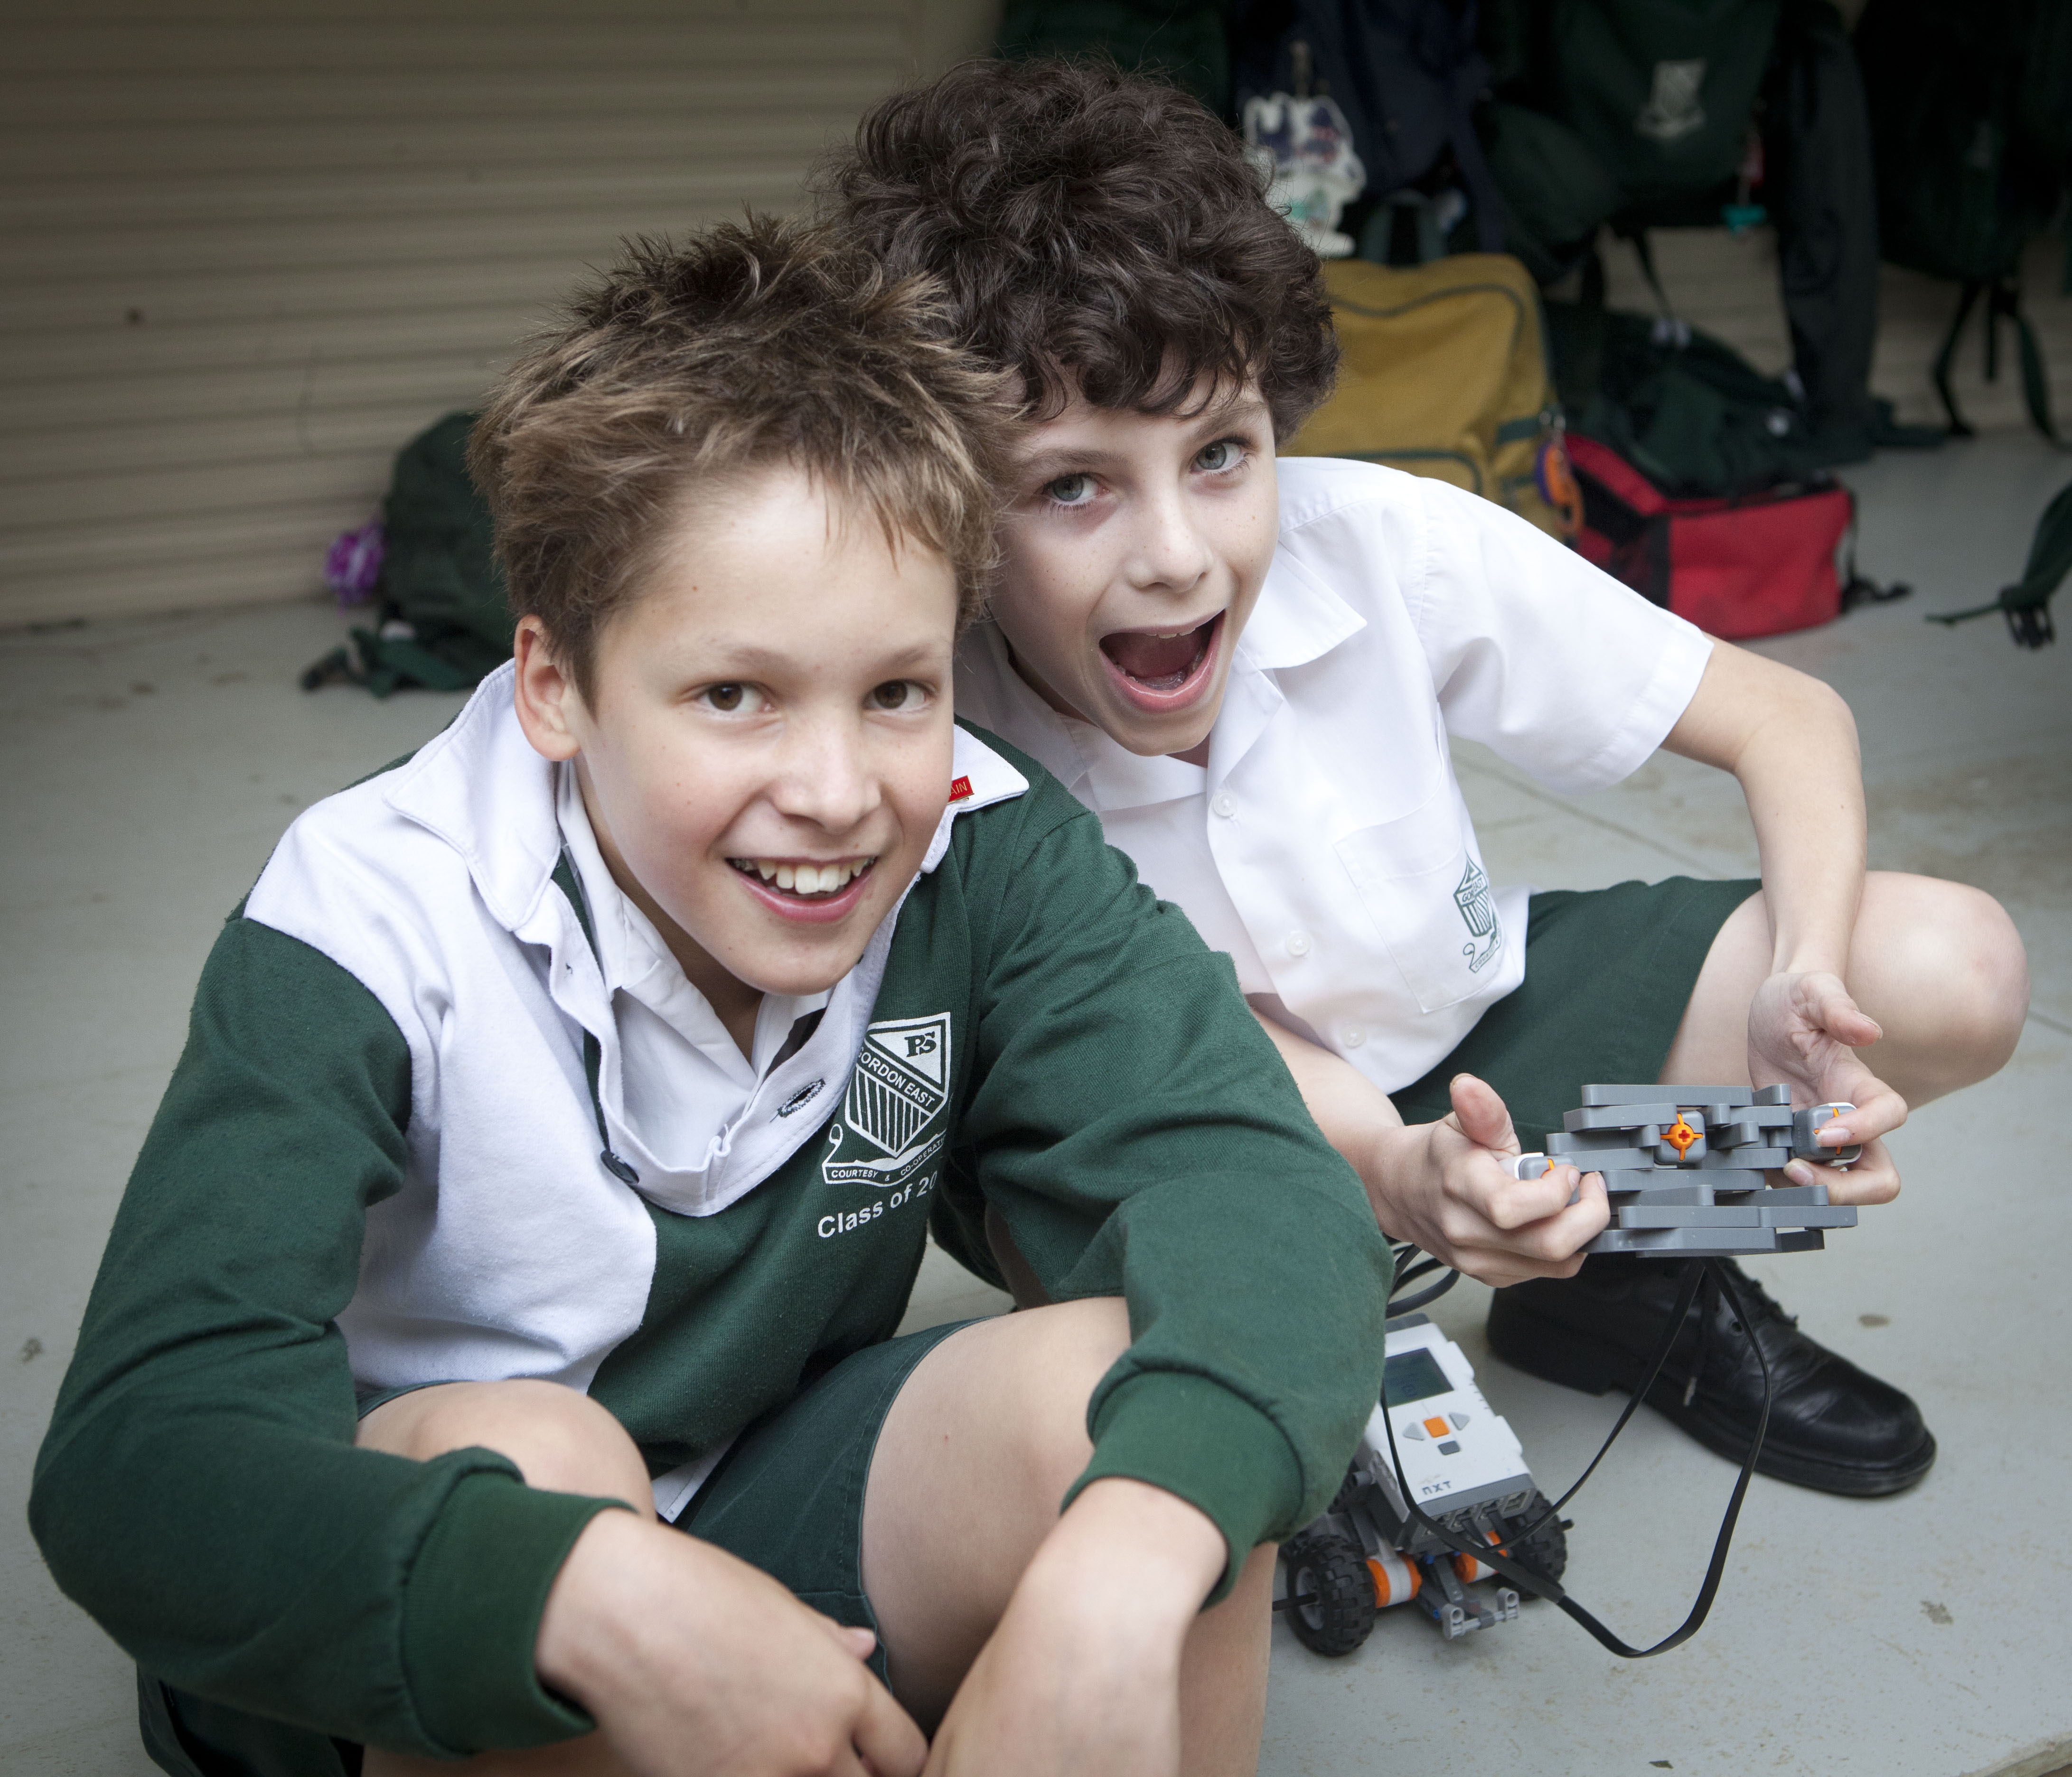
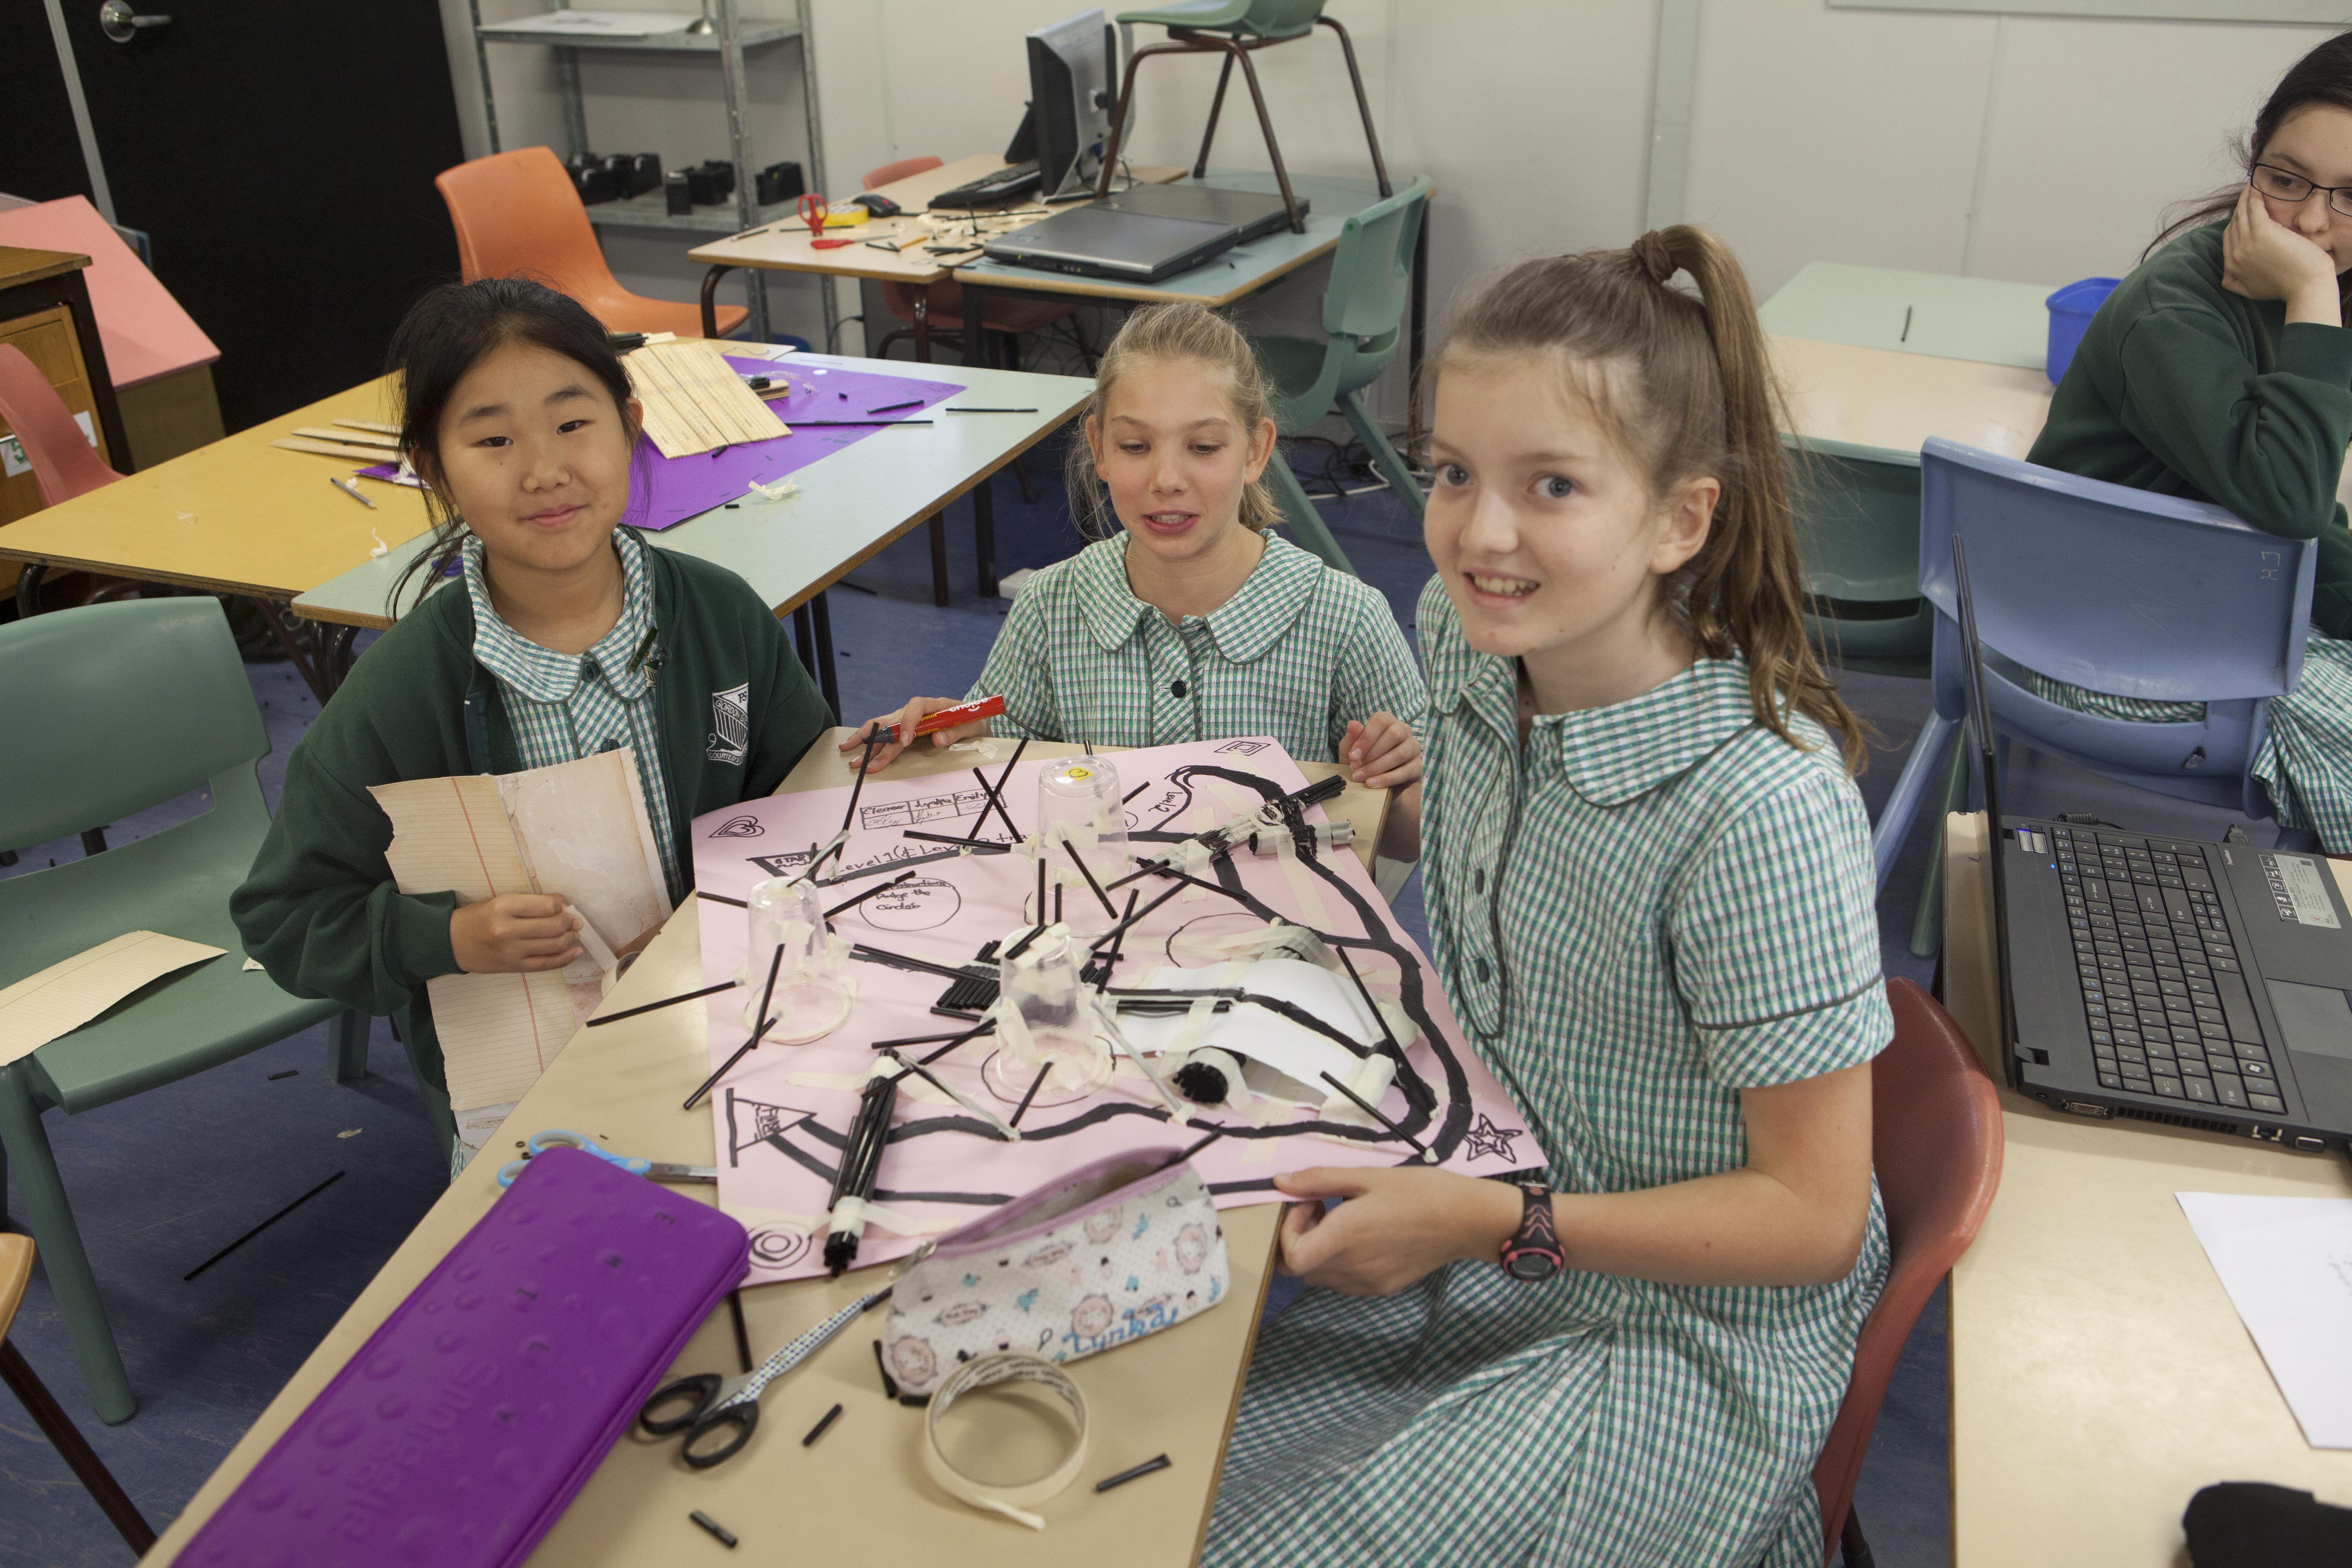
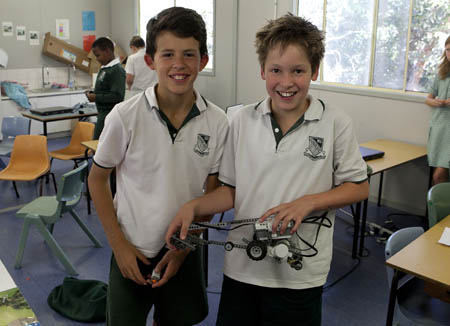
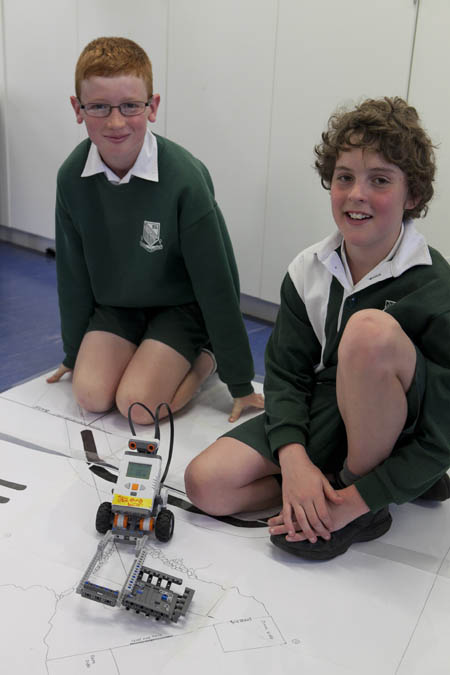
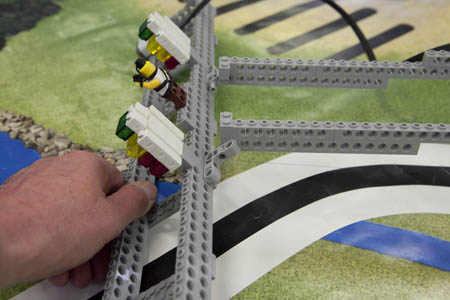
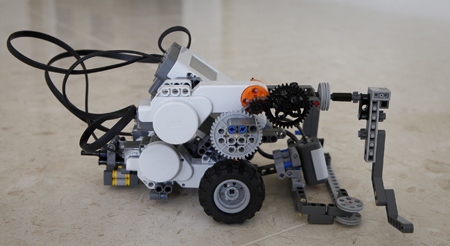
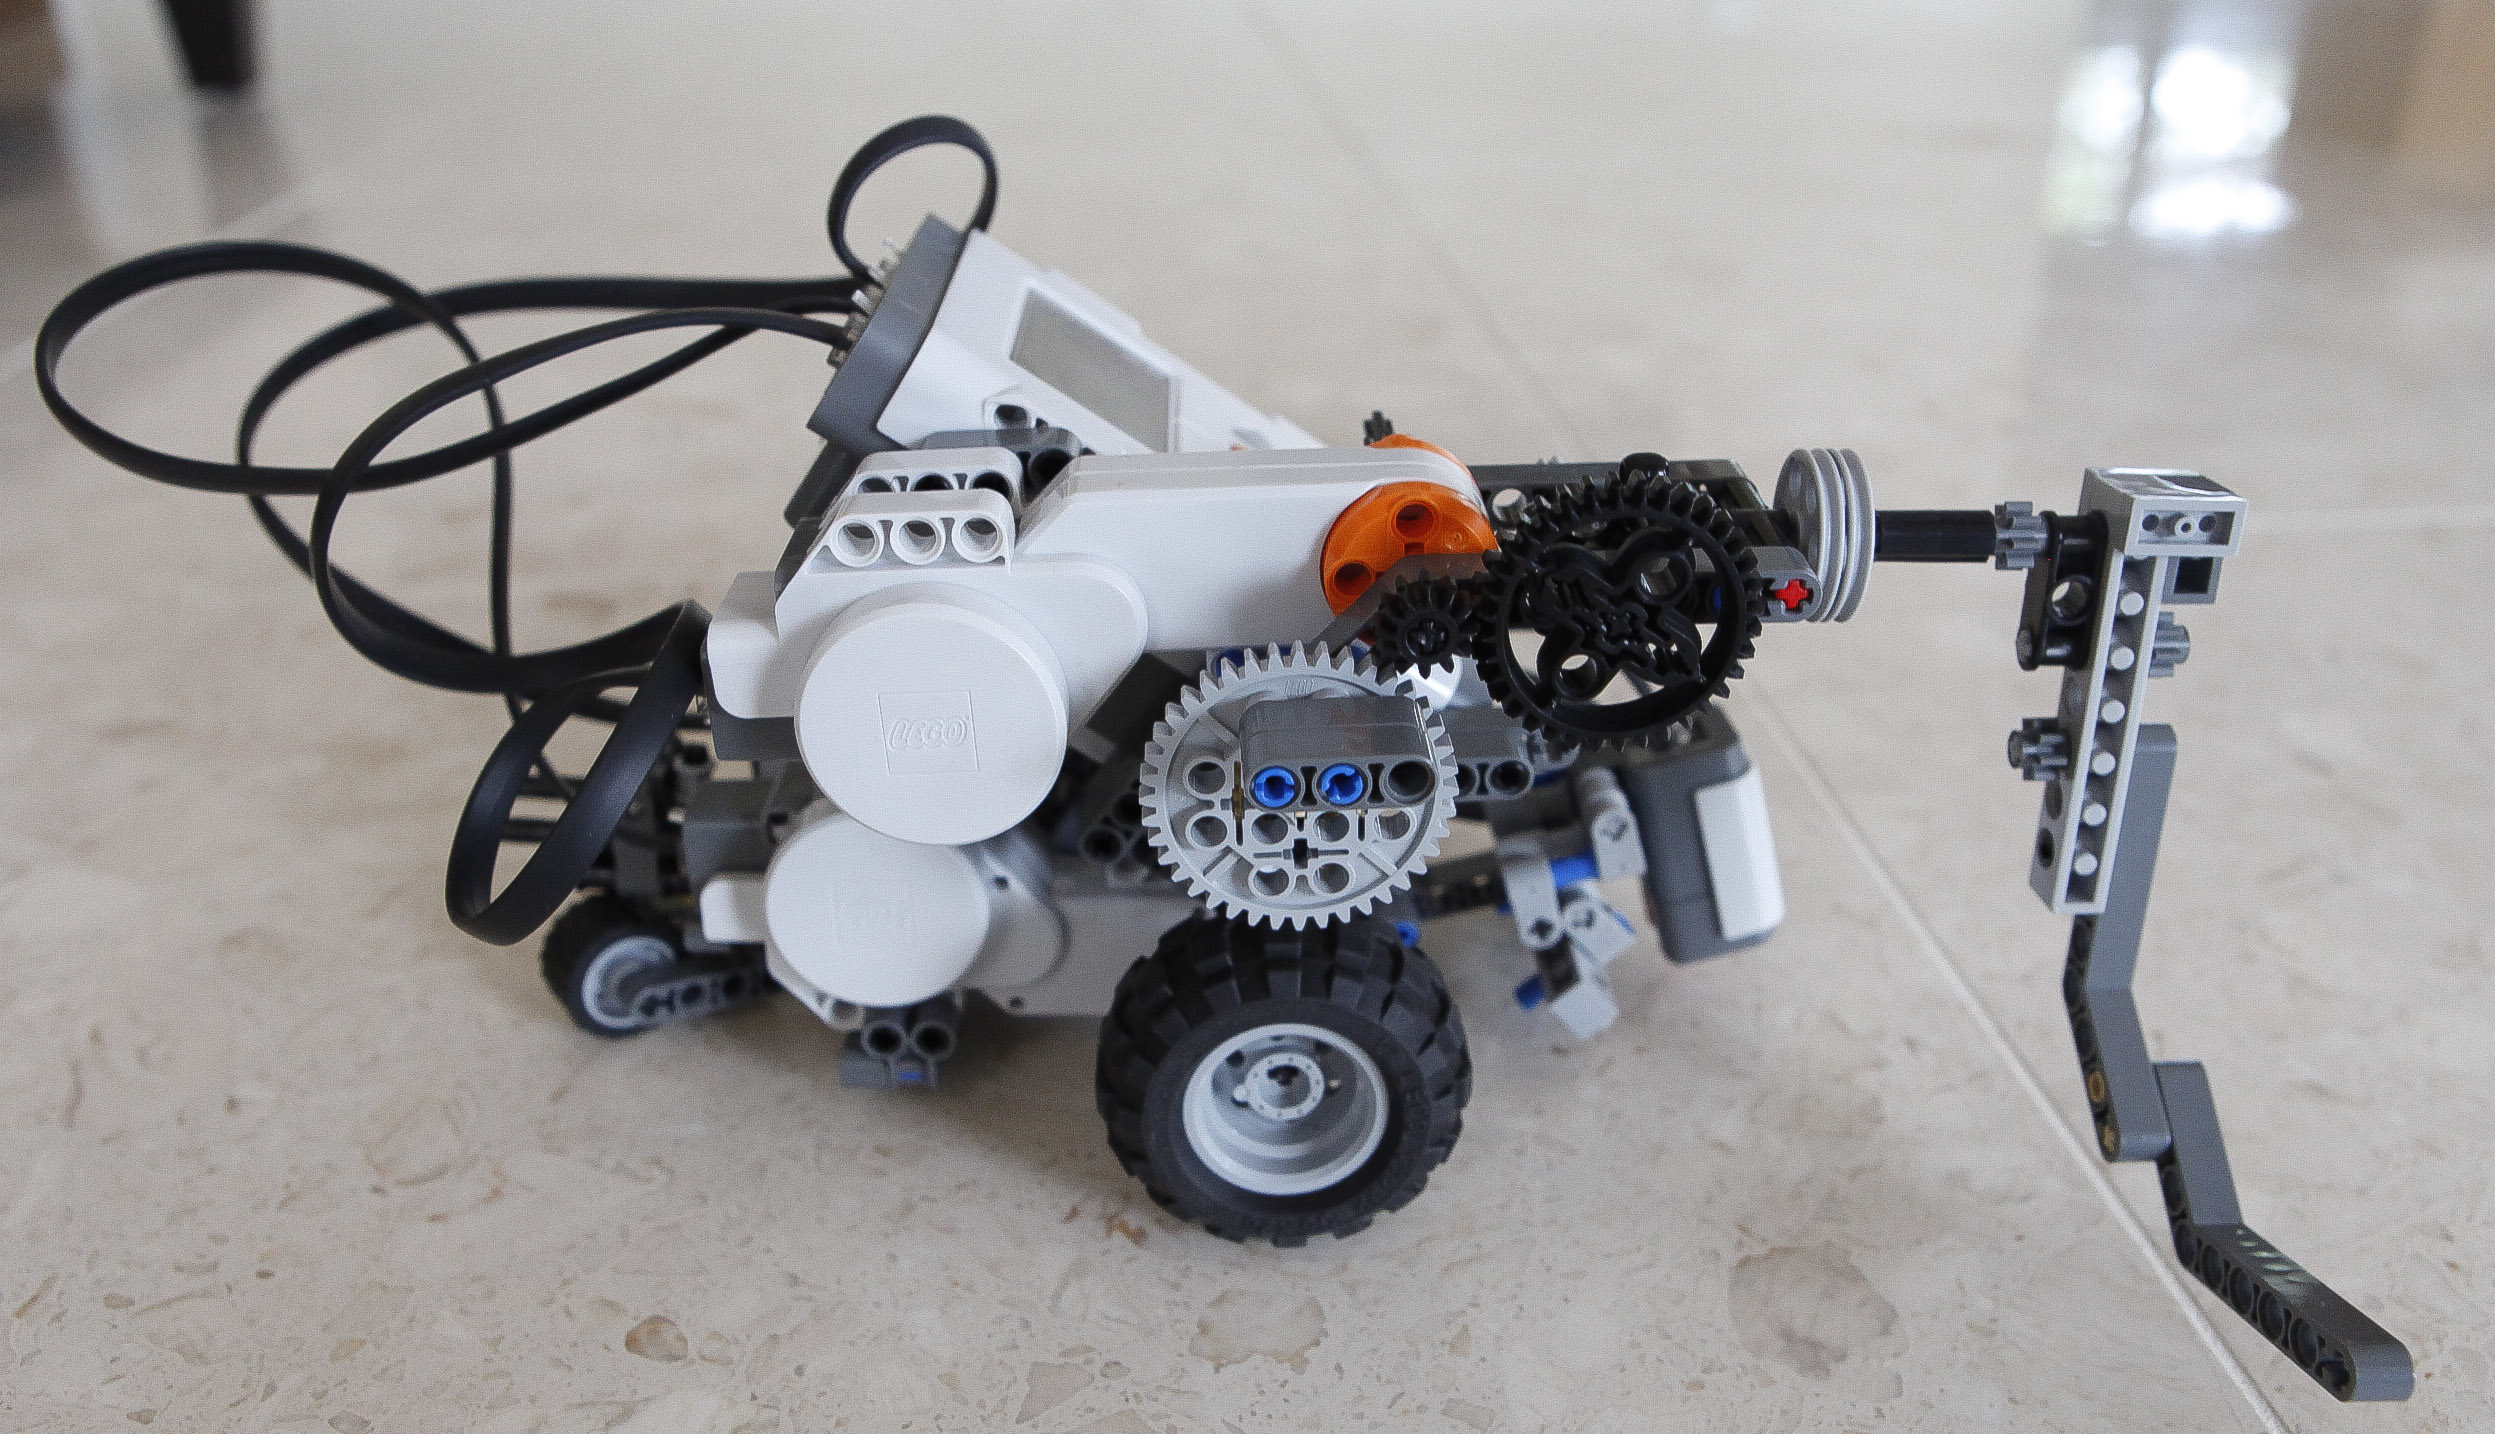
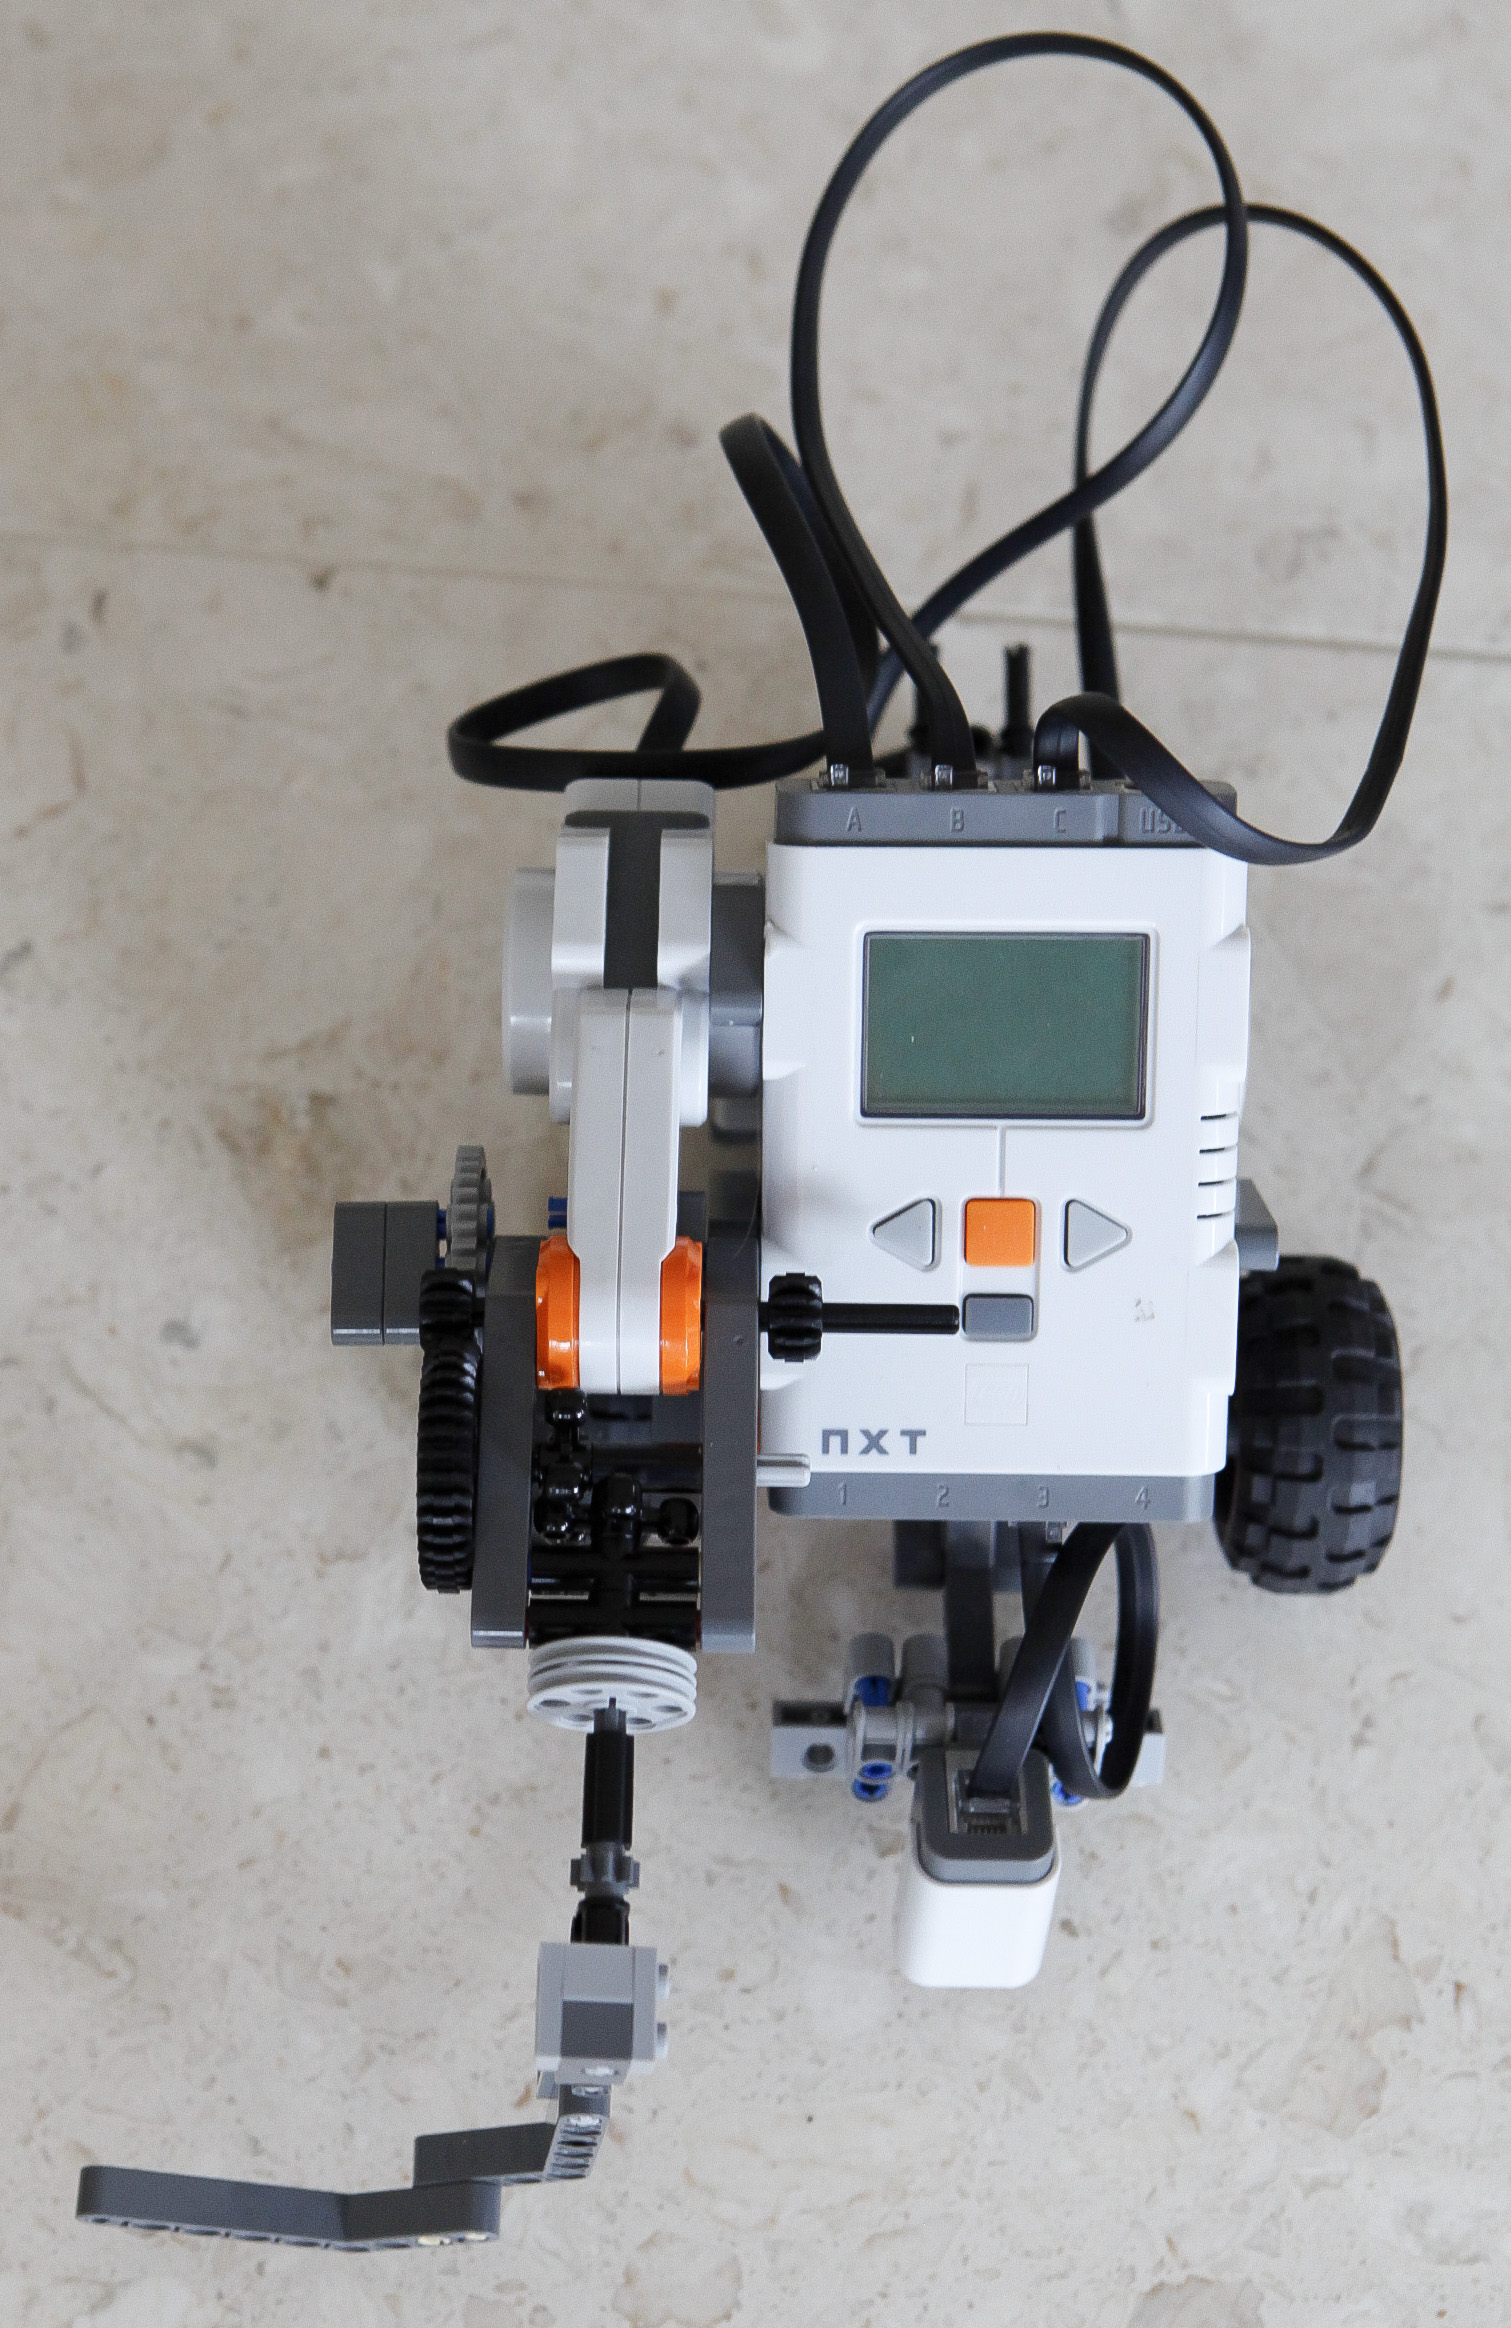
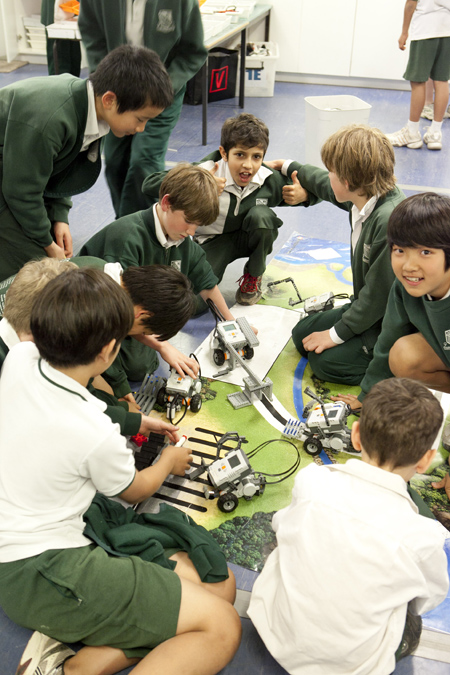
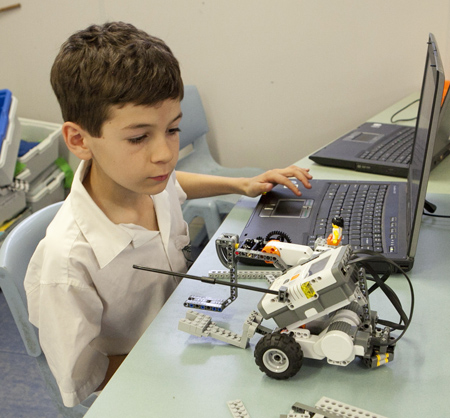
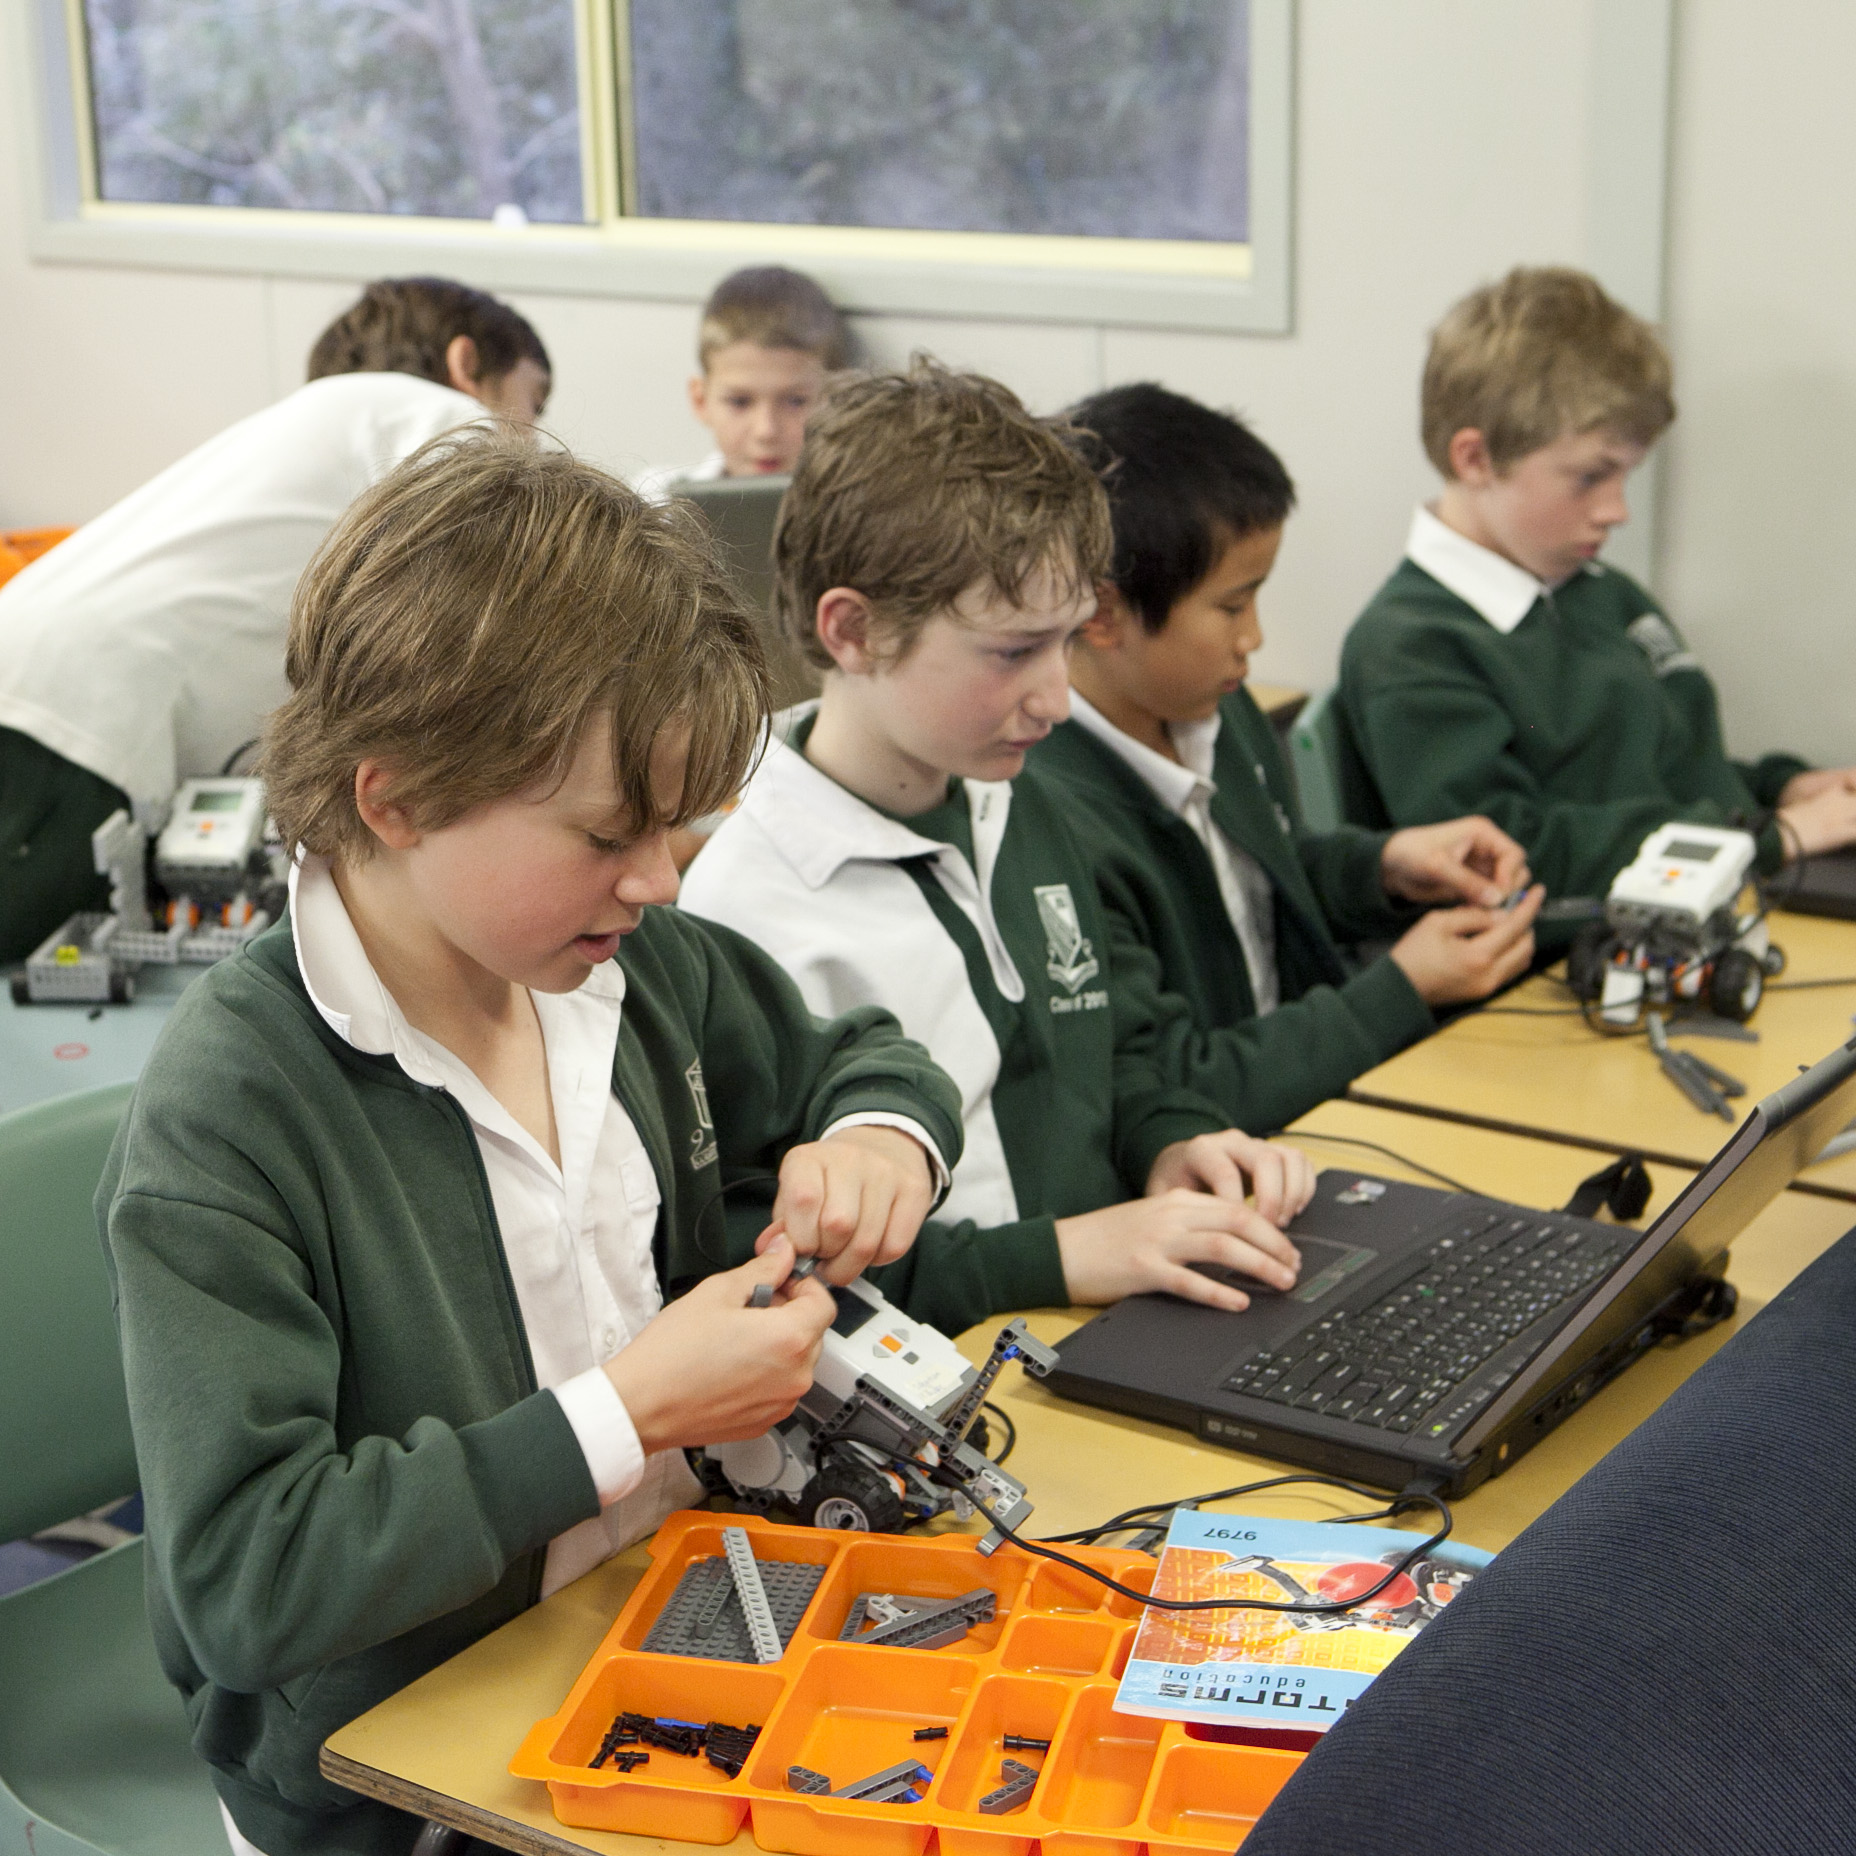
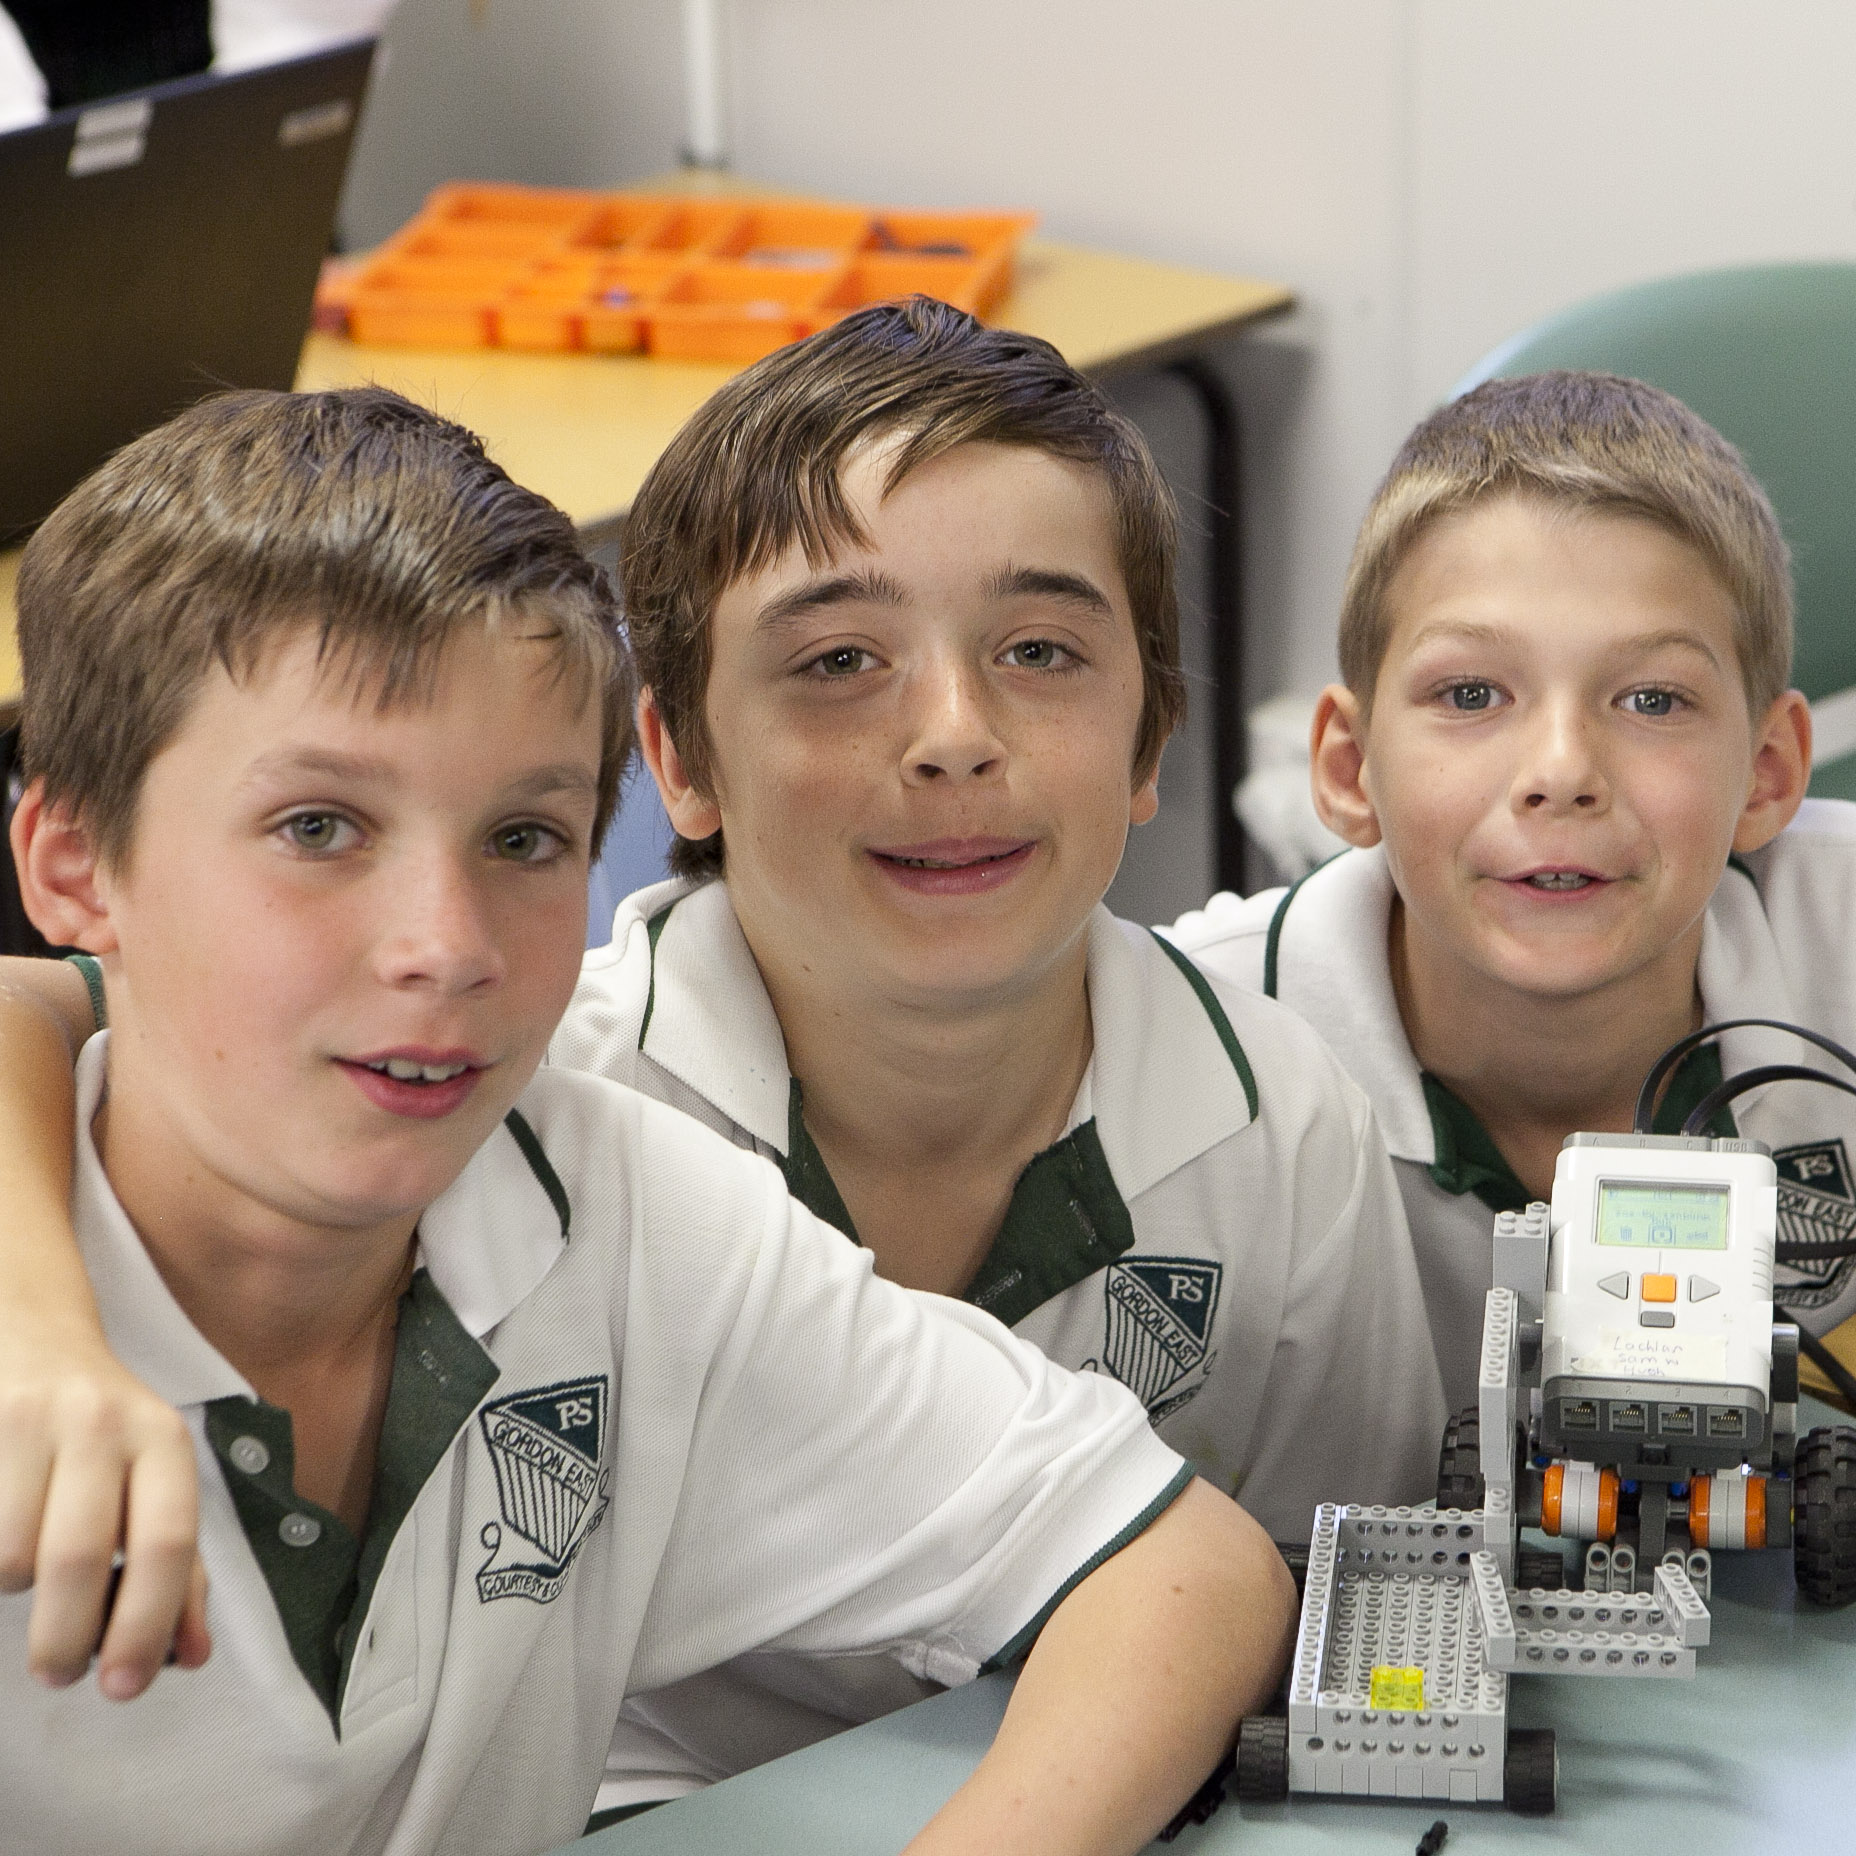
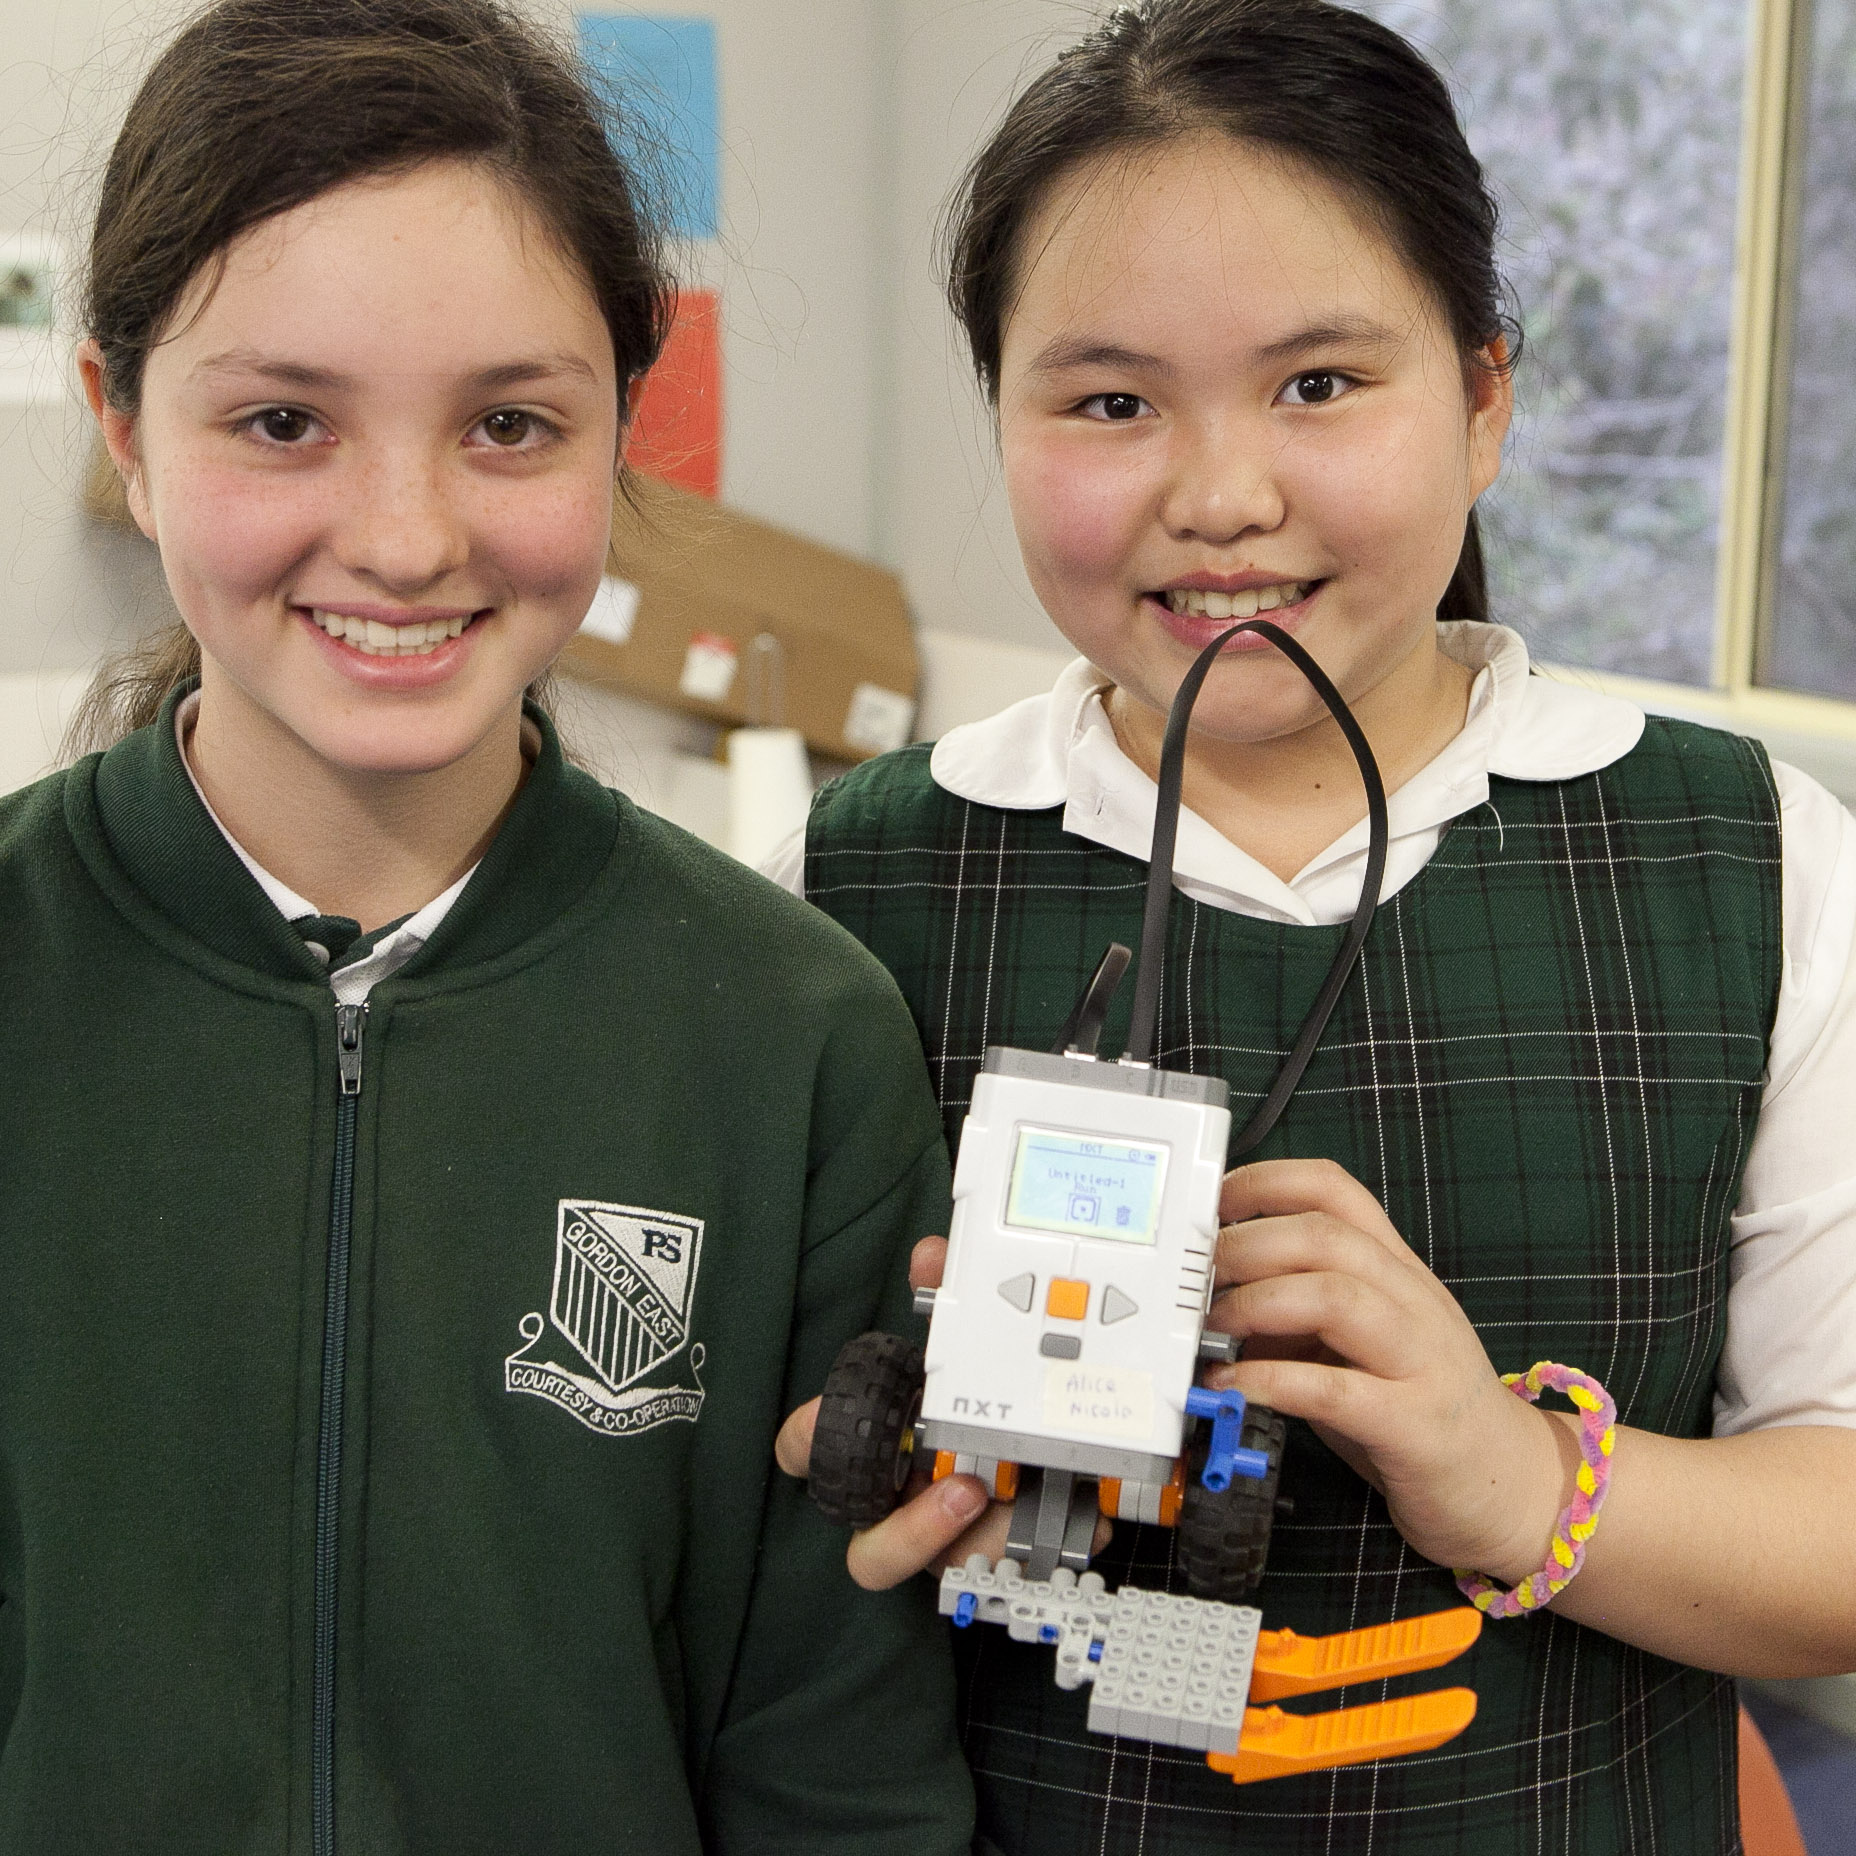
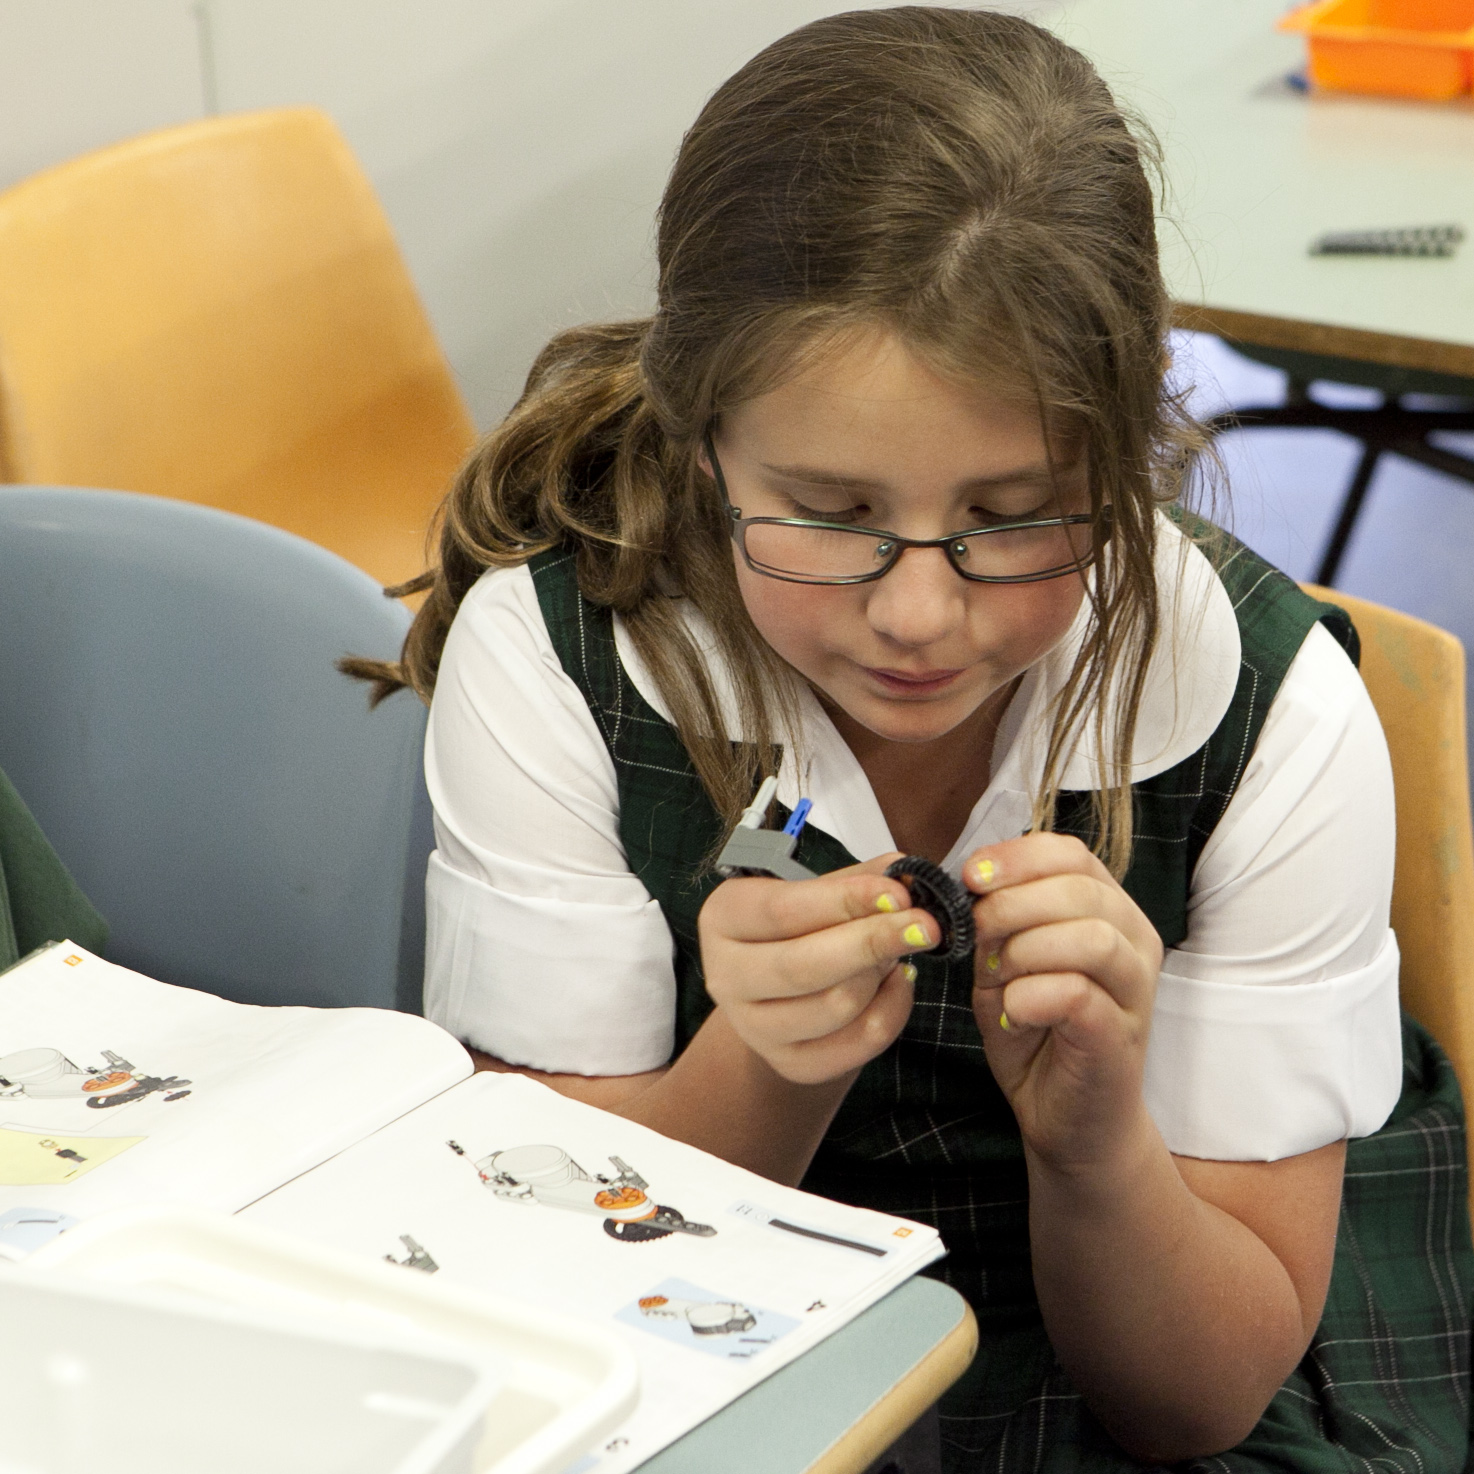
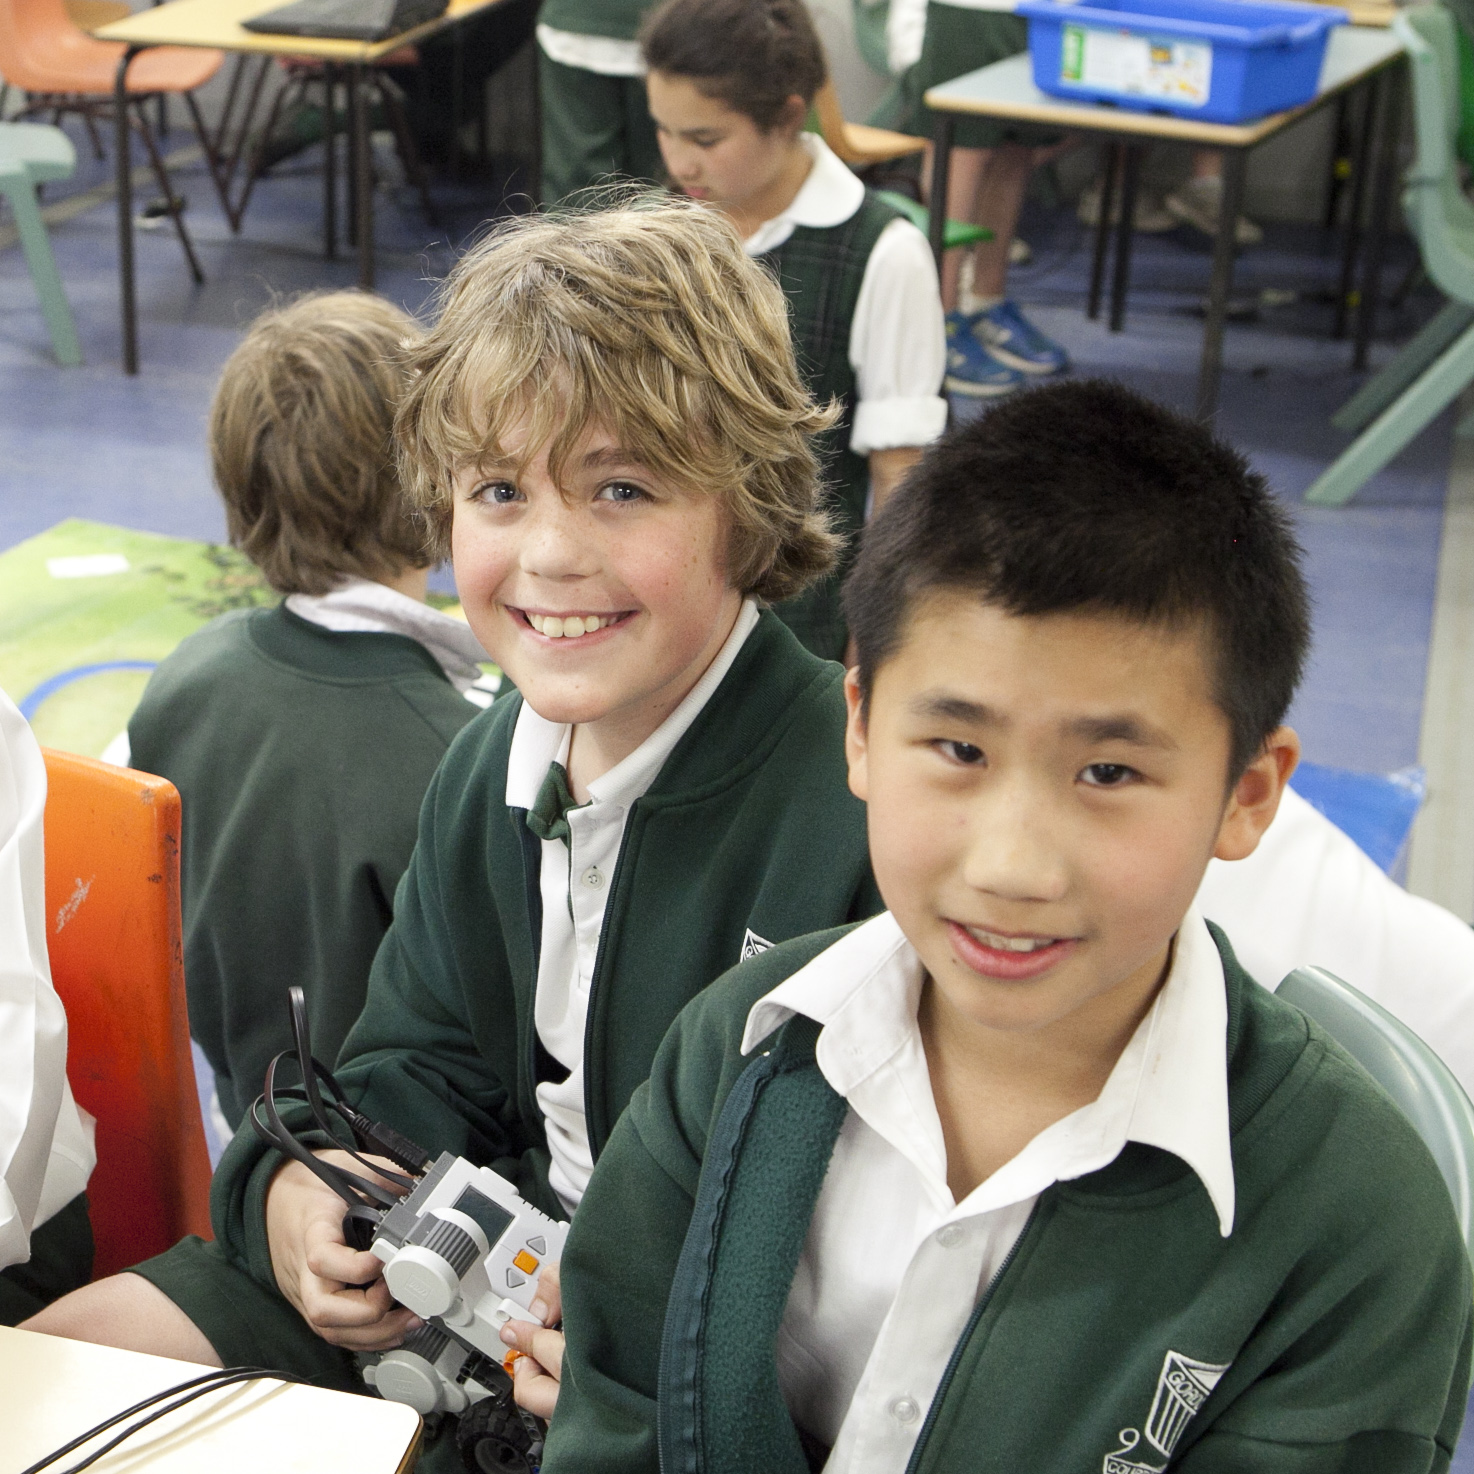
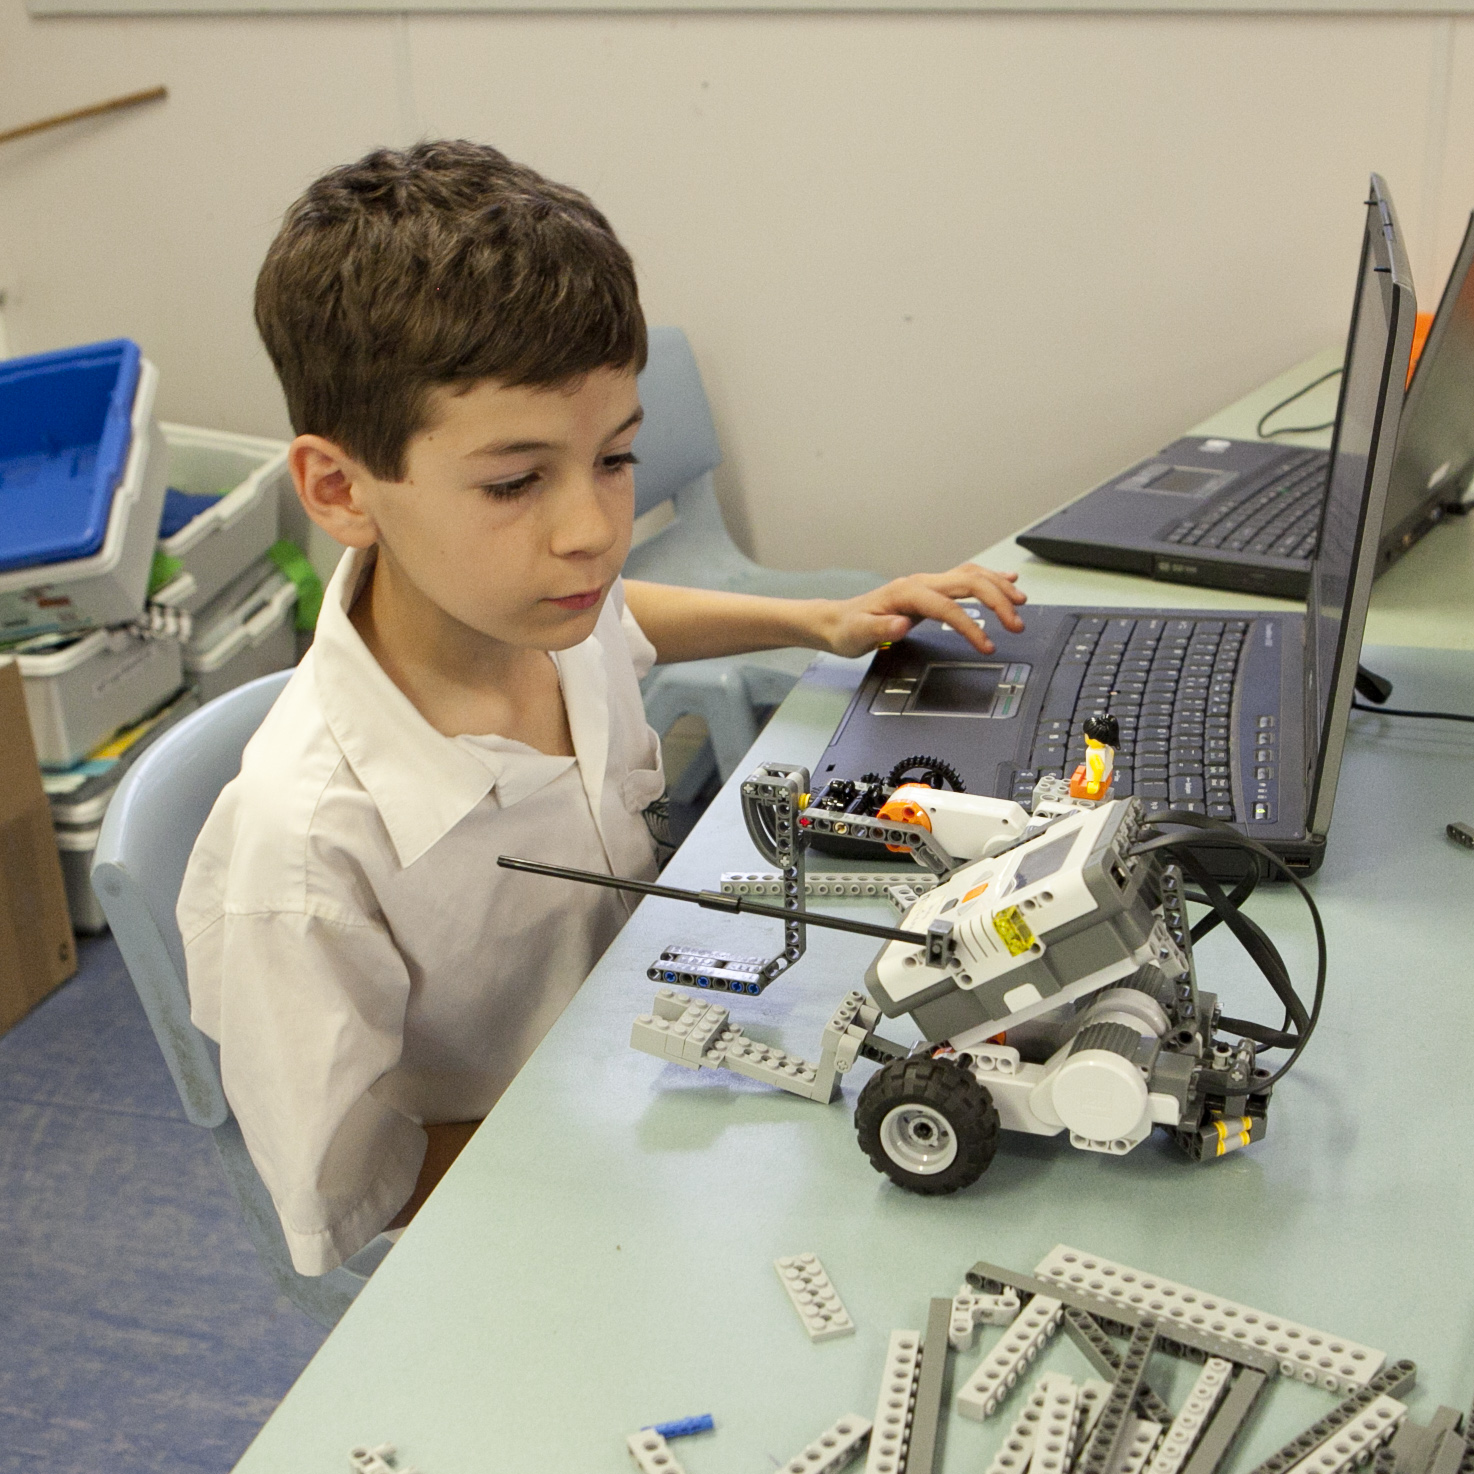
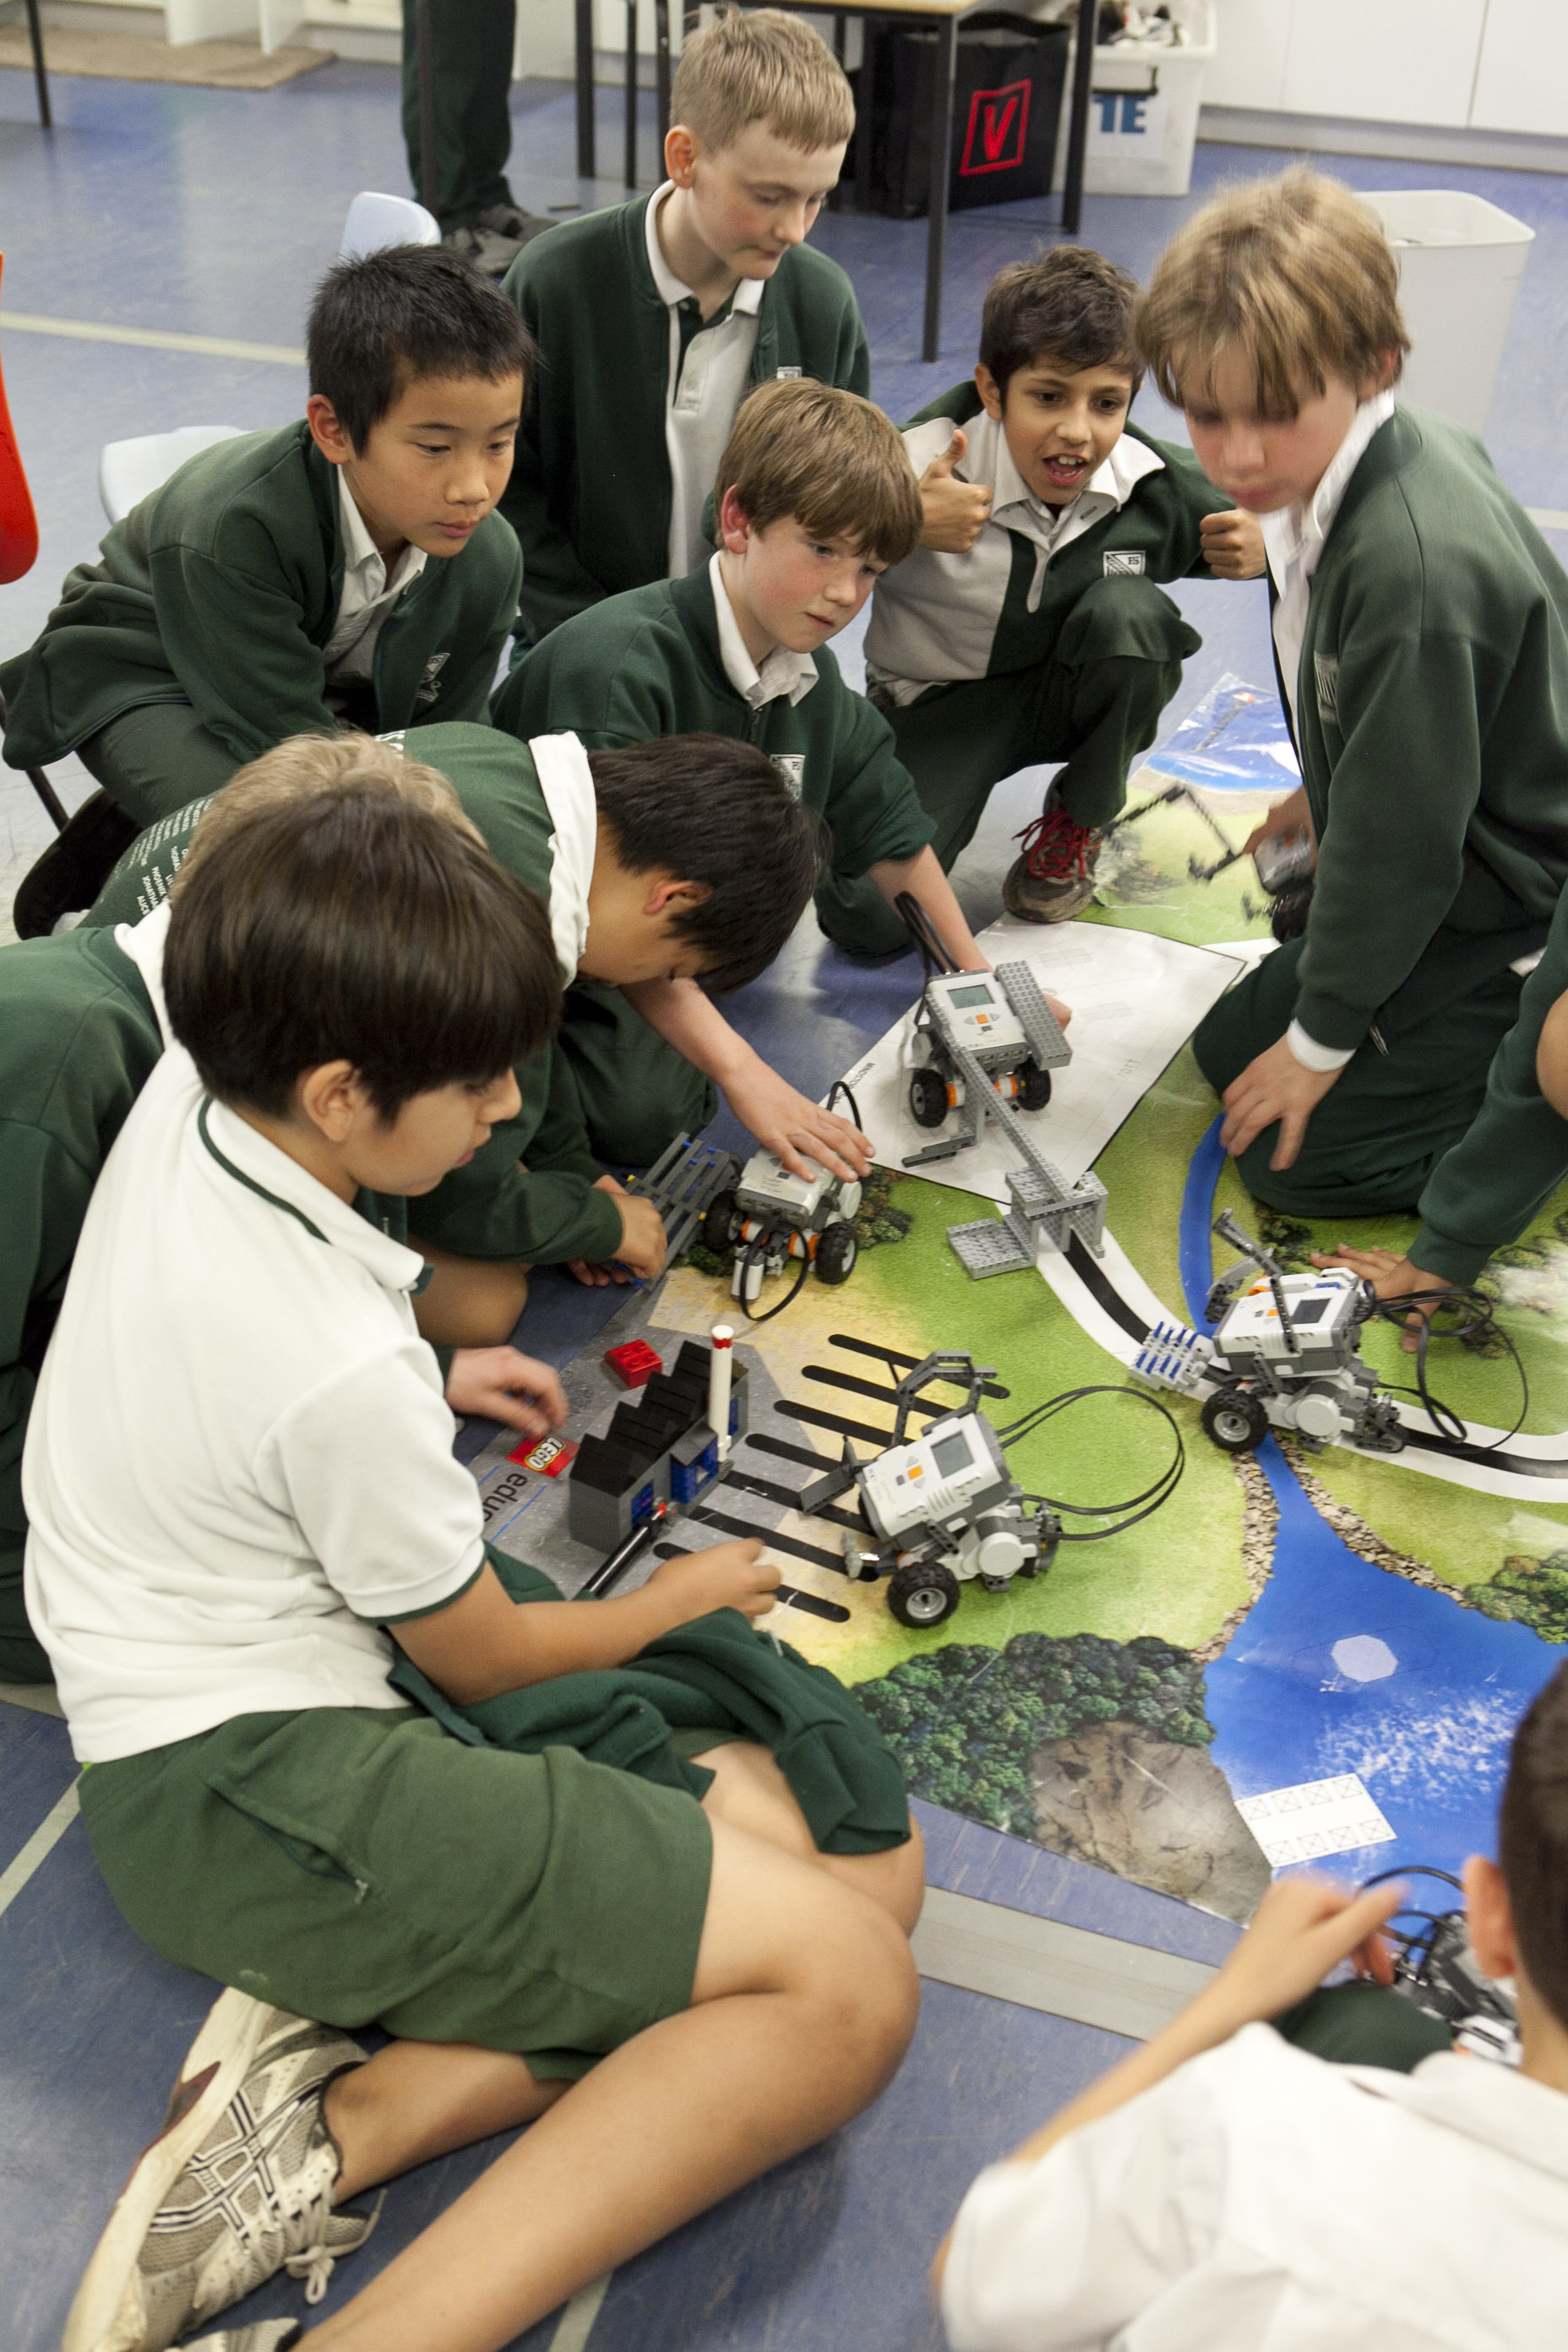
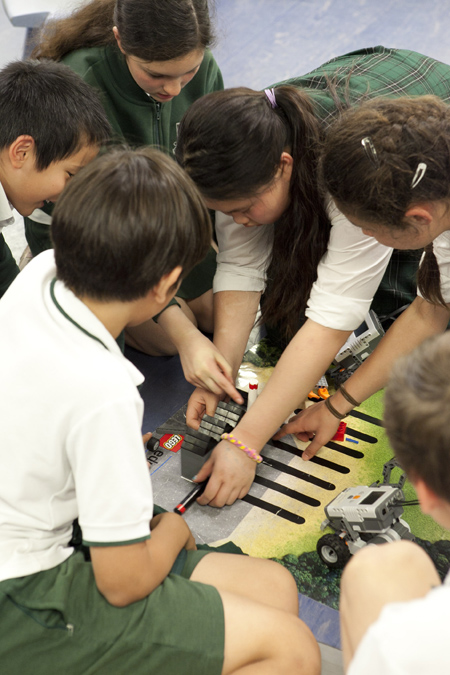
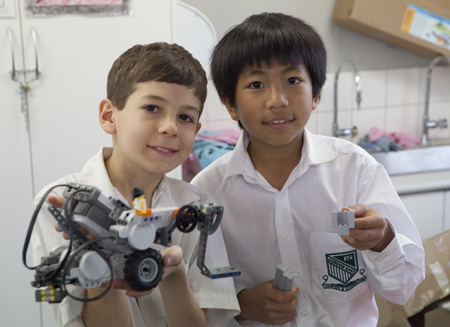
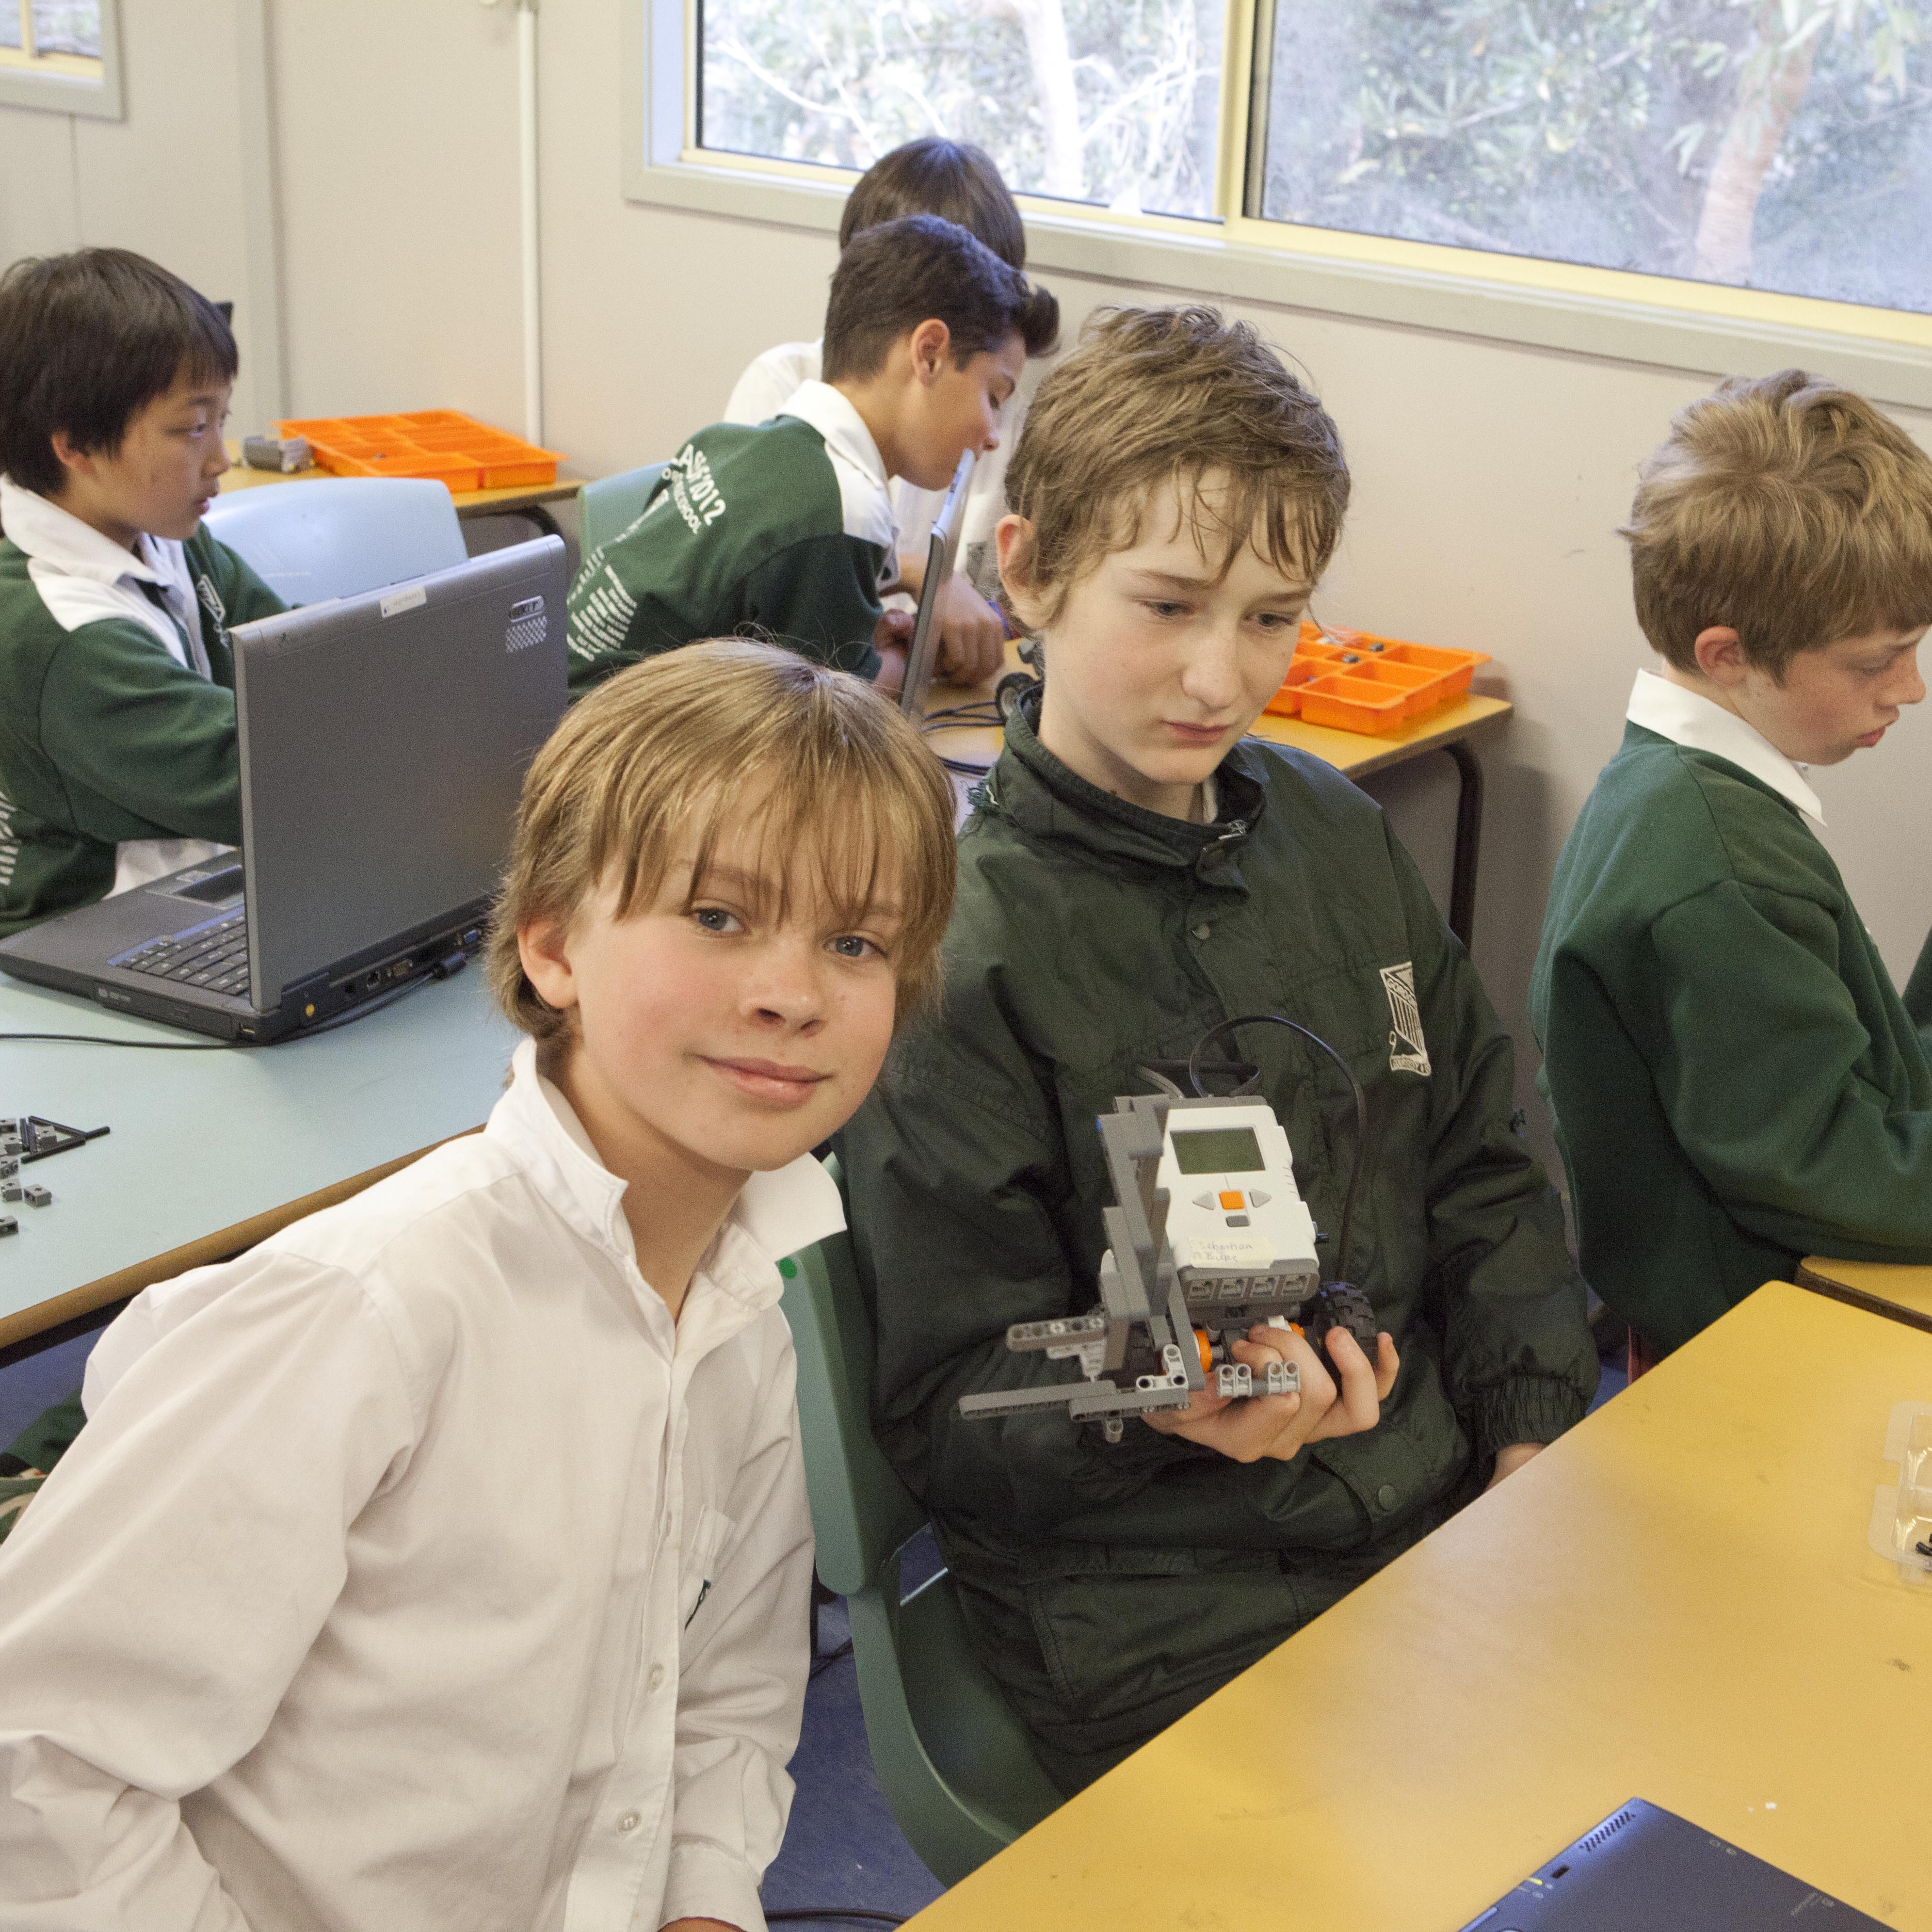
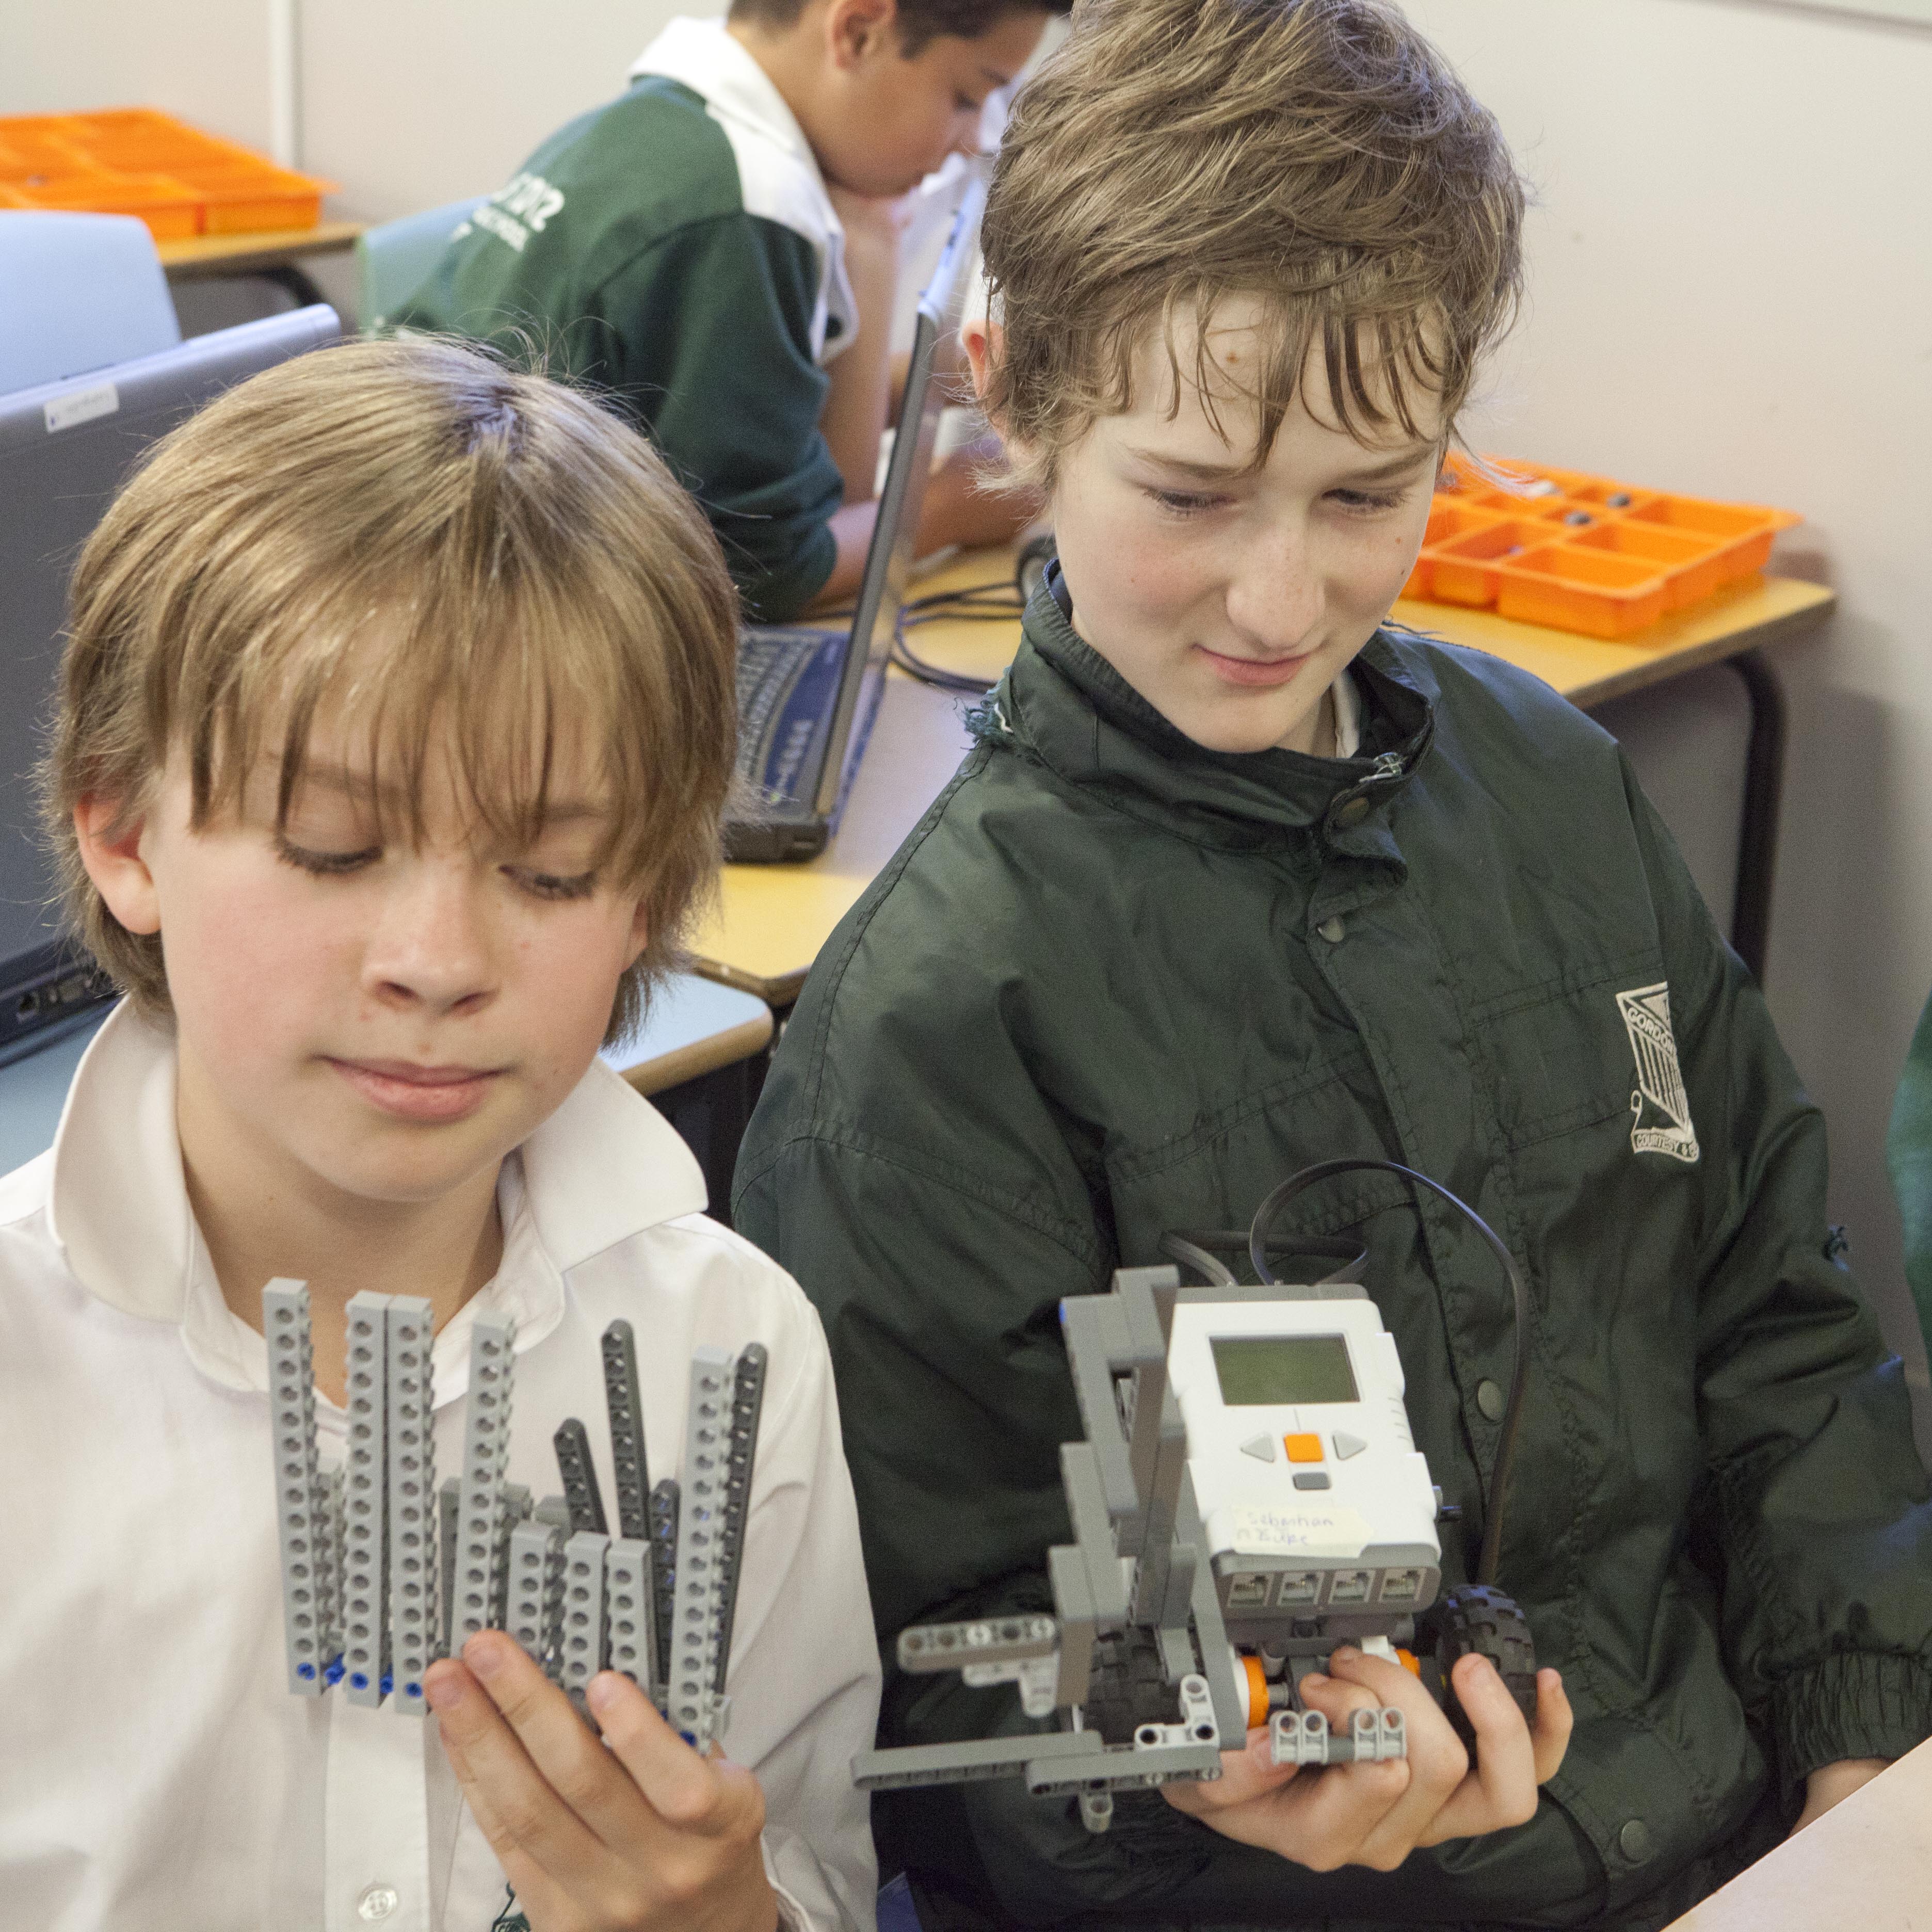
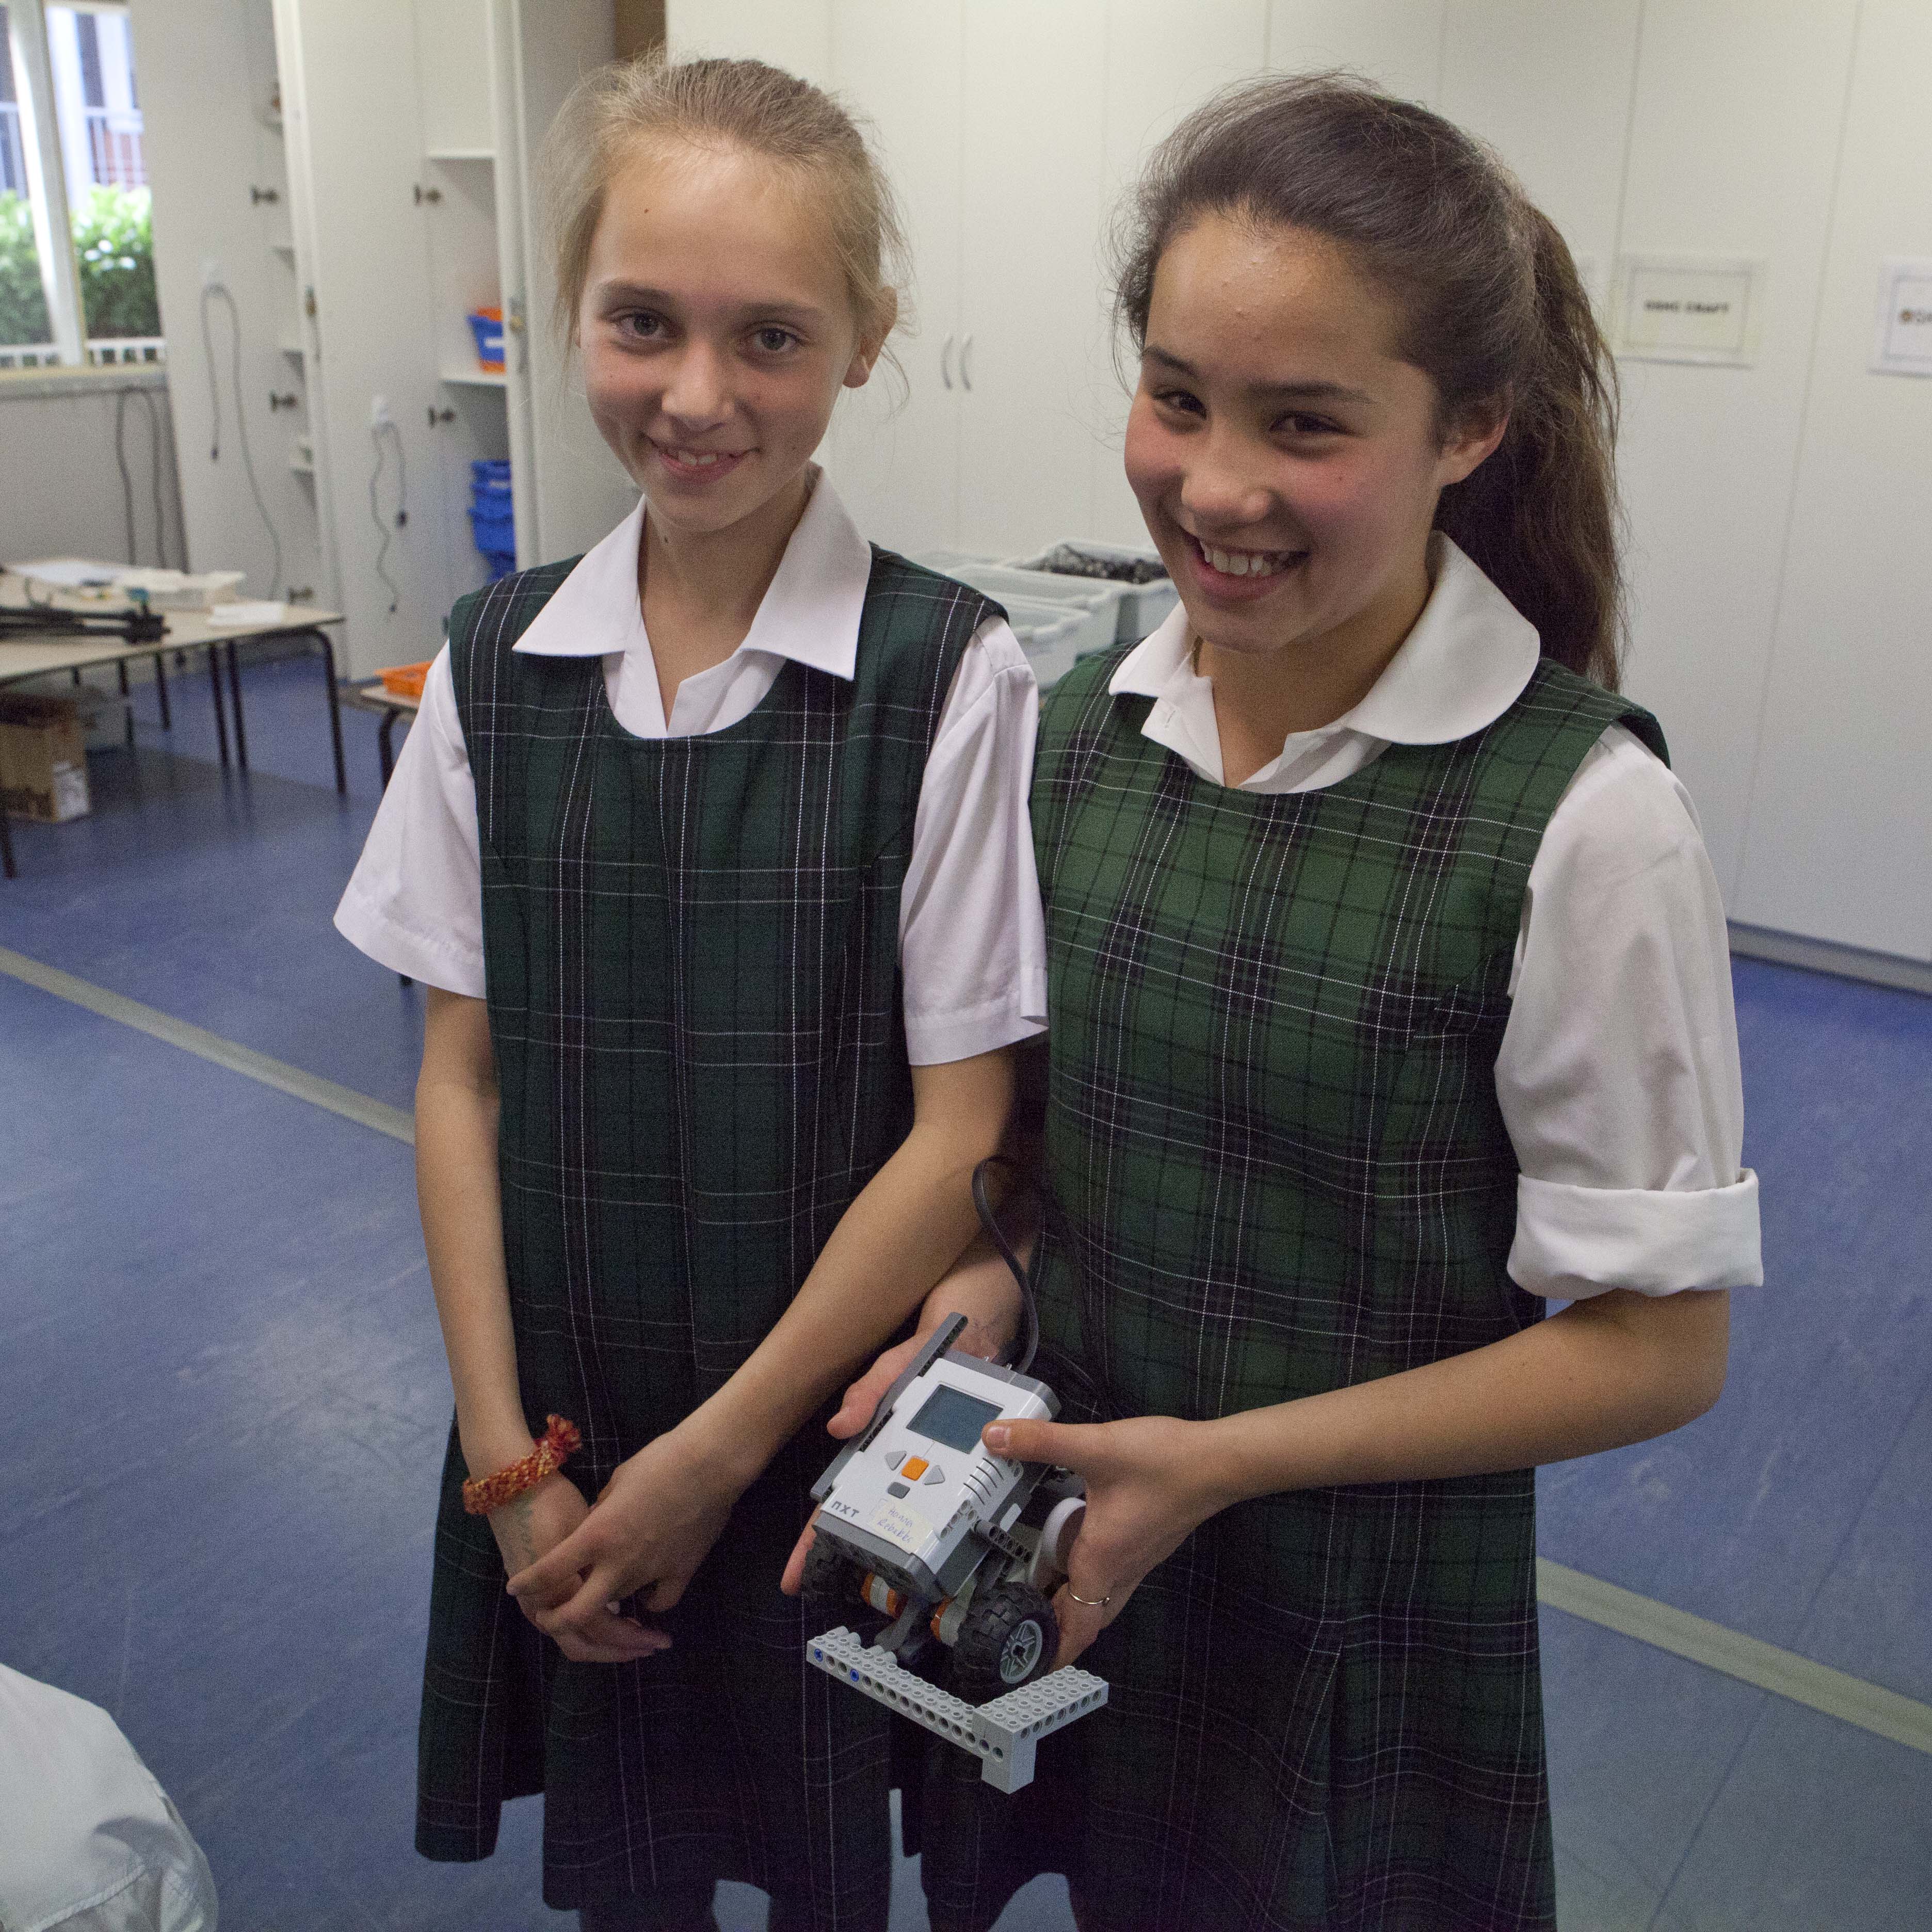
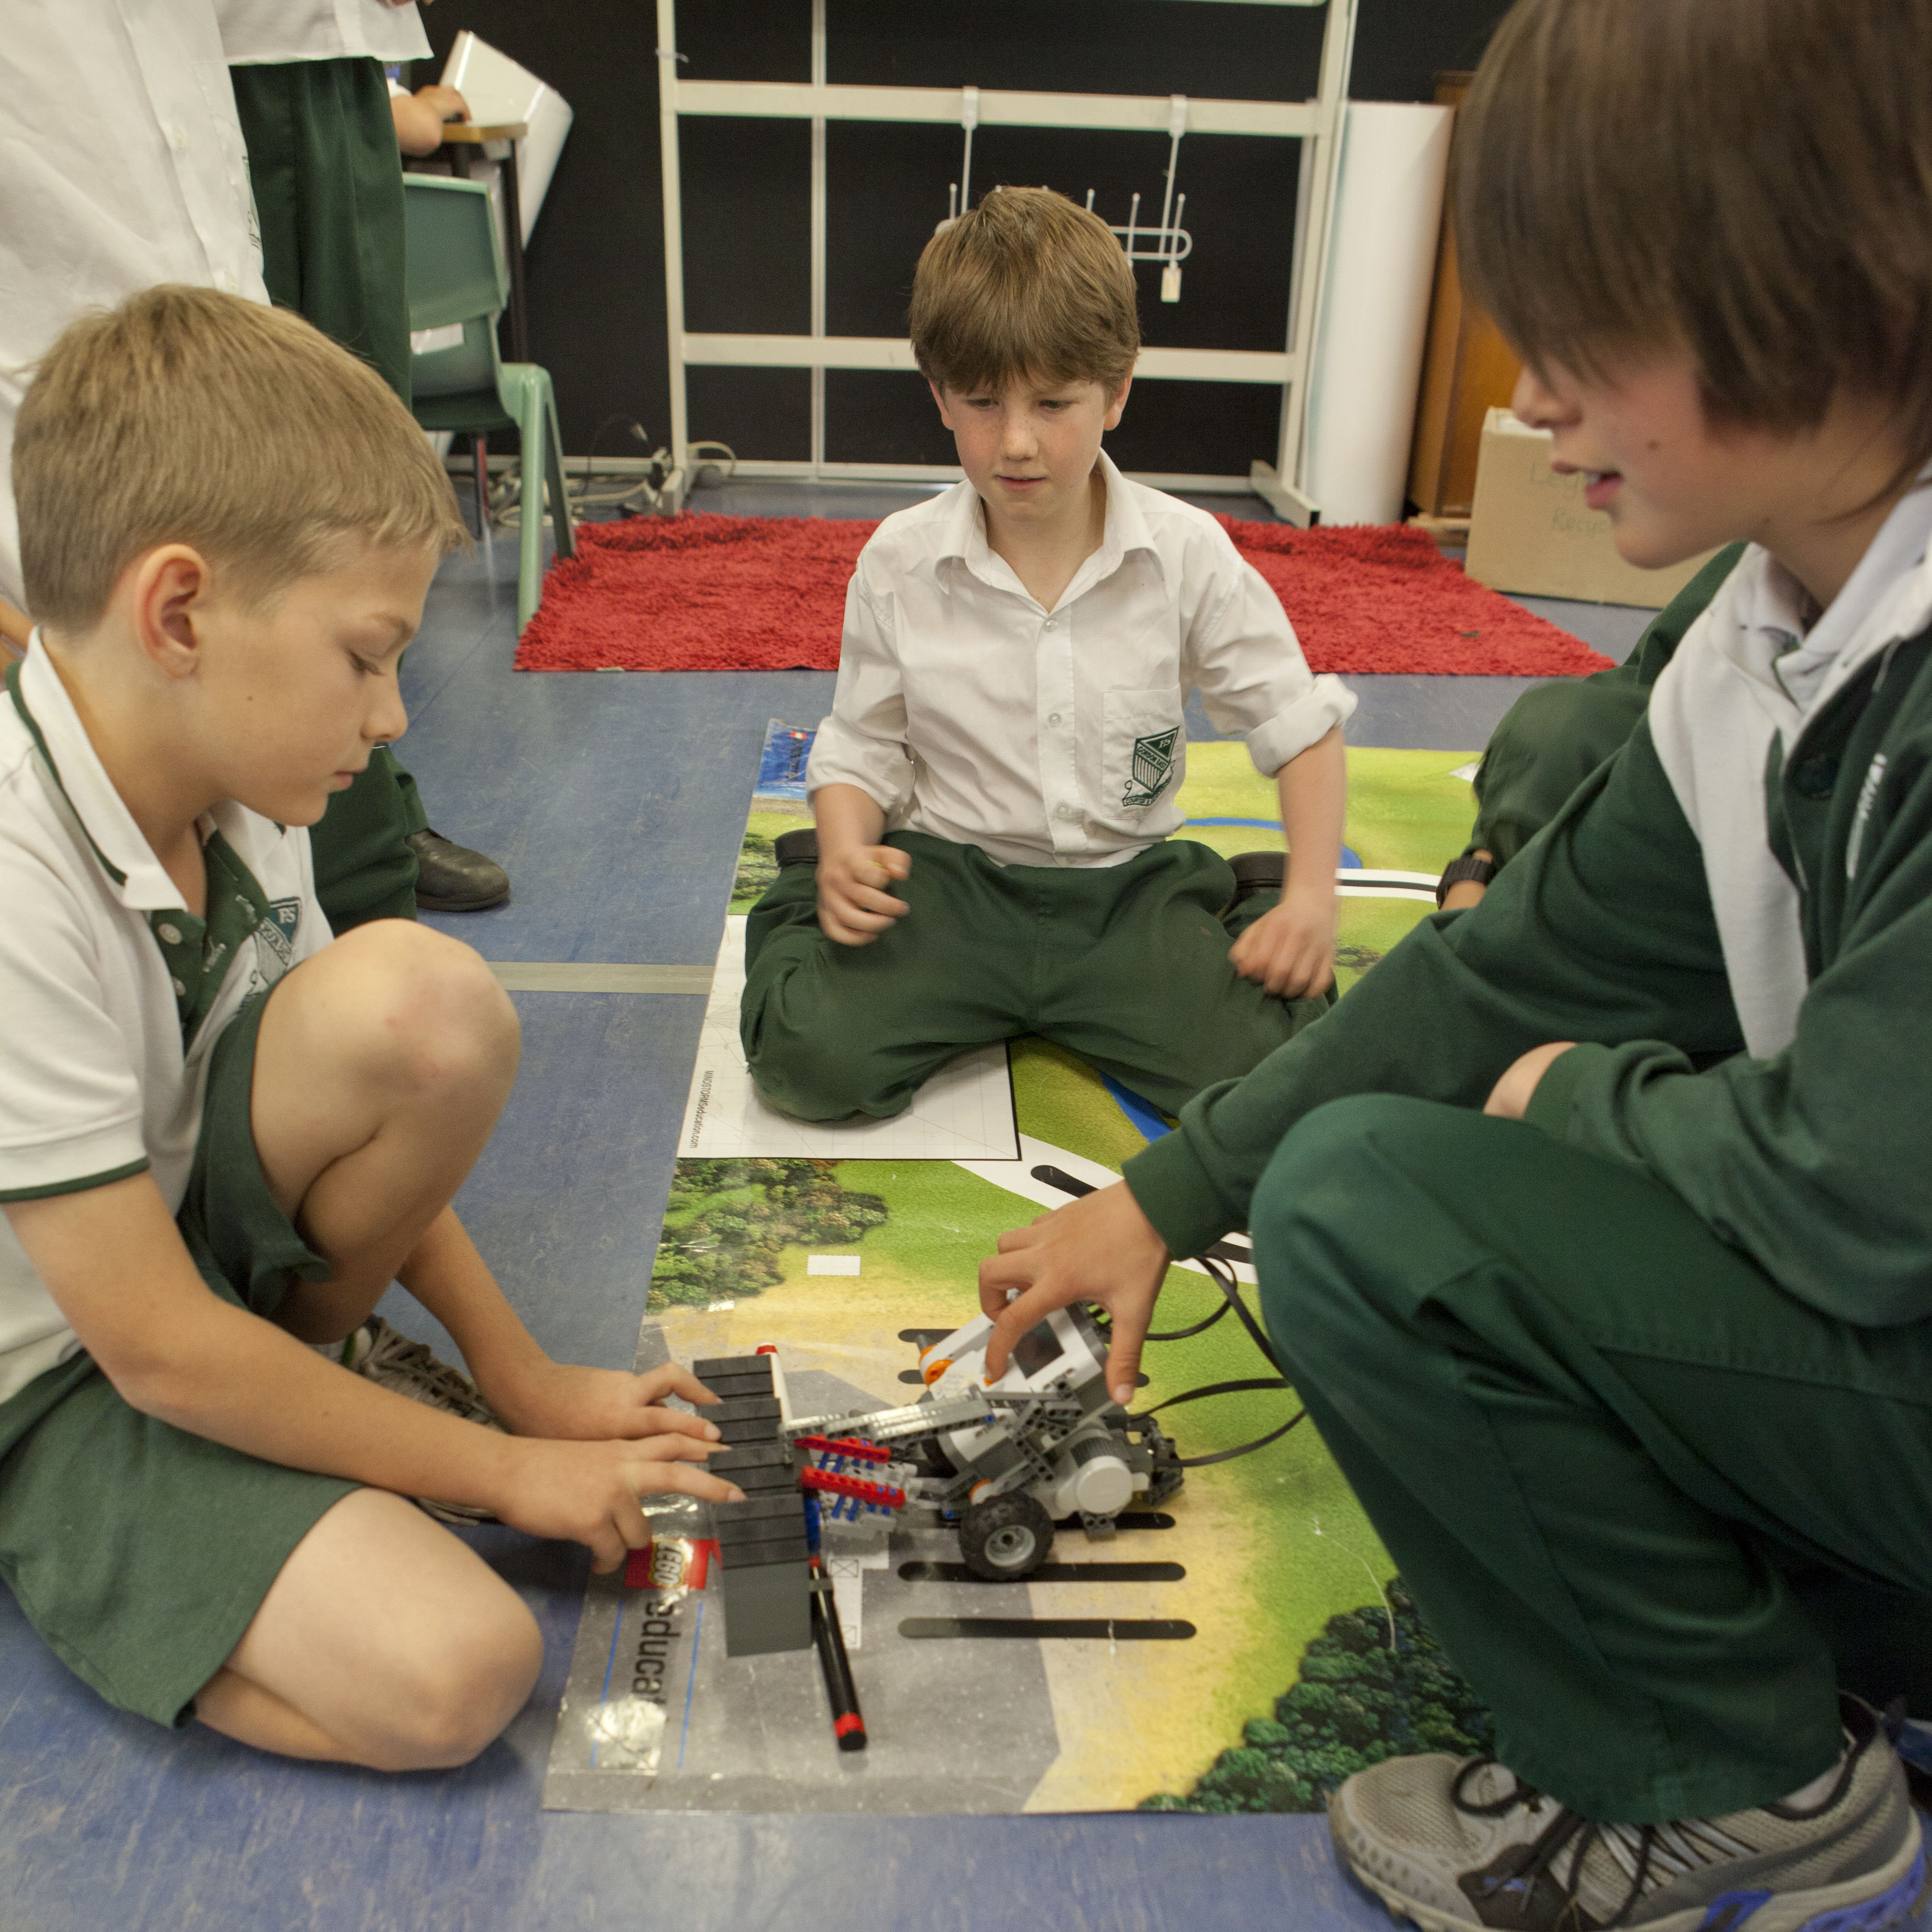
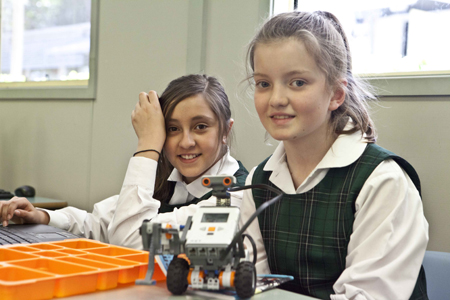
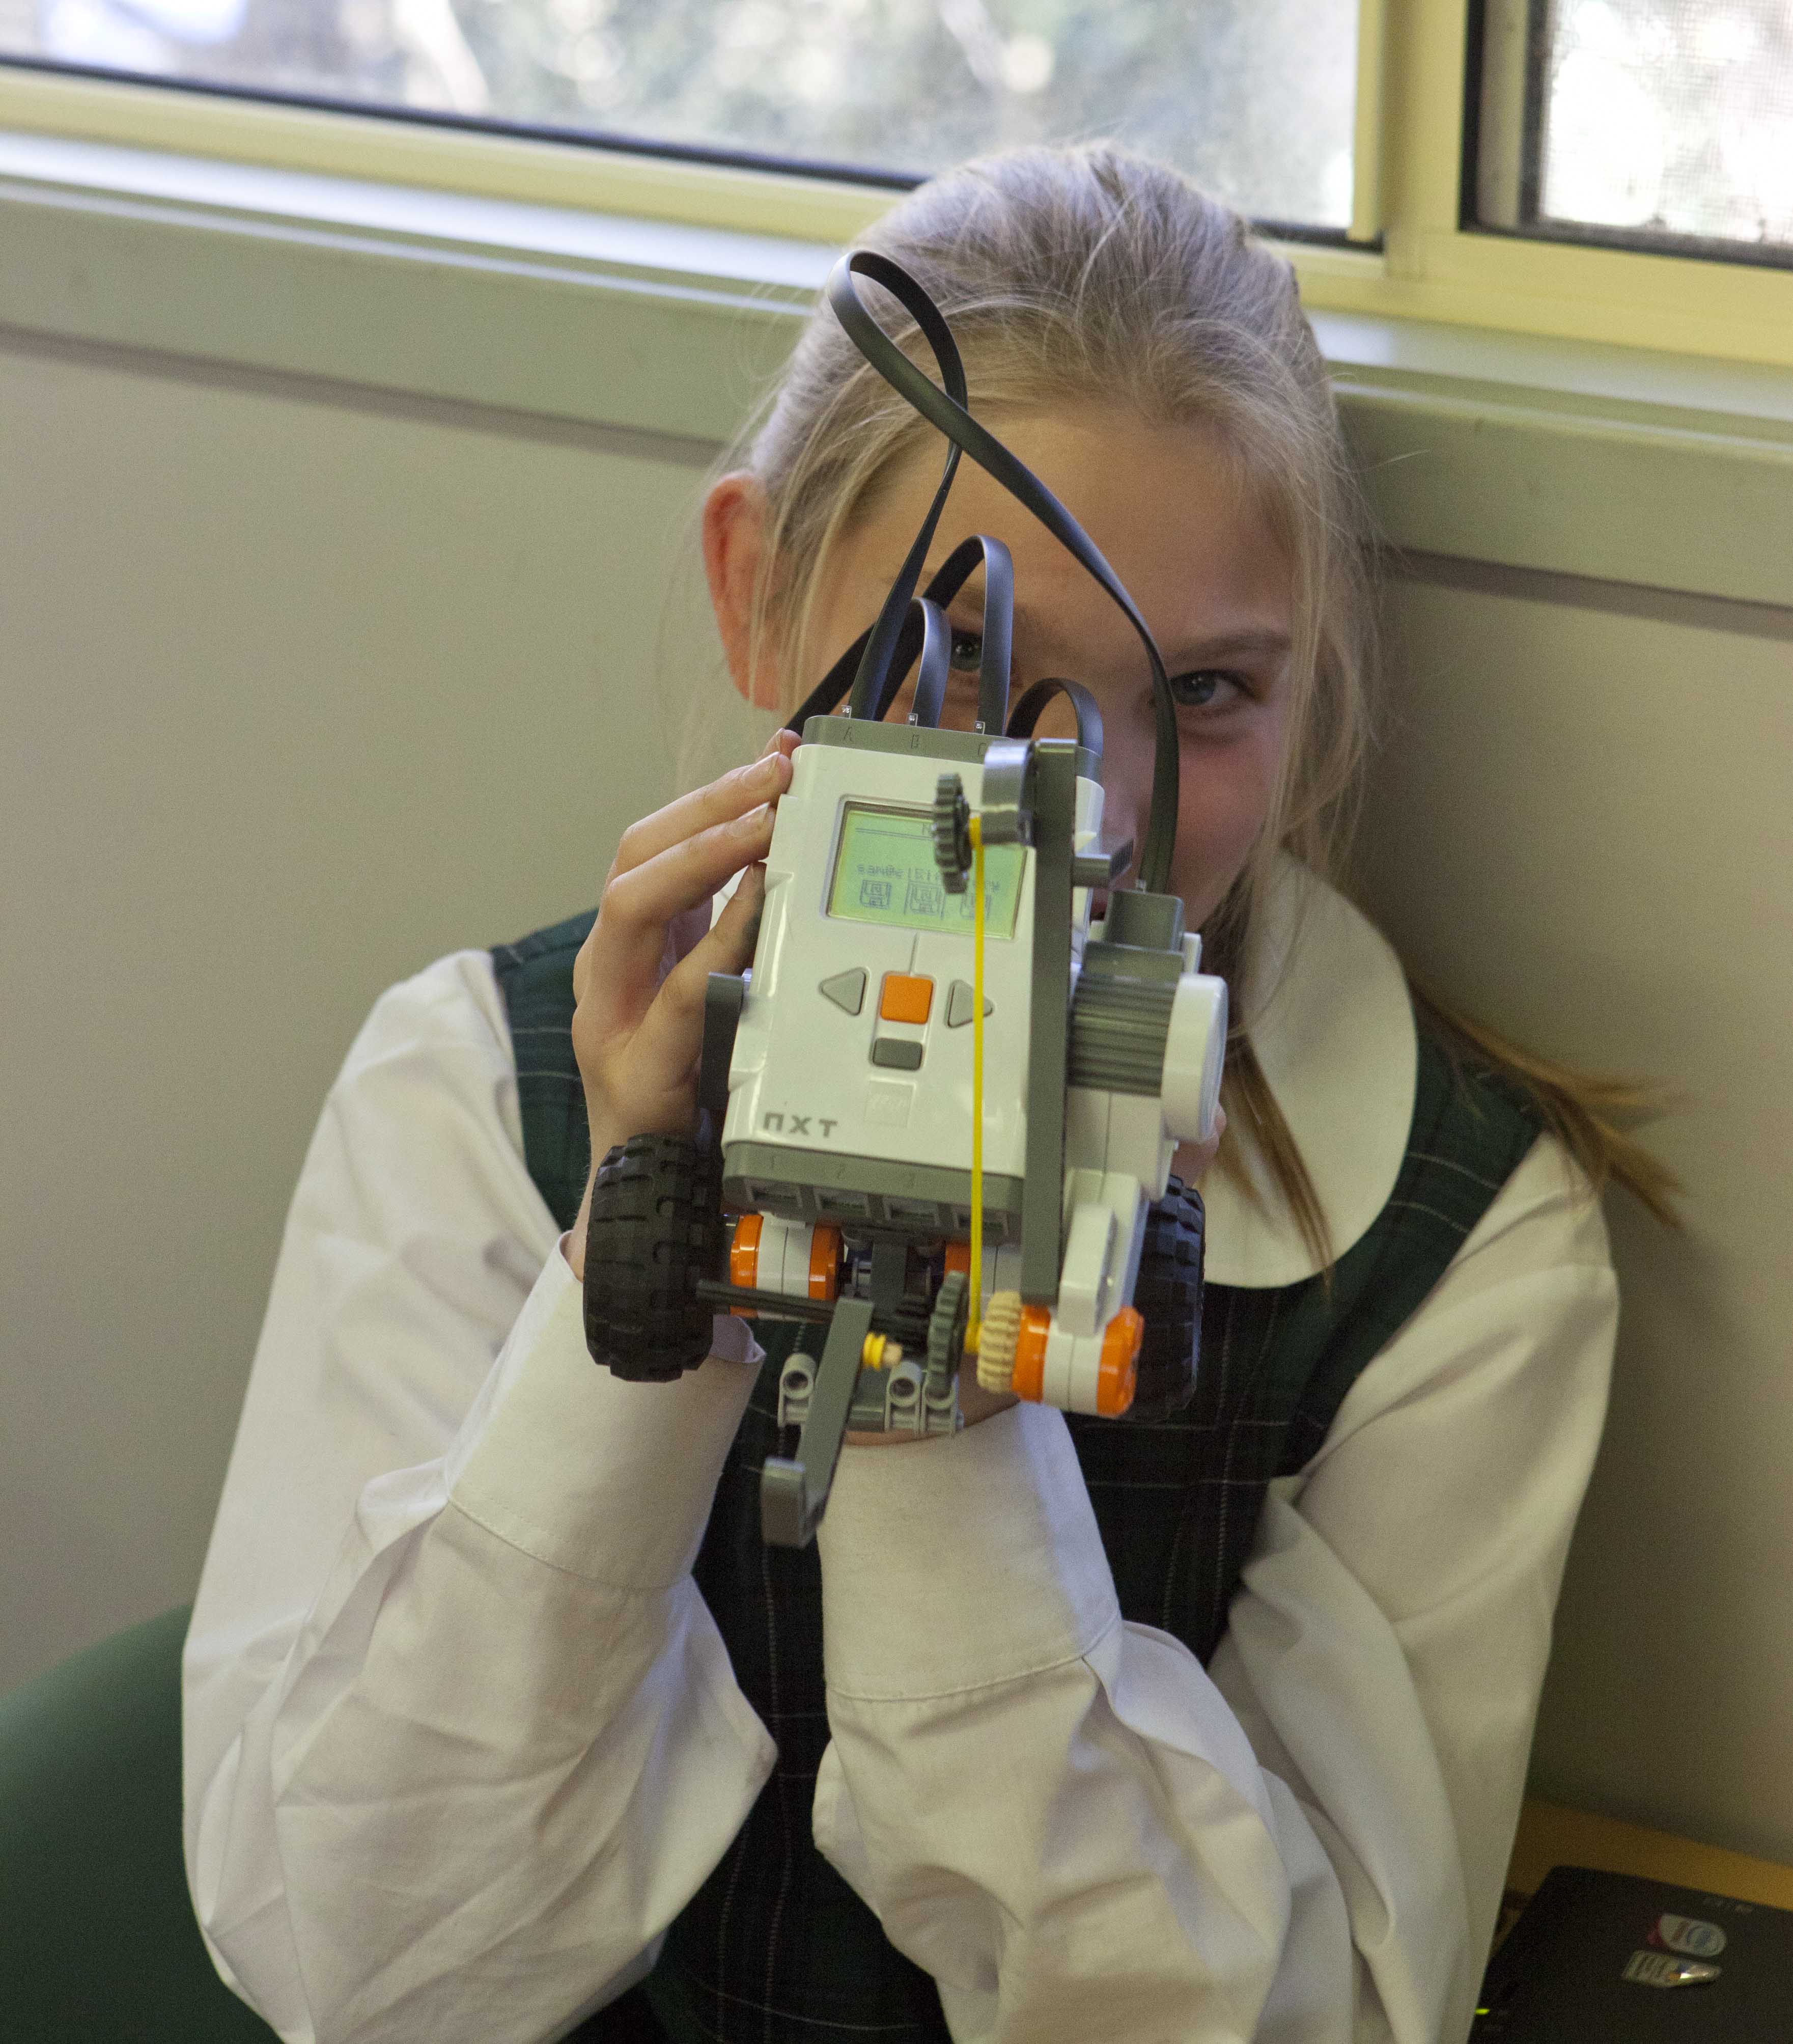
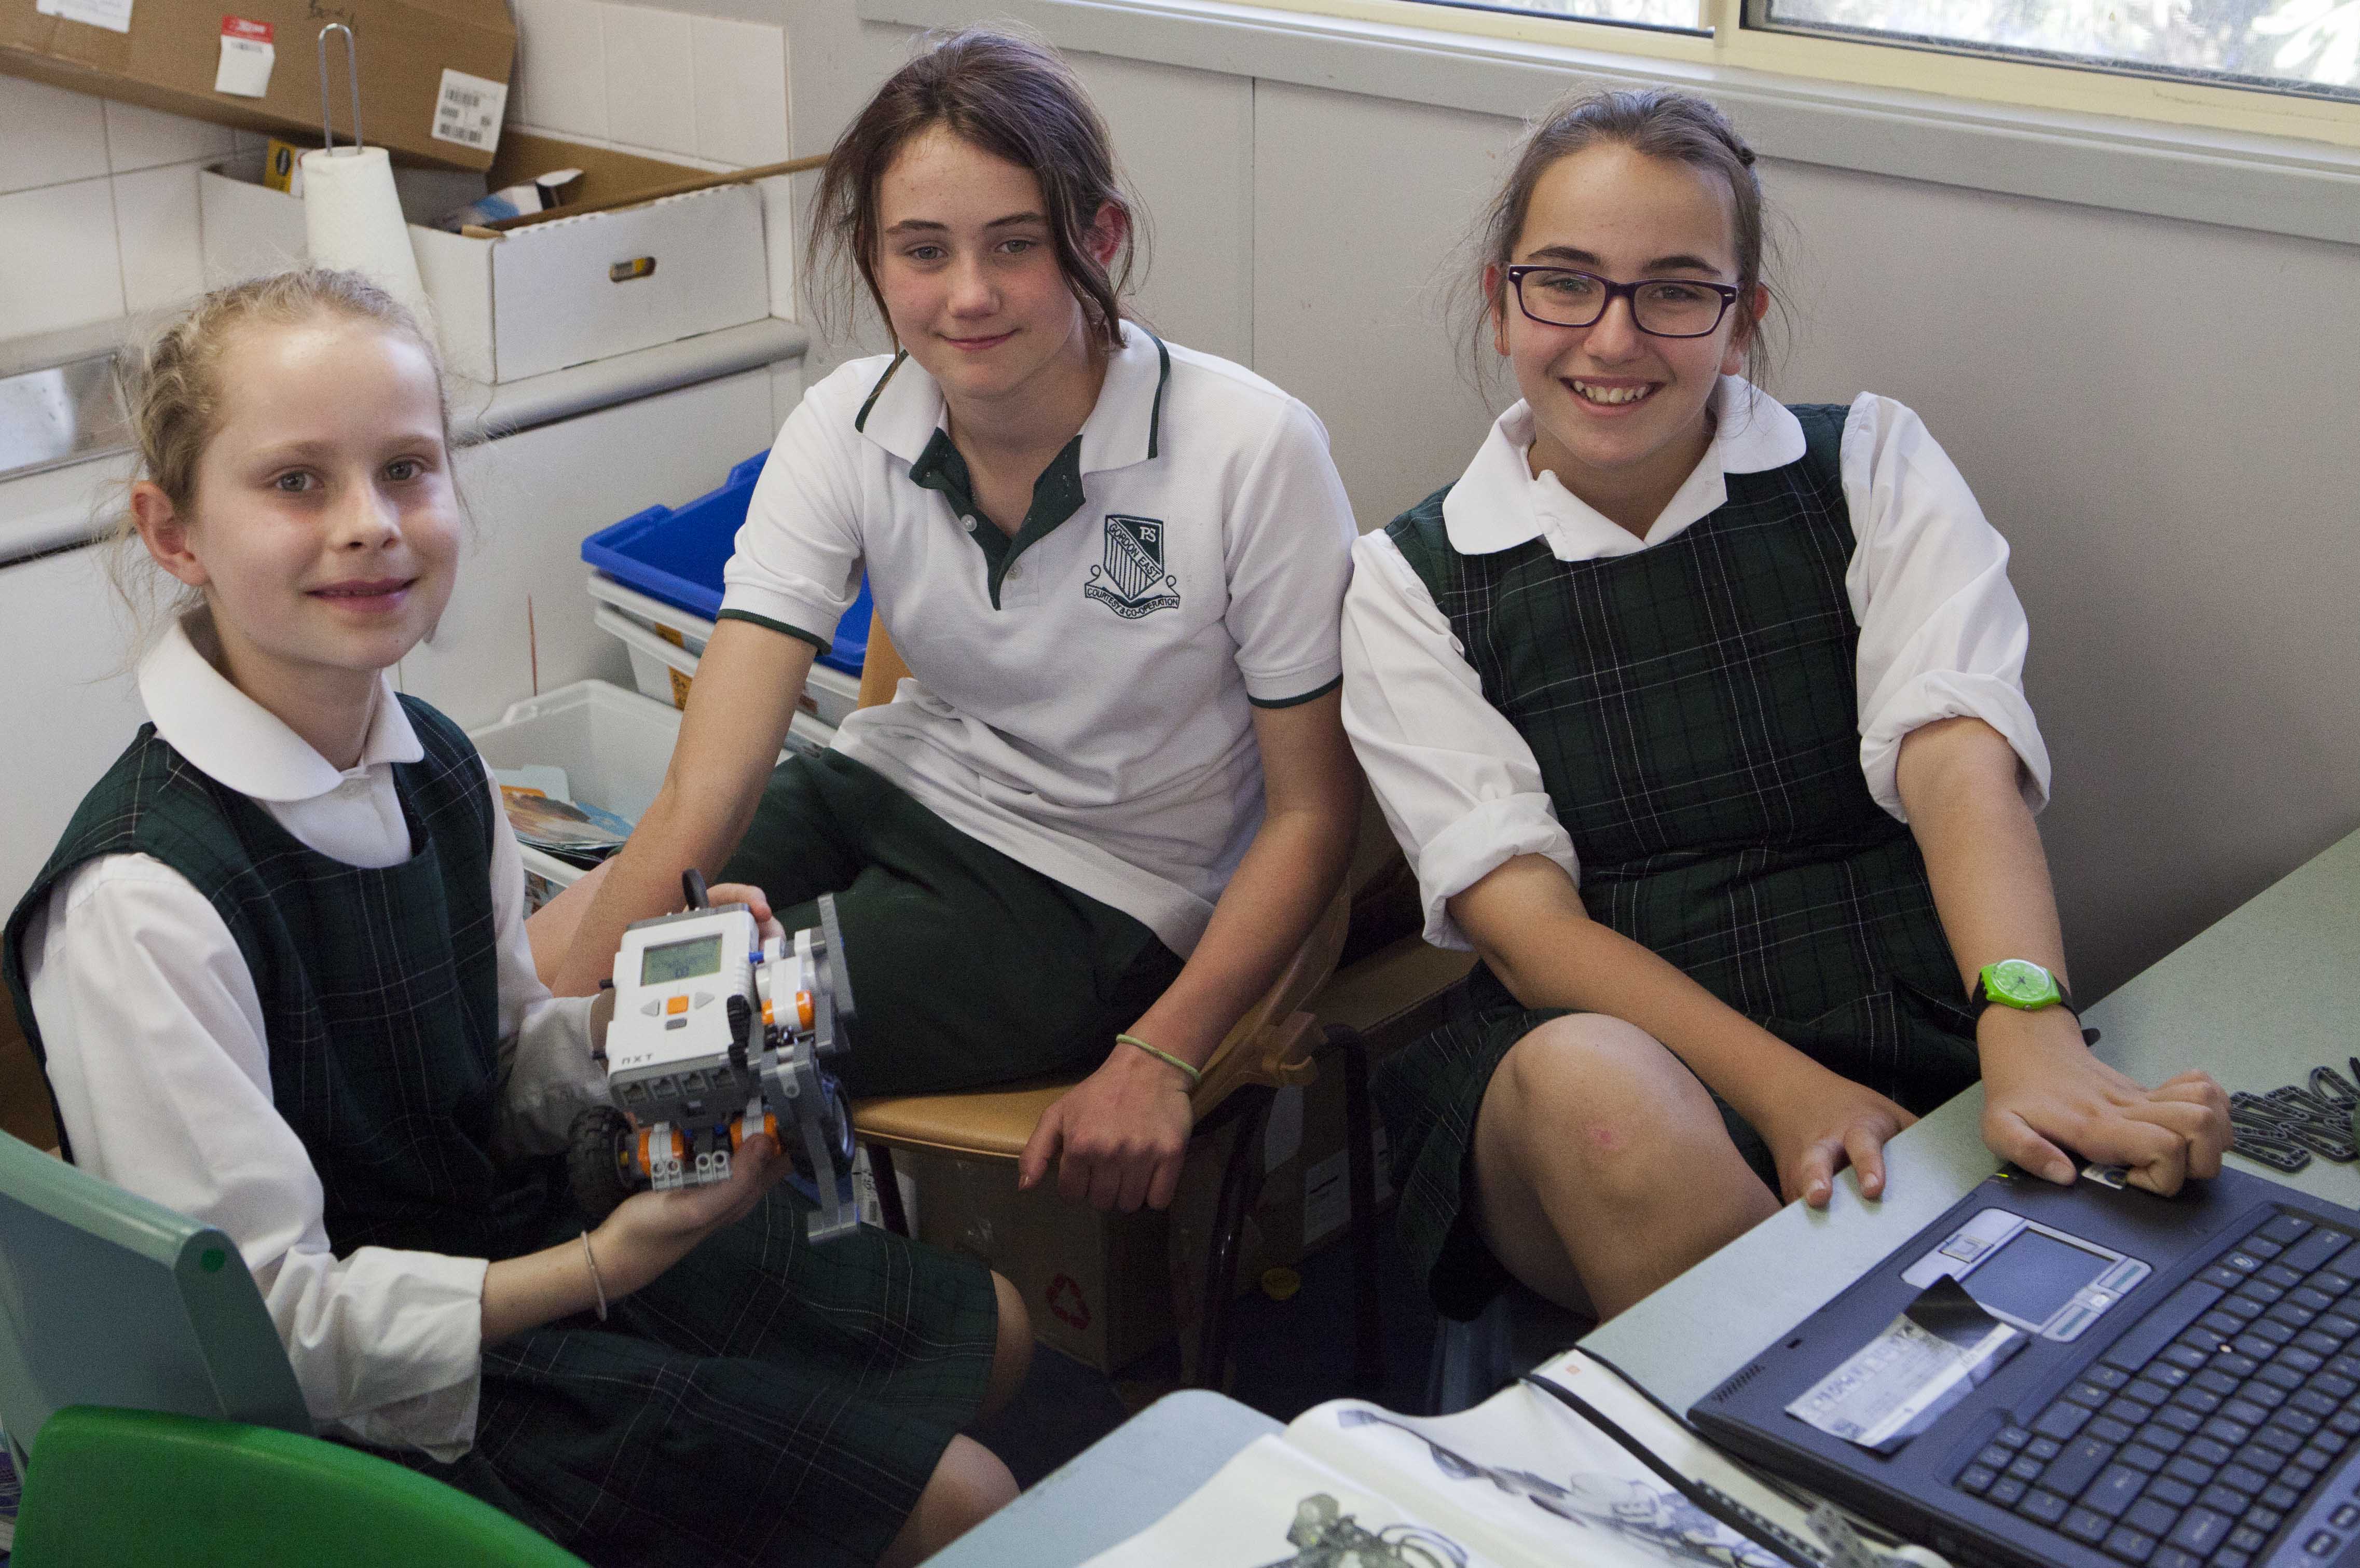
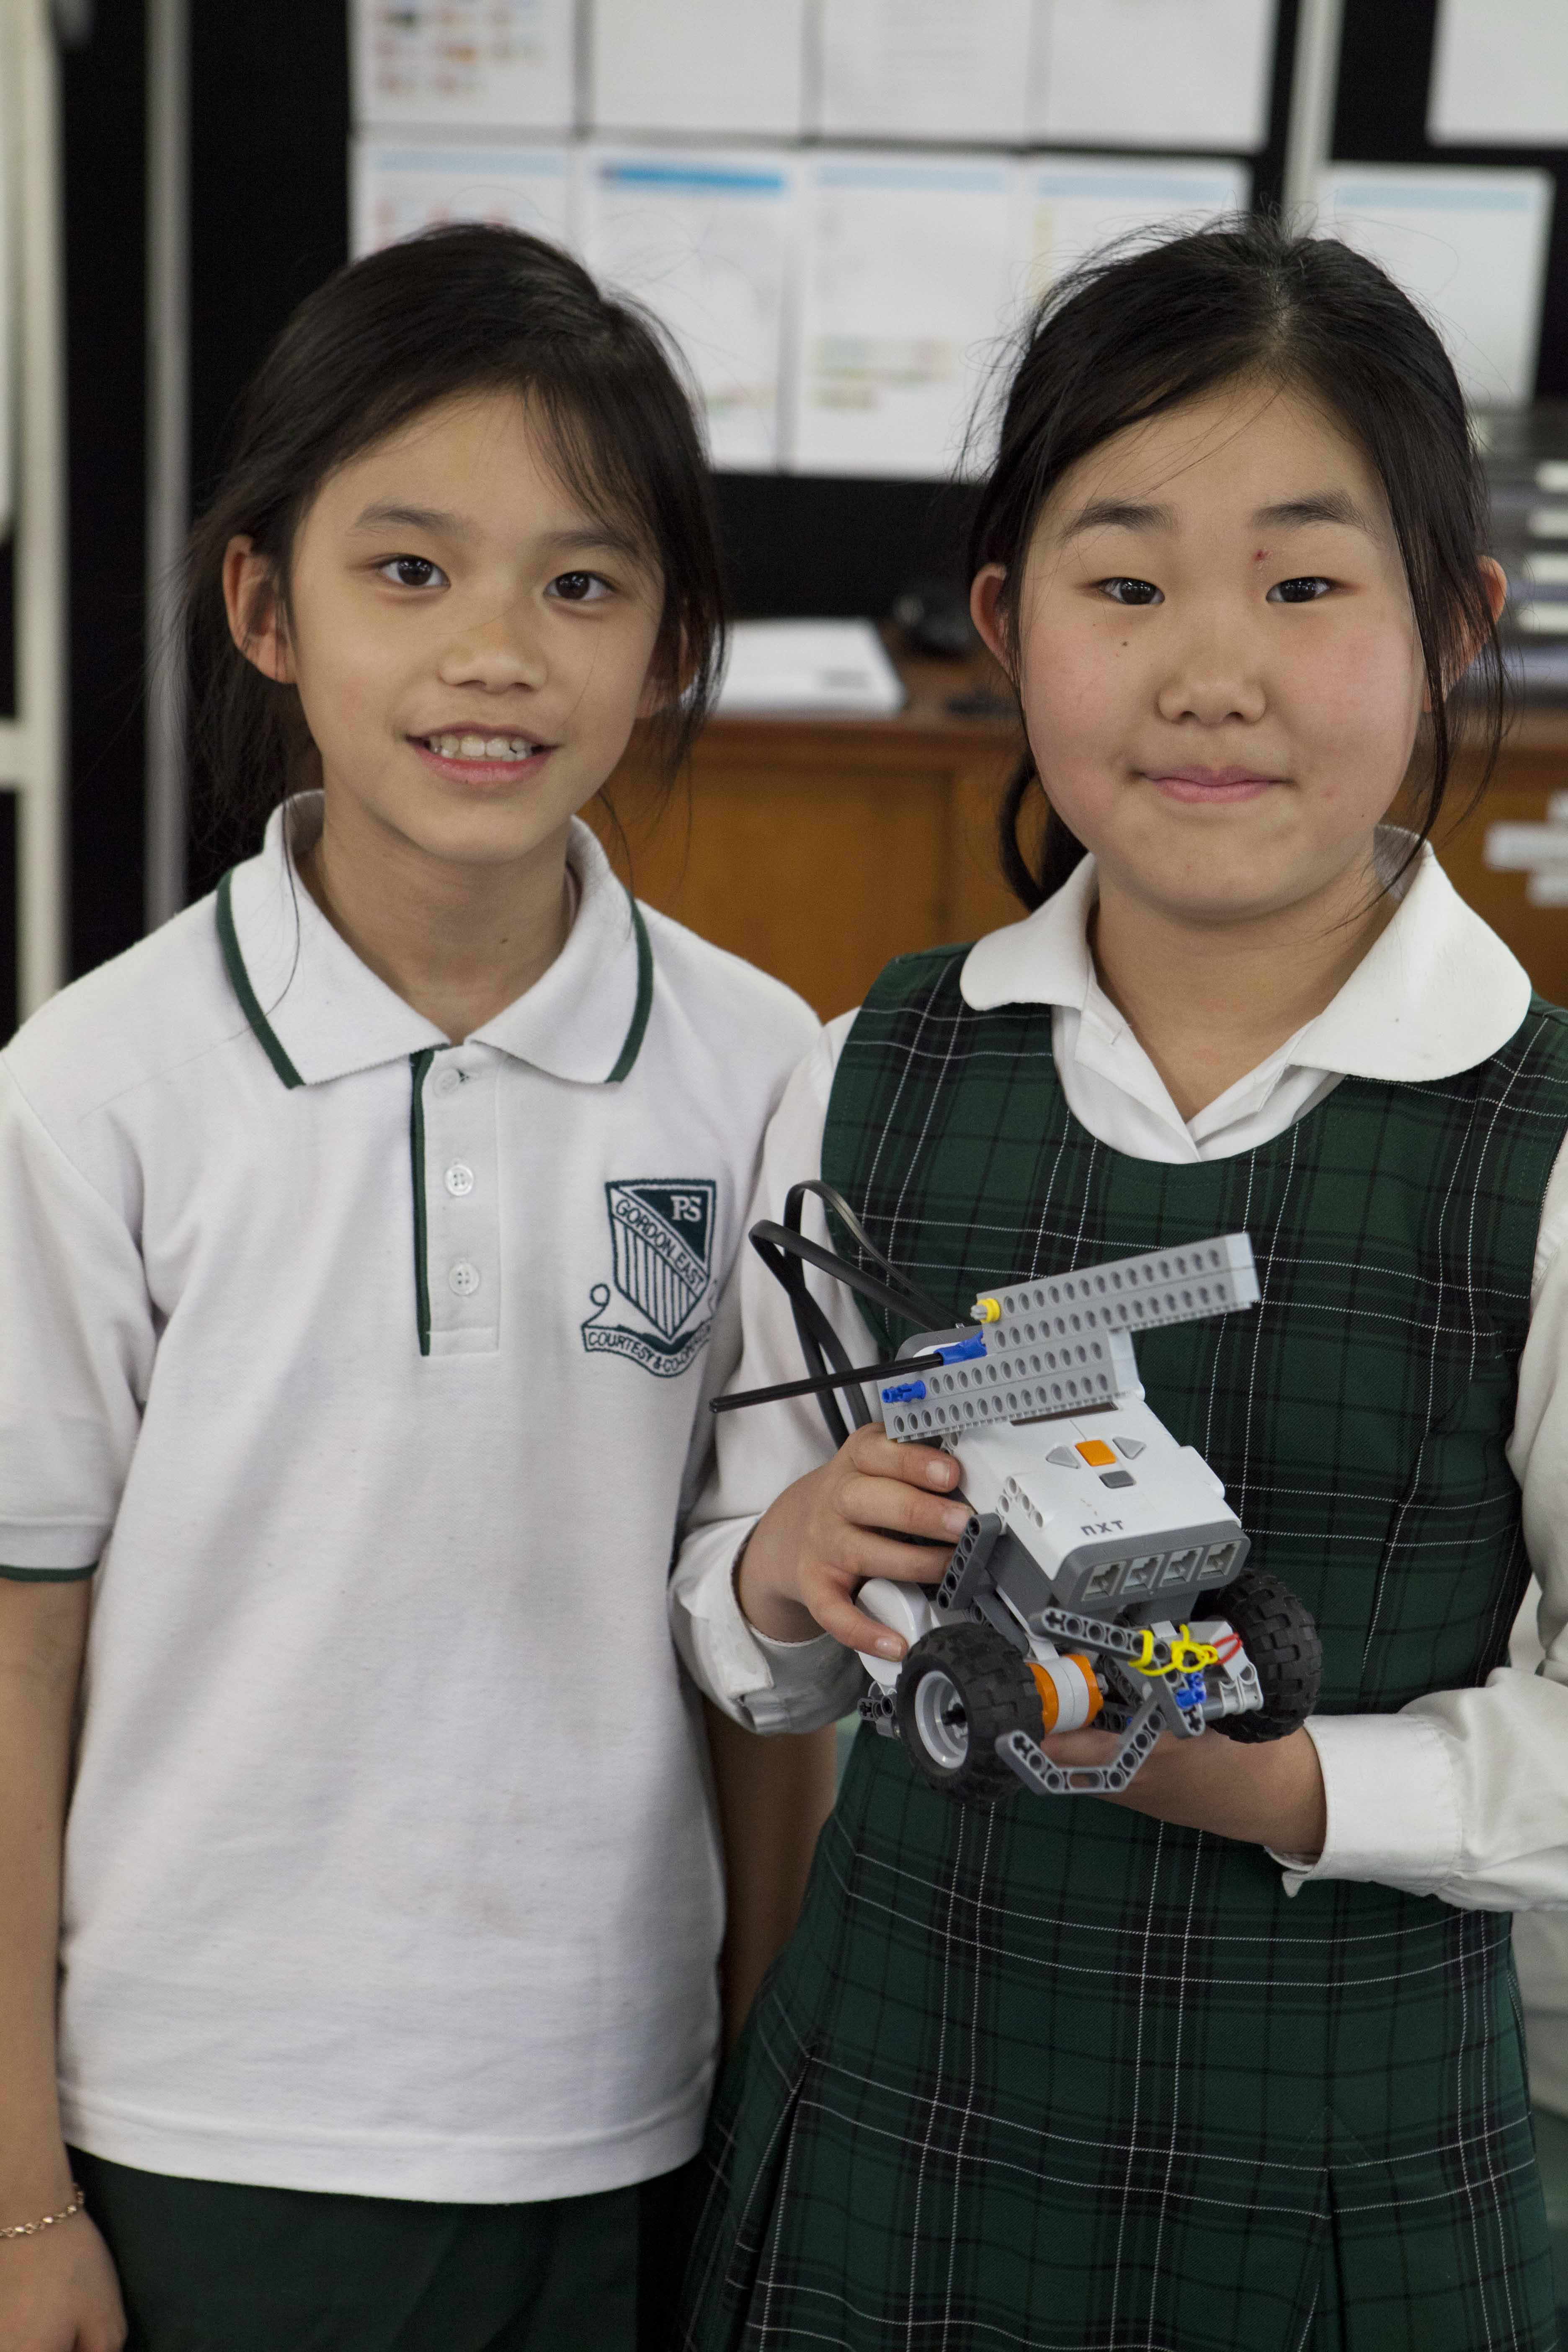
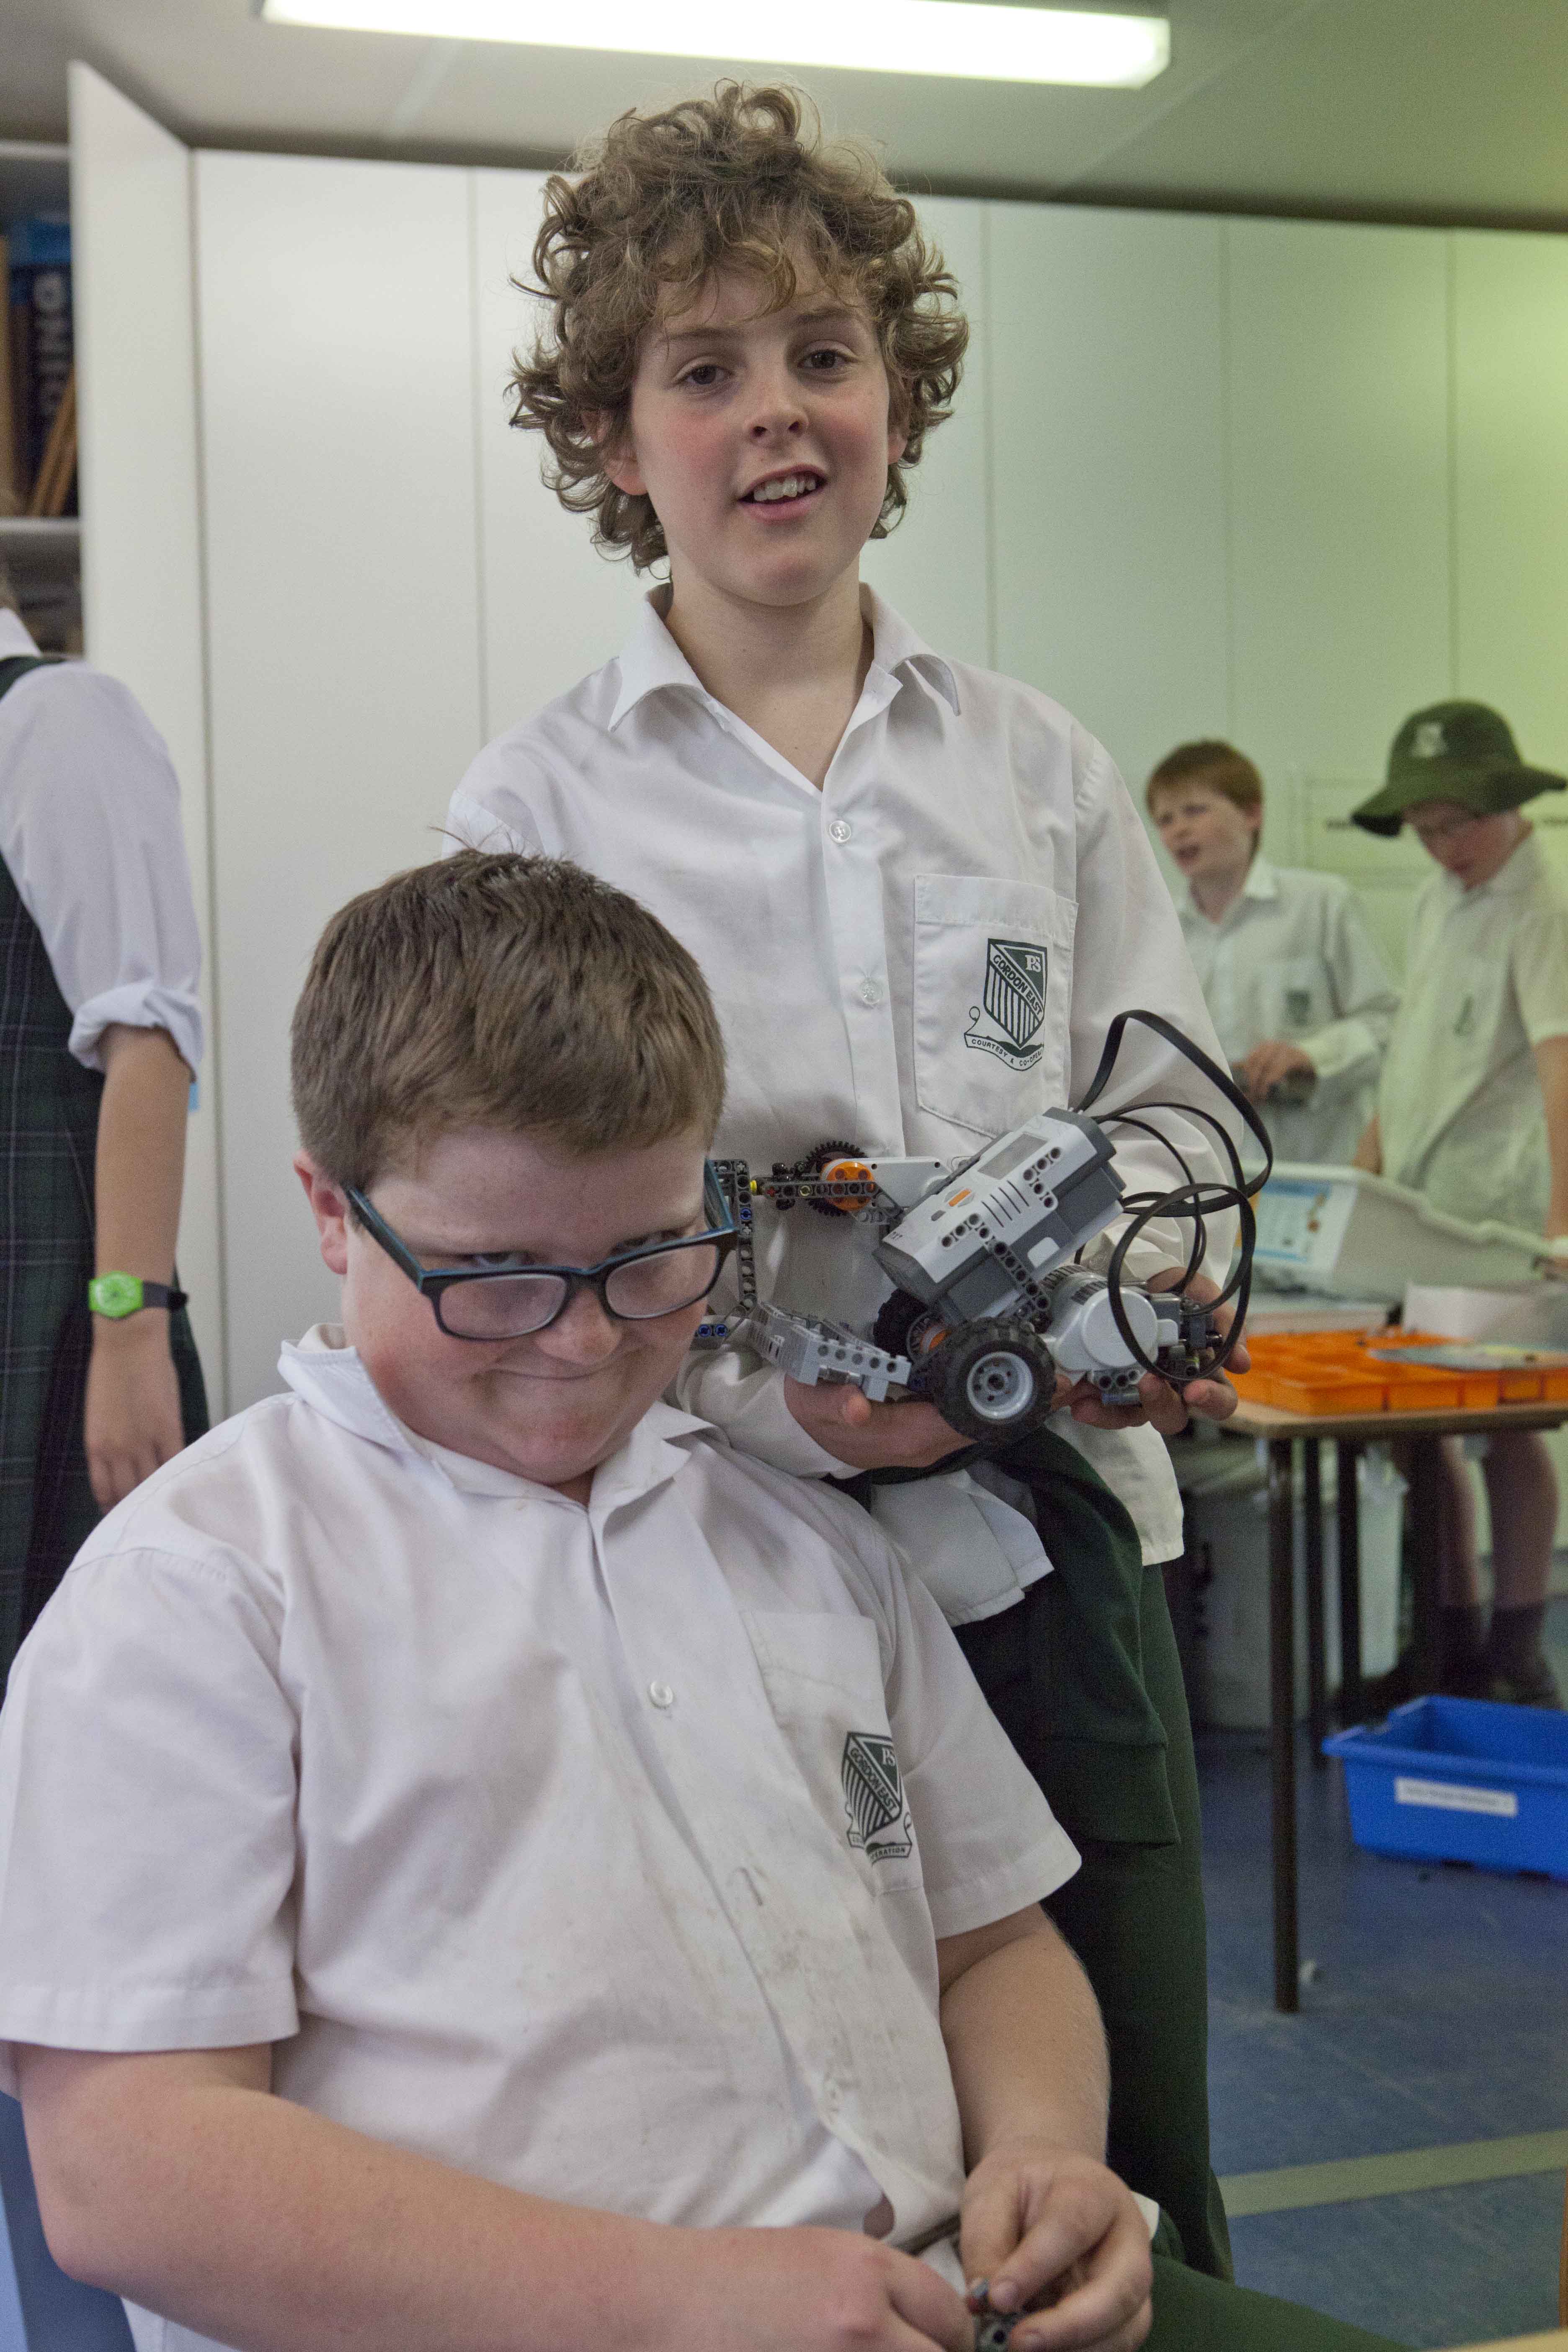
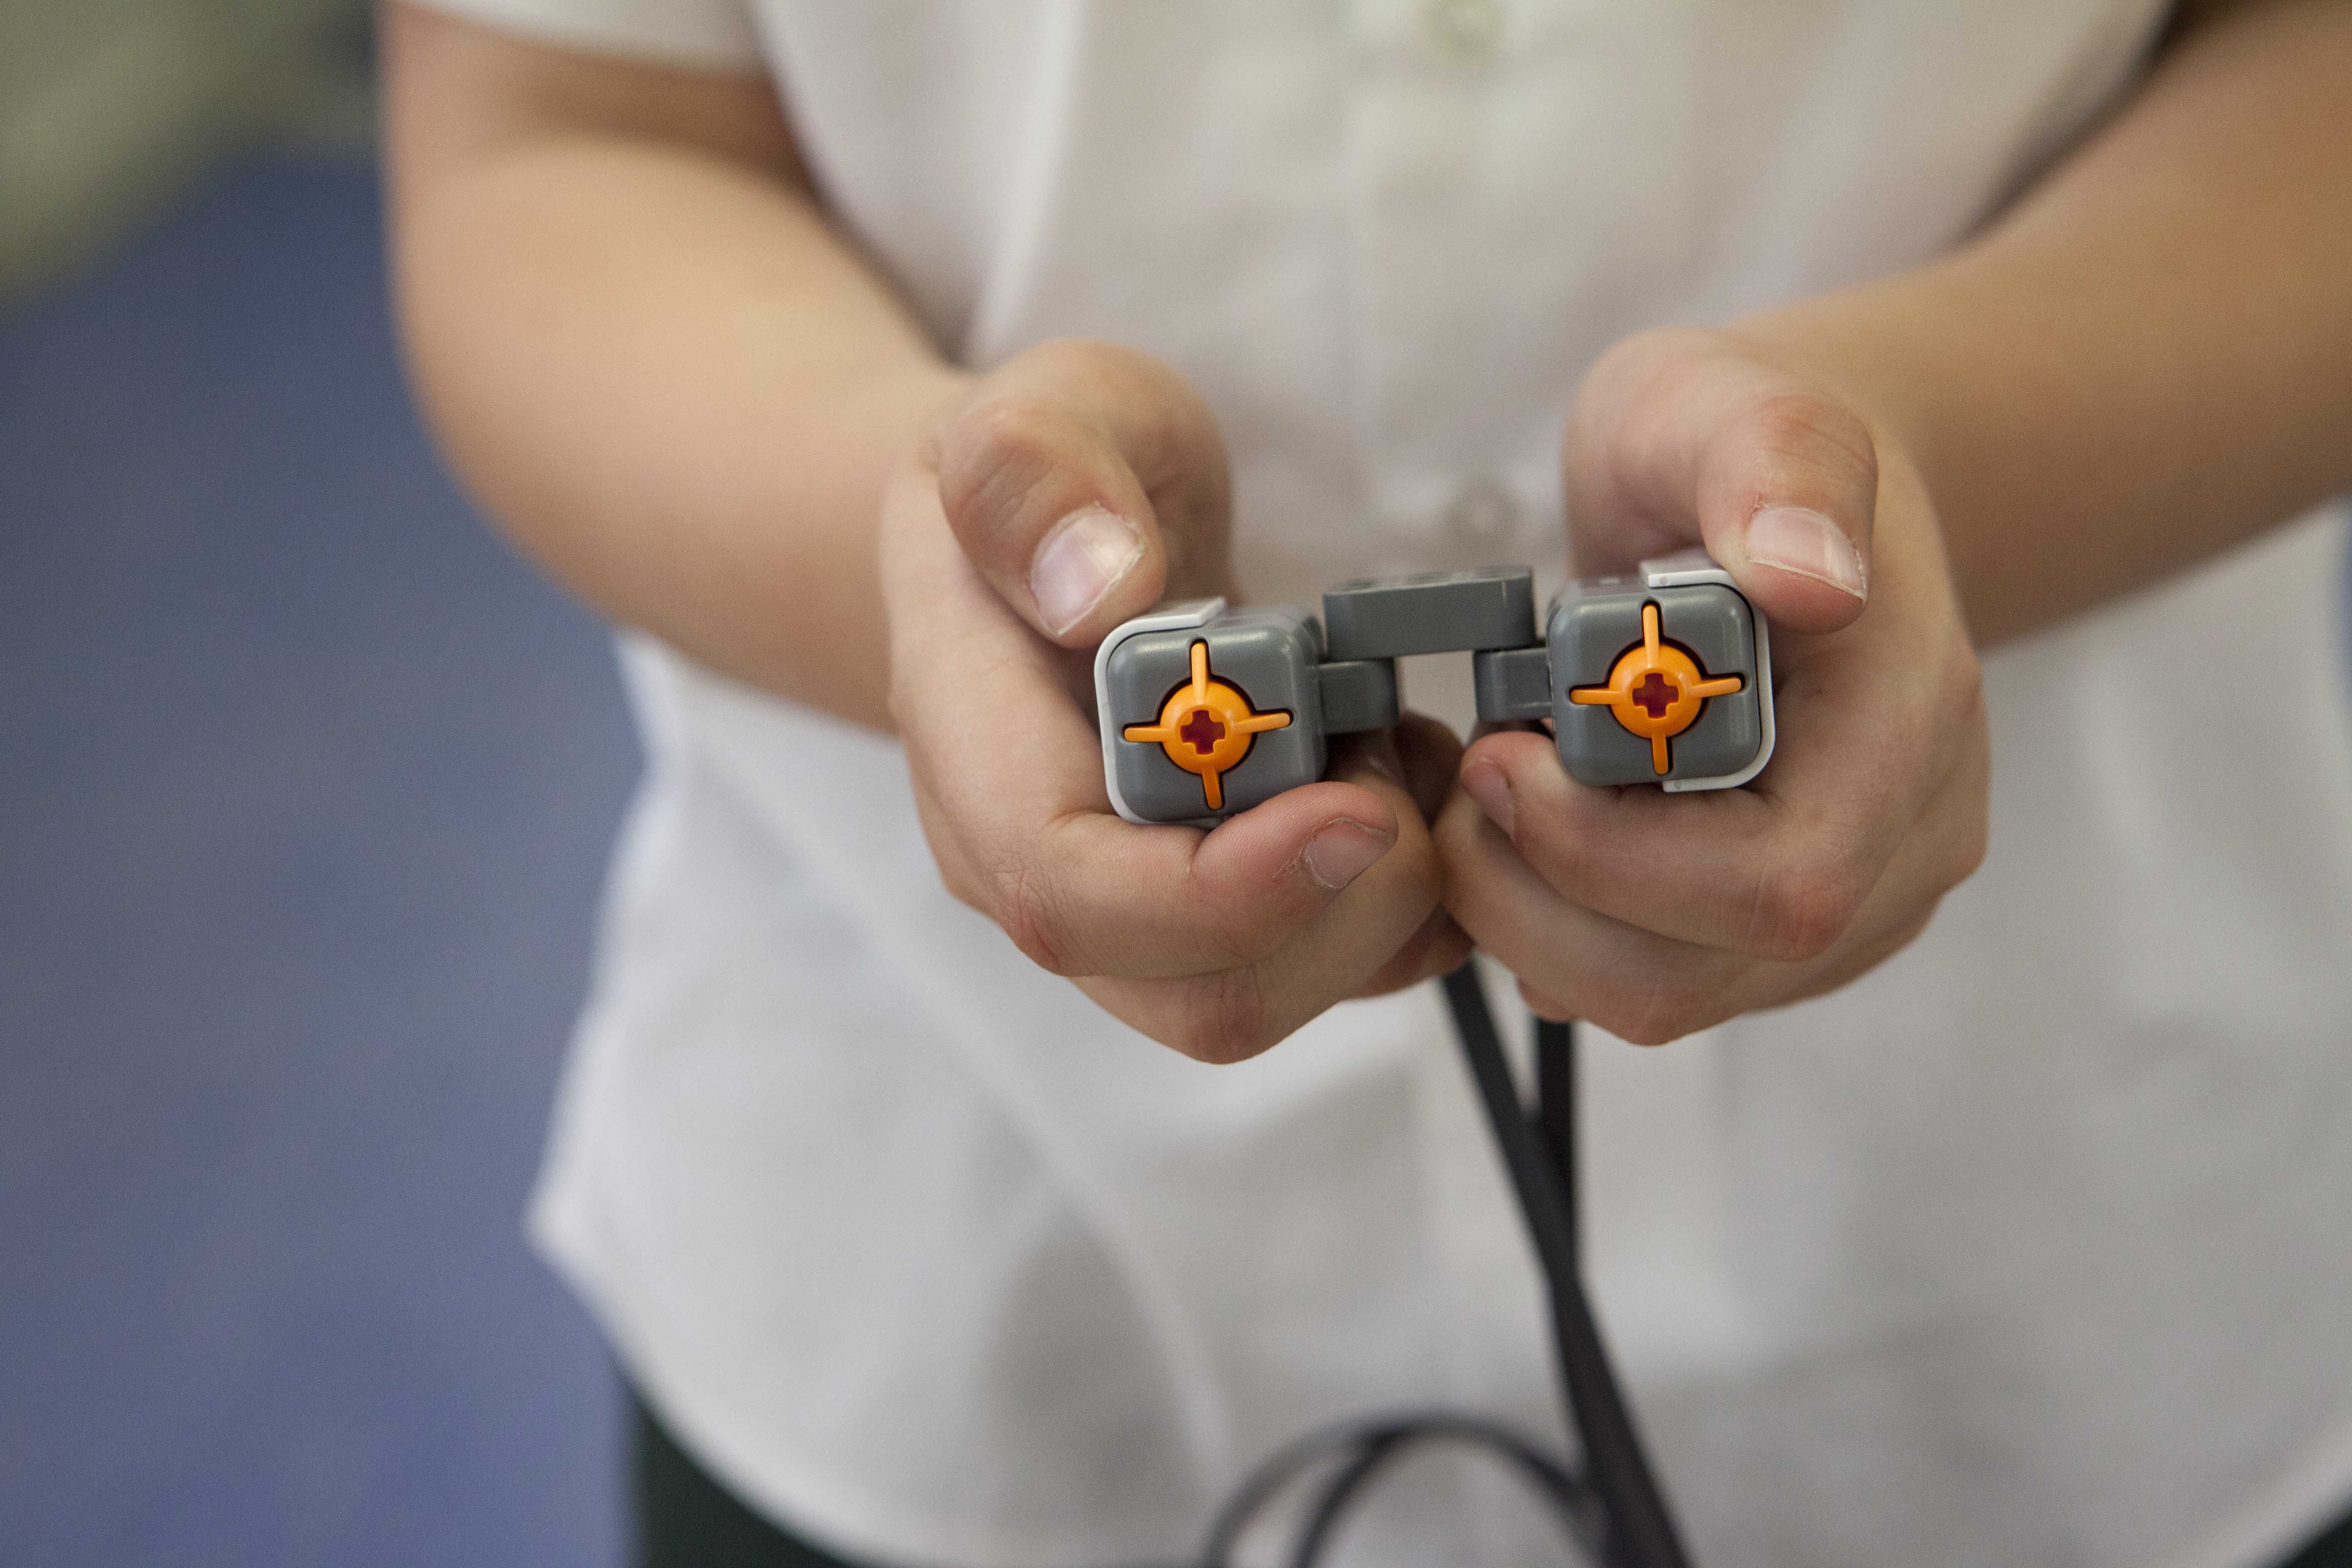
Here are some more pictures for you of our older children in action.


Thanks for calling by


Mrs Garlick


No Obstacles are too much for 5/6L

Dear Bloggers,

Years 5 and 6 designed and programmed their remote control robot and then put it to the test with various obstacle courses.


Remote Controlled Robots

Dear Bloggers,

4/5y, 5/6L and 5/6H designed, built and programmed remote controls for their robots.

The photos below show 4/5y practising for the up and coming ‘Robot obstacle Course’


Thanks for calling by

Mrs Garlick

Sometimes things really are ‘black and white’

Dear Bloggers,

This week stage 3 children were challenged to write a program that allowed their robots to progress and stop through a series of black lines.

To do this students had to add a light sensor and use the view menu on their robot to read the amount of light (%)  reflected from the black and white surfacse.  Using this knowledge they programmed their robots.

light sensor must be facing downwards

Using the light sensor in the view menu to measure and read the amount of  reflected light.

See below the video of the robot in action

Video for windows


Video for Apple


Thanks for calling by

Mrs Garlick


5/6H revisit the closing of the dam

Dear Bloggers,

5/6H did a tremendous job of revisiting the ‘Closing the dam challenge’ – as the photos and videos below show.

Tom and Sam G’s robot most consistently fulfilled the set criteria of: plugging the dam, releasing and catching the energy brick, using a sensor to detect the dam and returning to base.

Their success was founded on the great design features they incorporated into their robot.

Sam and Tom joined the catcher and the pushing device – this was an excellent design feature as it kept the two aligned.

The touch sensor  sat slightly forward so  it was the first part of the robot to hit the dam.  The sensor was also placed to hit the solid part of the dam wall –  not the swinging section.


The hinge on the front attachment was also very clever as it reduced the amount the dam moved when it was hit.  Nice bit of robotic suspension boys!!!

Have a look at the video below of the children in the class closing the dam.


56H dam revisit for windows


56H dam revisit for MAC


Thanks for calling by

Mrs Garlick


Thanks for calling by

Mrs Garlick

Mrs Garlick’s Level 3 Solution to closing the Dam.

Dear Bloggers,

Have a look at the video below to see my Level 3 answer to closing the dam.

My robot has a touch sensor, light sensor and ultrasonoic sensor.  There is a sweeping heading that moves to collect the plug wherever it is positioned and then sweeps again to find the hole in the dam.


dam solution level 3 for windows


dam solution level 3 for MAC


Thanks for calling by


Mrs Garlick

Mrs Garlick’s solution to the Green City Challenge – deploying the chimney stacks (Level 3)

Dear Bloggers,

Below are some photos and a video showing my response to the Green City Challenge.

The robot started from the base area, moved to the factory and picked up the white chimeny stack and knocked down the black one.  This released the energy brick which rolled out and was caught in a tray.  The robot then returned to the base area.

My robot had different attachments:

1. a light sensor so I could position the robot by detecting the black lines.

2. an arm with a hook that could pick up the white chimney and knock over the black.

3. a tray to catch the energy brick.

I also used a touch sensor to control the  hook so I could place the hook in the upright 12 o’clock position to start.

level 1 from above

Level 1 side on

Light sensor for all levels

level 3 front on

Level 3 side on

energy brick catcher

Click on the link below to see the video of the completed challenge

Video of Mrs Garlick’s Level 3 deployment of the chimney stacks for Windows

Video of Mrs Garlick’s Level 3 solution to deploying the smoke stacks for Mac


Thanks for calling by

Mrs Garlick

5/6H deploy the Chimney stack on the factory

Dear Bloggers,

This was an especially difficult challenge but 5/6H rose to the occasion very well.

The photos and videos tell the story.  Please have a look.

Click on the link below to see the video

video 56H deploying the chimney stacks for Windows


Video of 5/6H deploying the chimney stacks for Mac


Thanks for callling by

Mrs Garlick

5/6L Deploy the New Smokestack

 Dear Bloggers,

Last Thursday 5/6L were given the very difficult challenge of deploying the new smokestack in the ‘Green City Challenge’.  This involved knocking down the old black chimney and raising the new white one.  The process released the energy brick which needed to go back to base.


Here is the video of the students’ work.

See link below

Video – 5/6L deploy the smoke stacks for Windows

Video of 5/6L deploying the chimney stacks for MAC

Thanks for calling by

Mrs Garlick