Dear Bloggers,
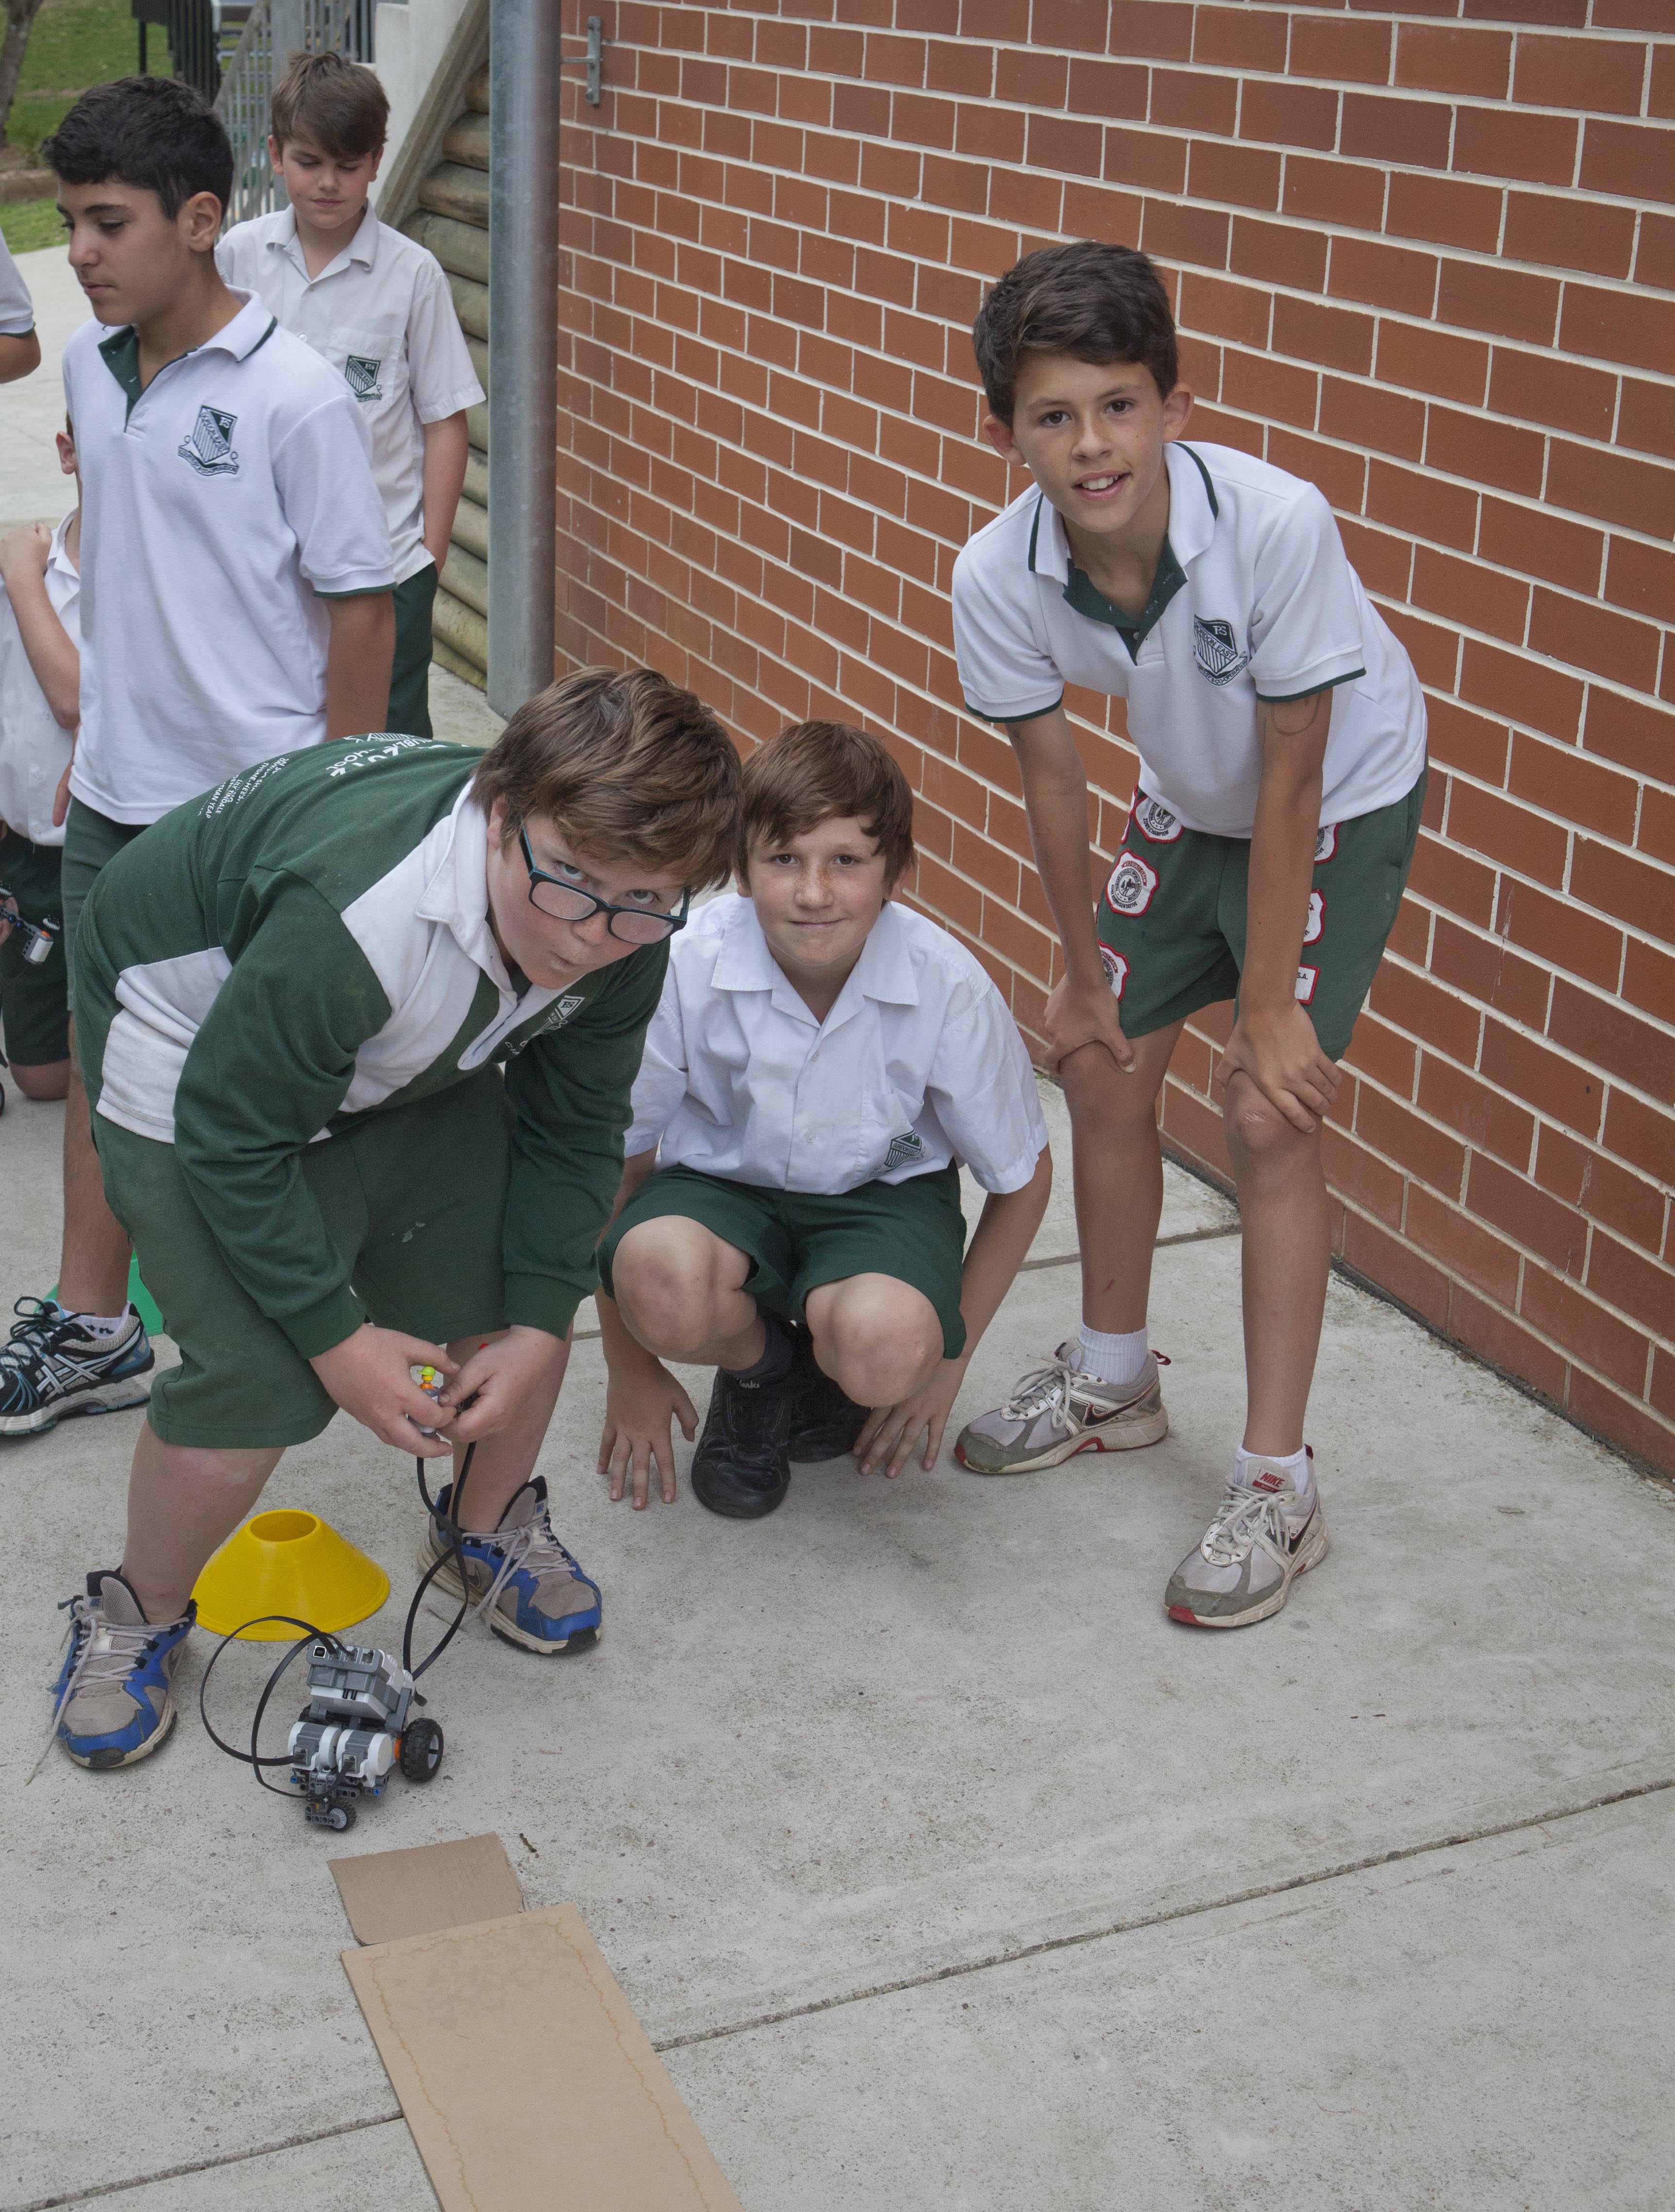
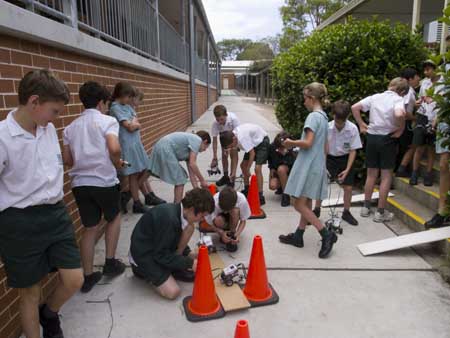
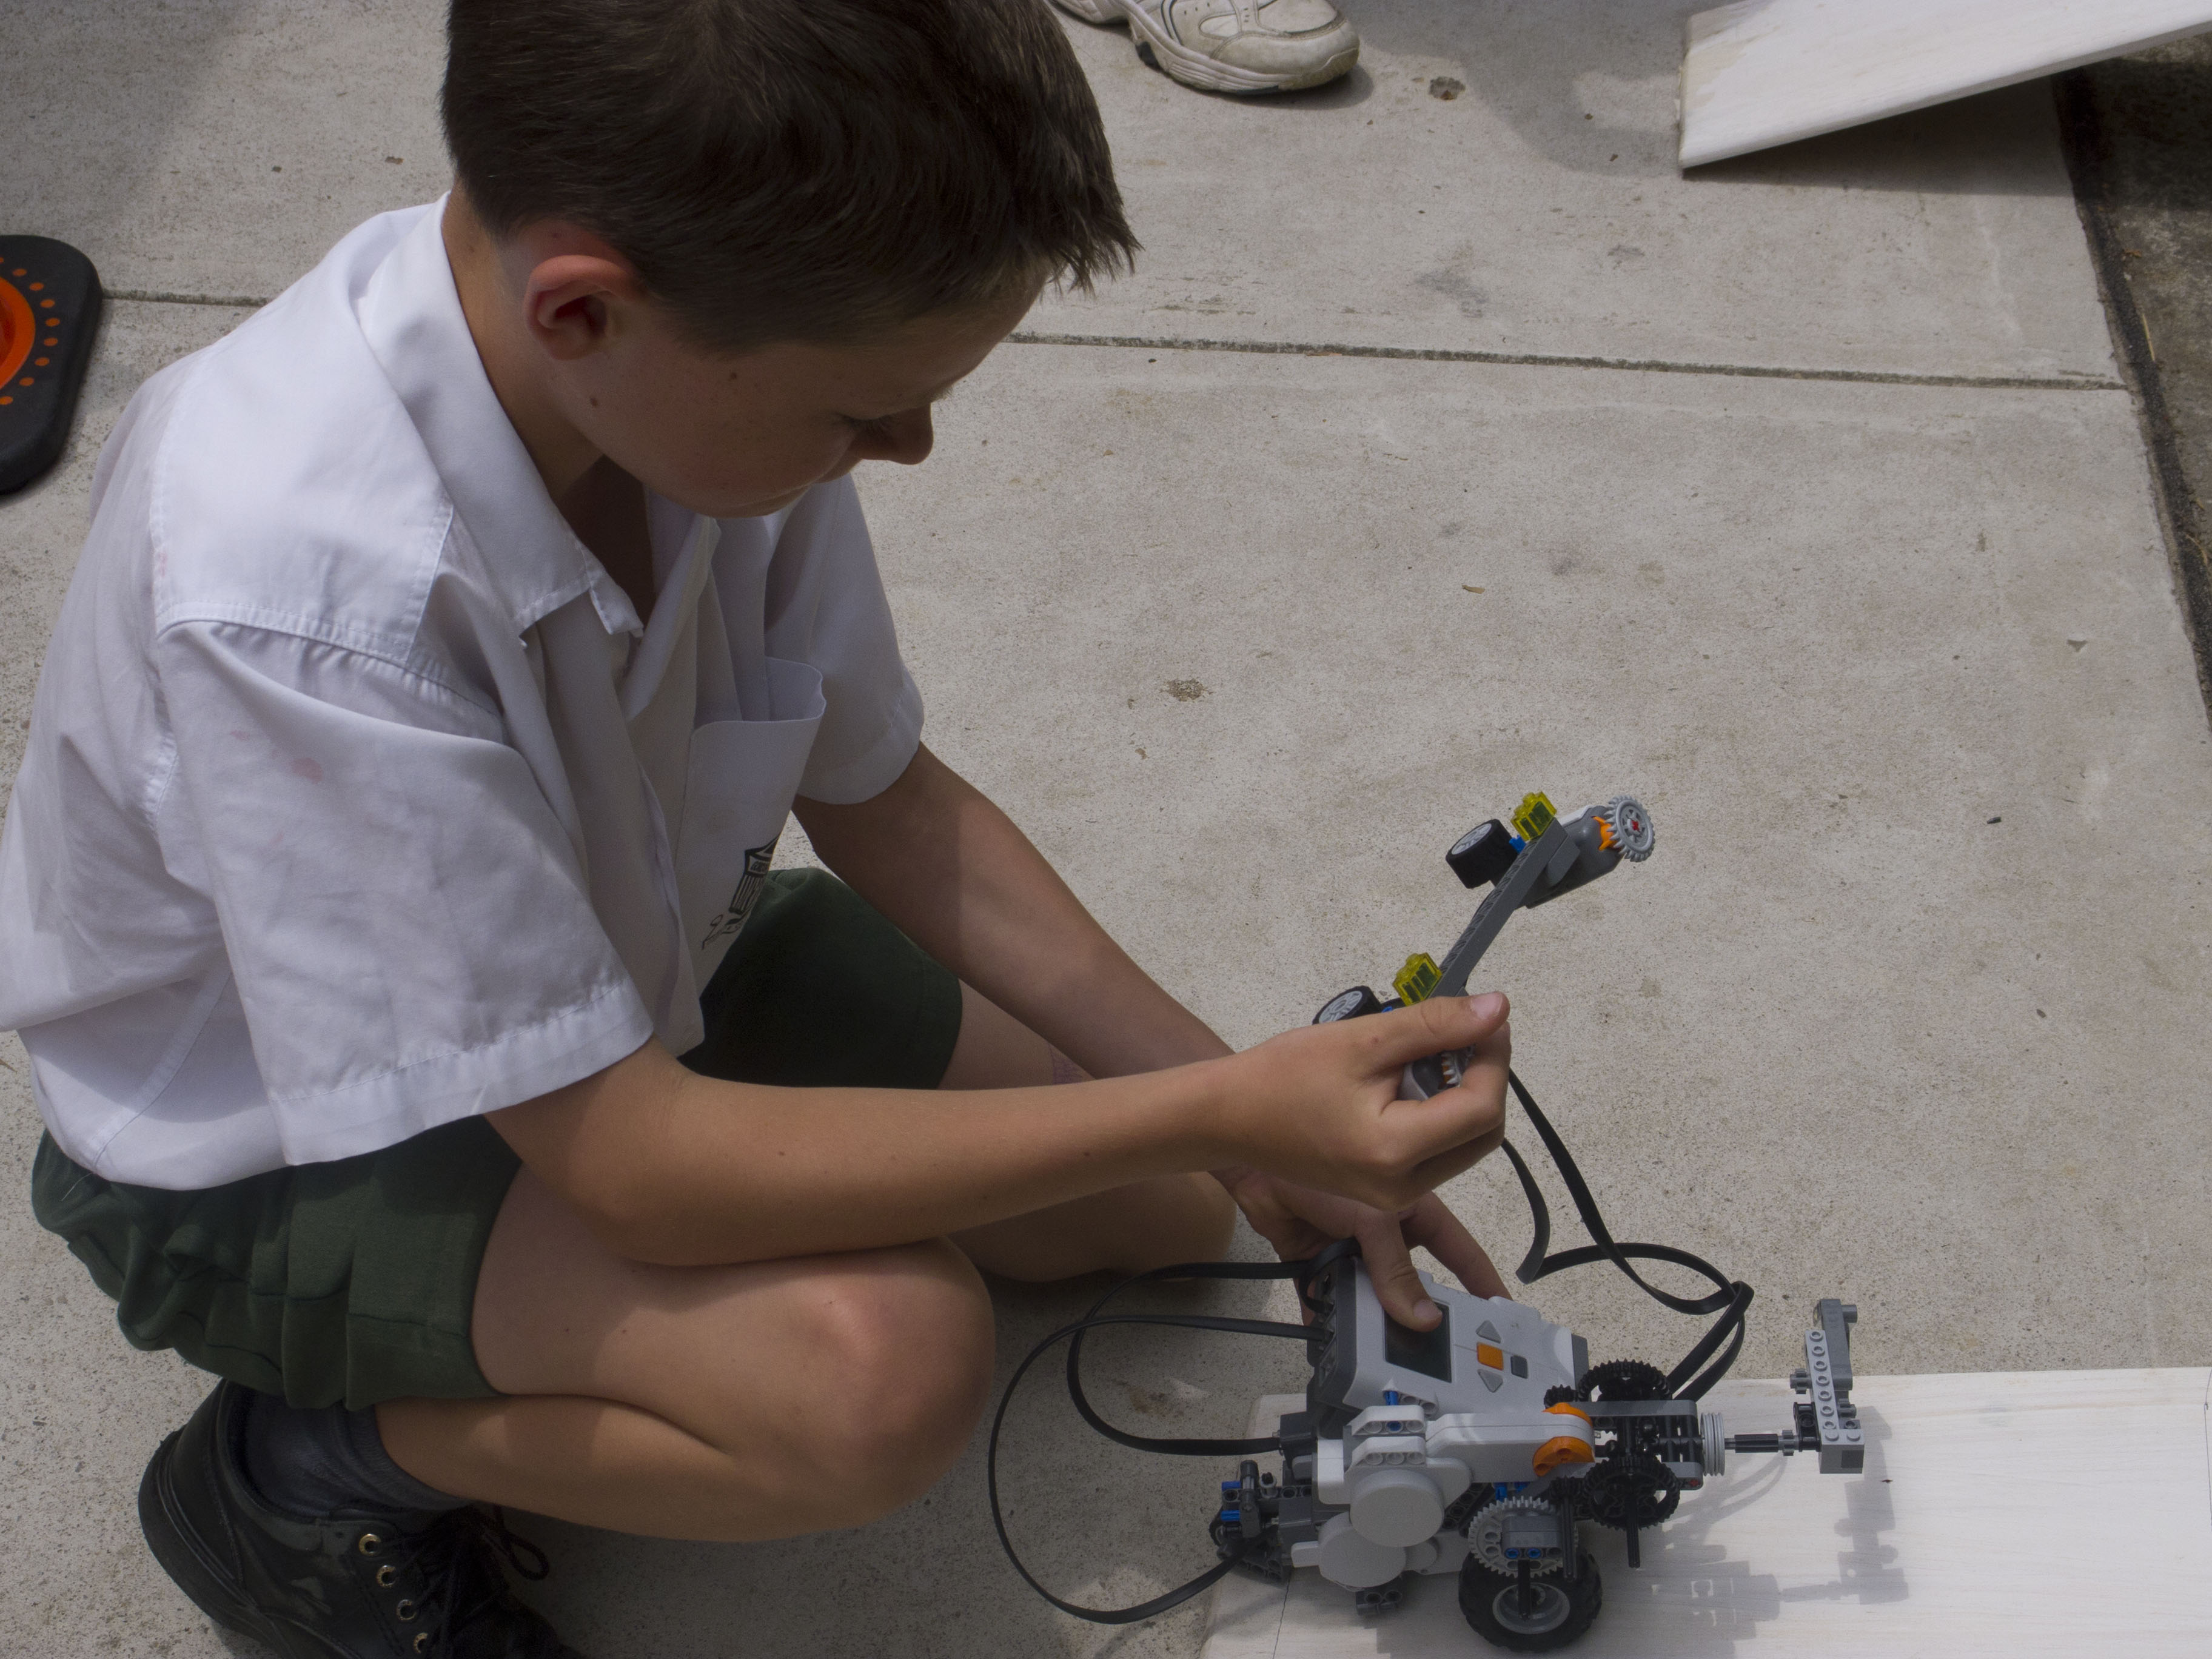
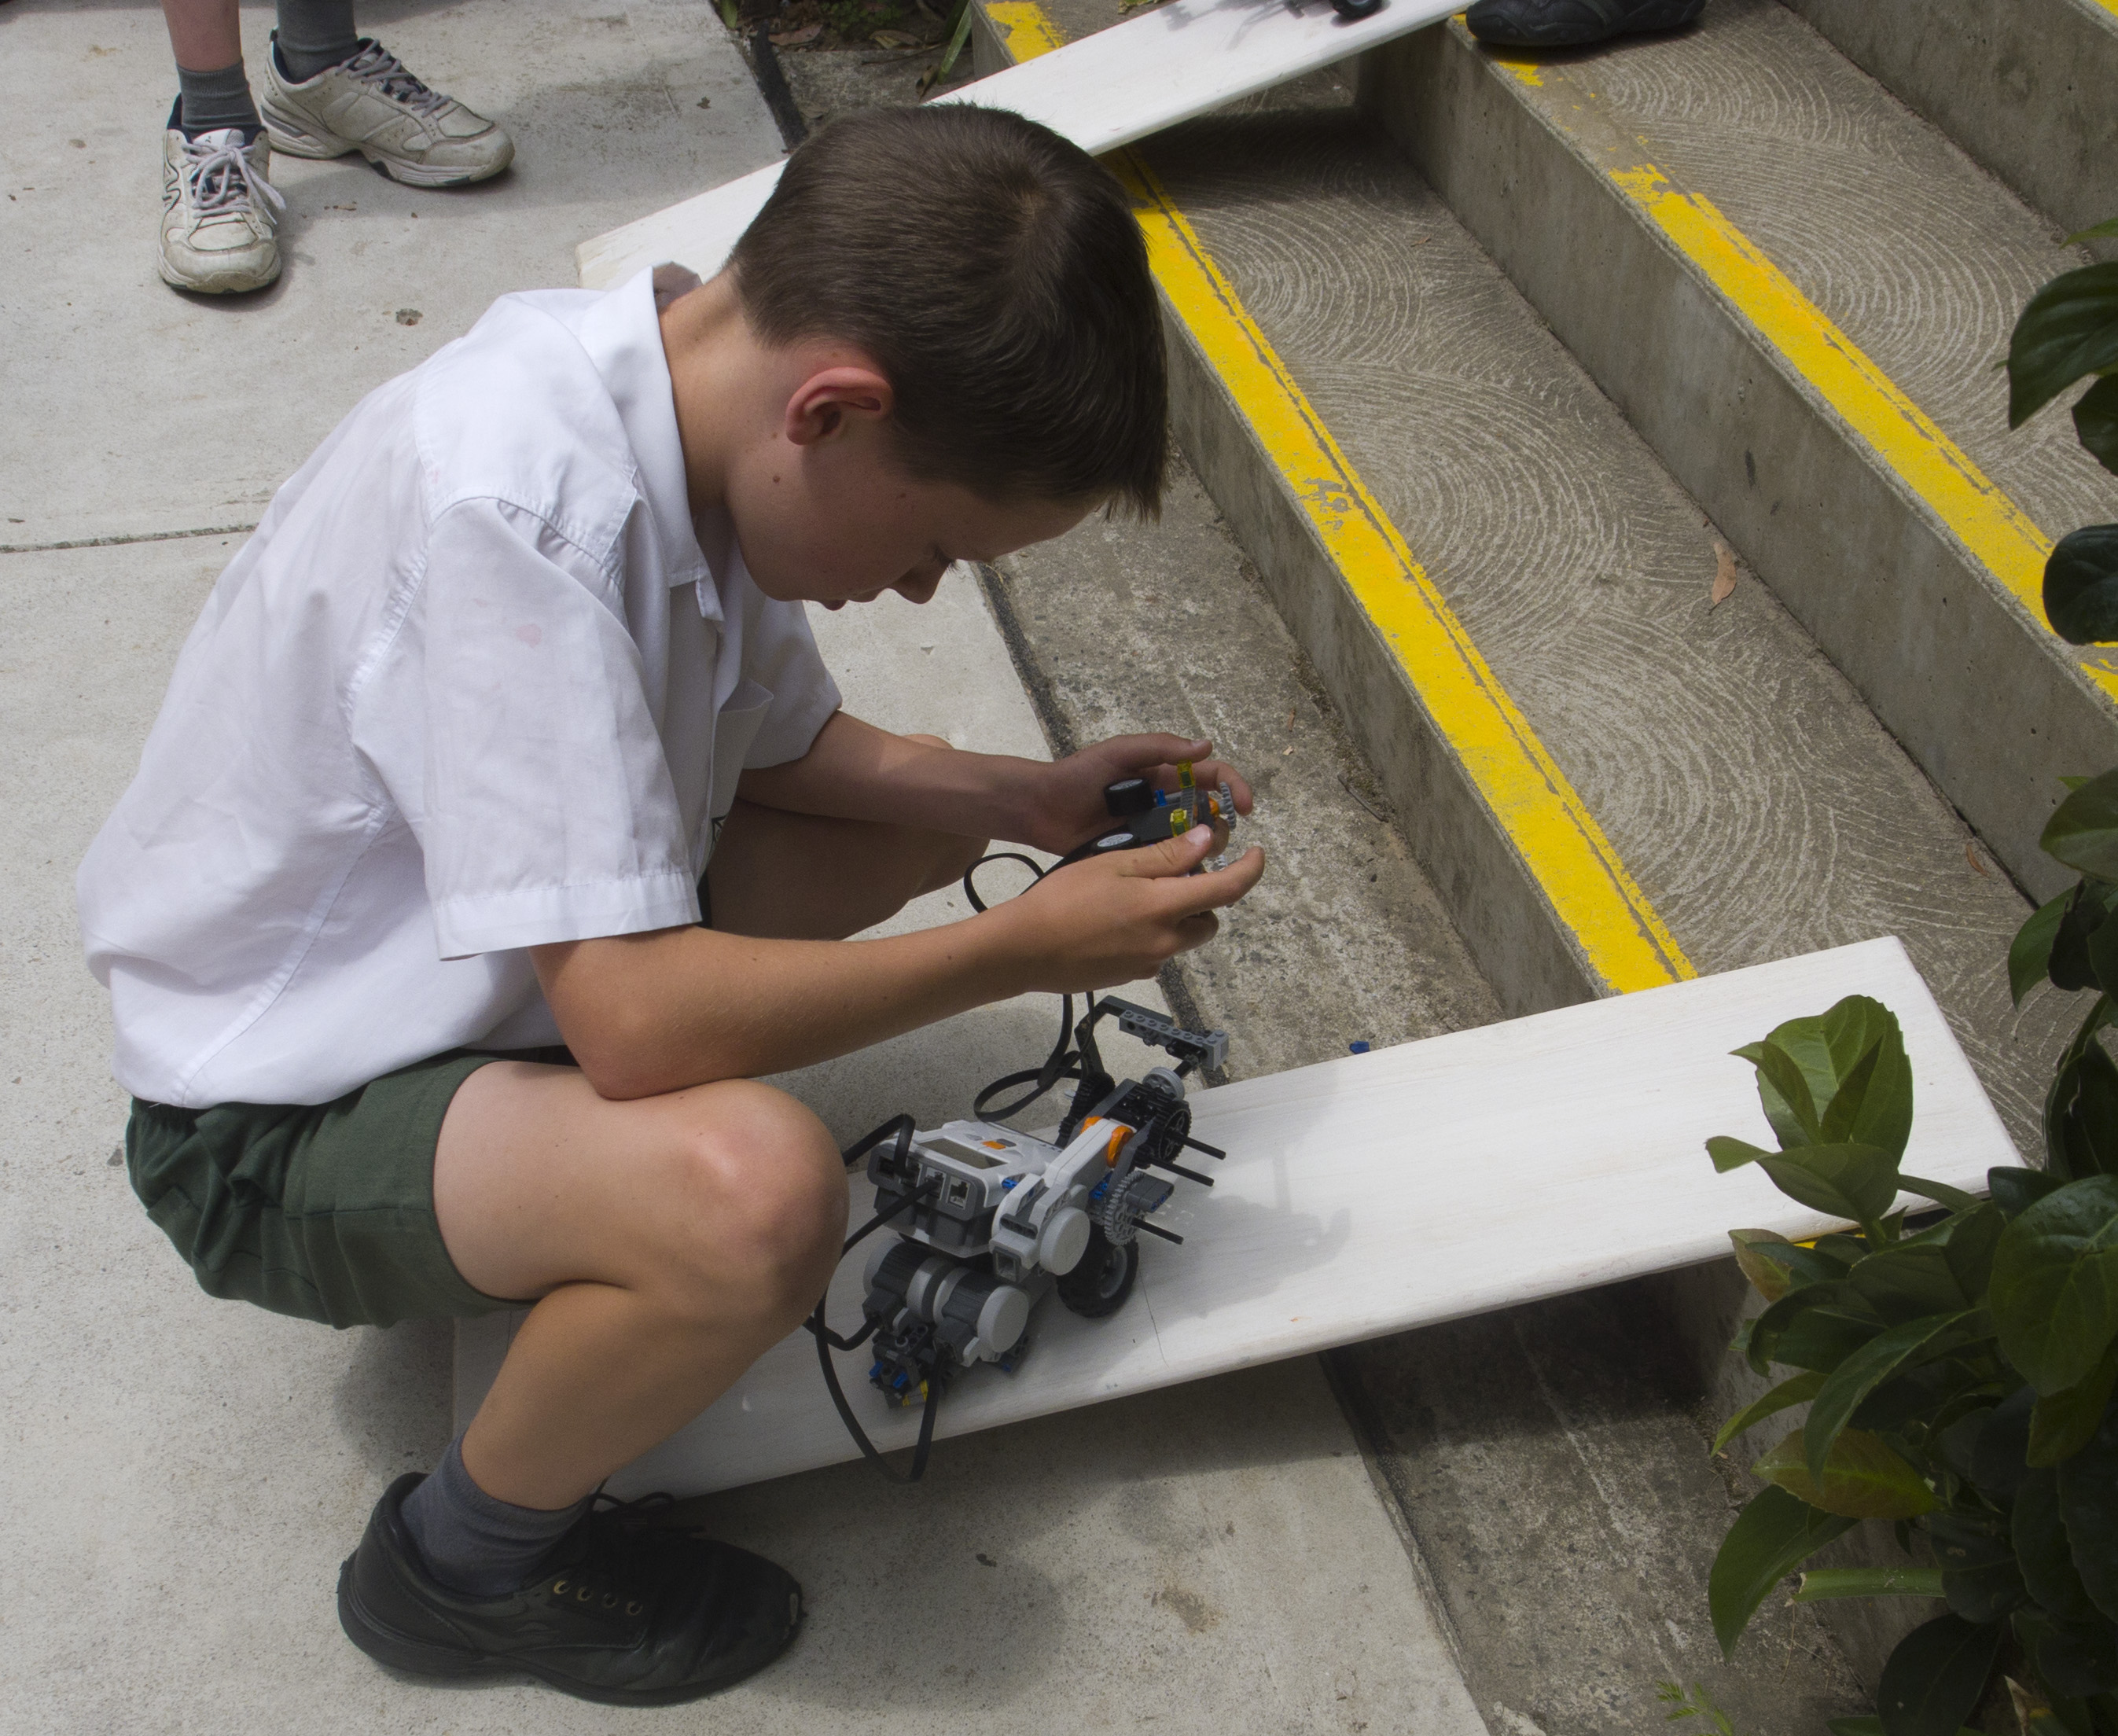
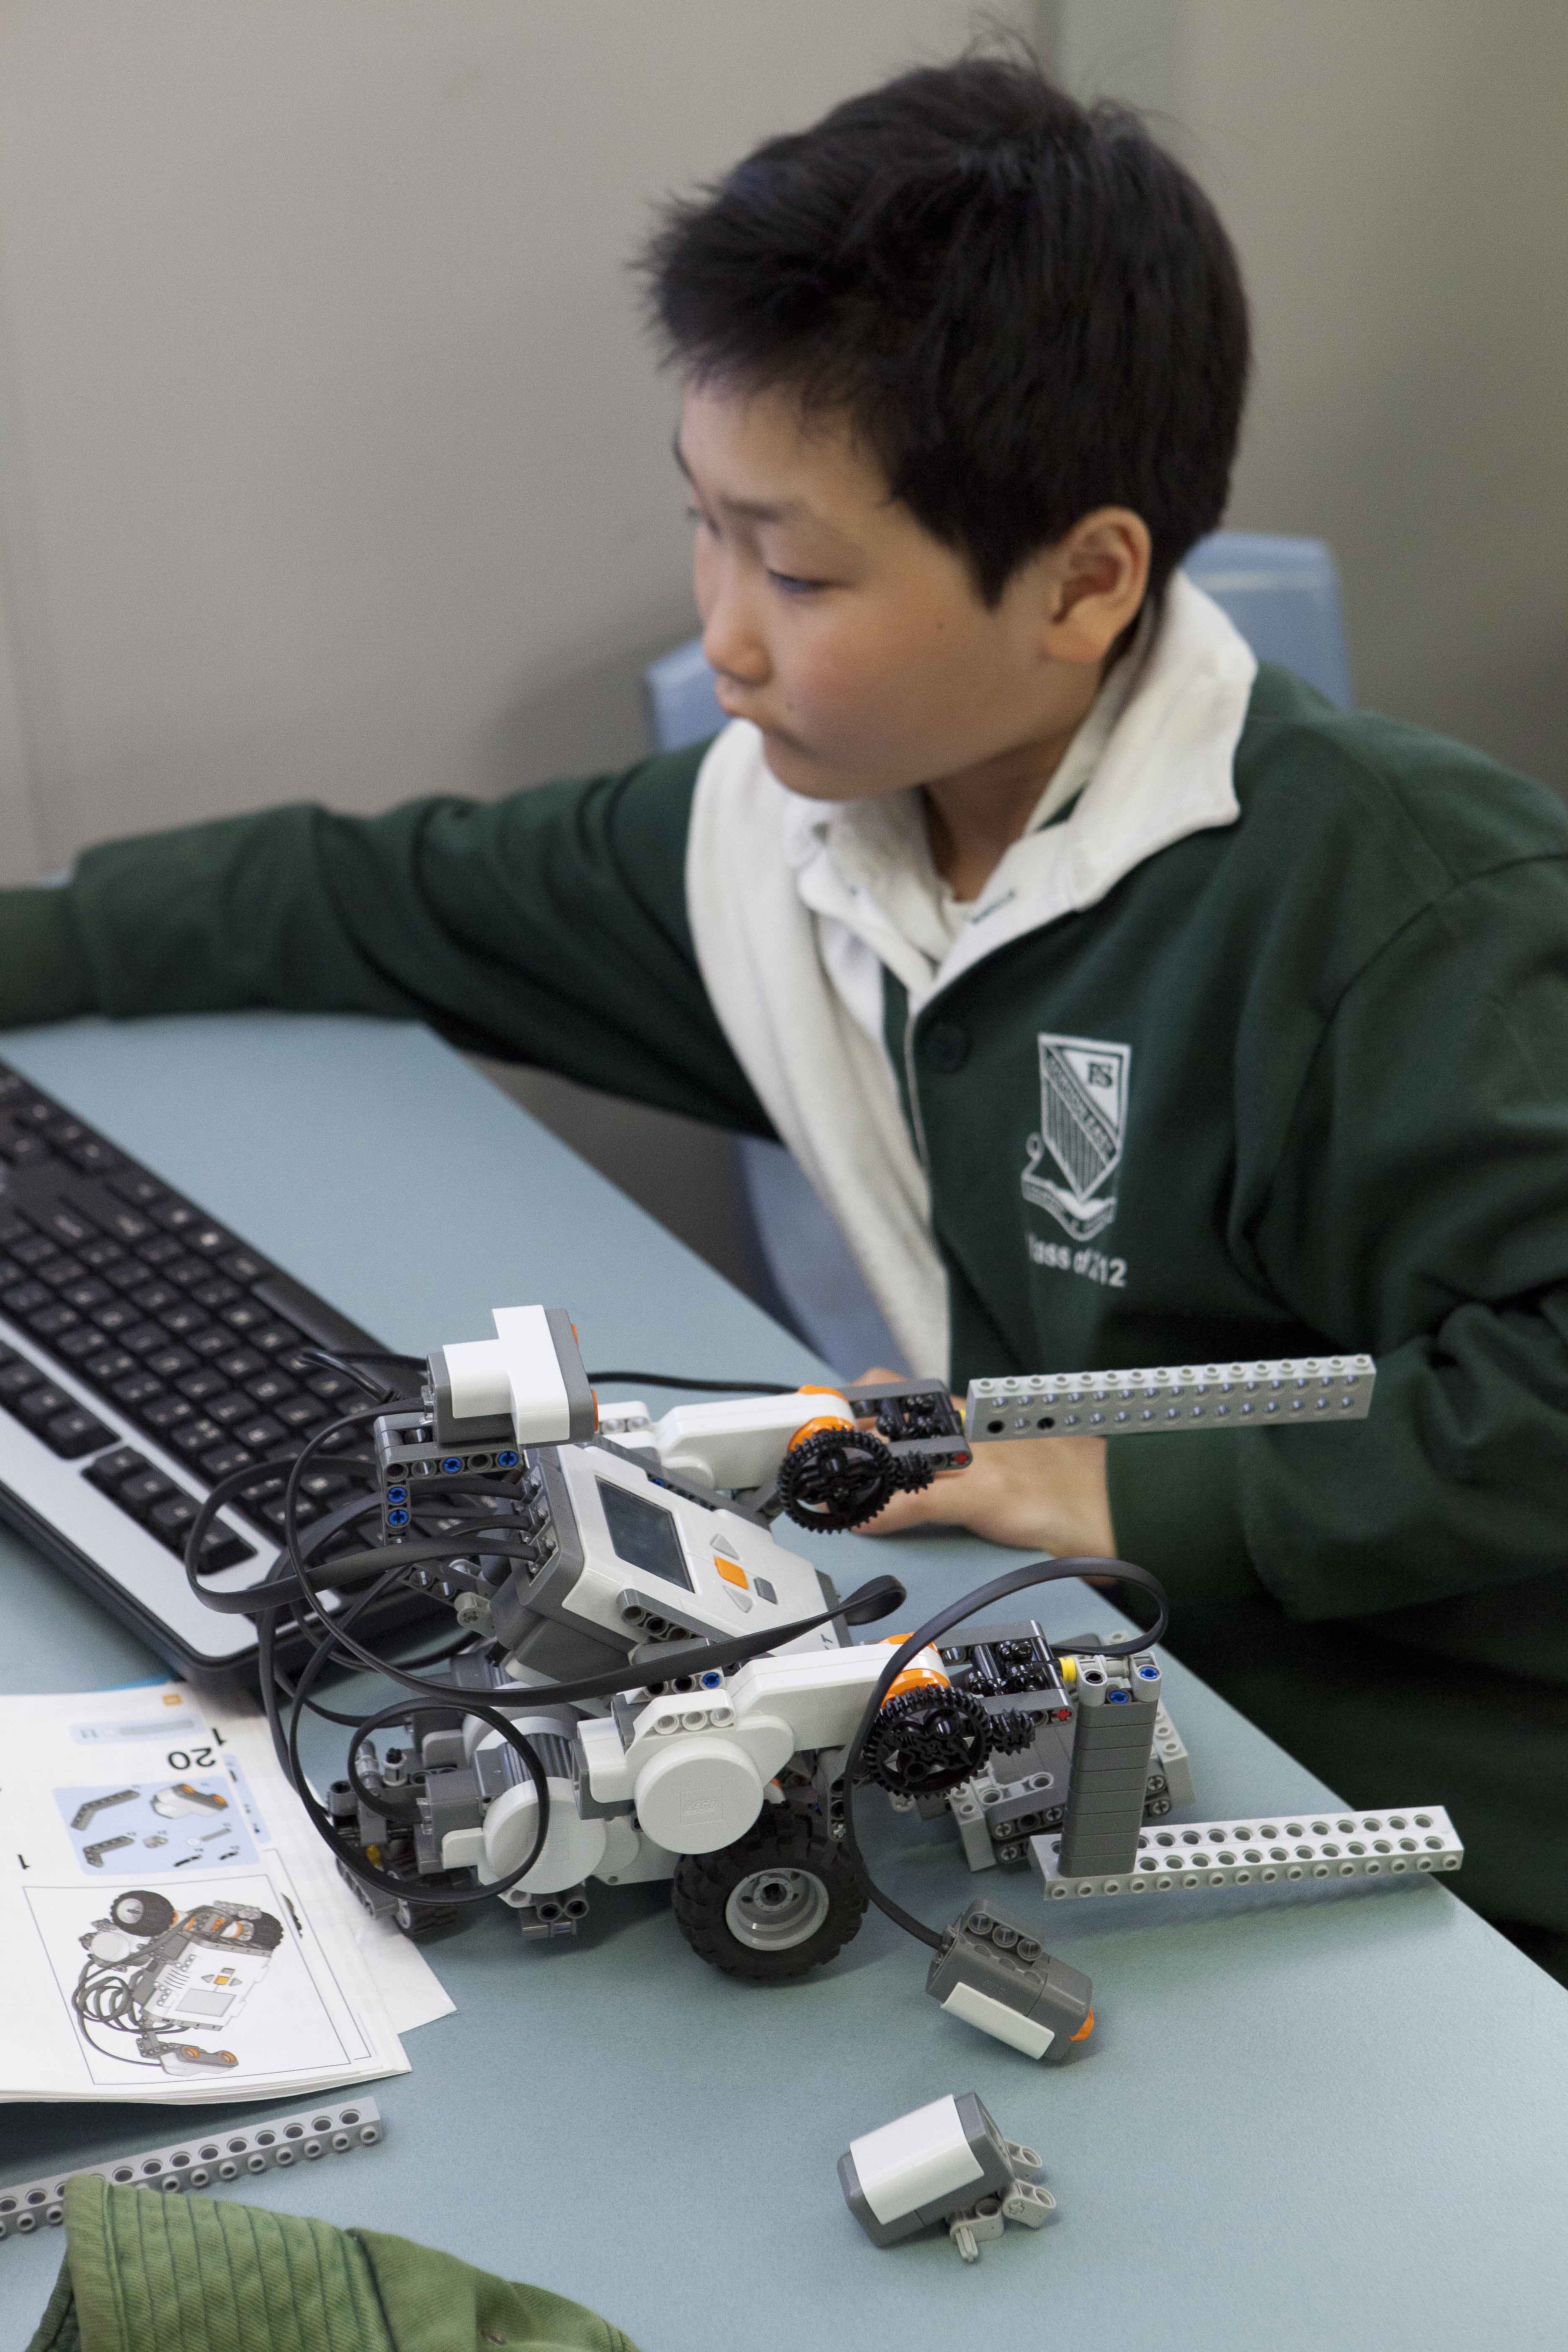
Years 5 and 6 designed and programmed their remote control robot and then put it to the test with various obstacle courses.


Dear Bloggers,
Years 5 and 6 designed and programmed their remote control robot and then put it to the test with various obstacle courses.

Dear Bloggers,
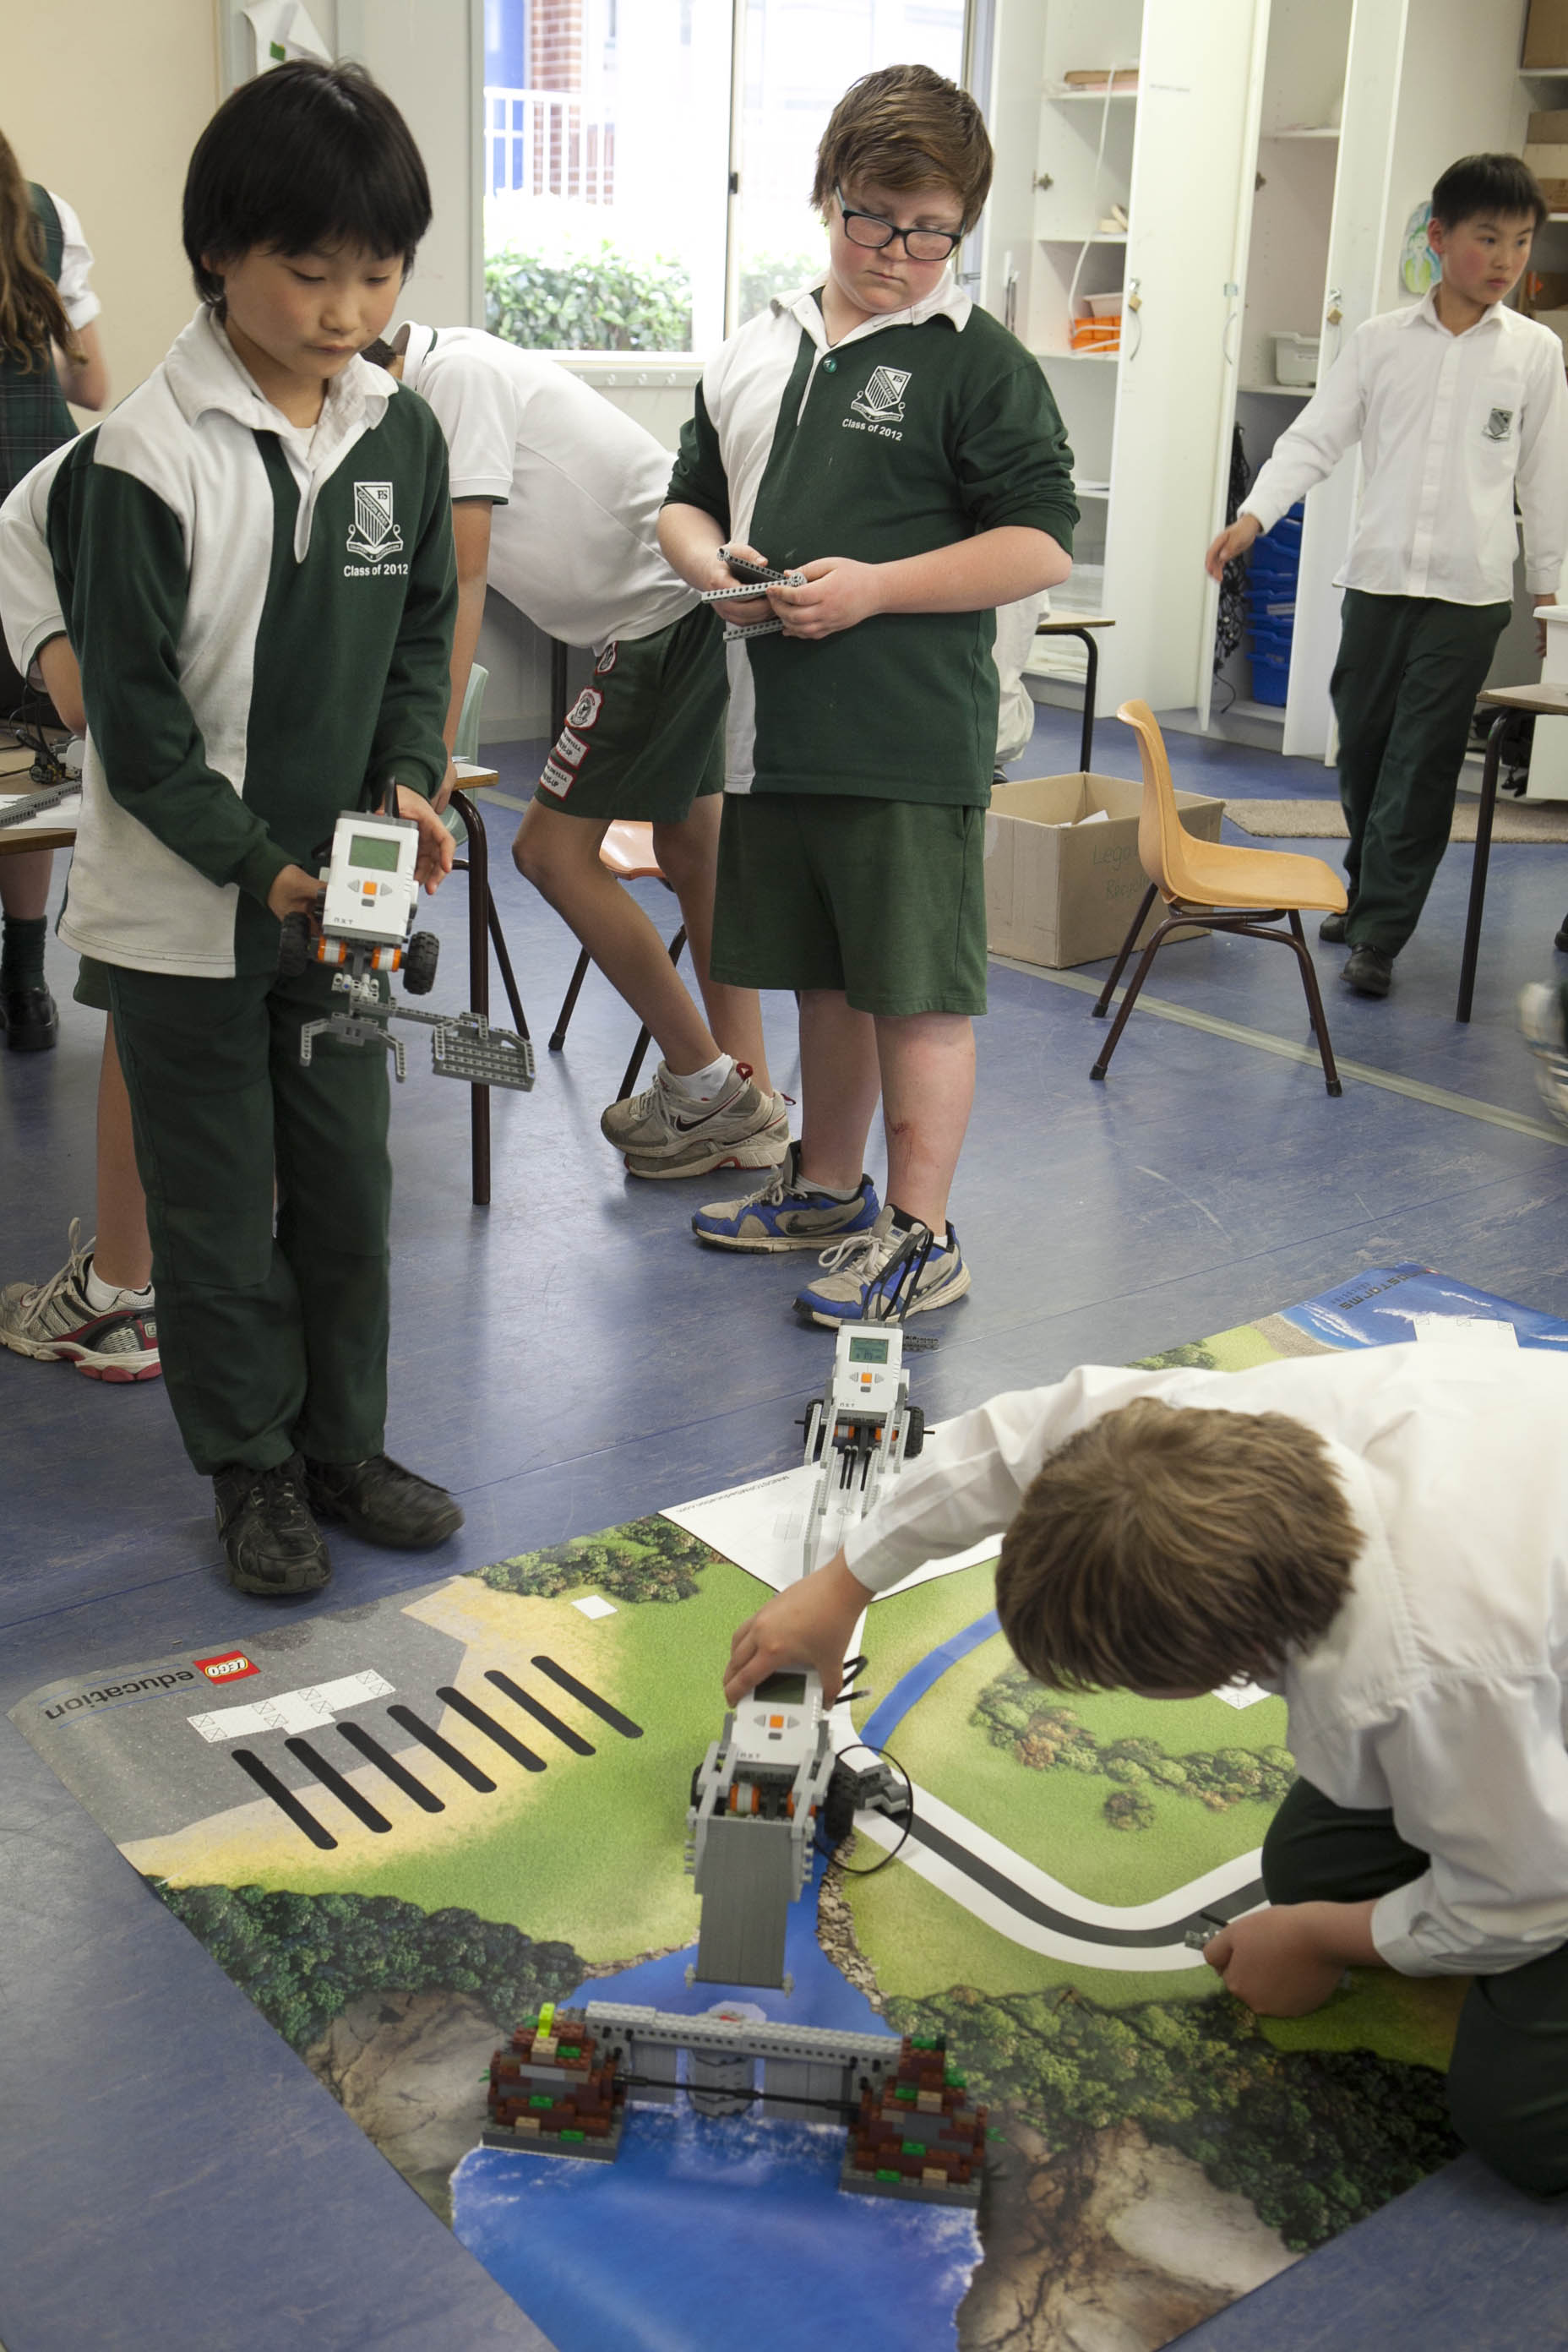
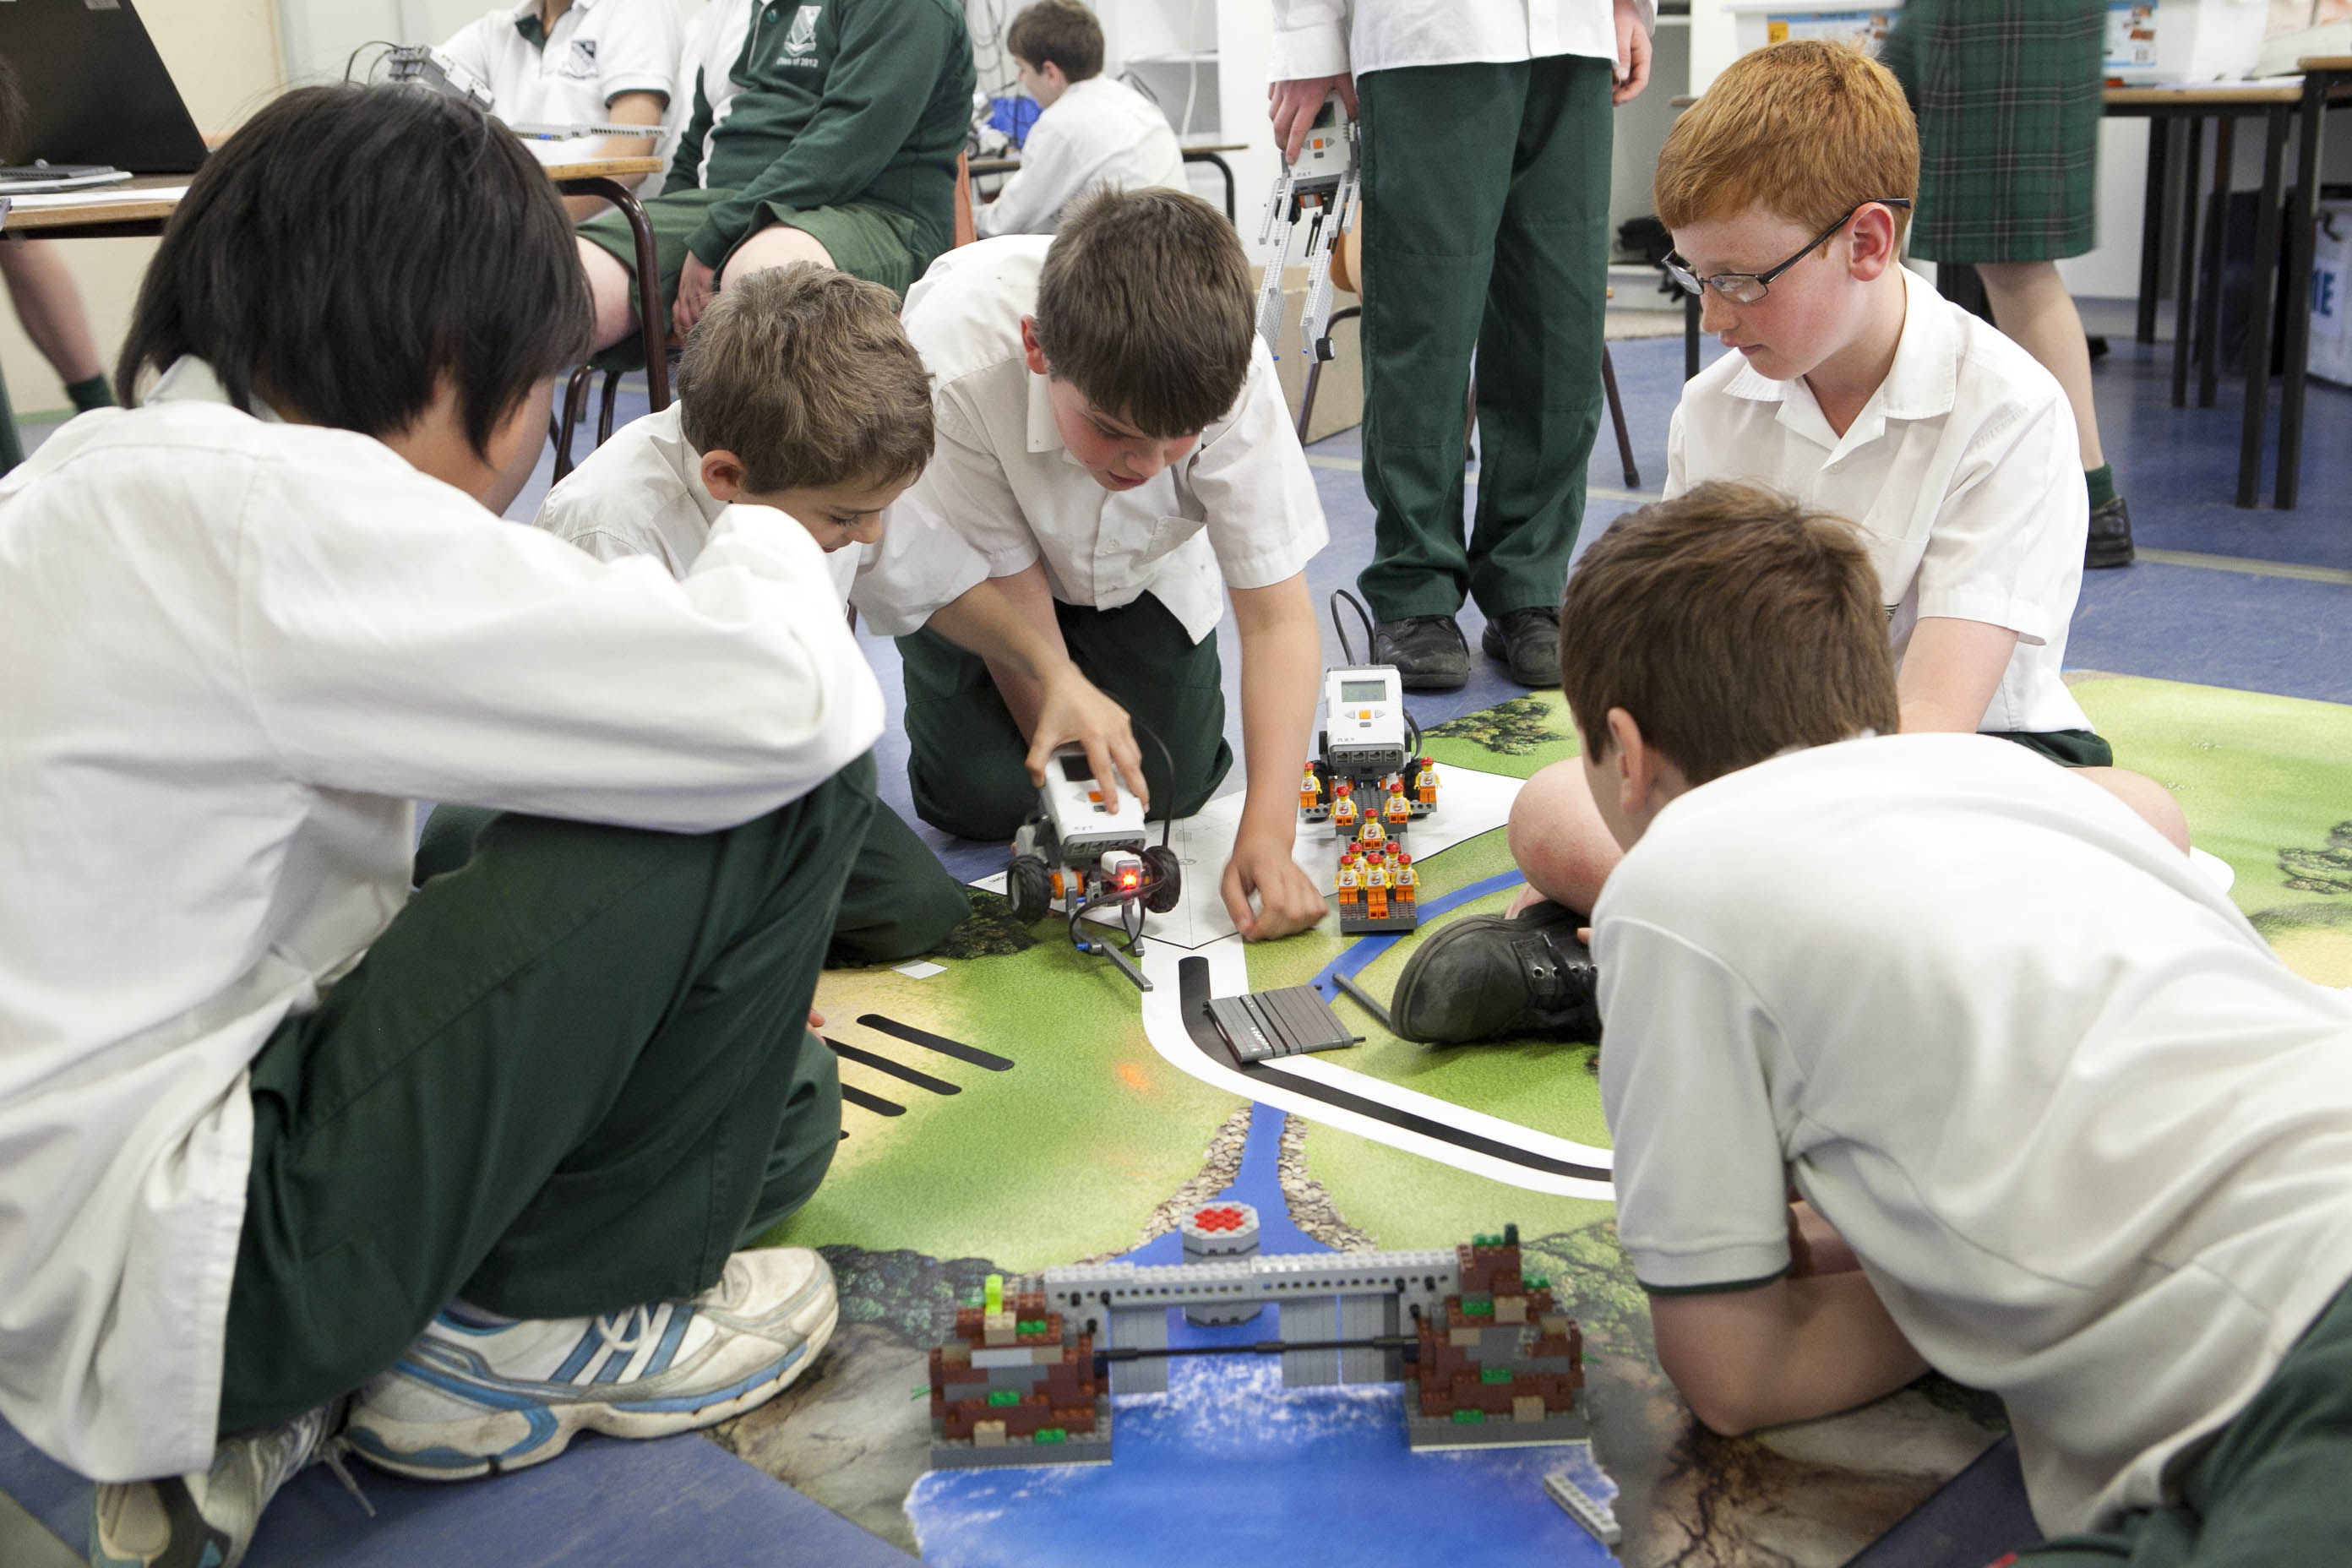
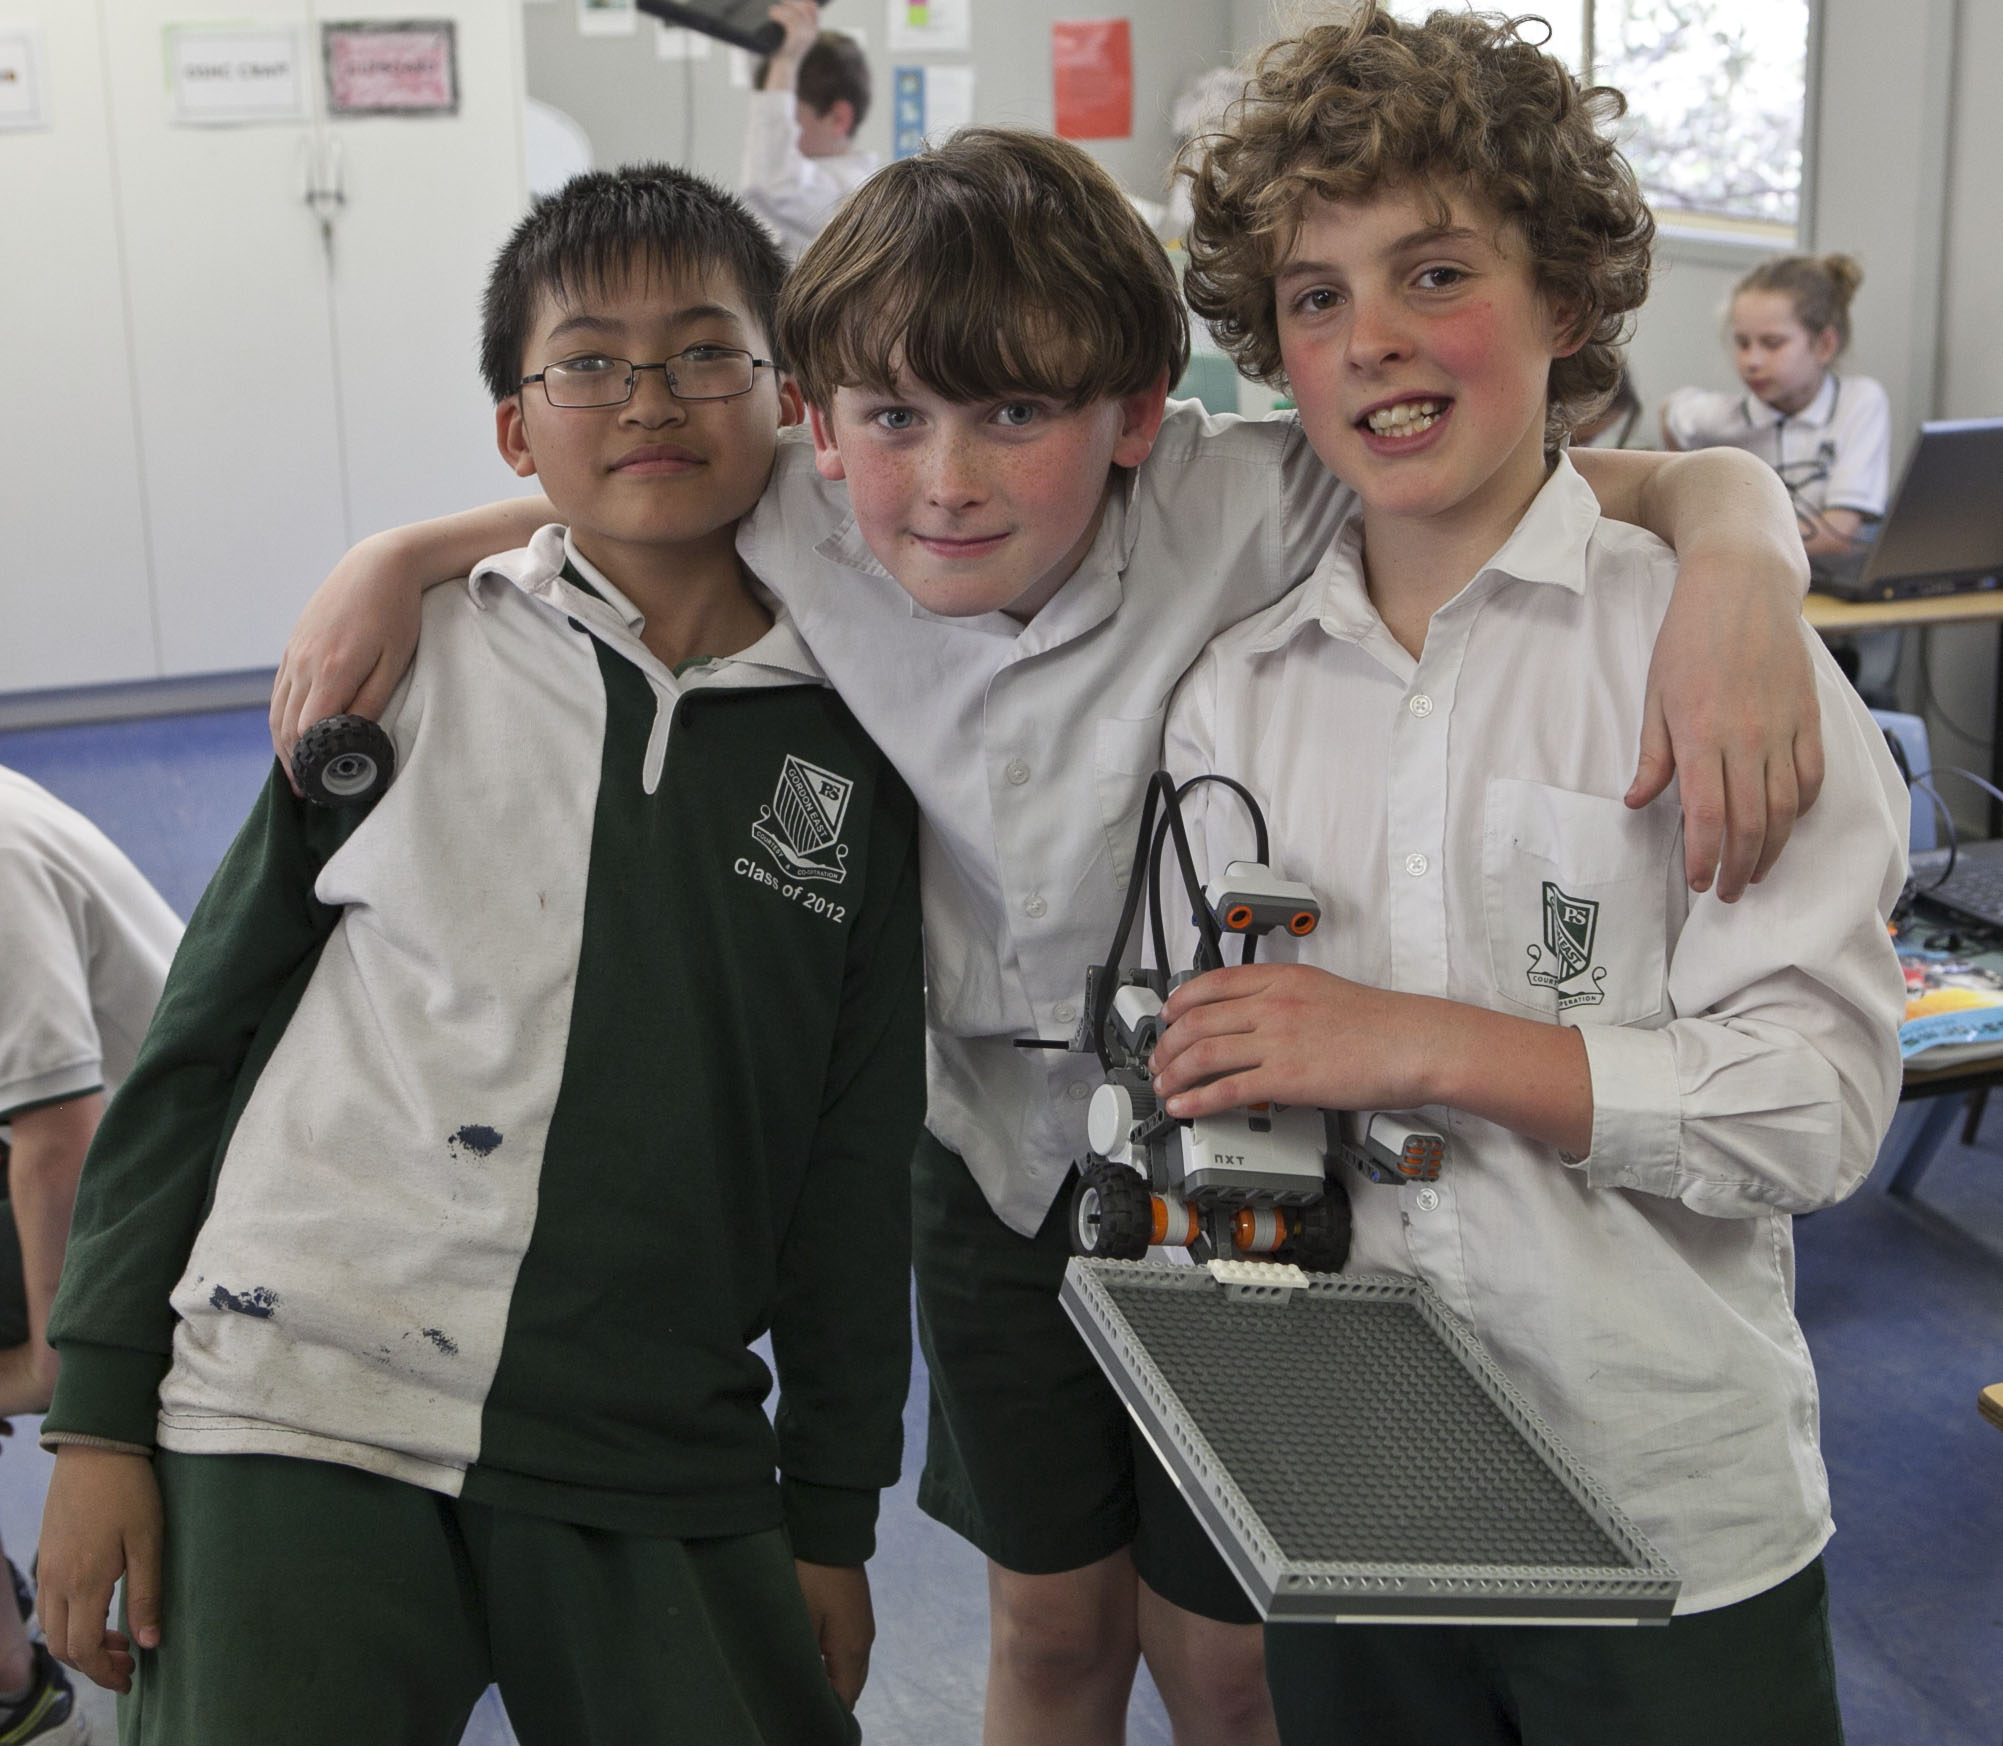
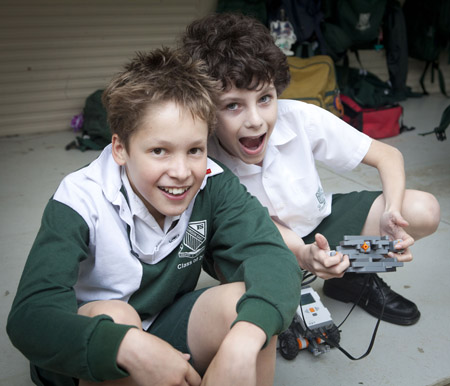
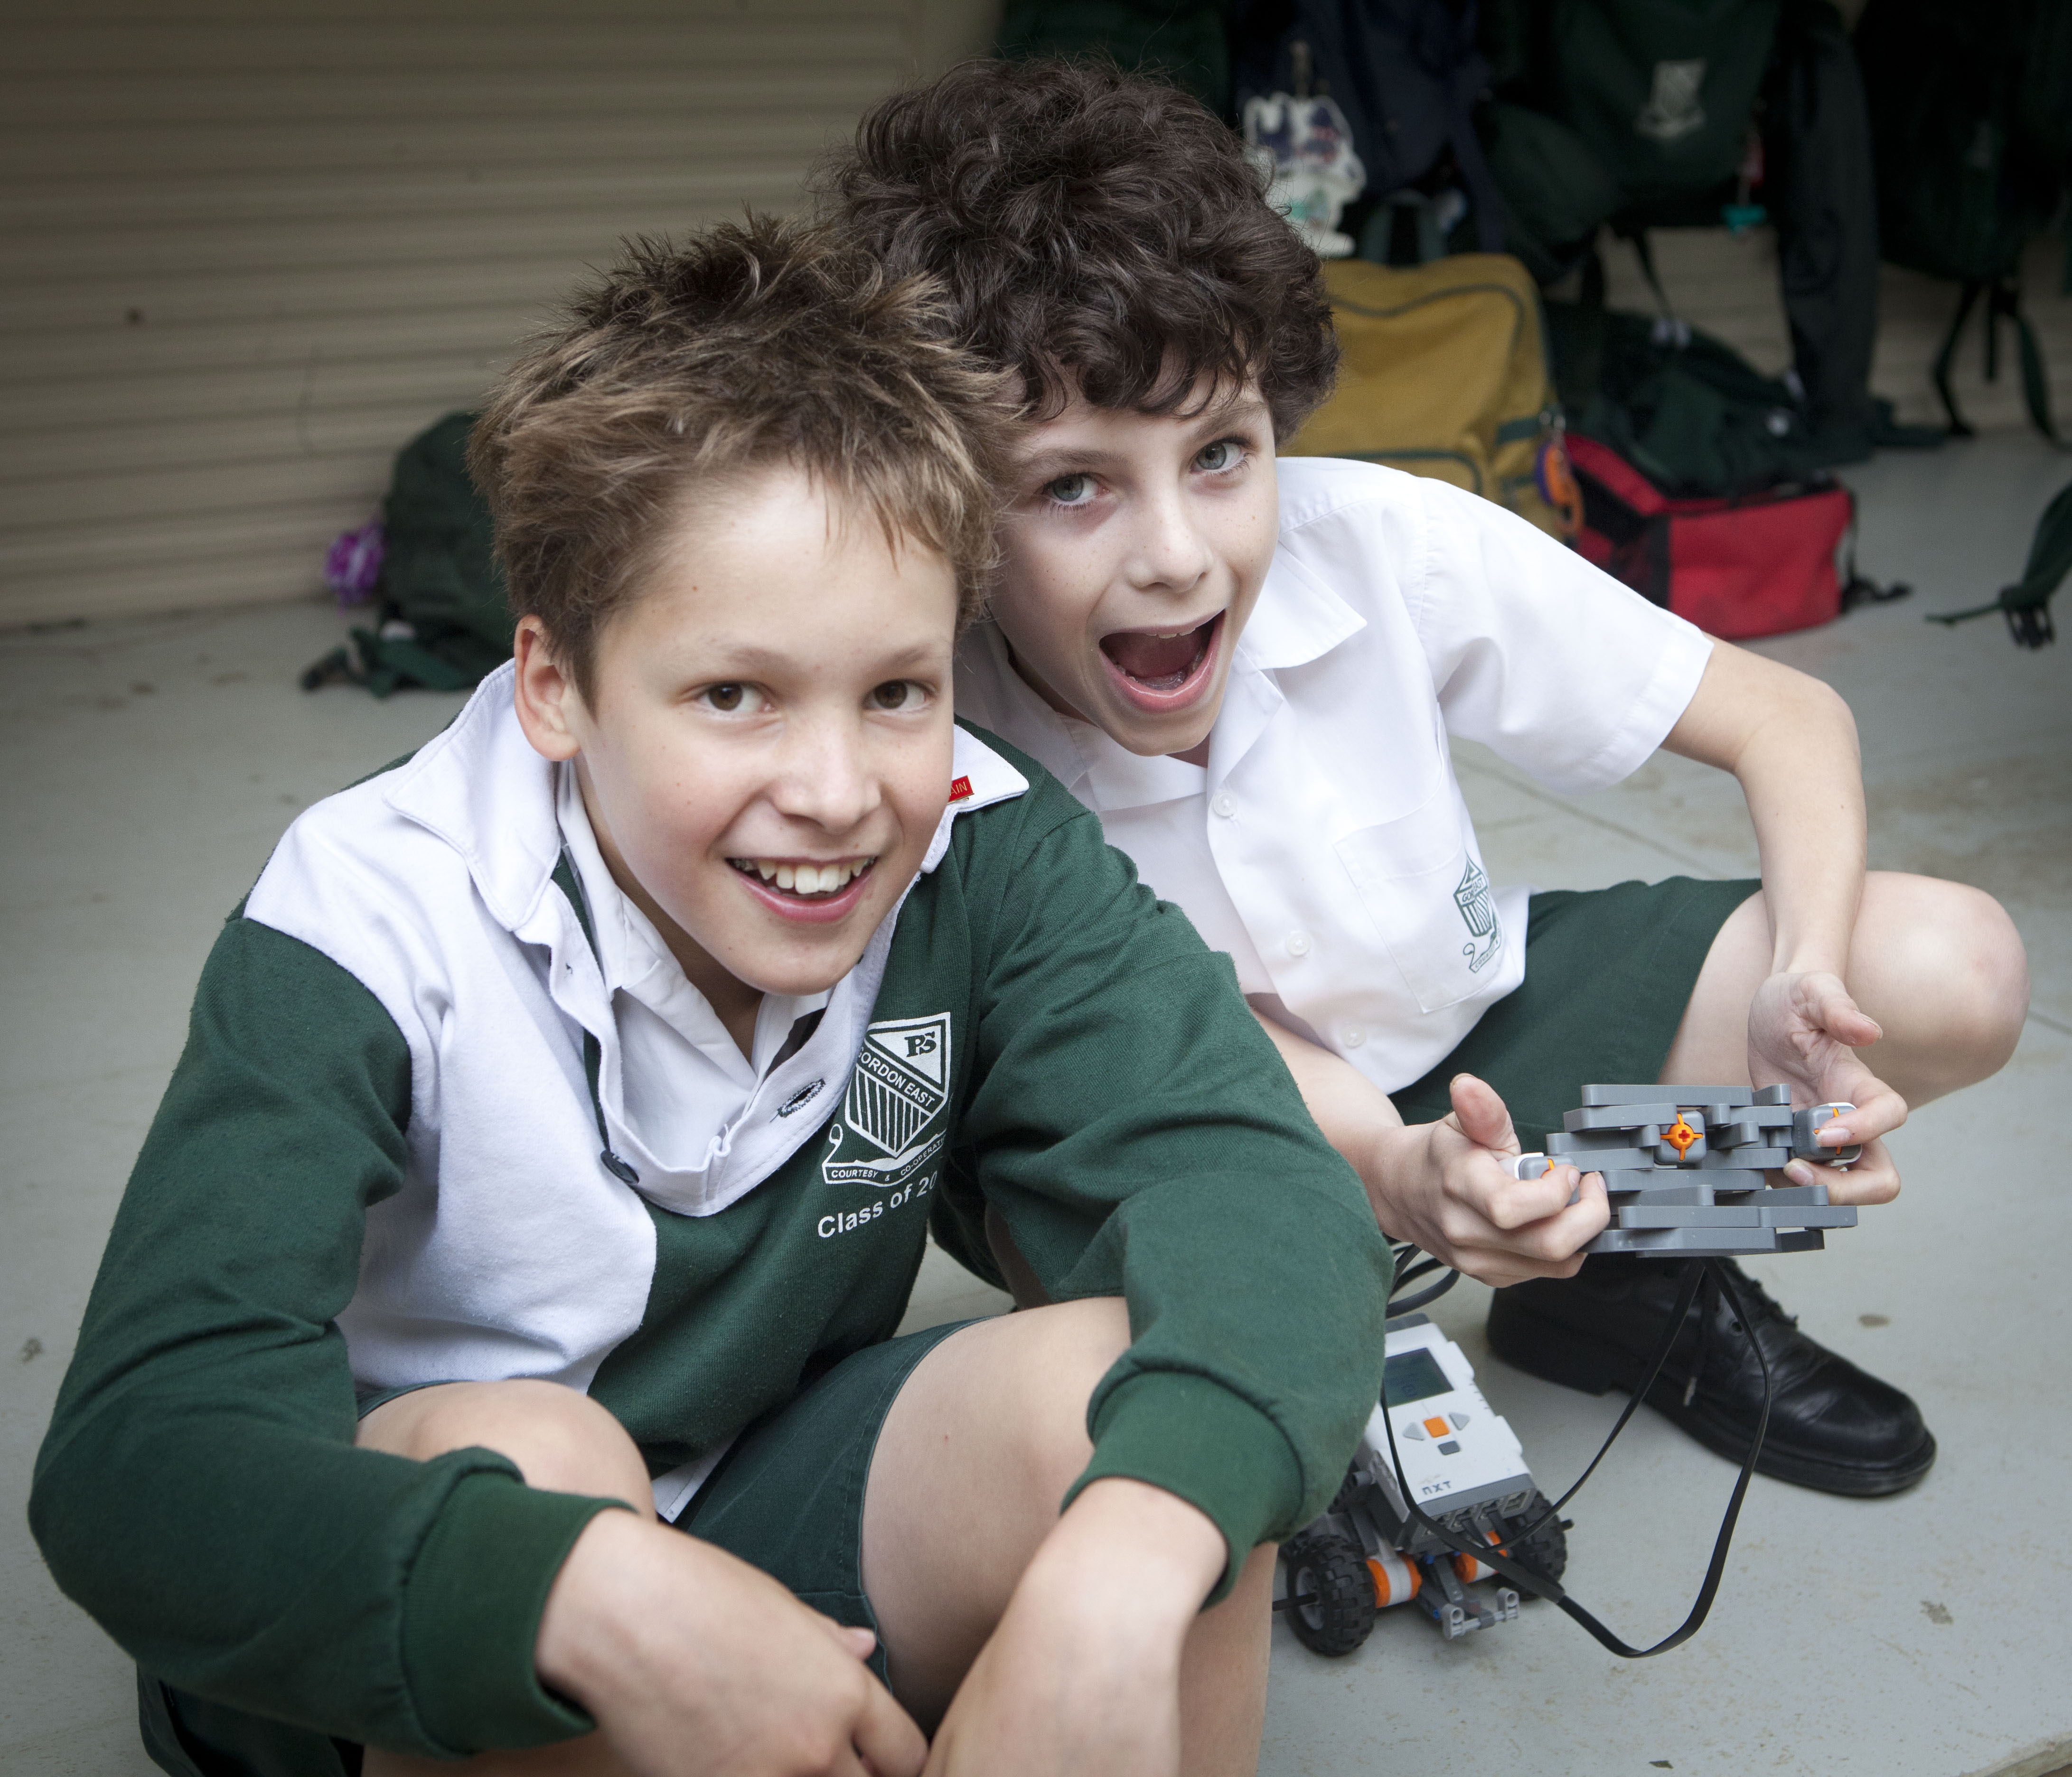
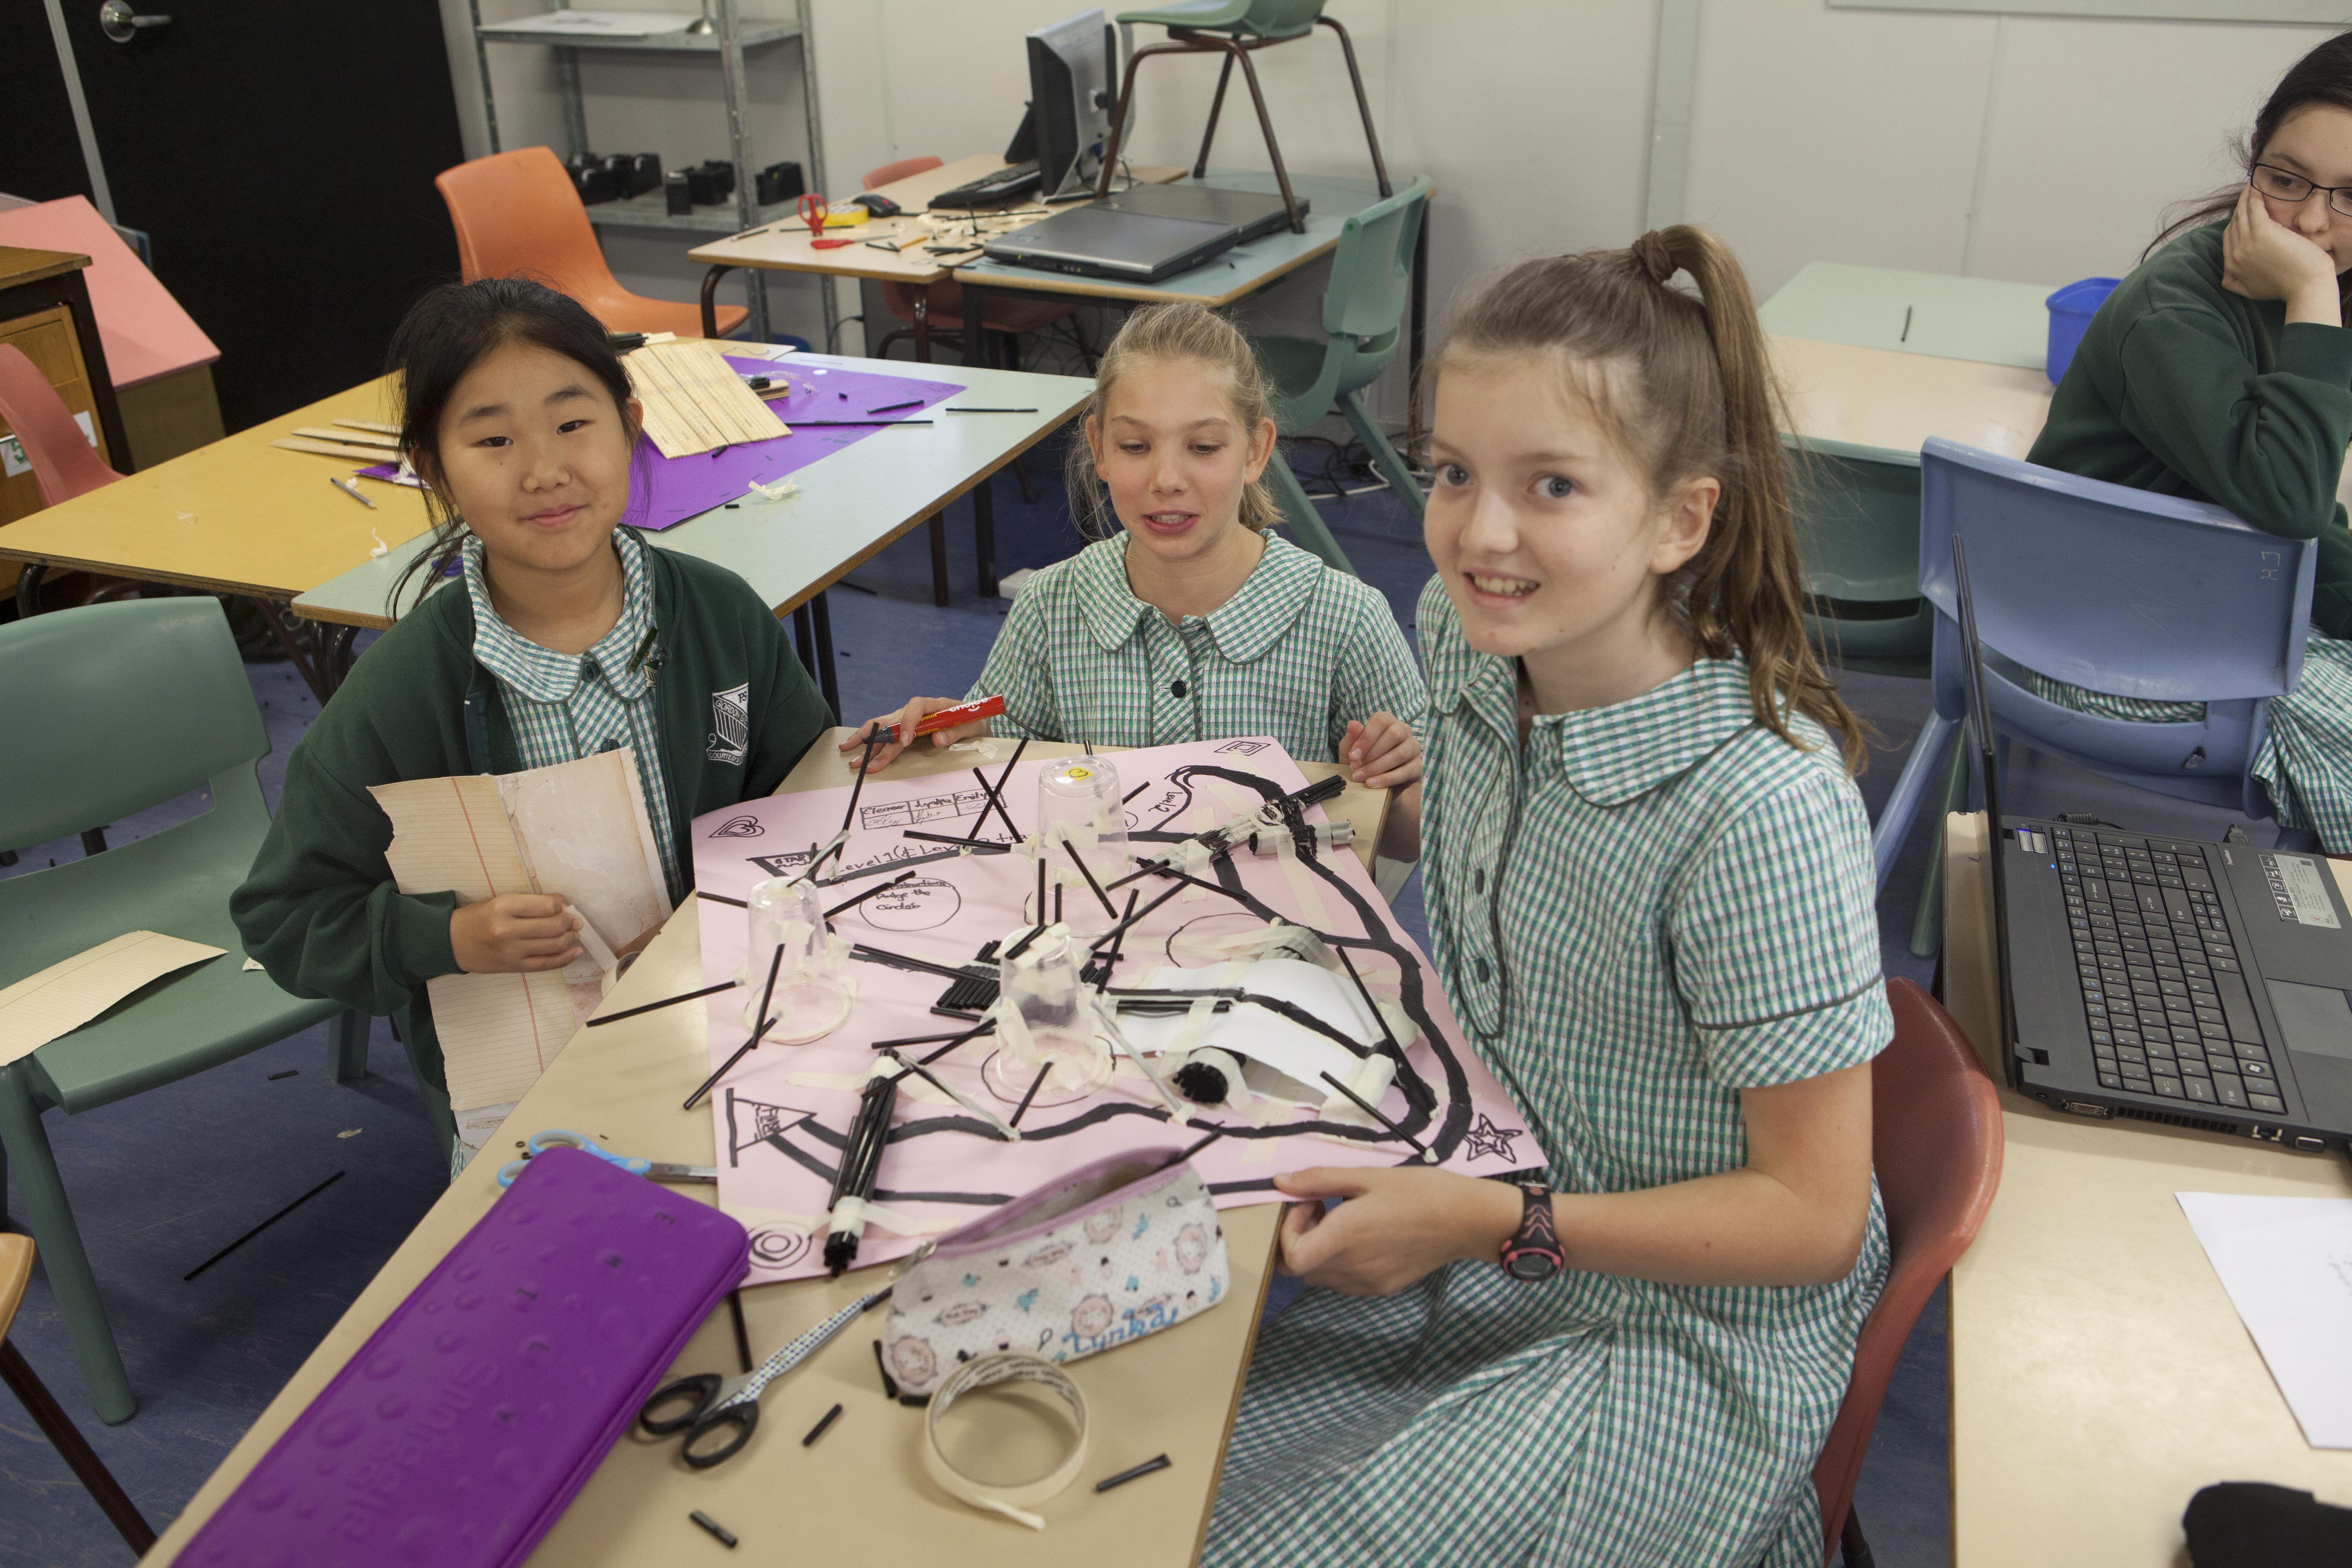
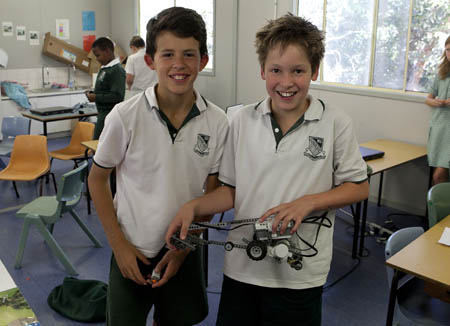
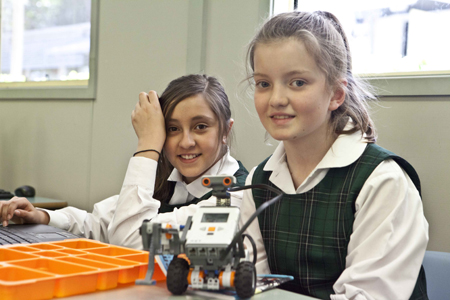
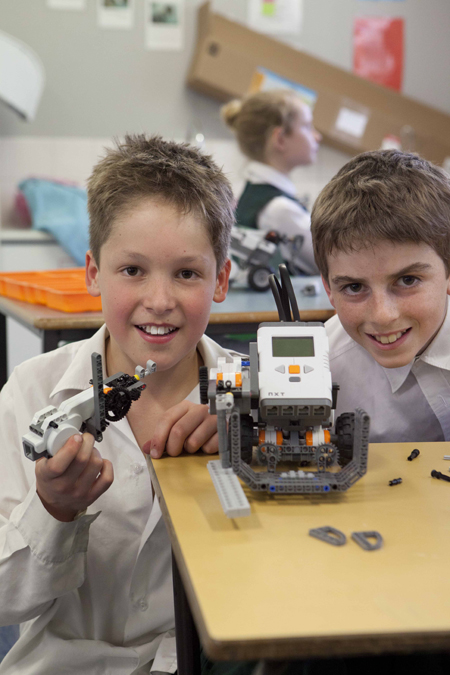
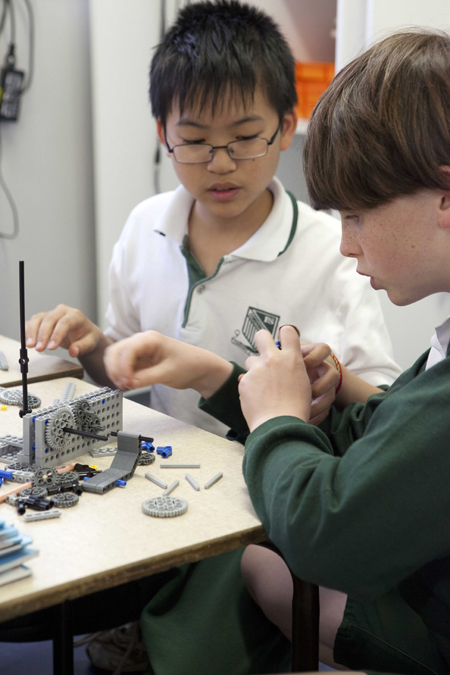
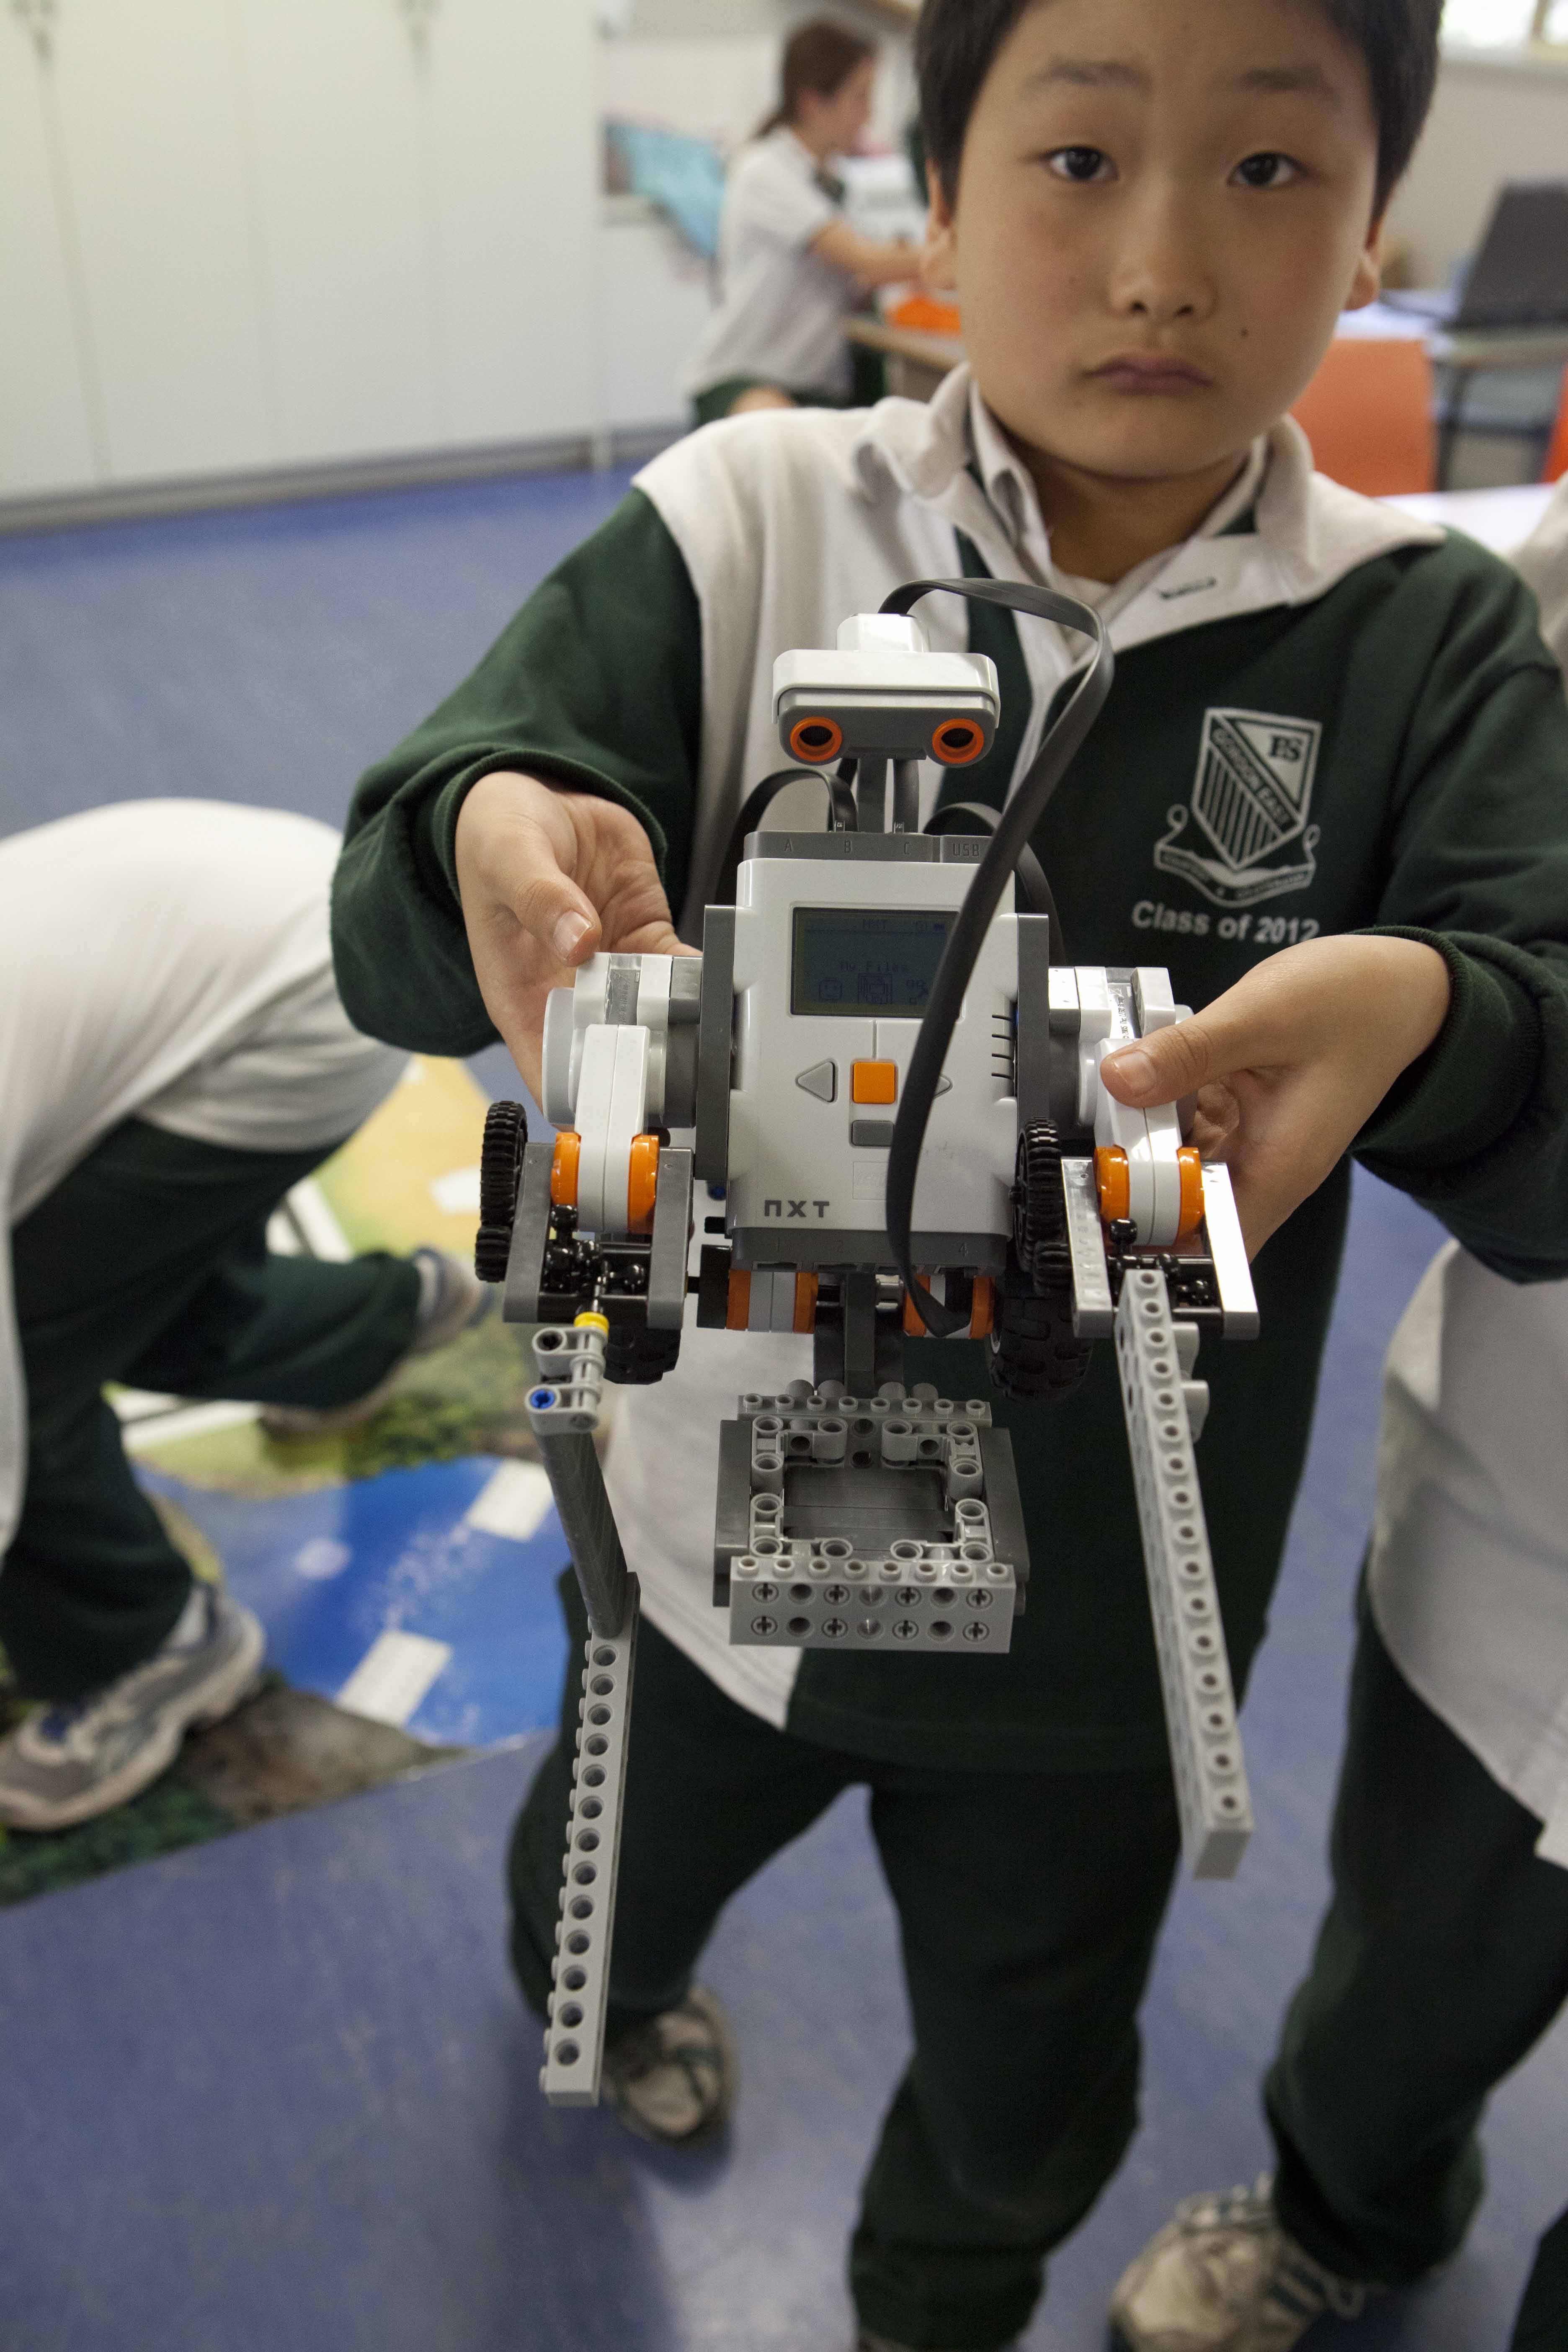
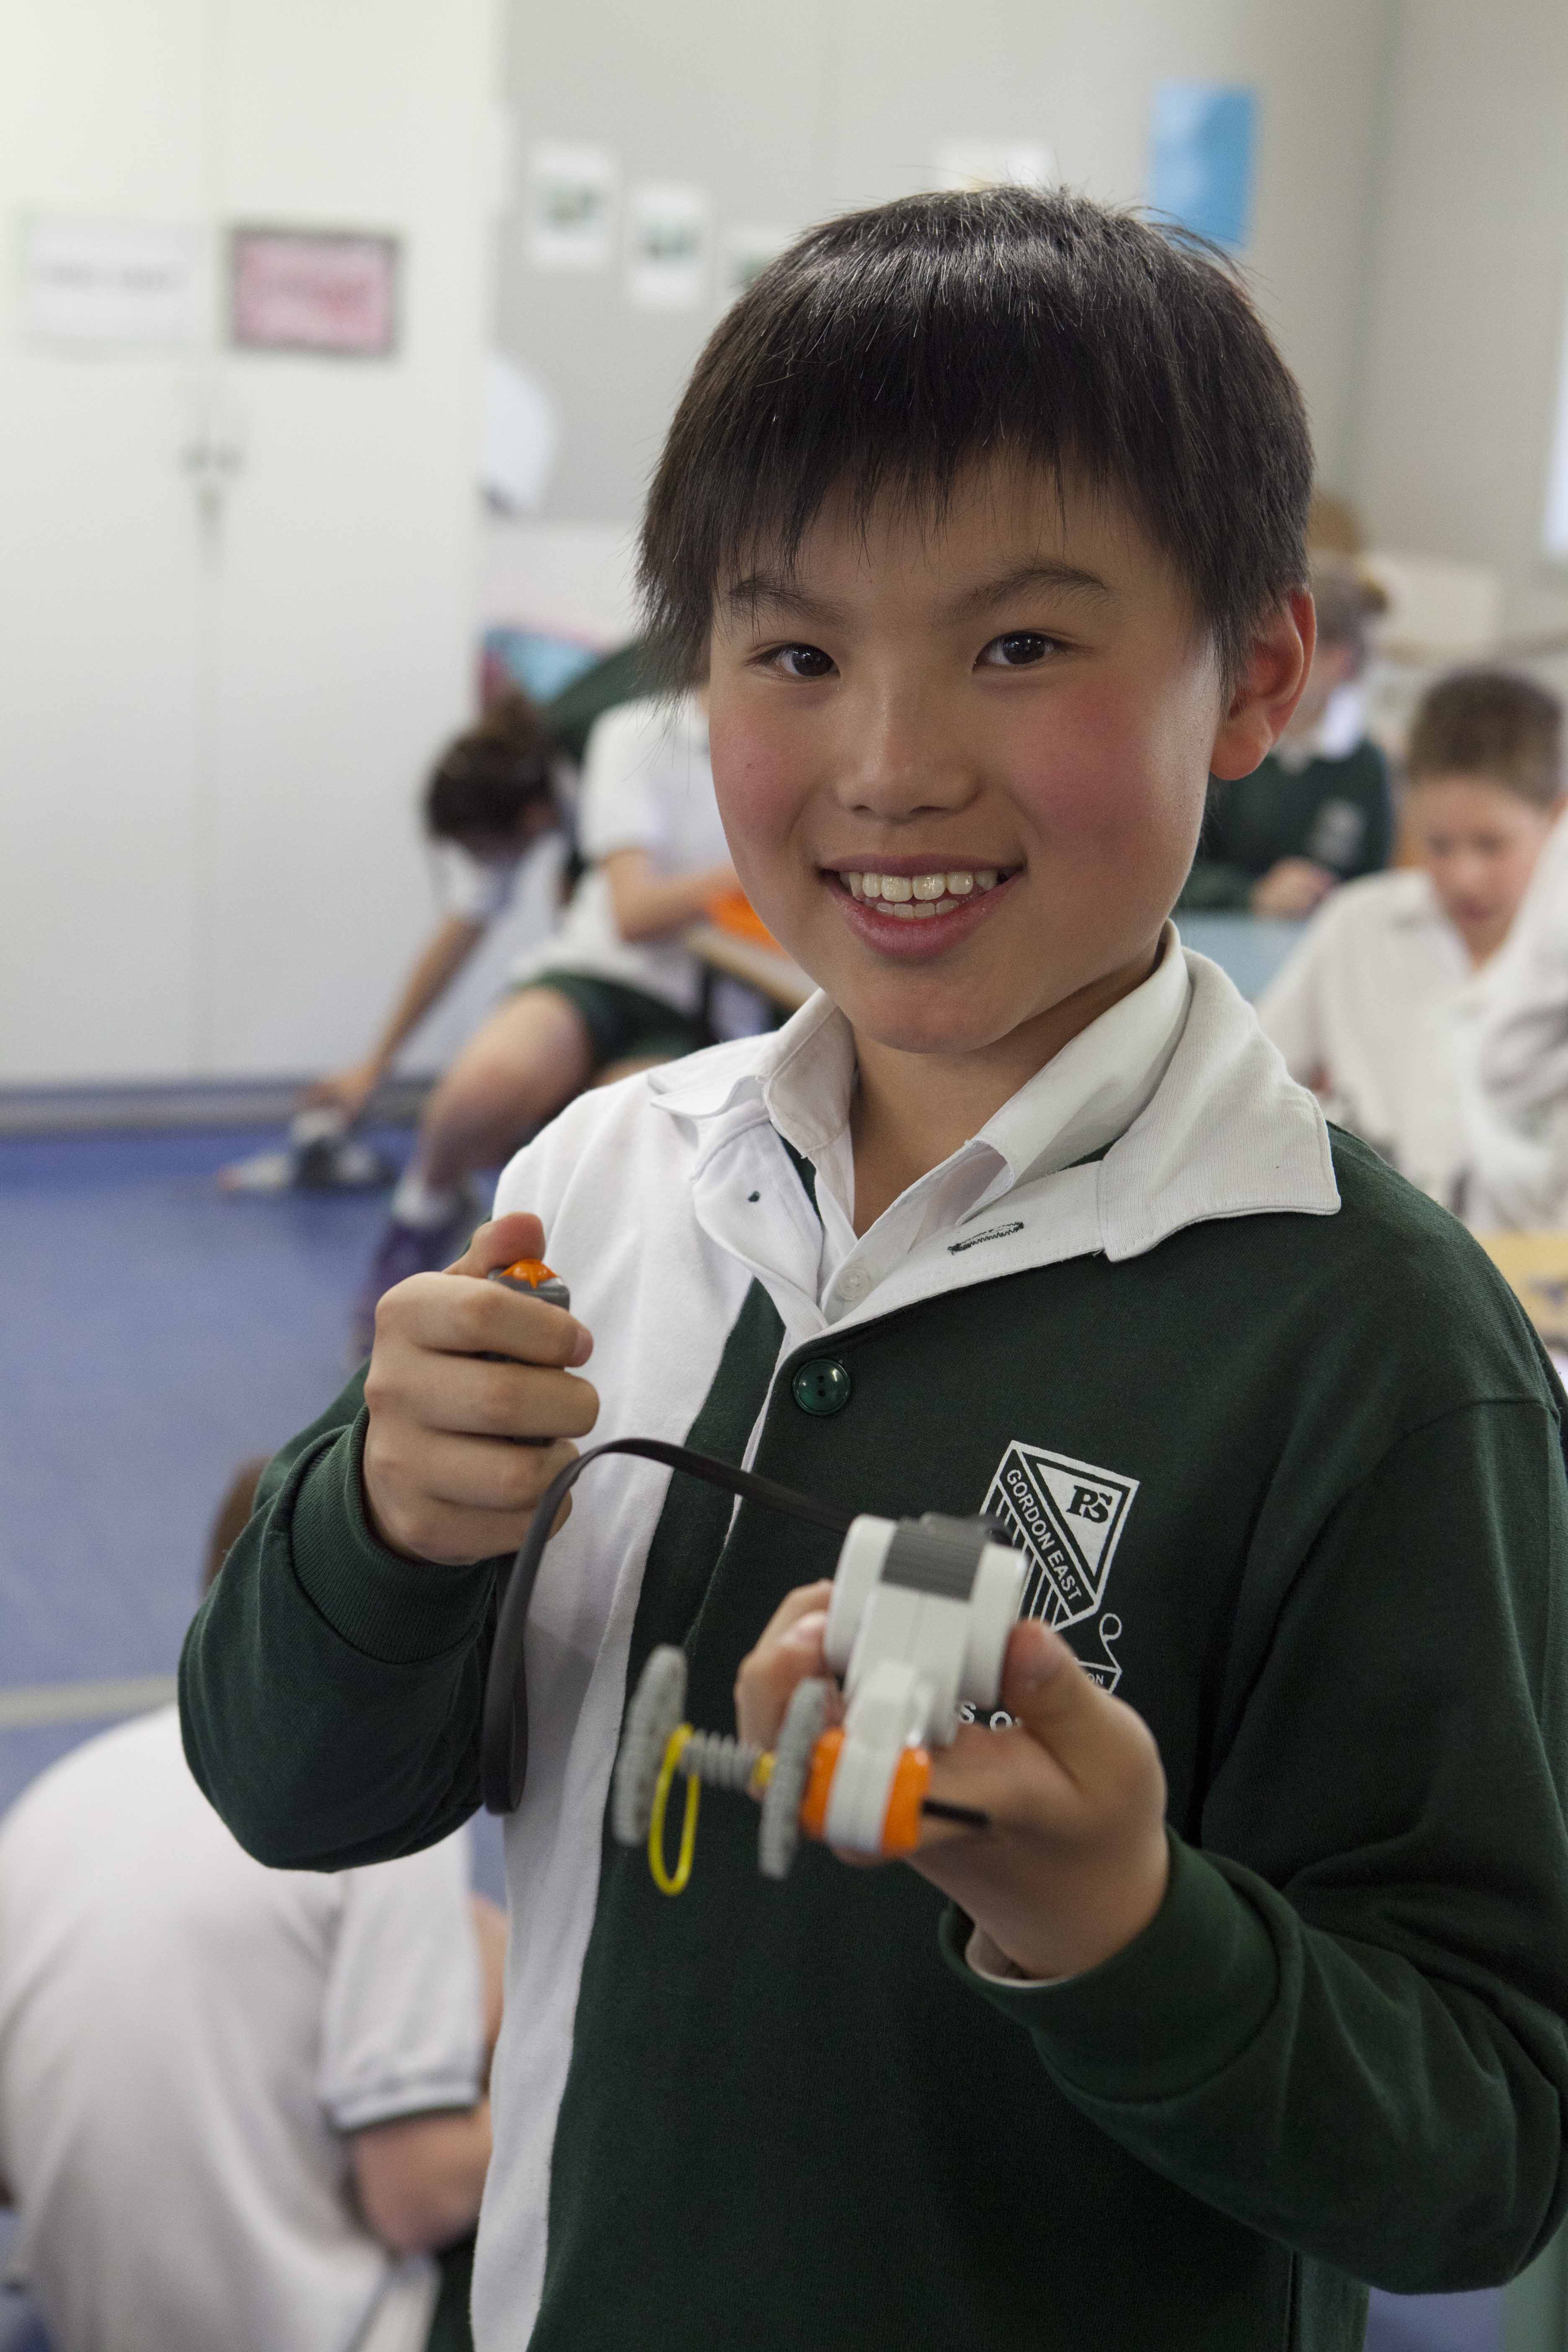
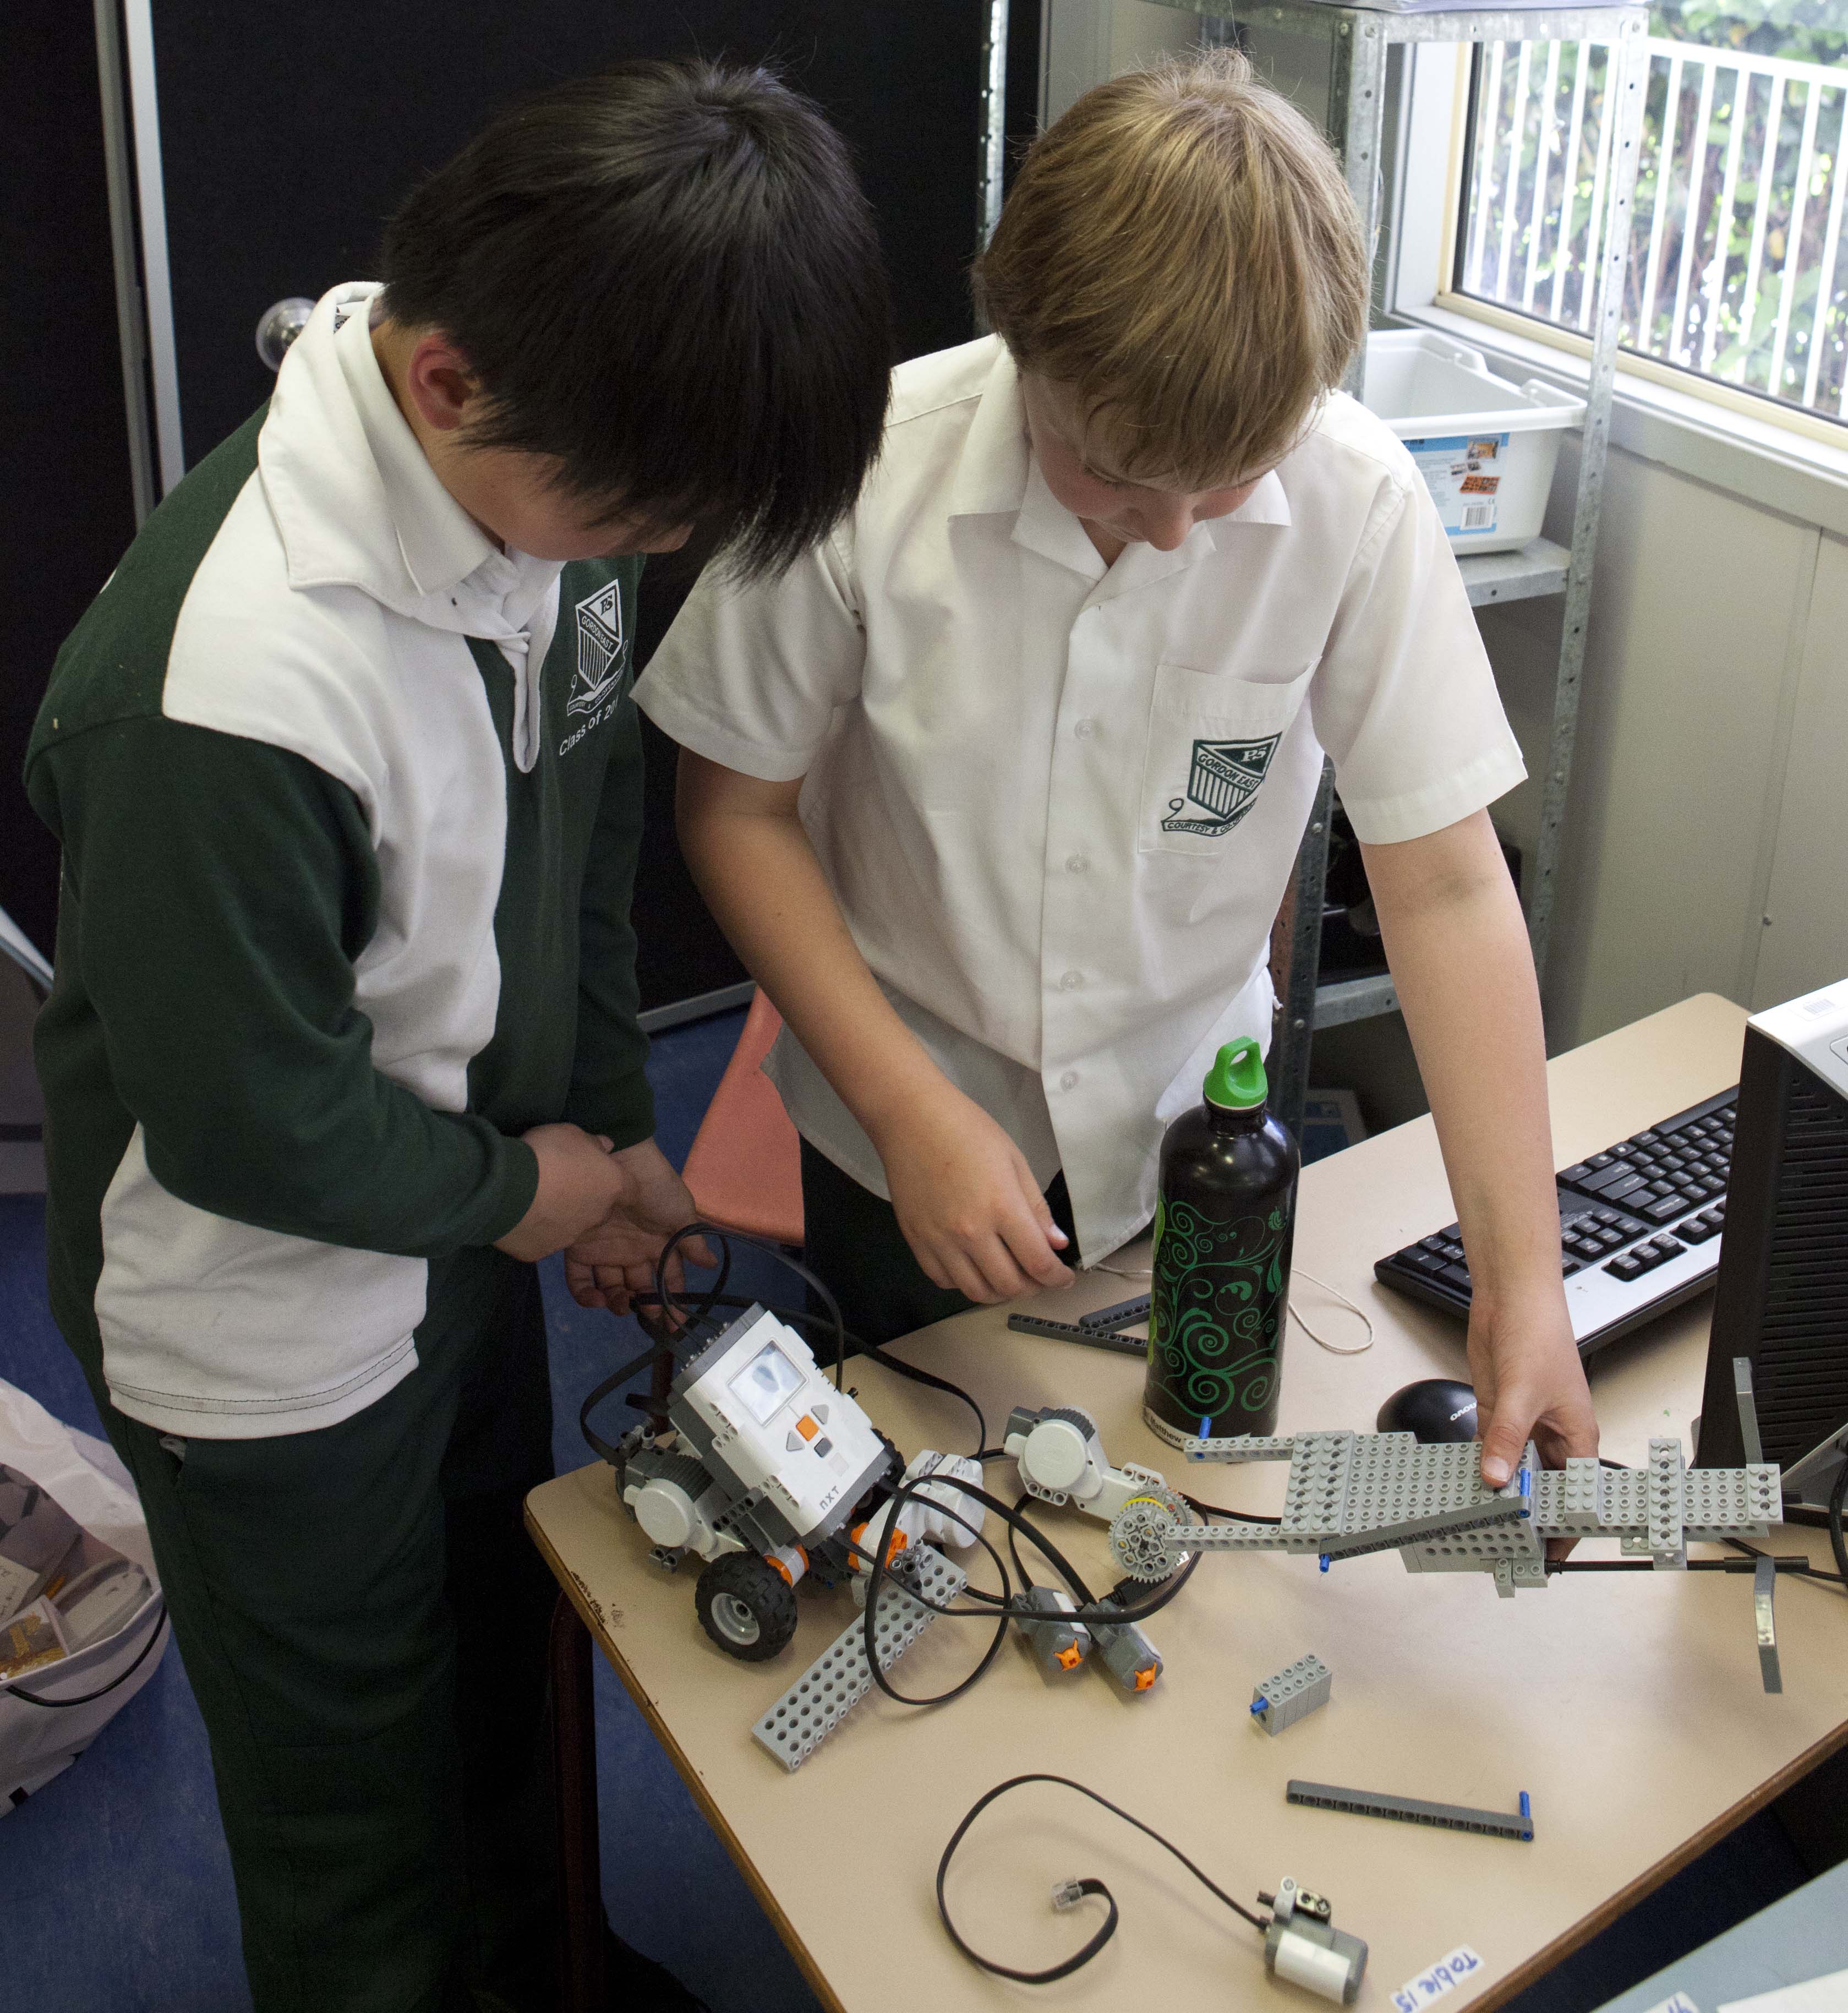
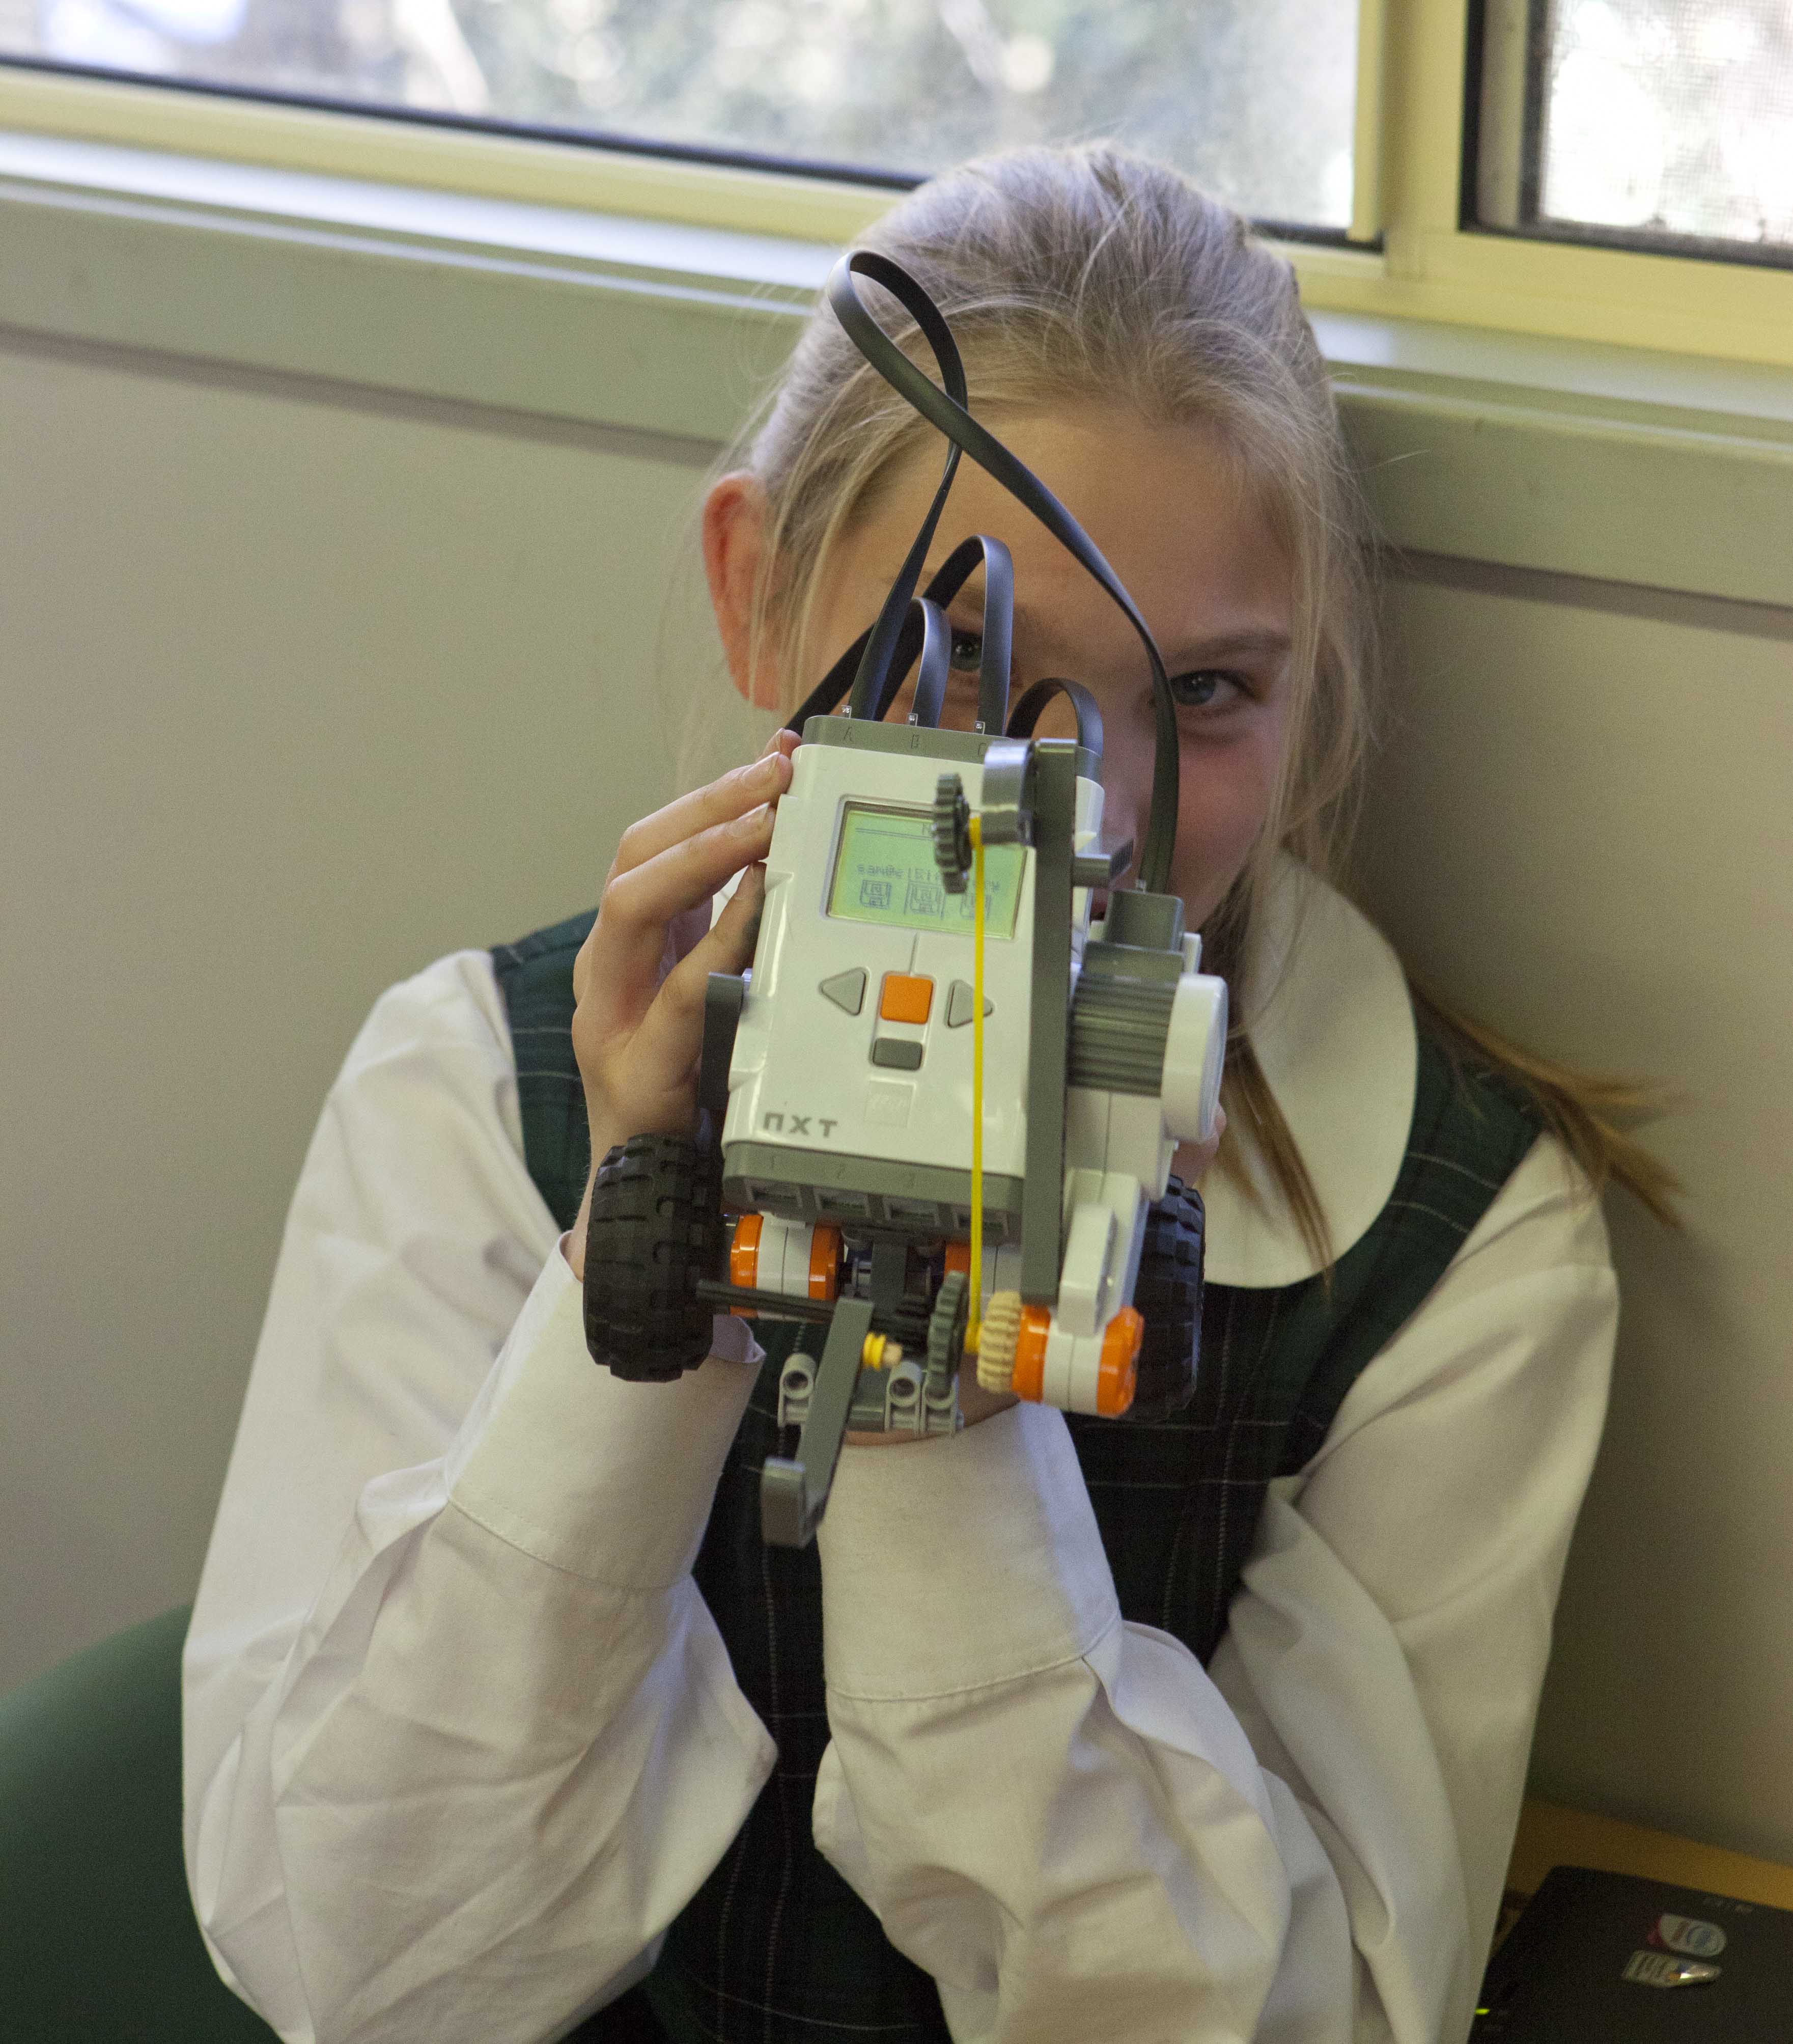
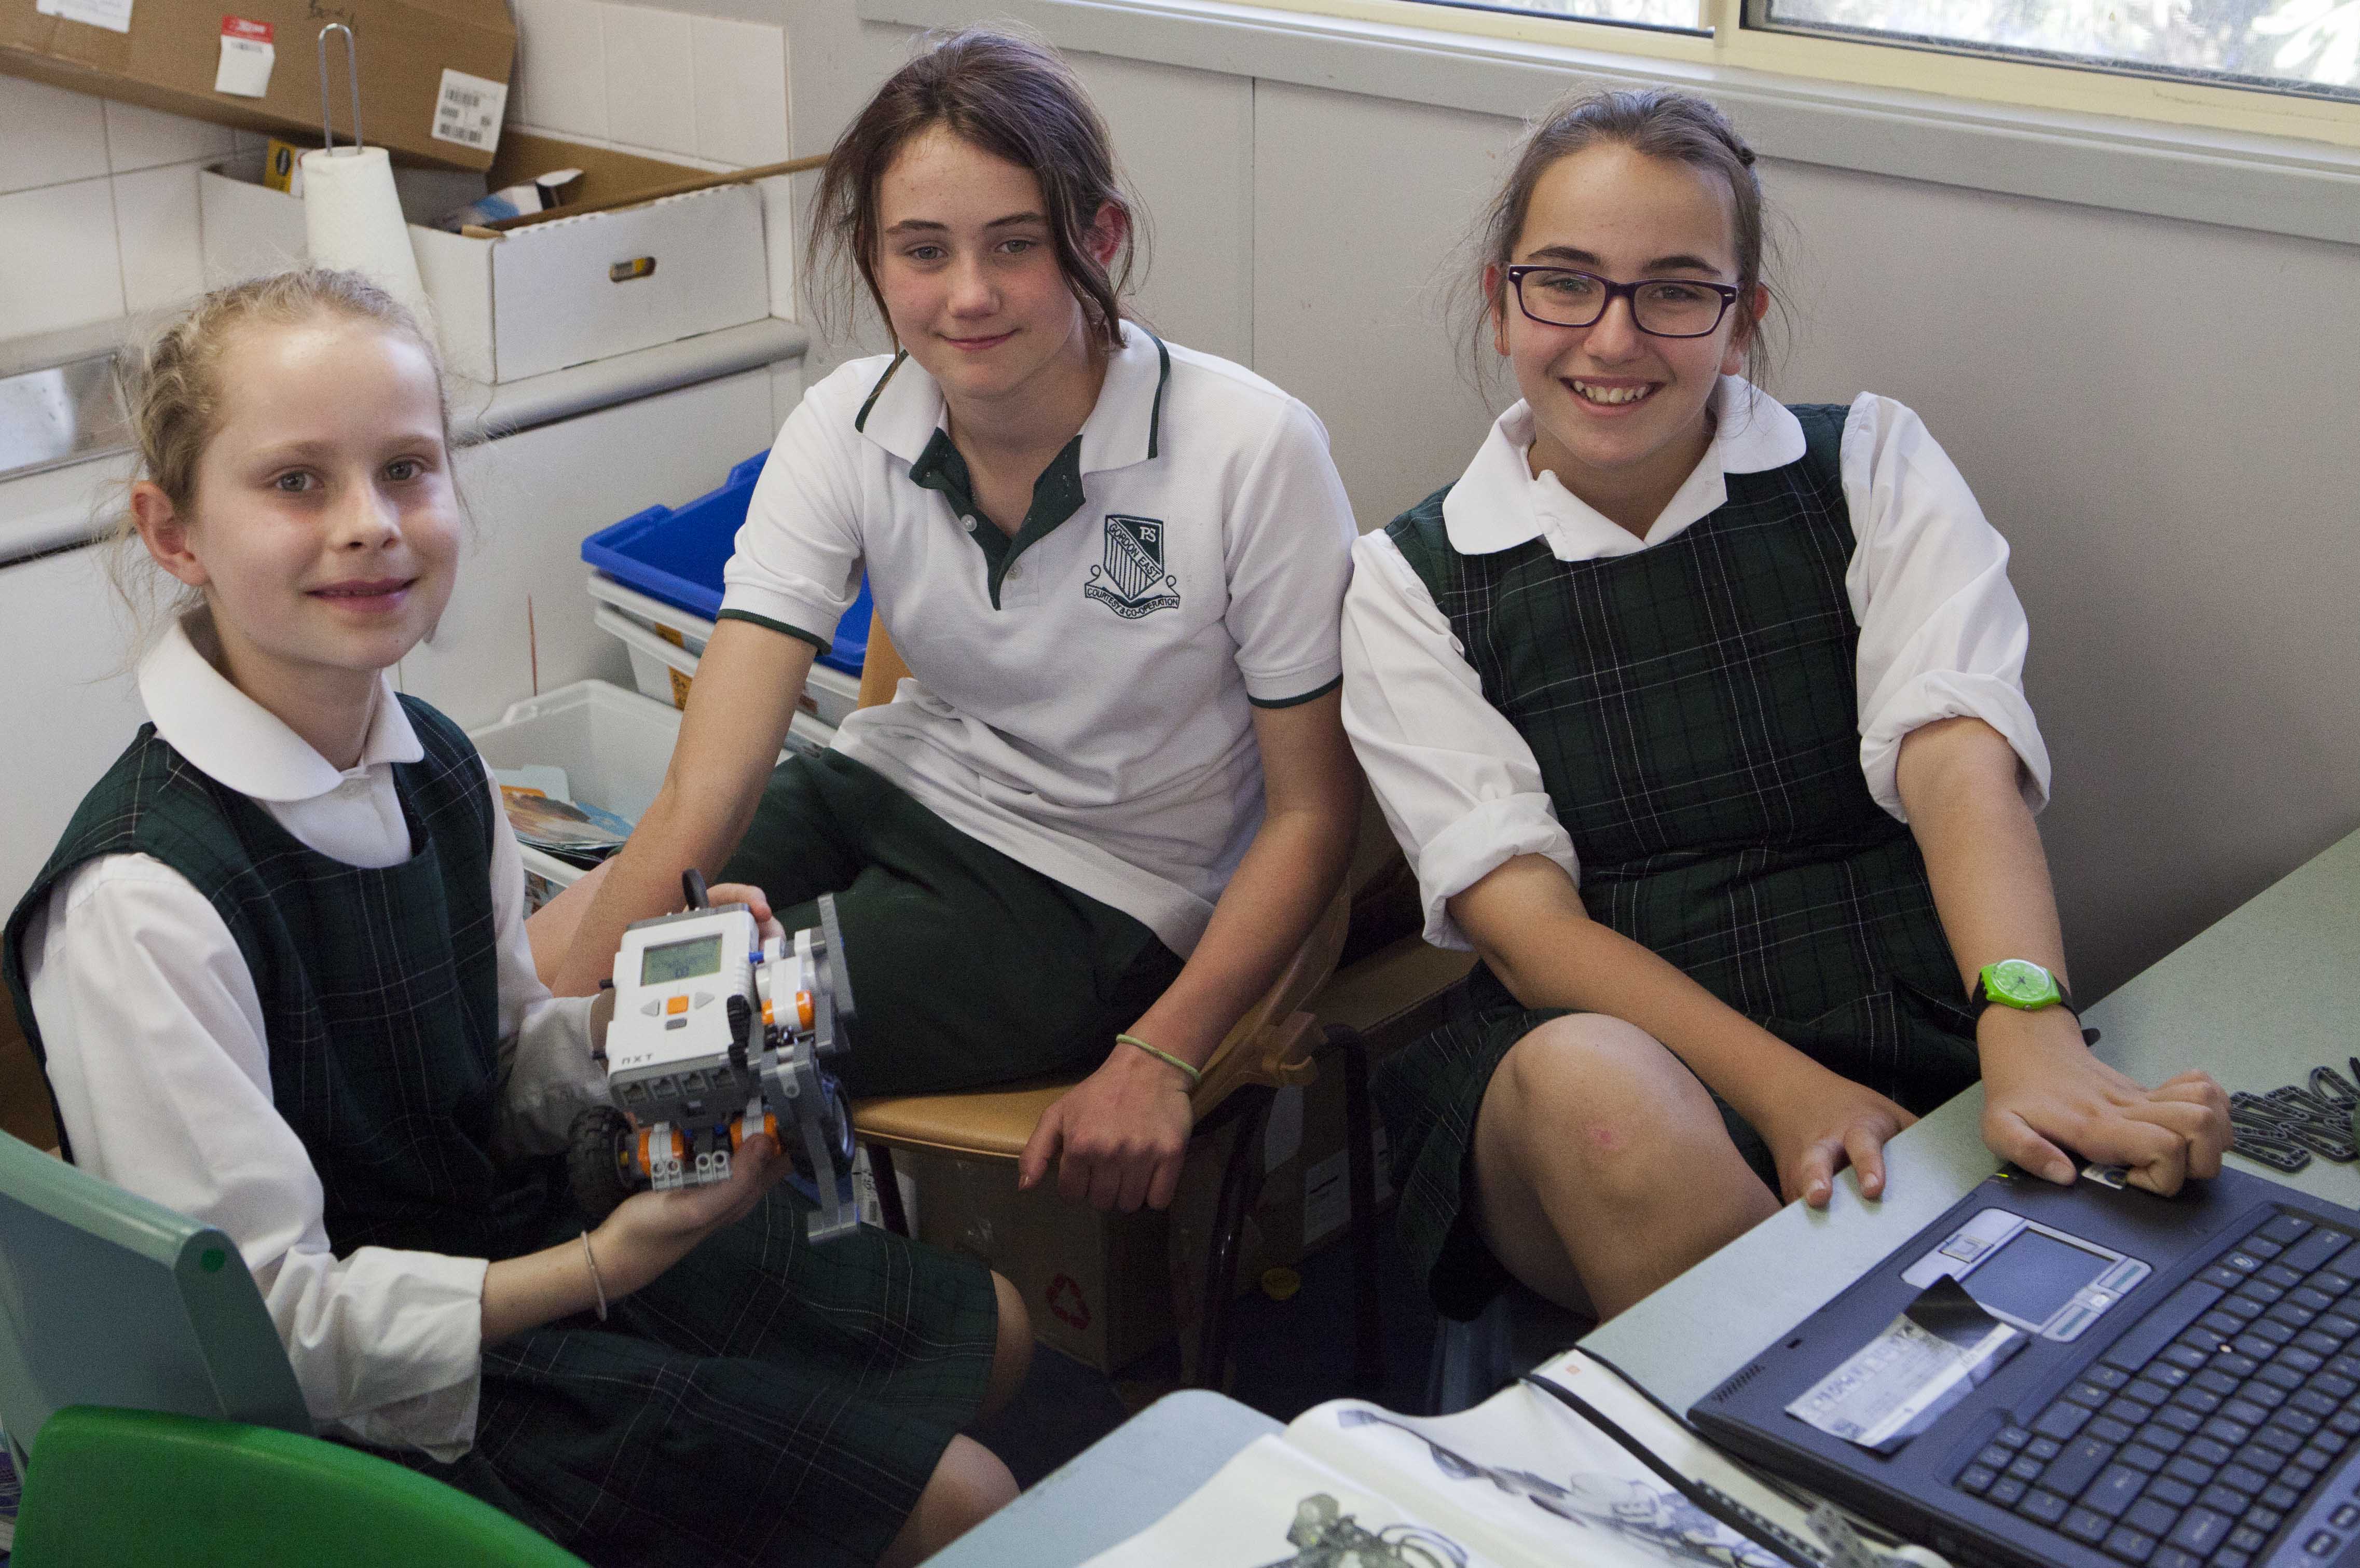
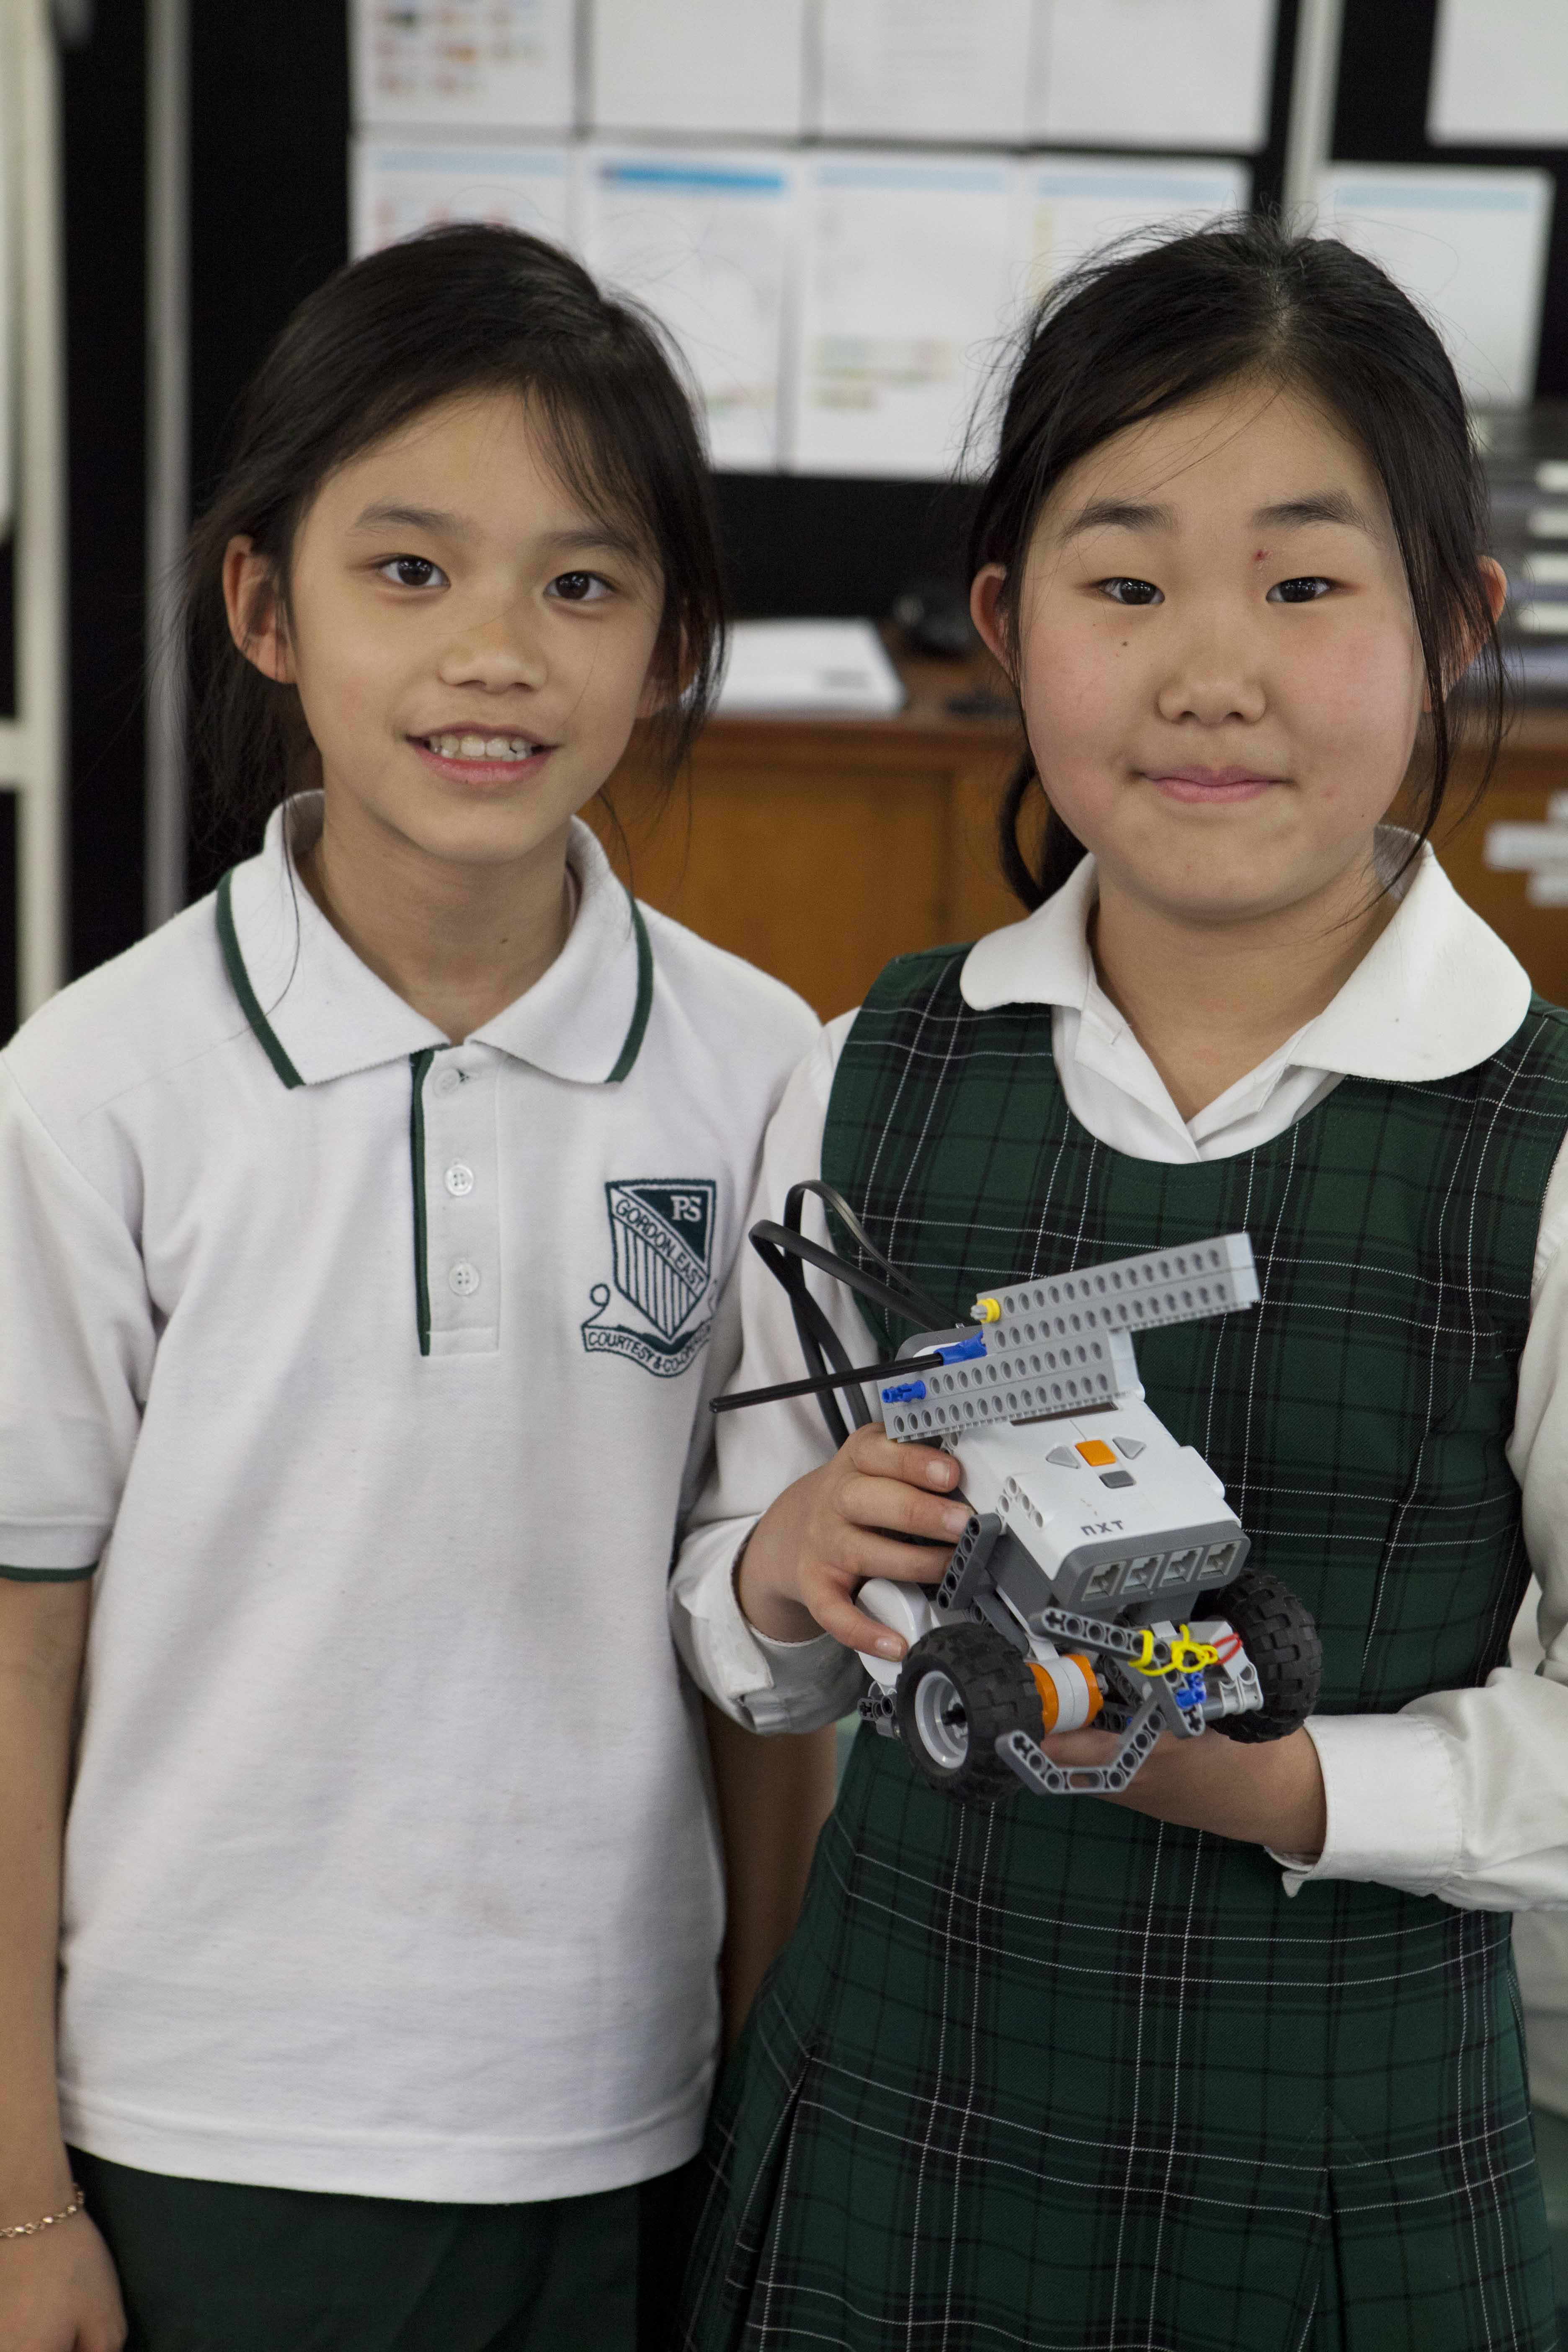
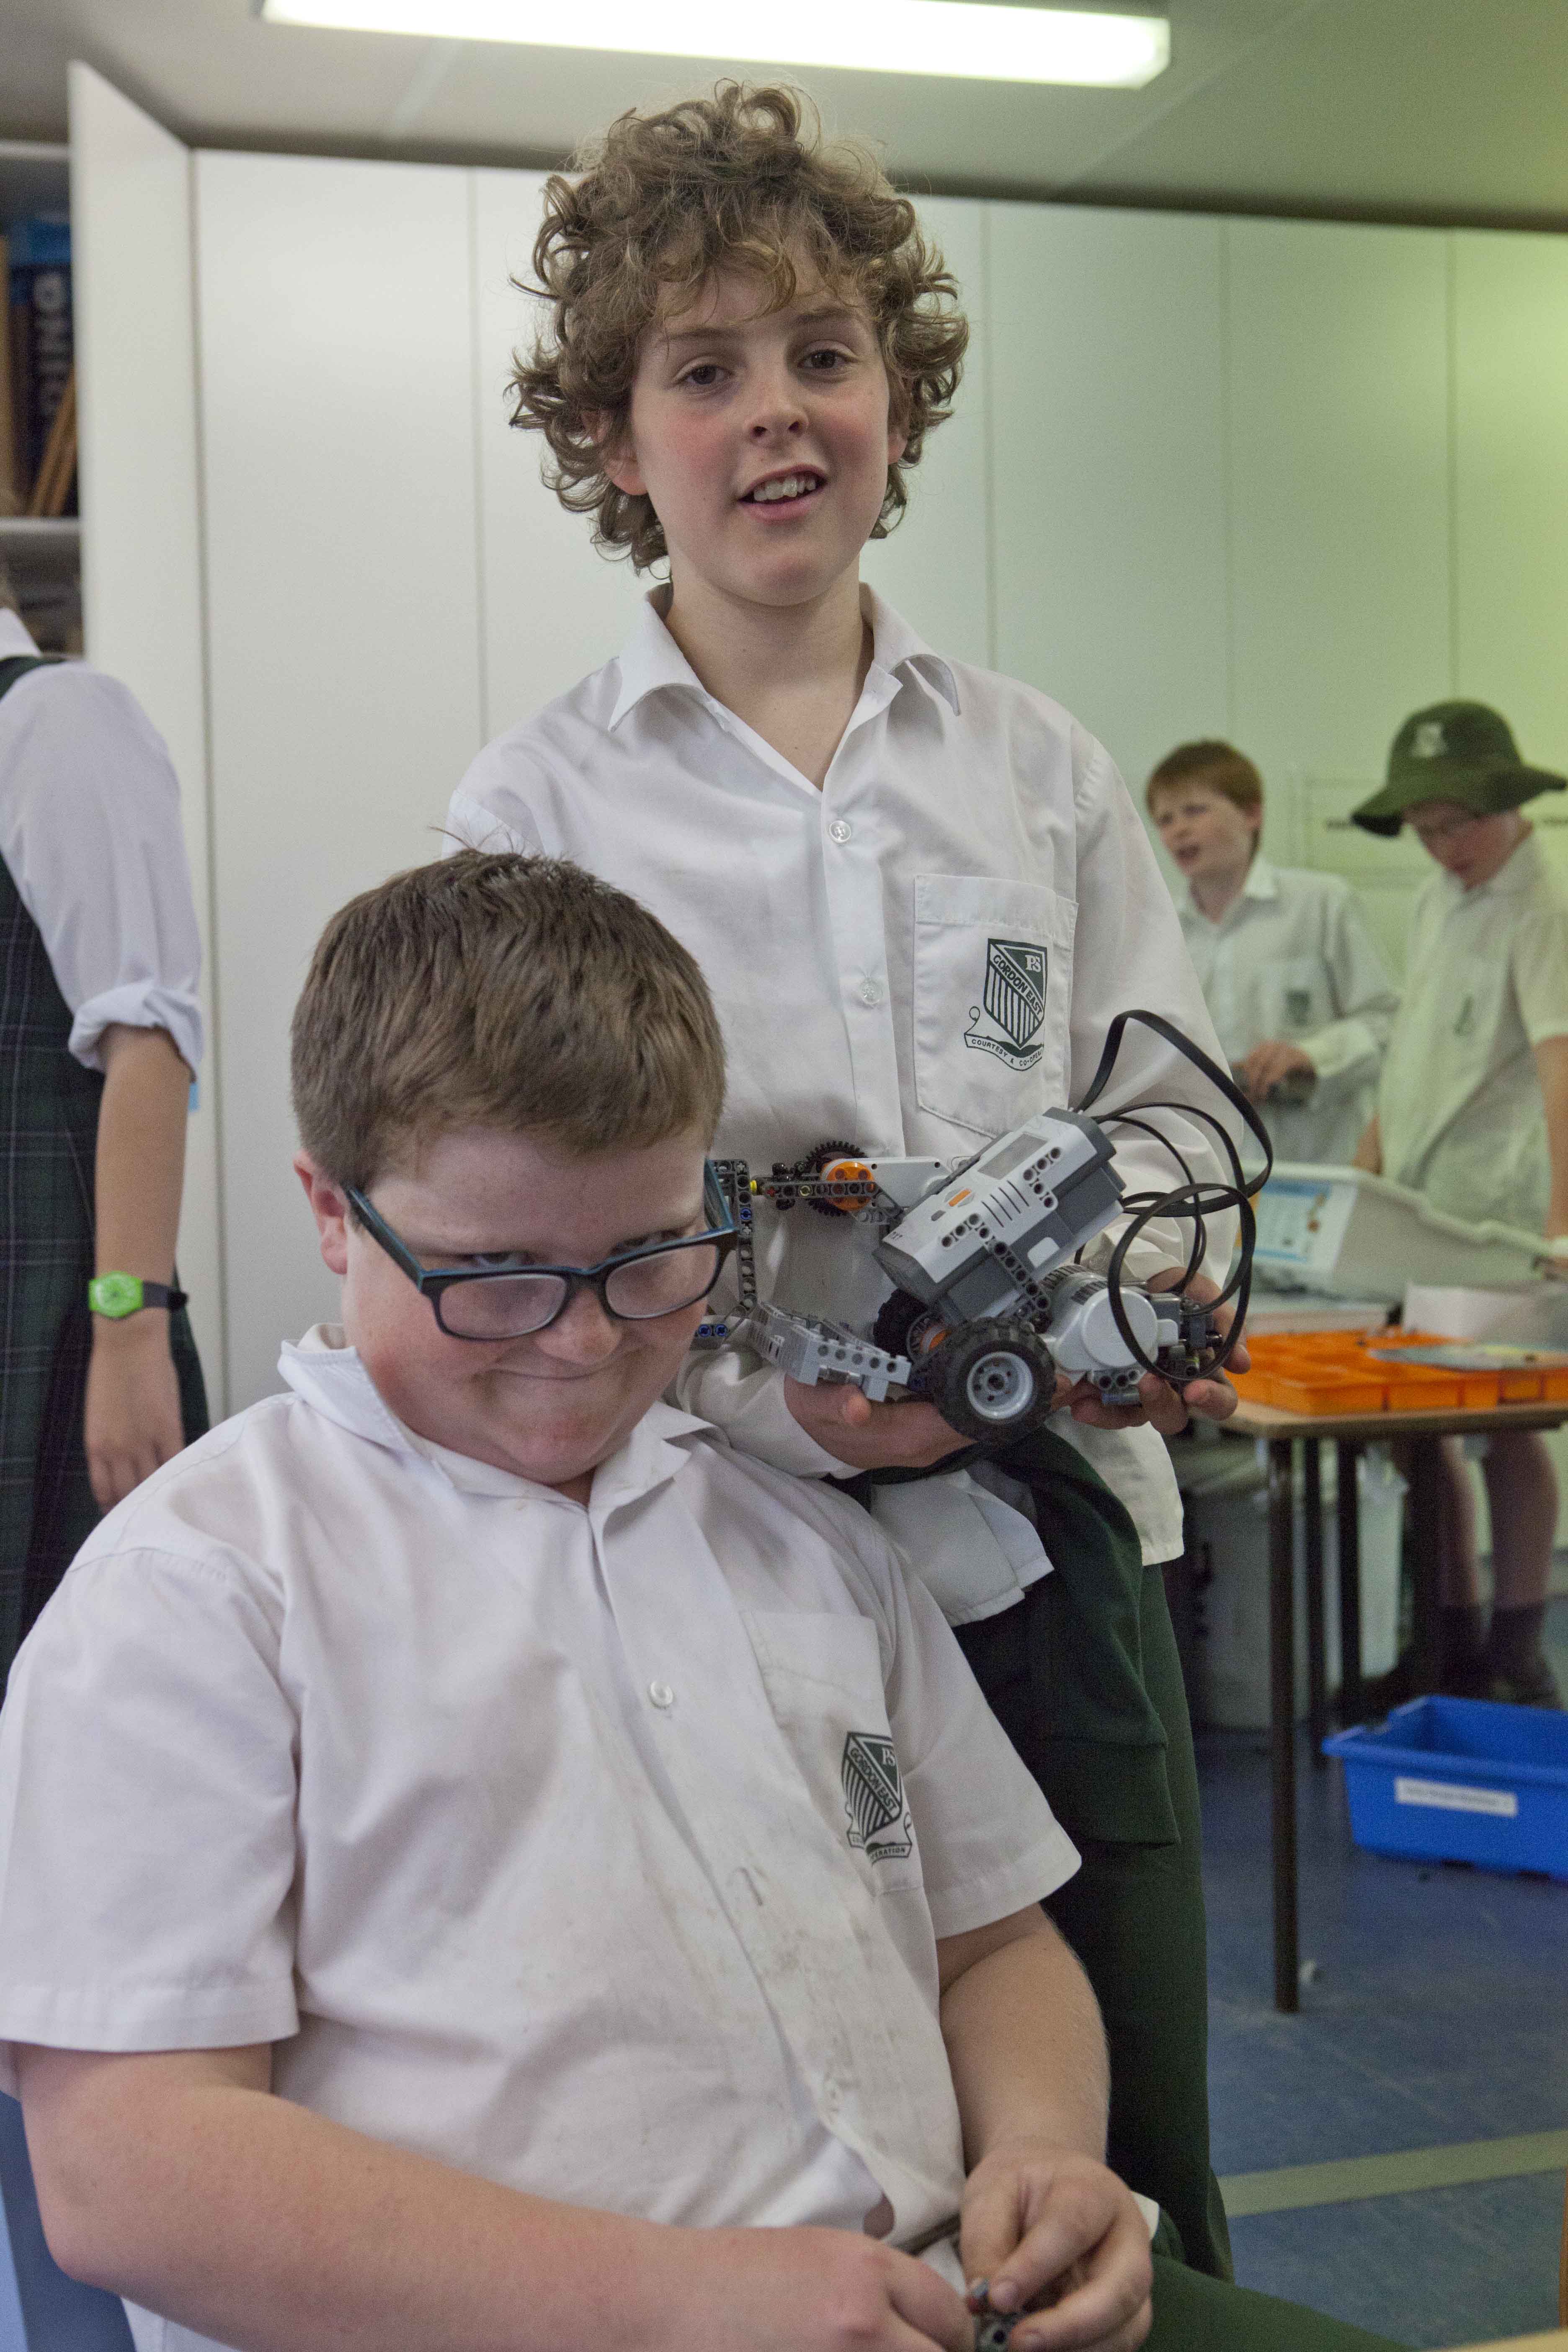
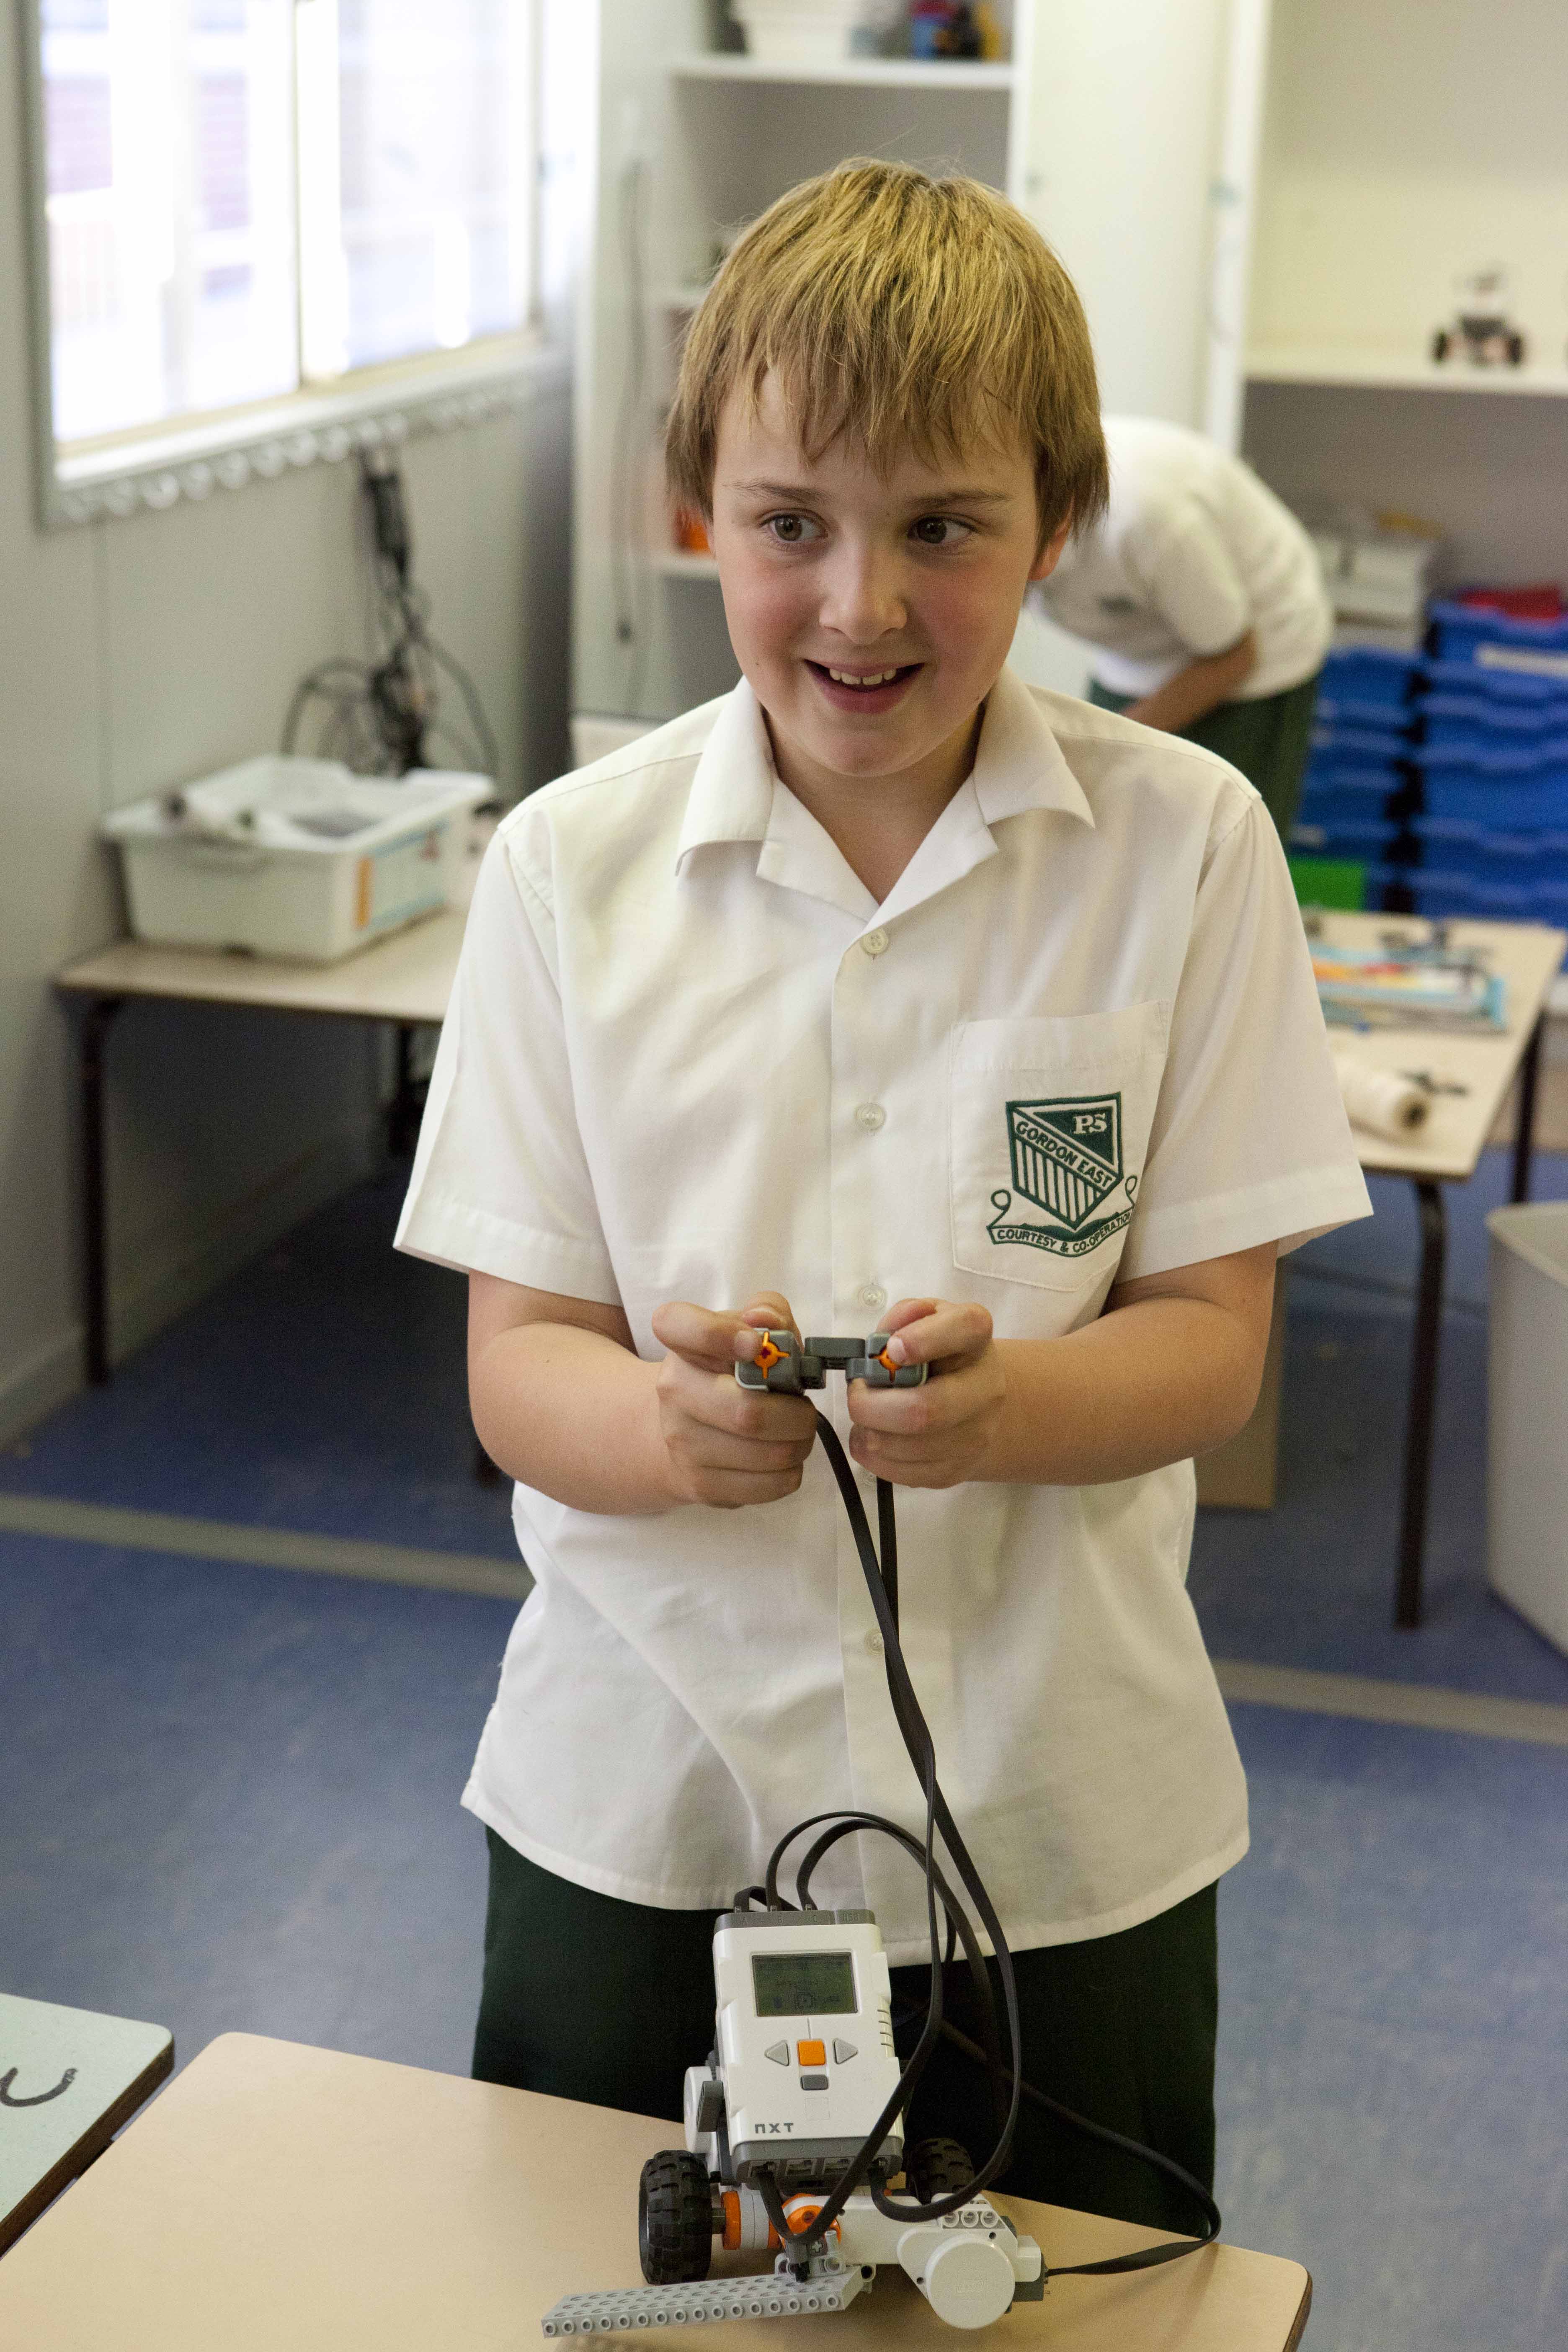
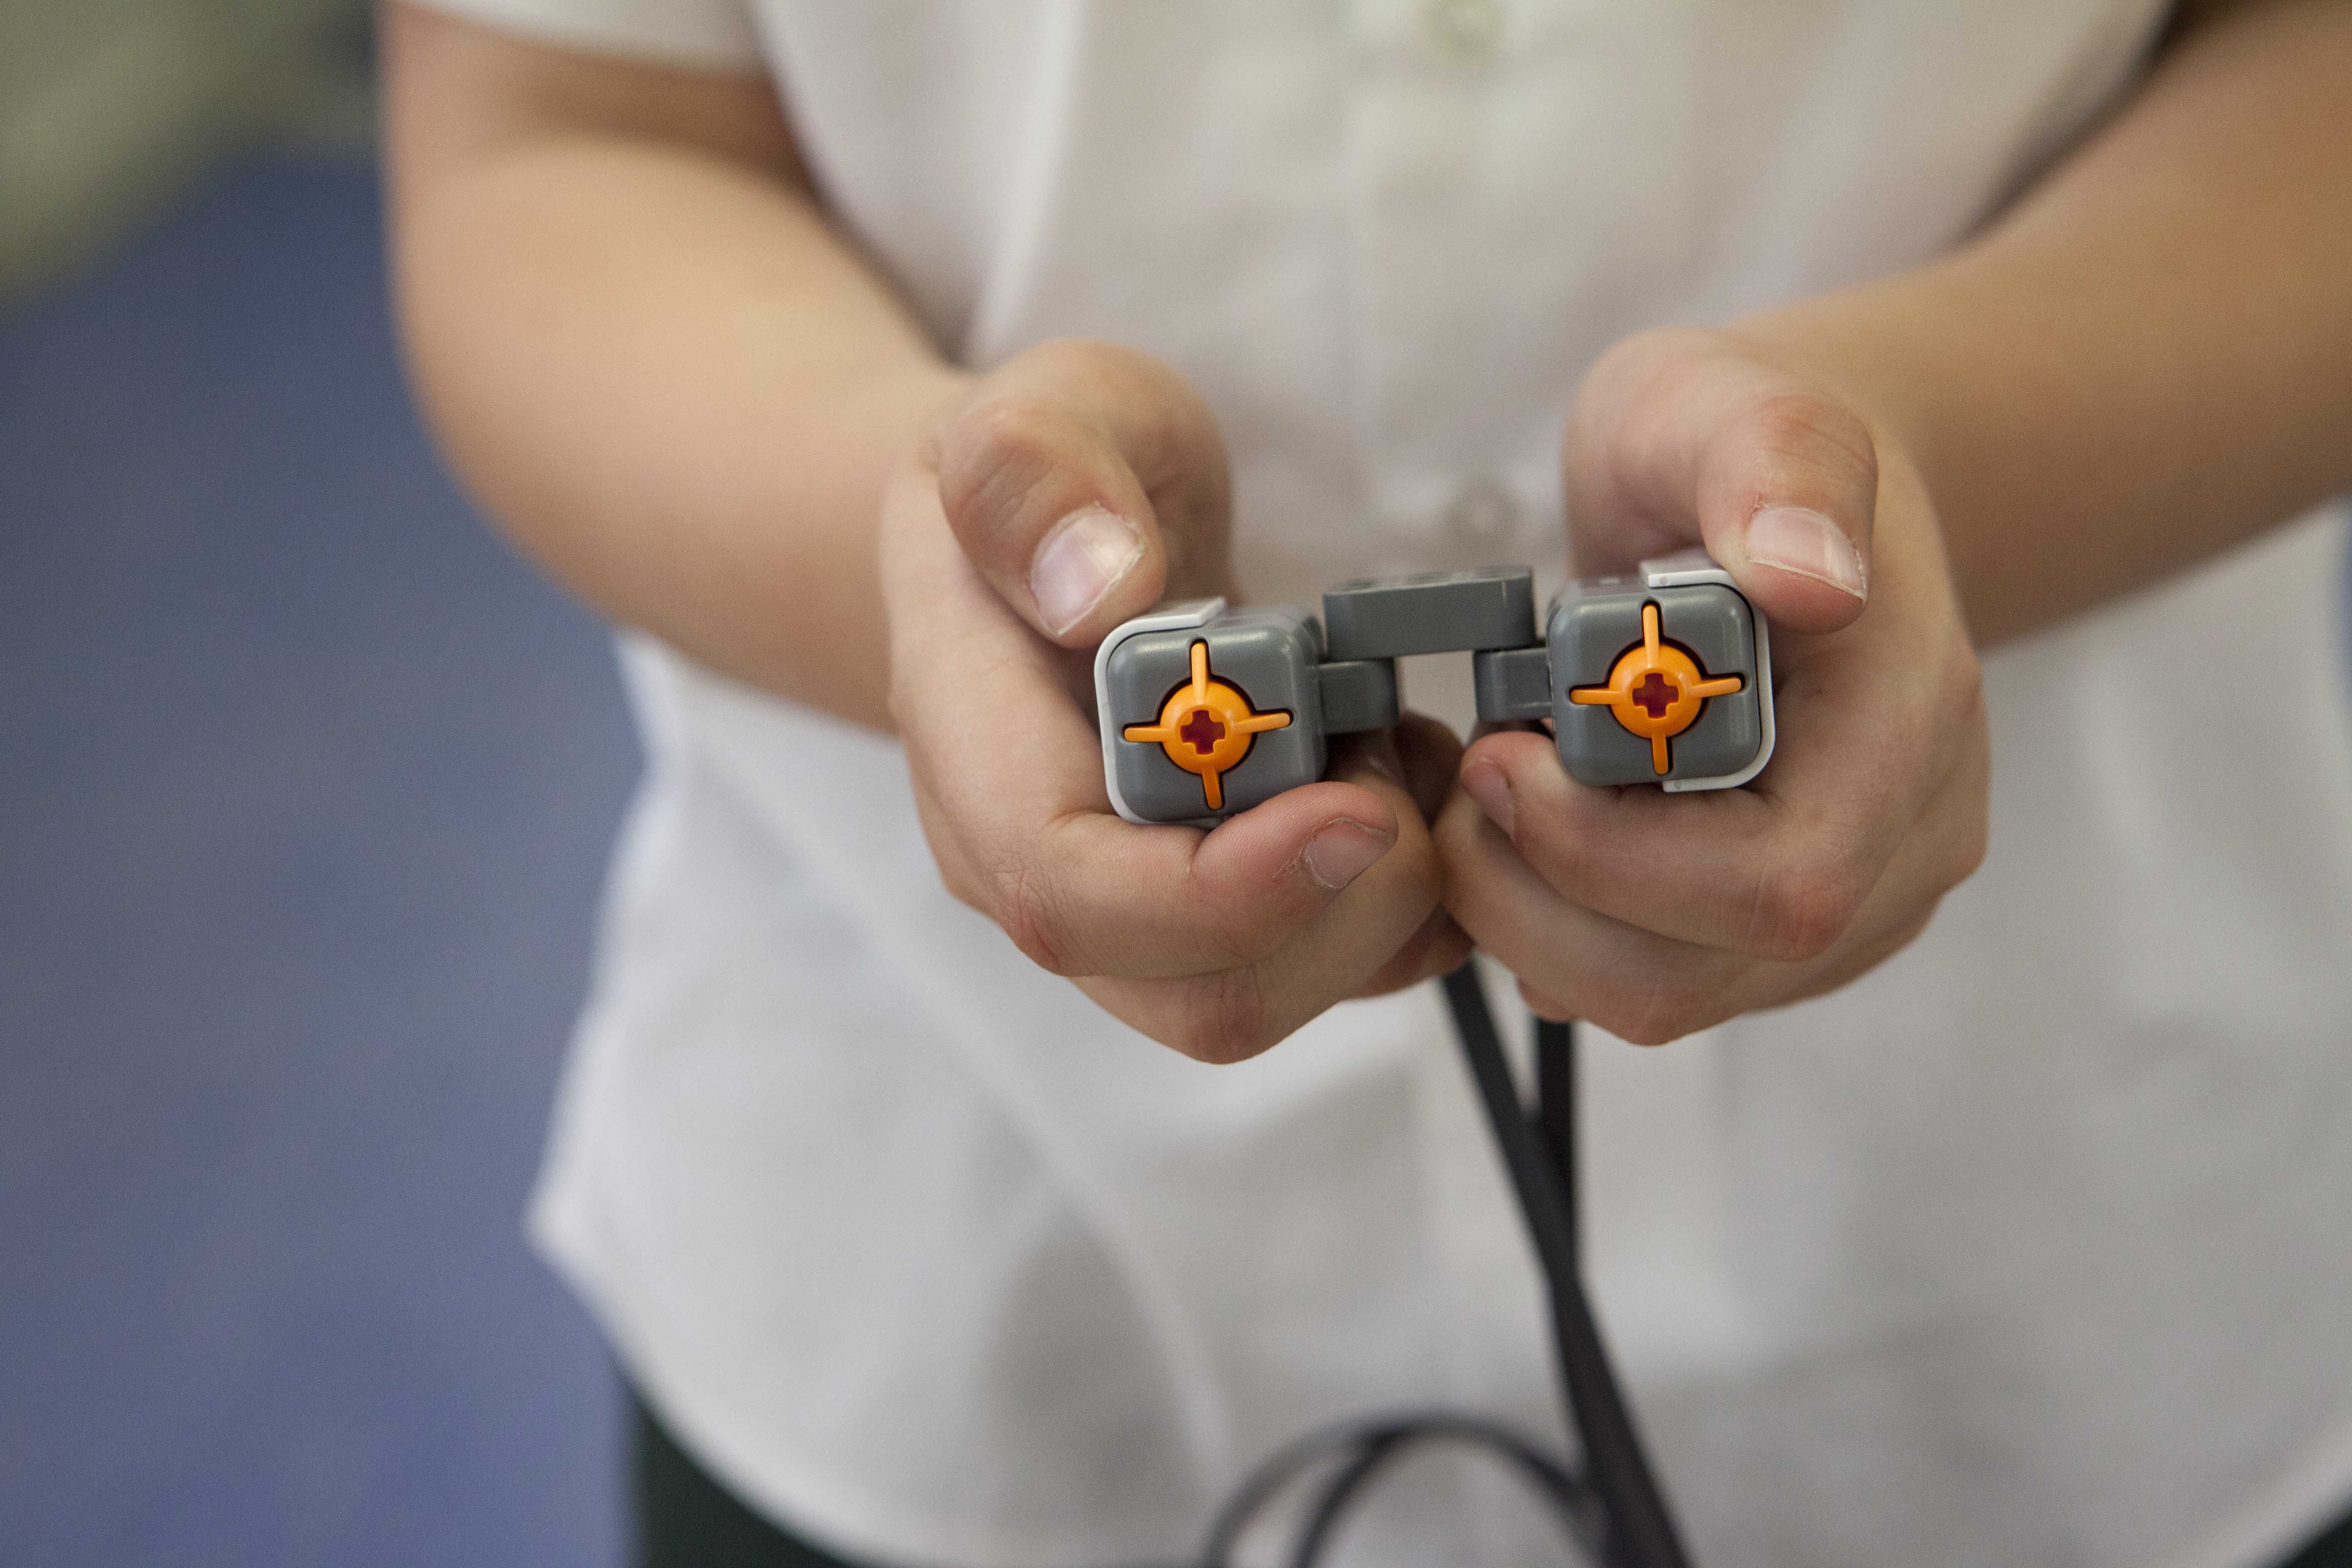
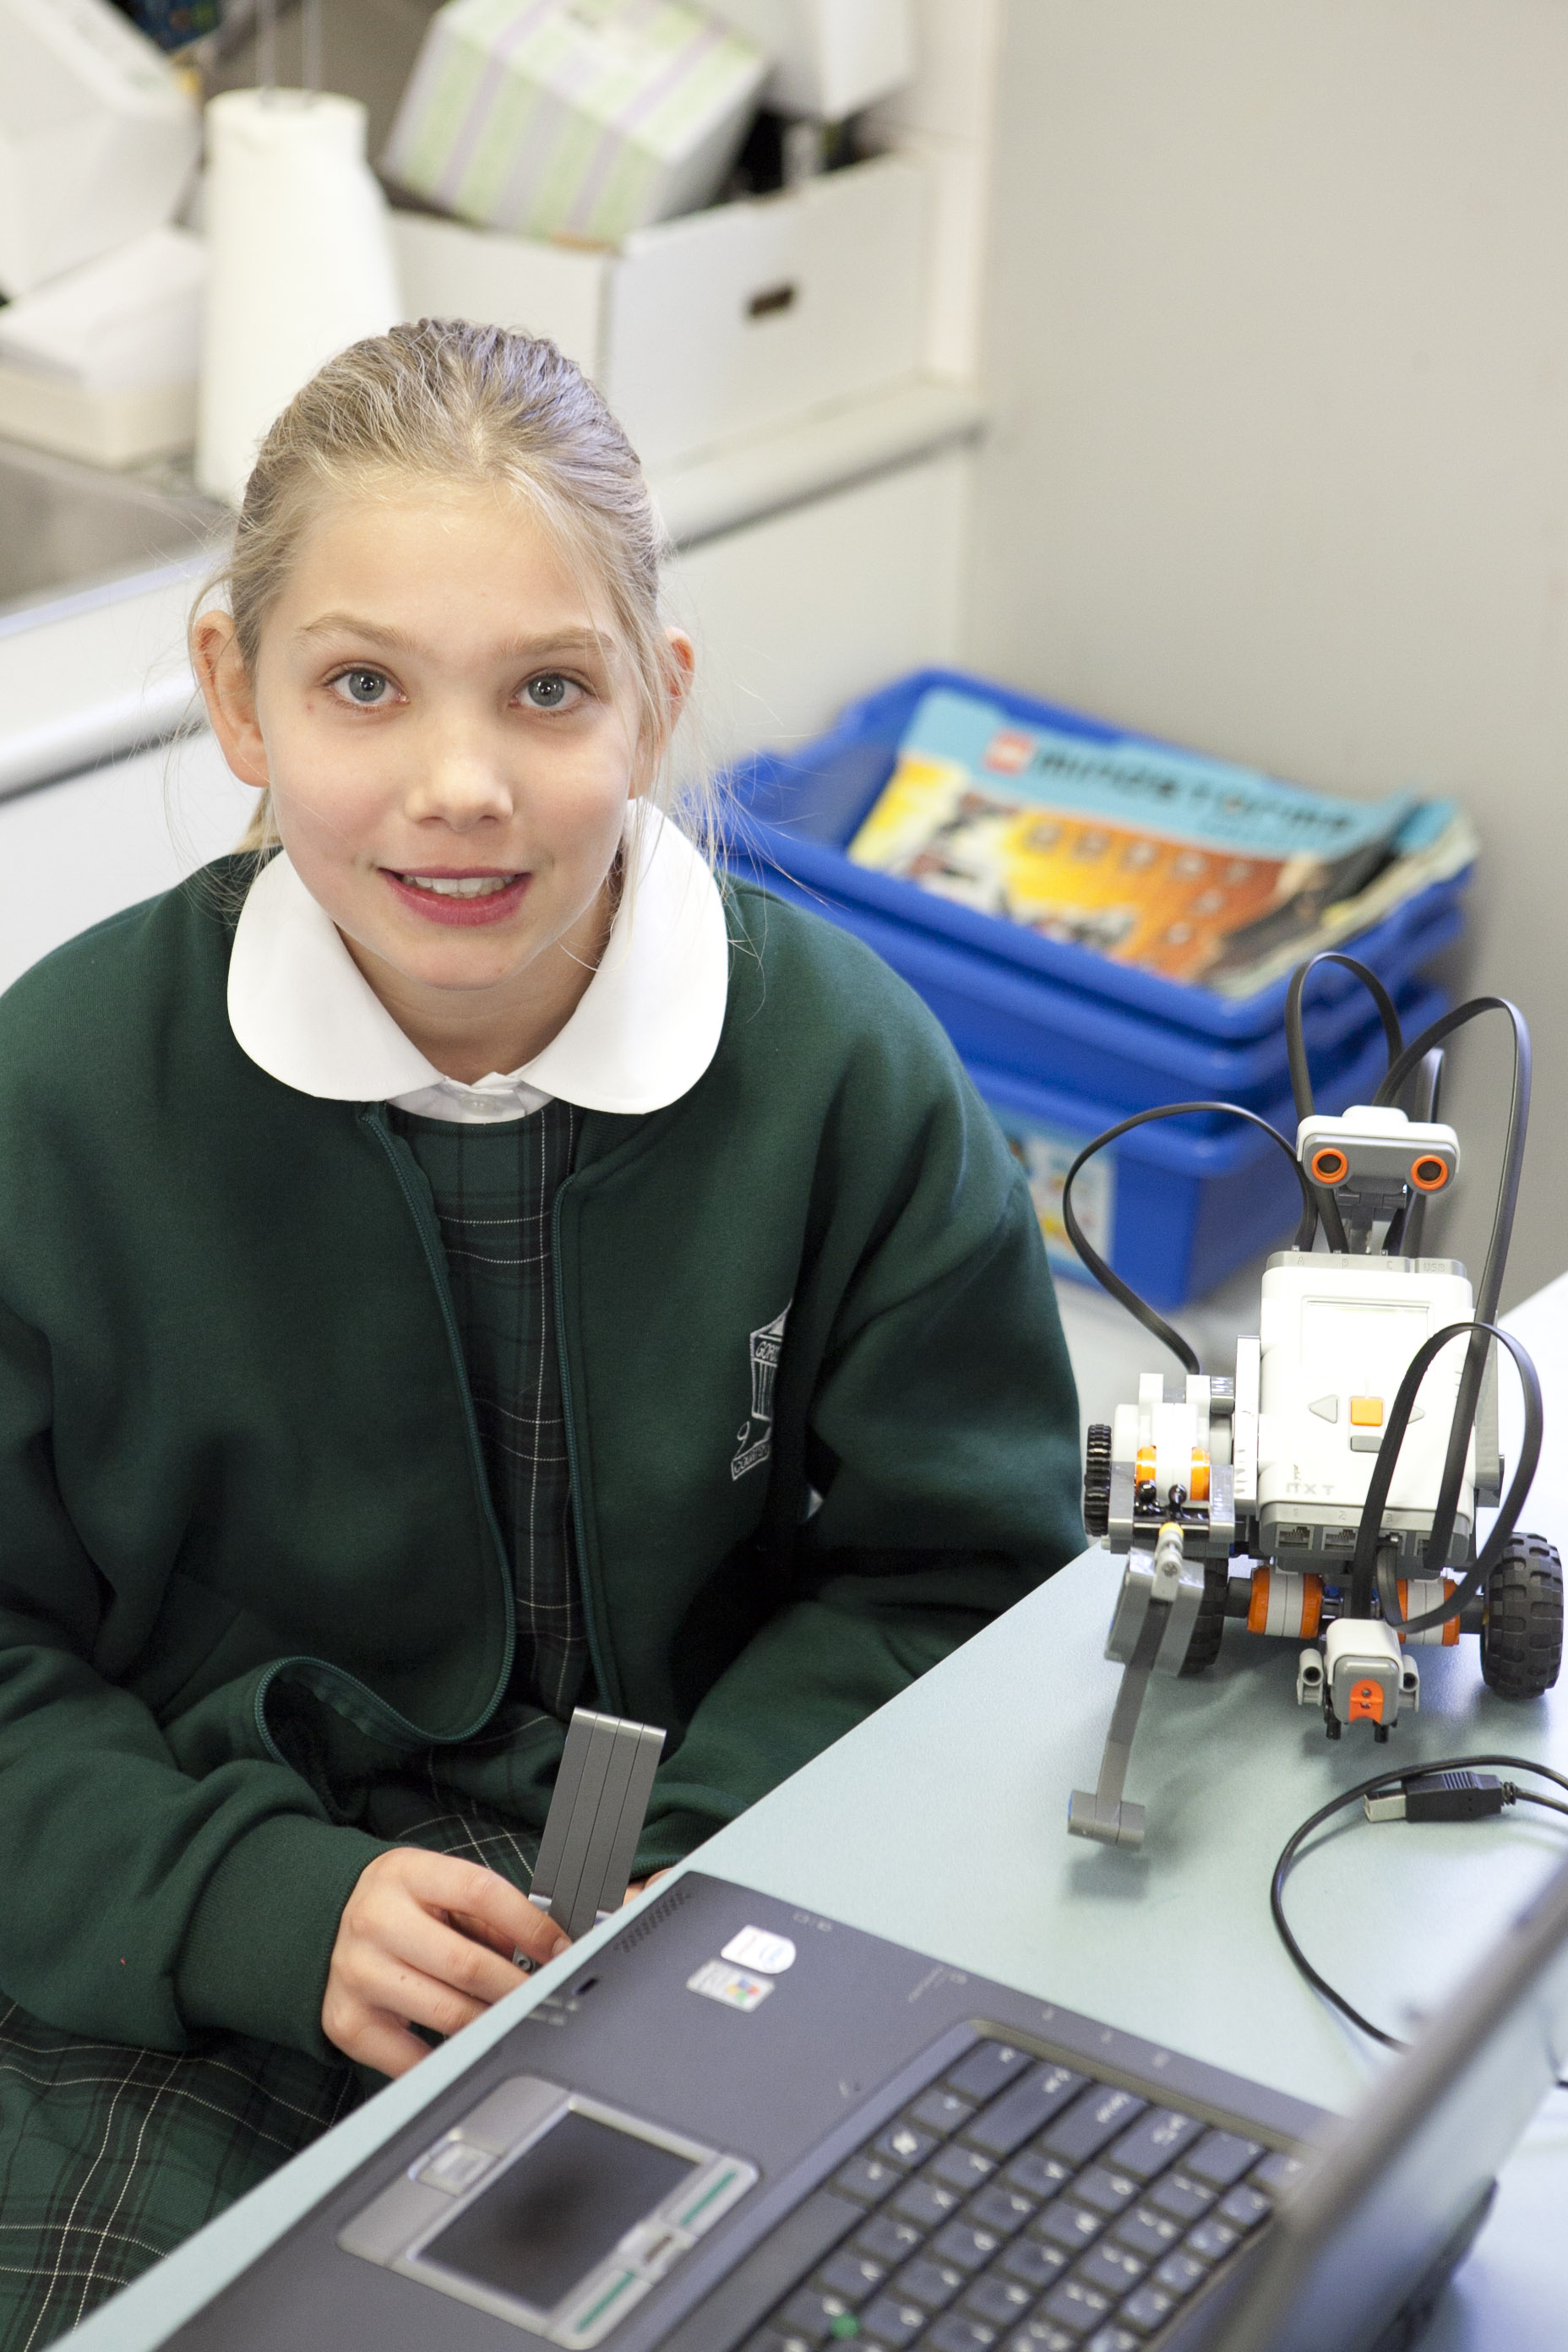
4/5y, 5/6L and 5/6H designed, built and programmed remote controls for their robots.
The photos below show 4/5y practising for the up and coming ‘Robot obstacle Course’


Thanks for calling by
Mrs Garlick
Dear Bloggers,
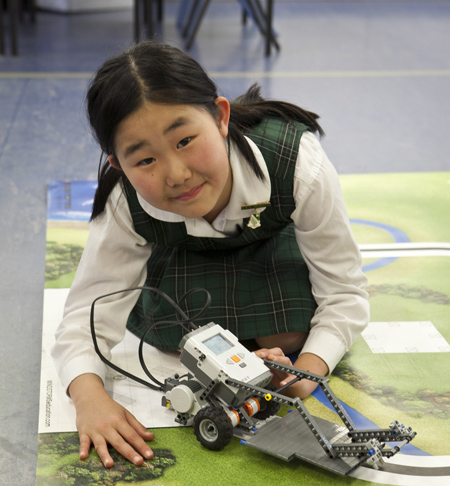
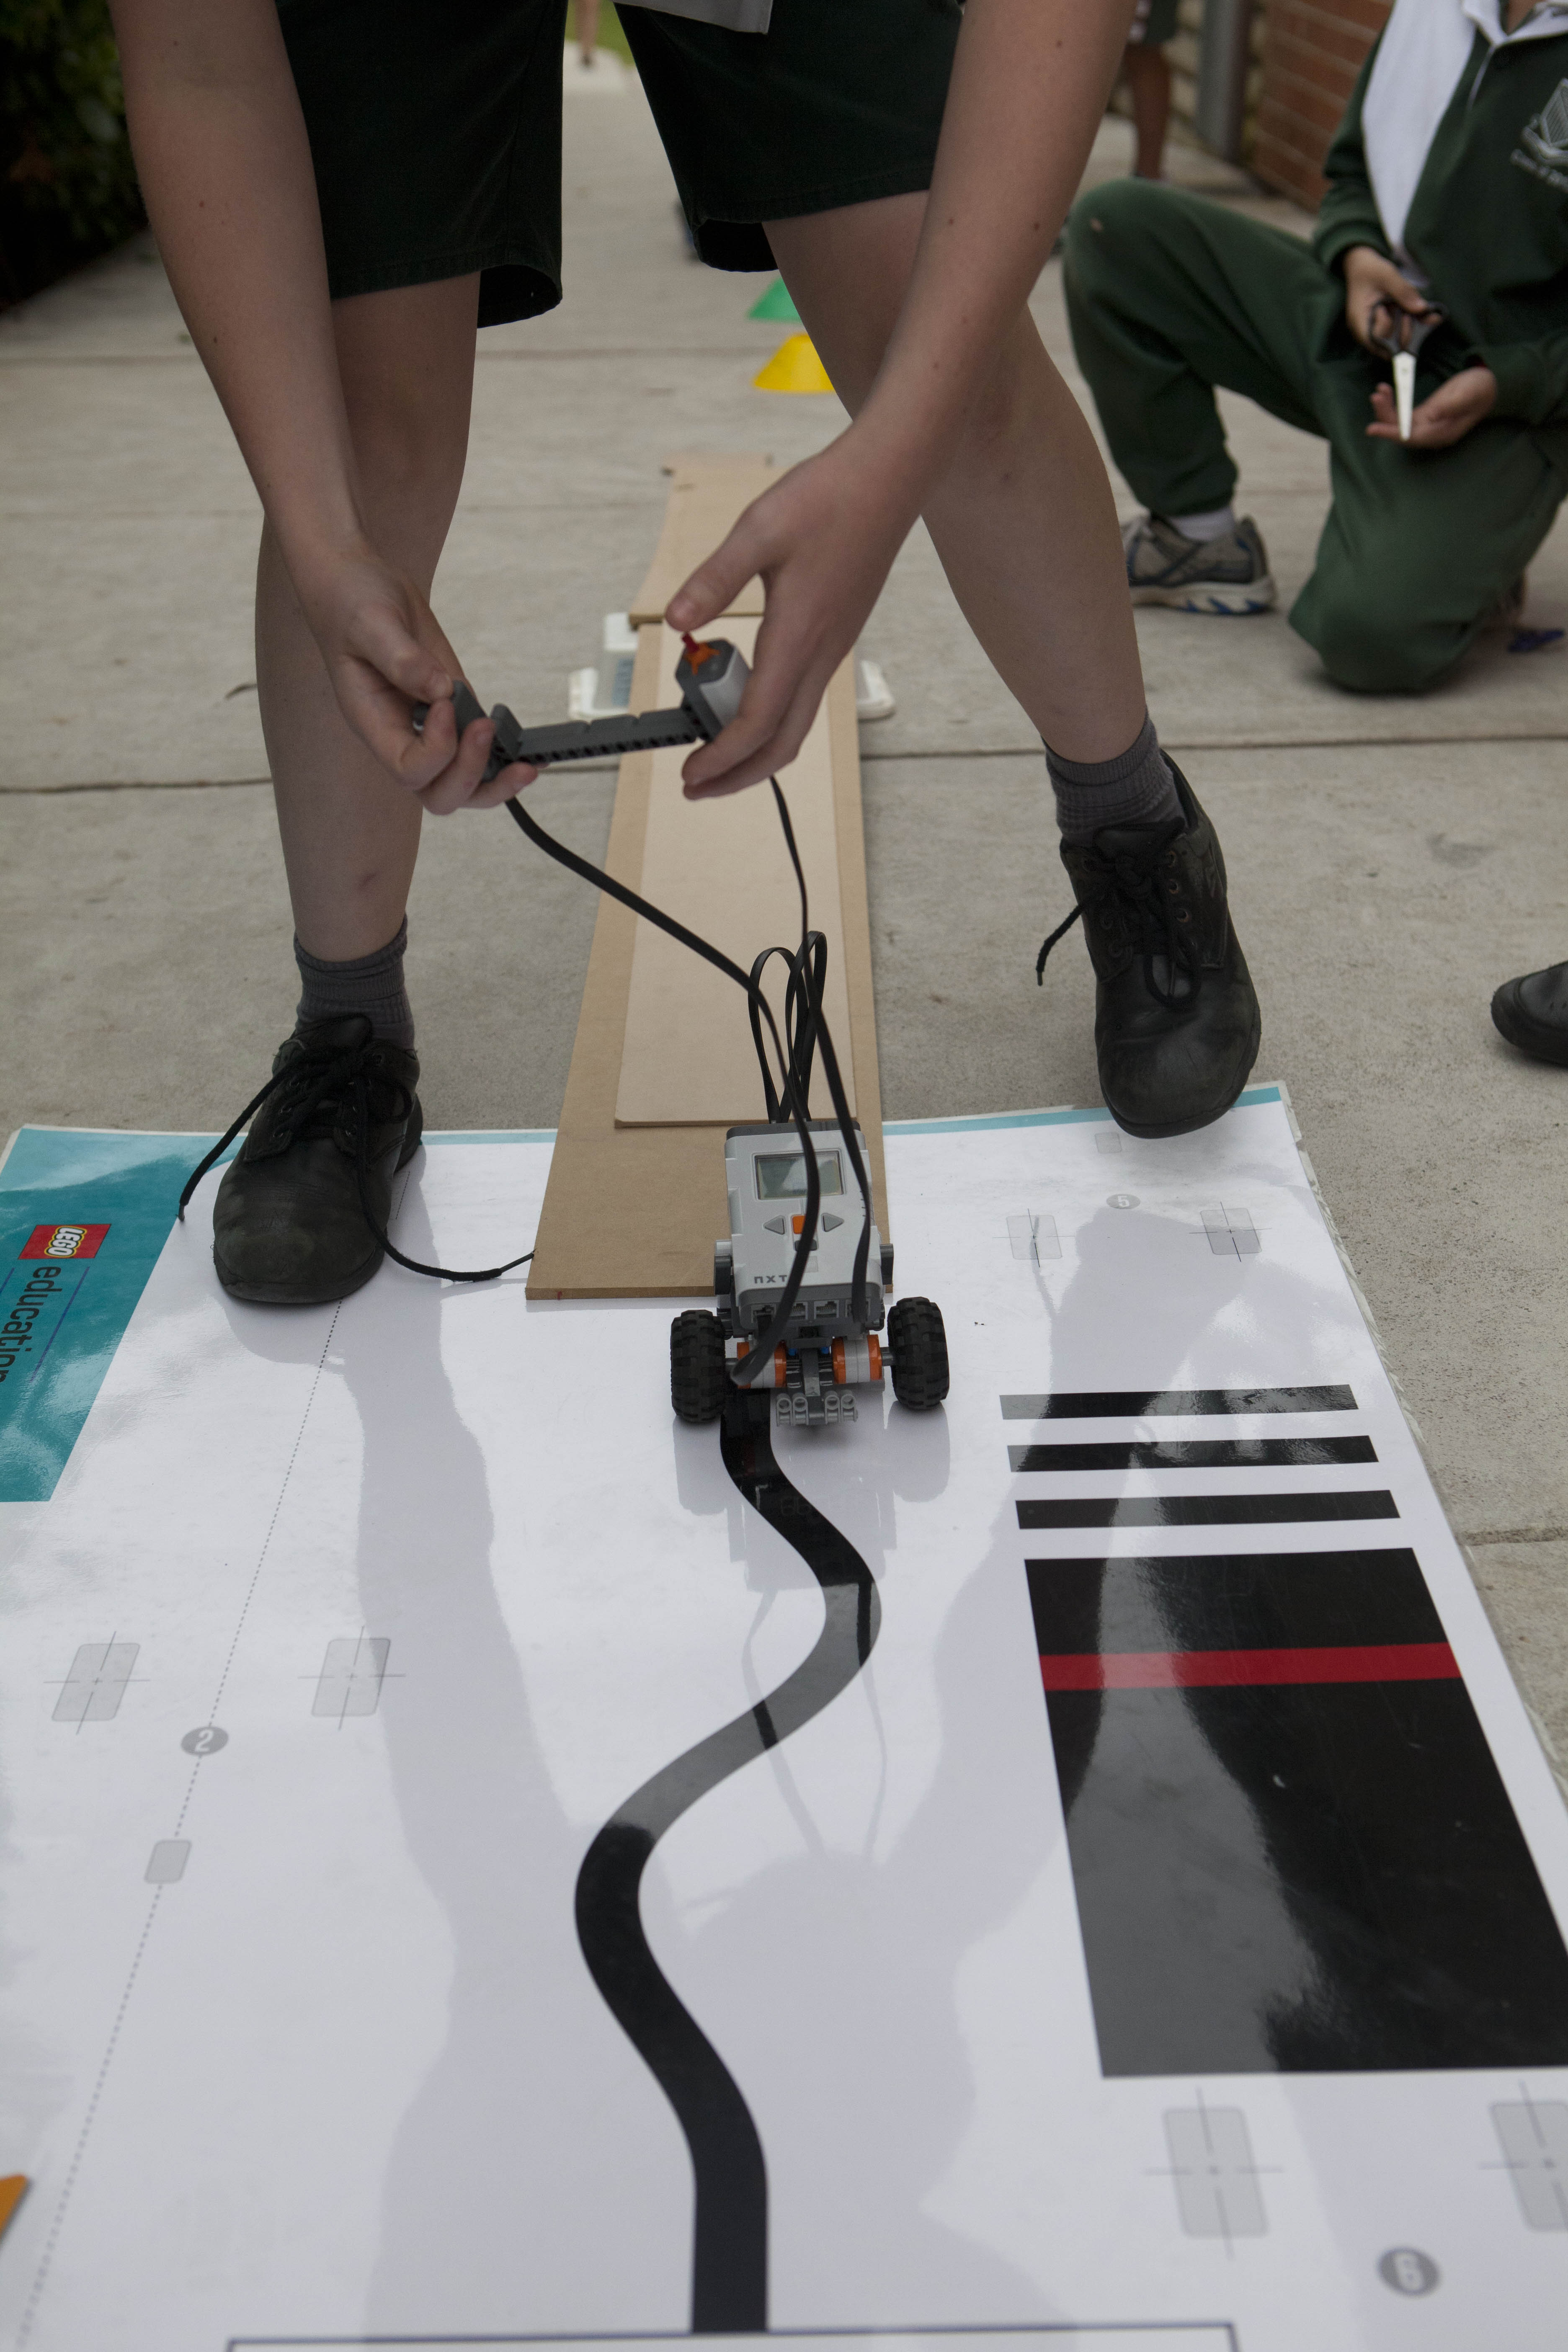
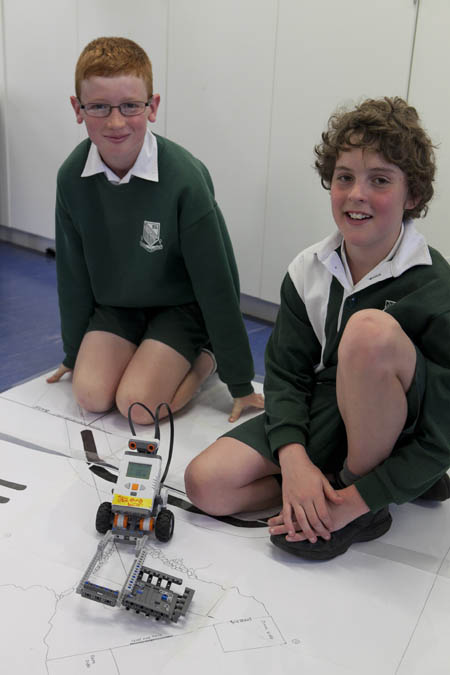
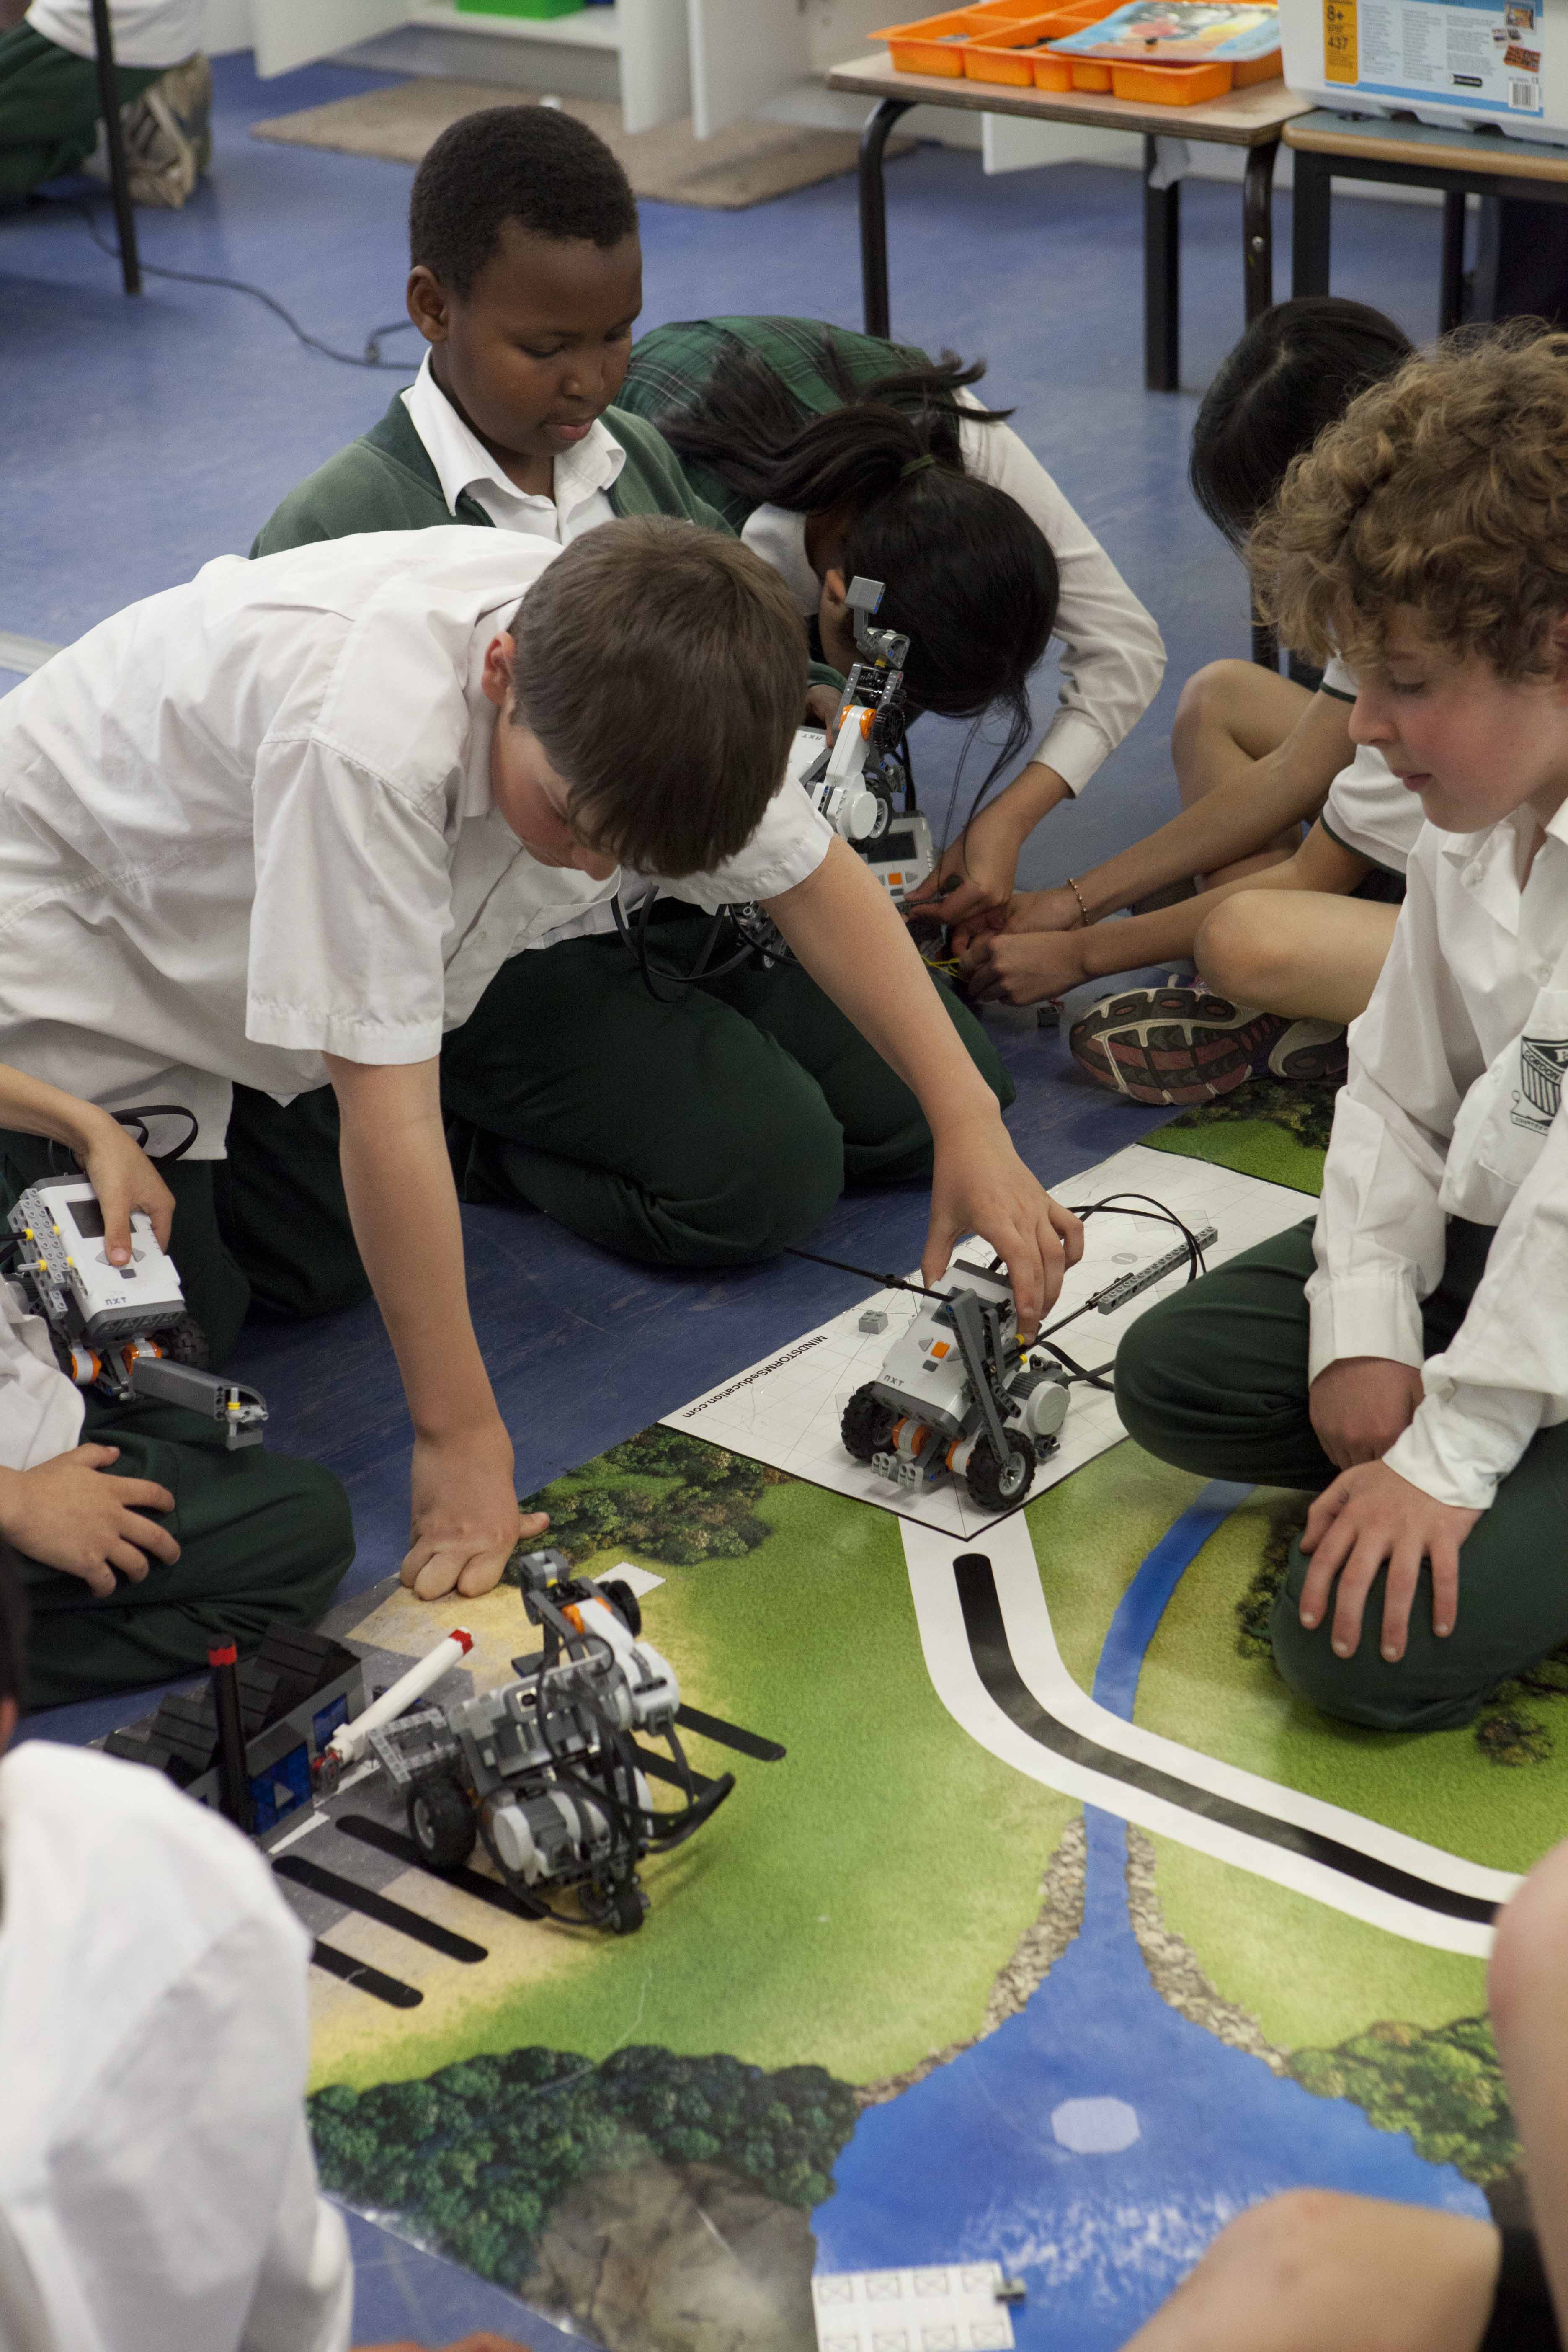
This week stage 3 children were challenged to write a program that allowed their robots to progress and stop through a series of black lines.
To do this students had to add a light sensor and use the view menu on their robot to read the amount of light (%) reflected from the black and white surfacse. Using this knowledge they programmed their robots.

light sensor must be facing downwards

Using the light sensor in the view menu to measure and read the amount of reflected light.
See below the video of the robot in action
Thanks for calling by
Mrs Garlick
Dear Bloggers,
5/6L also made a wonderful job of revisiting the close the dam challenge.
Thanks for calling by
Dear Bloggers,
Have a look at the video below to see my Level 3 answer to closing the dam.
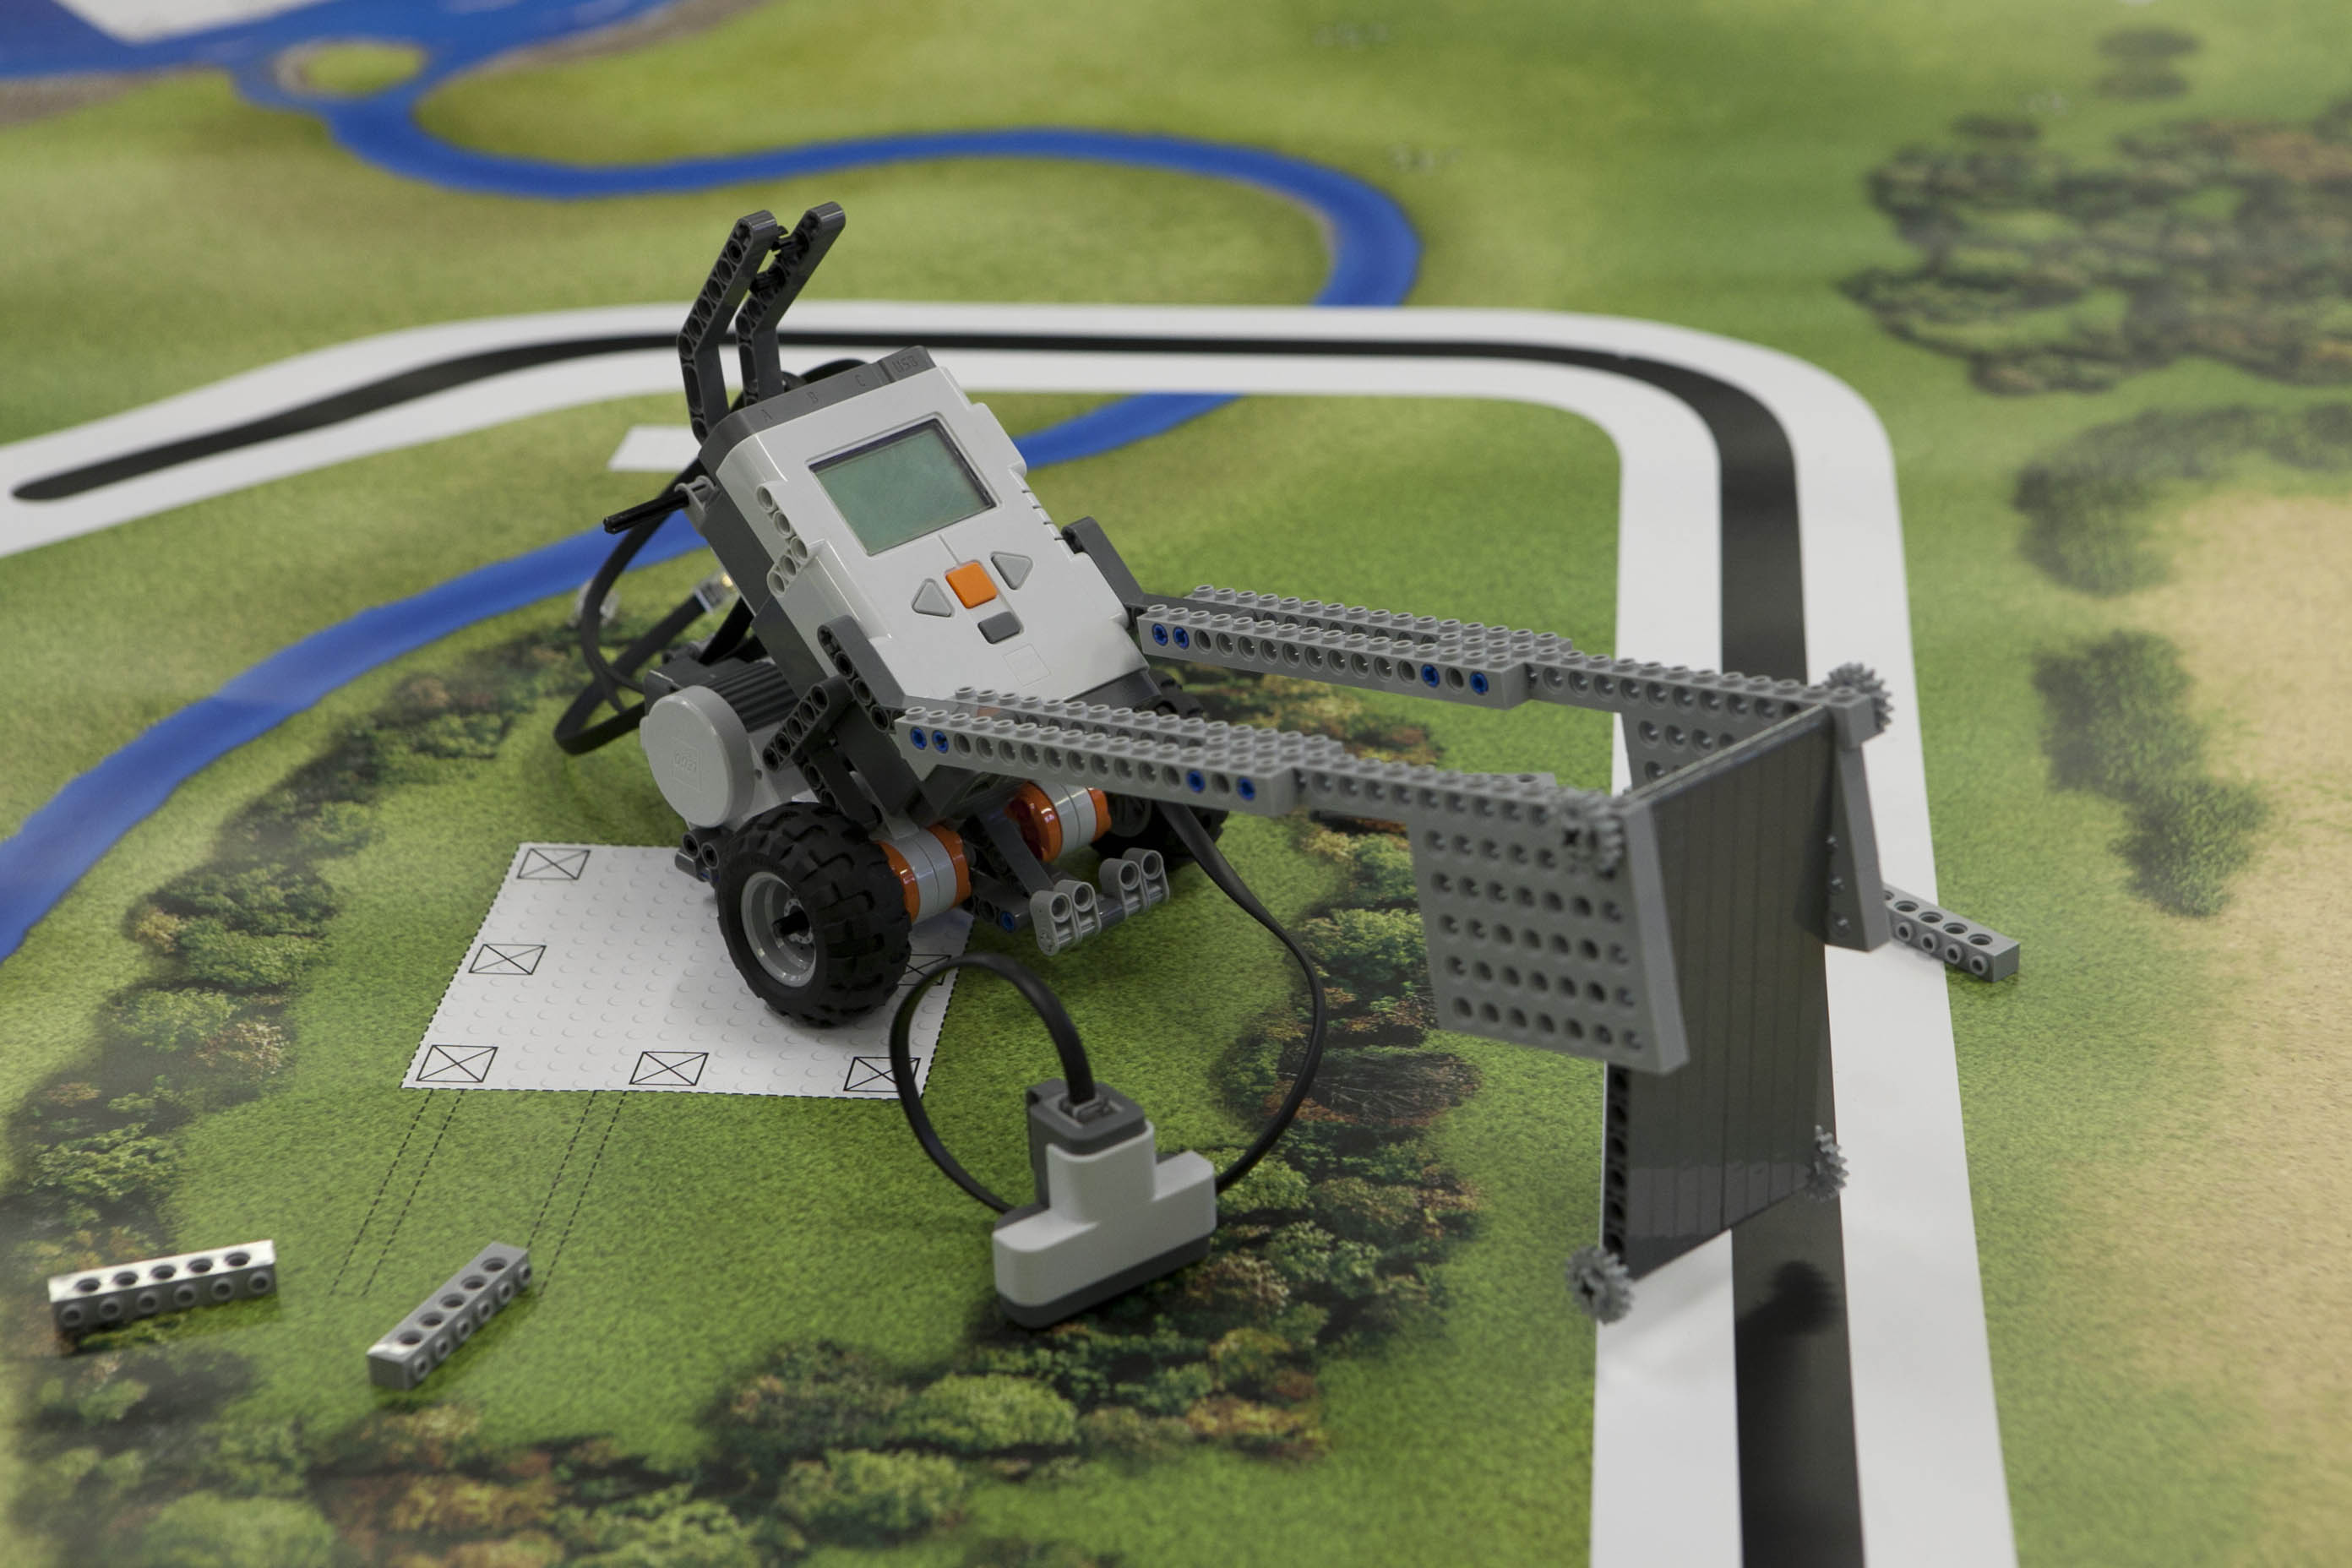
My robot has a touch sensor, light sensor and ultrasonoic sensor. There is a sweeping heading that moves to collect the plug wherever it is positioned and then sweeps again to find the hole in the dam.
Thanks for calling by
Mrs Garlick
Dear Bloggers,
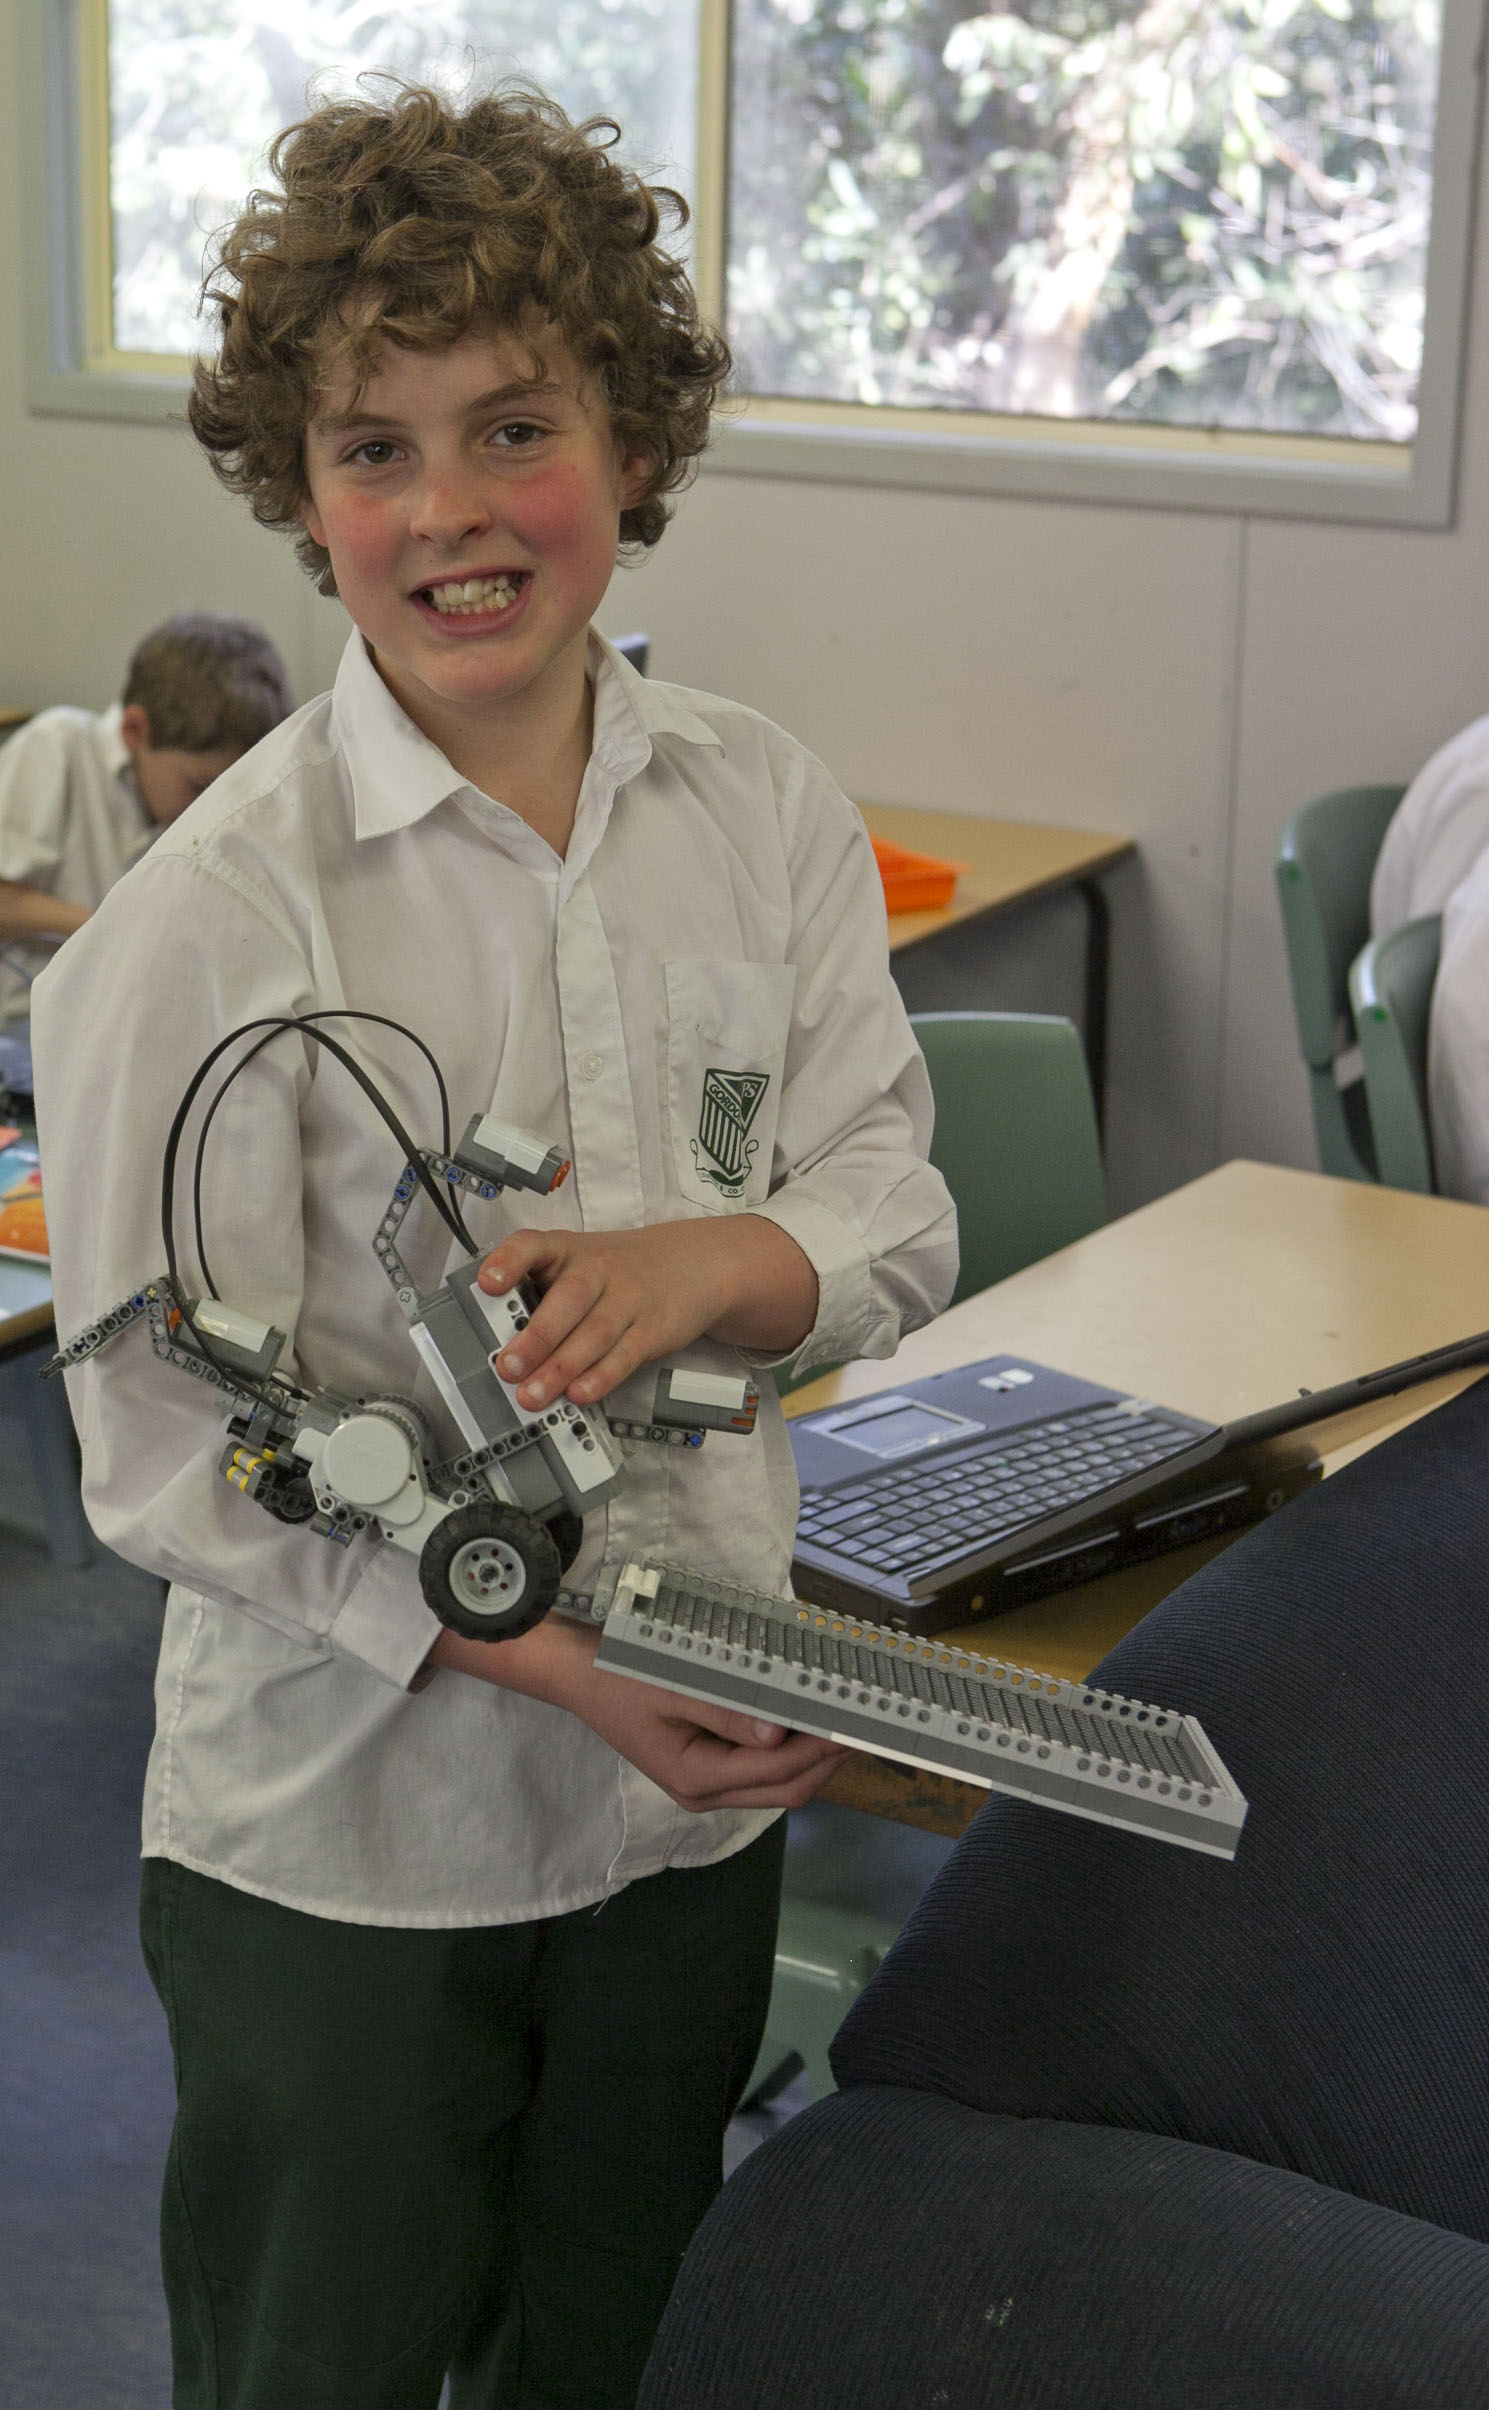
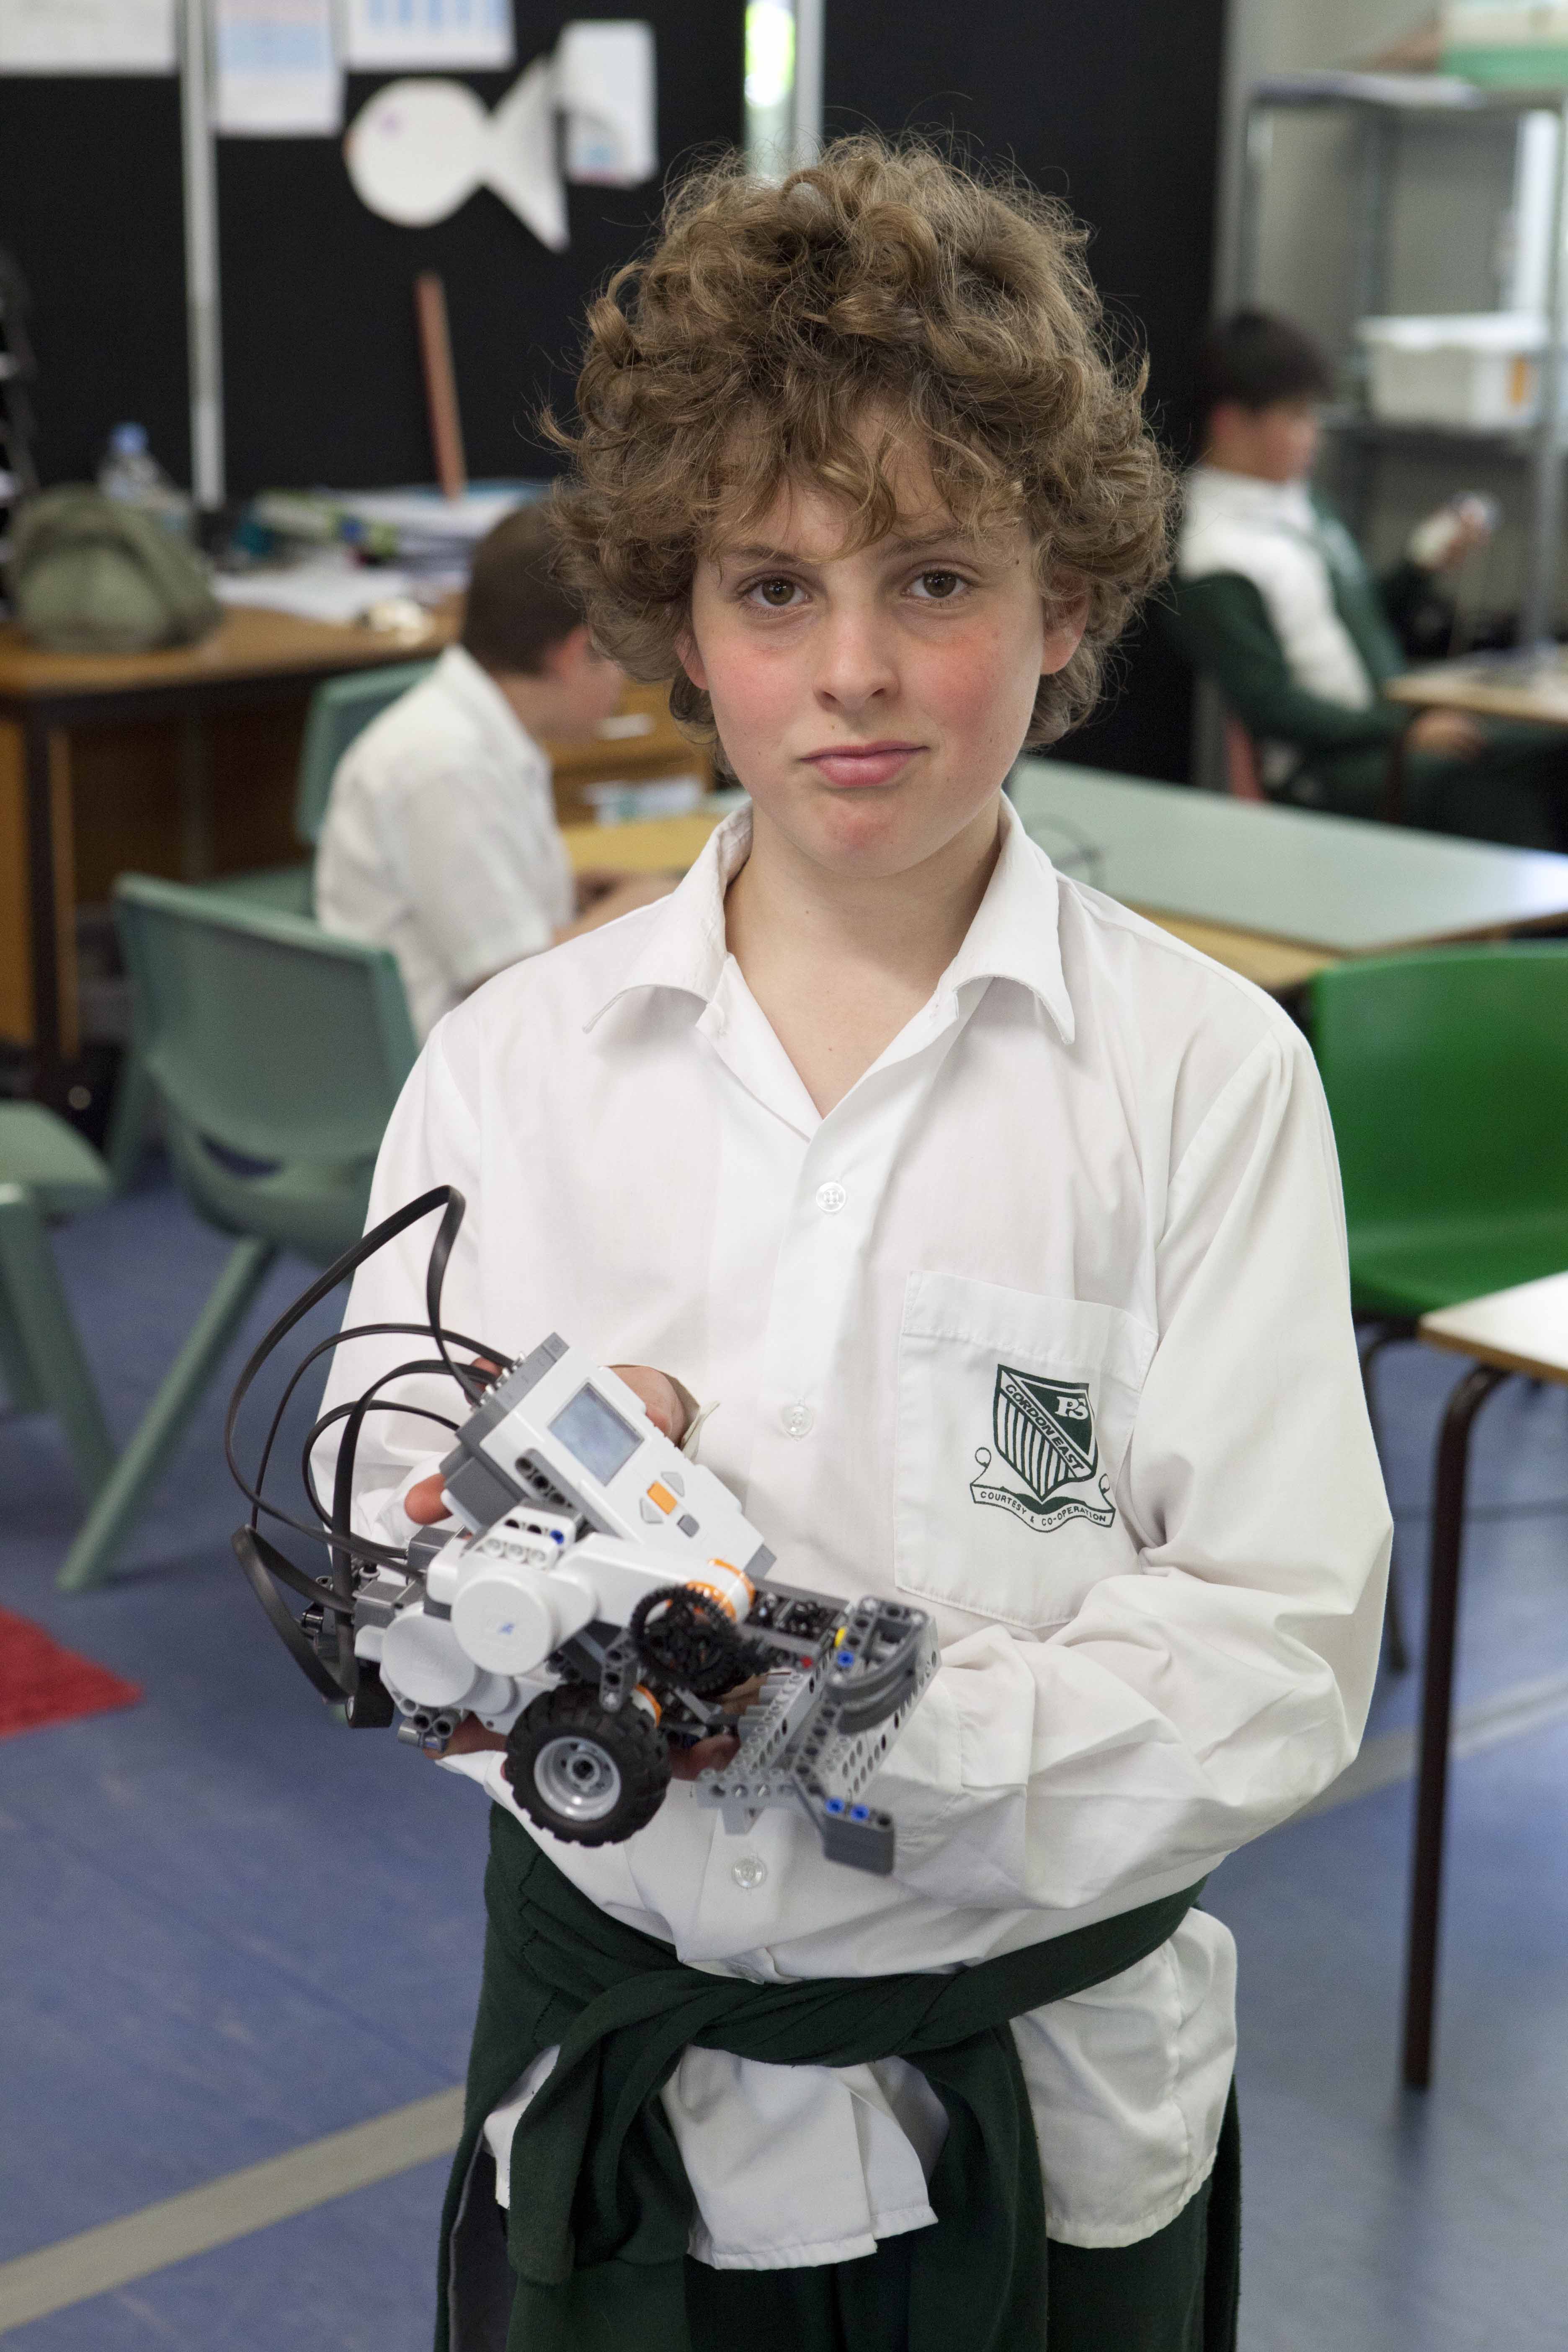
Below are some photos and a video showing my response to the Green City Challenge.
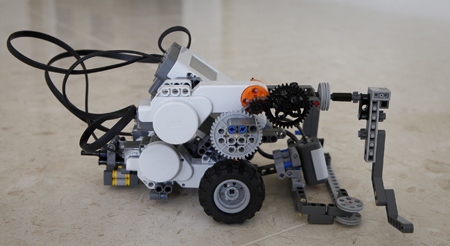
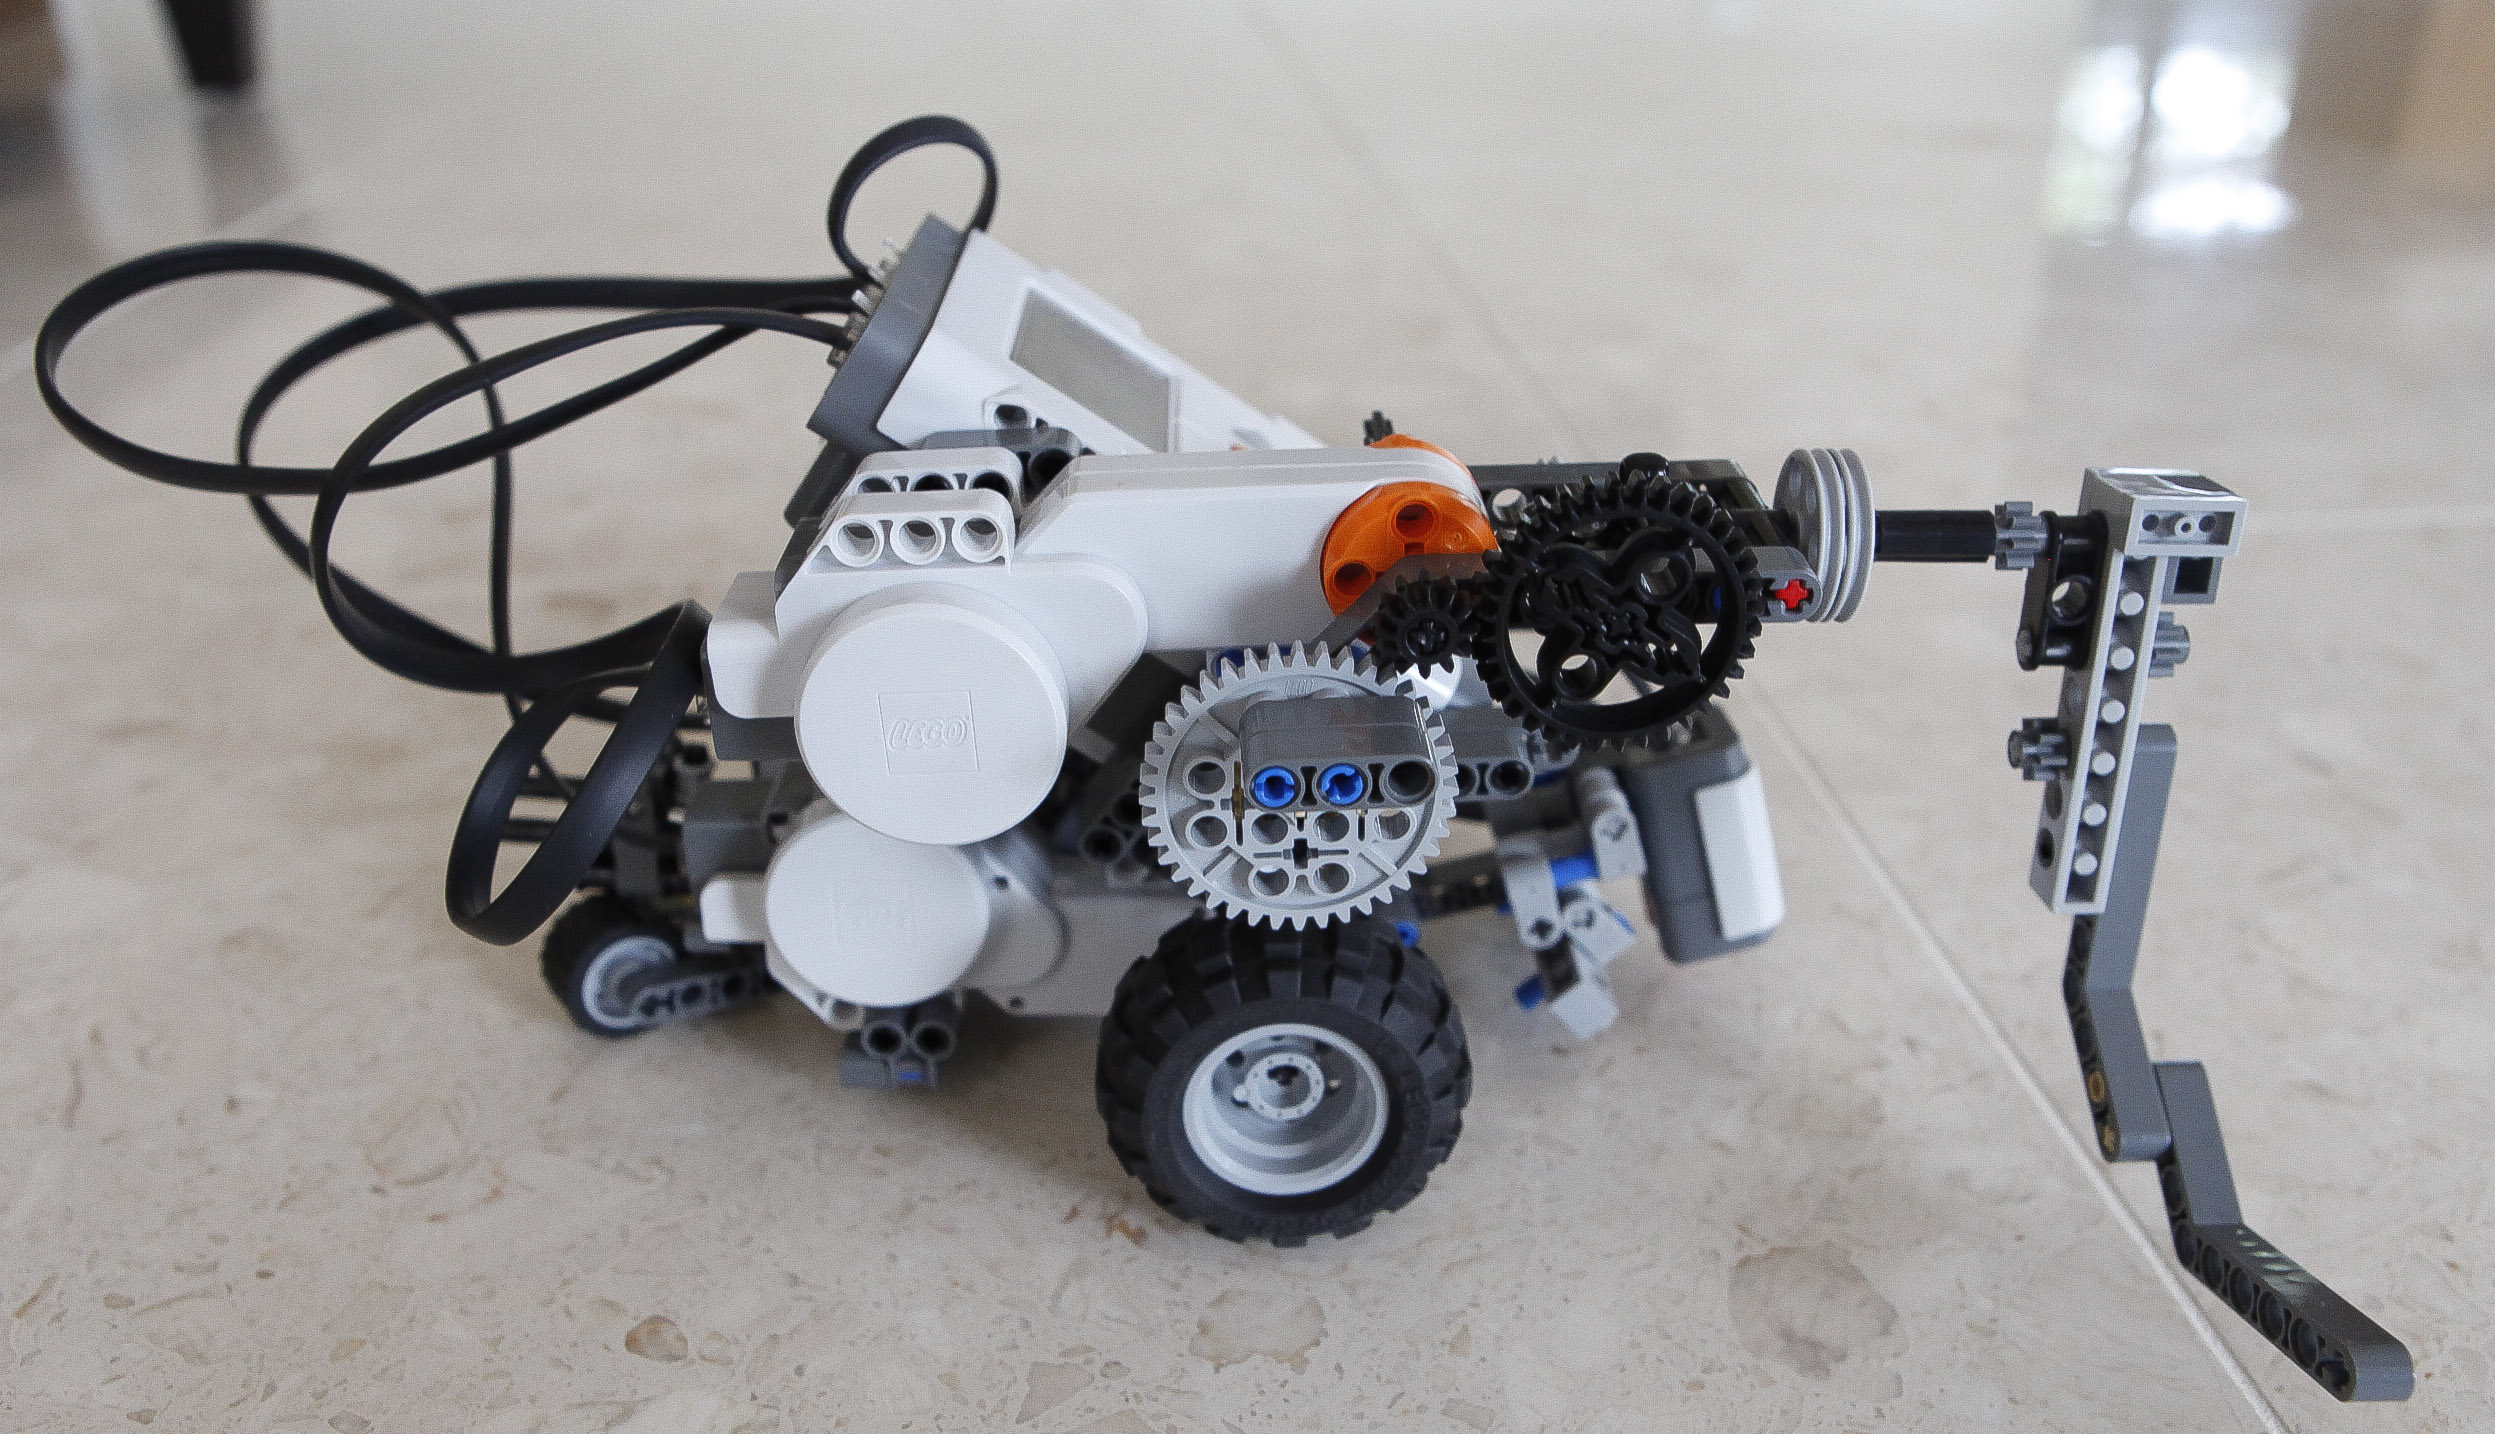
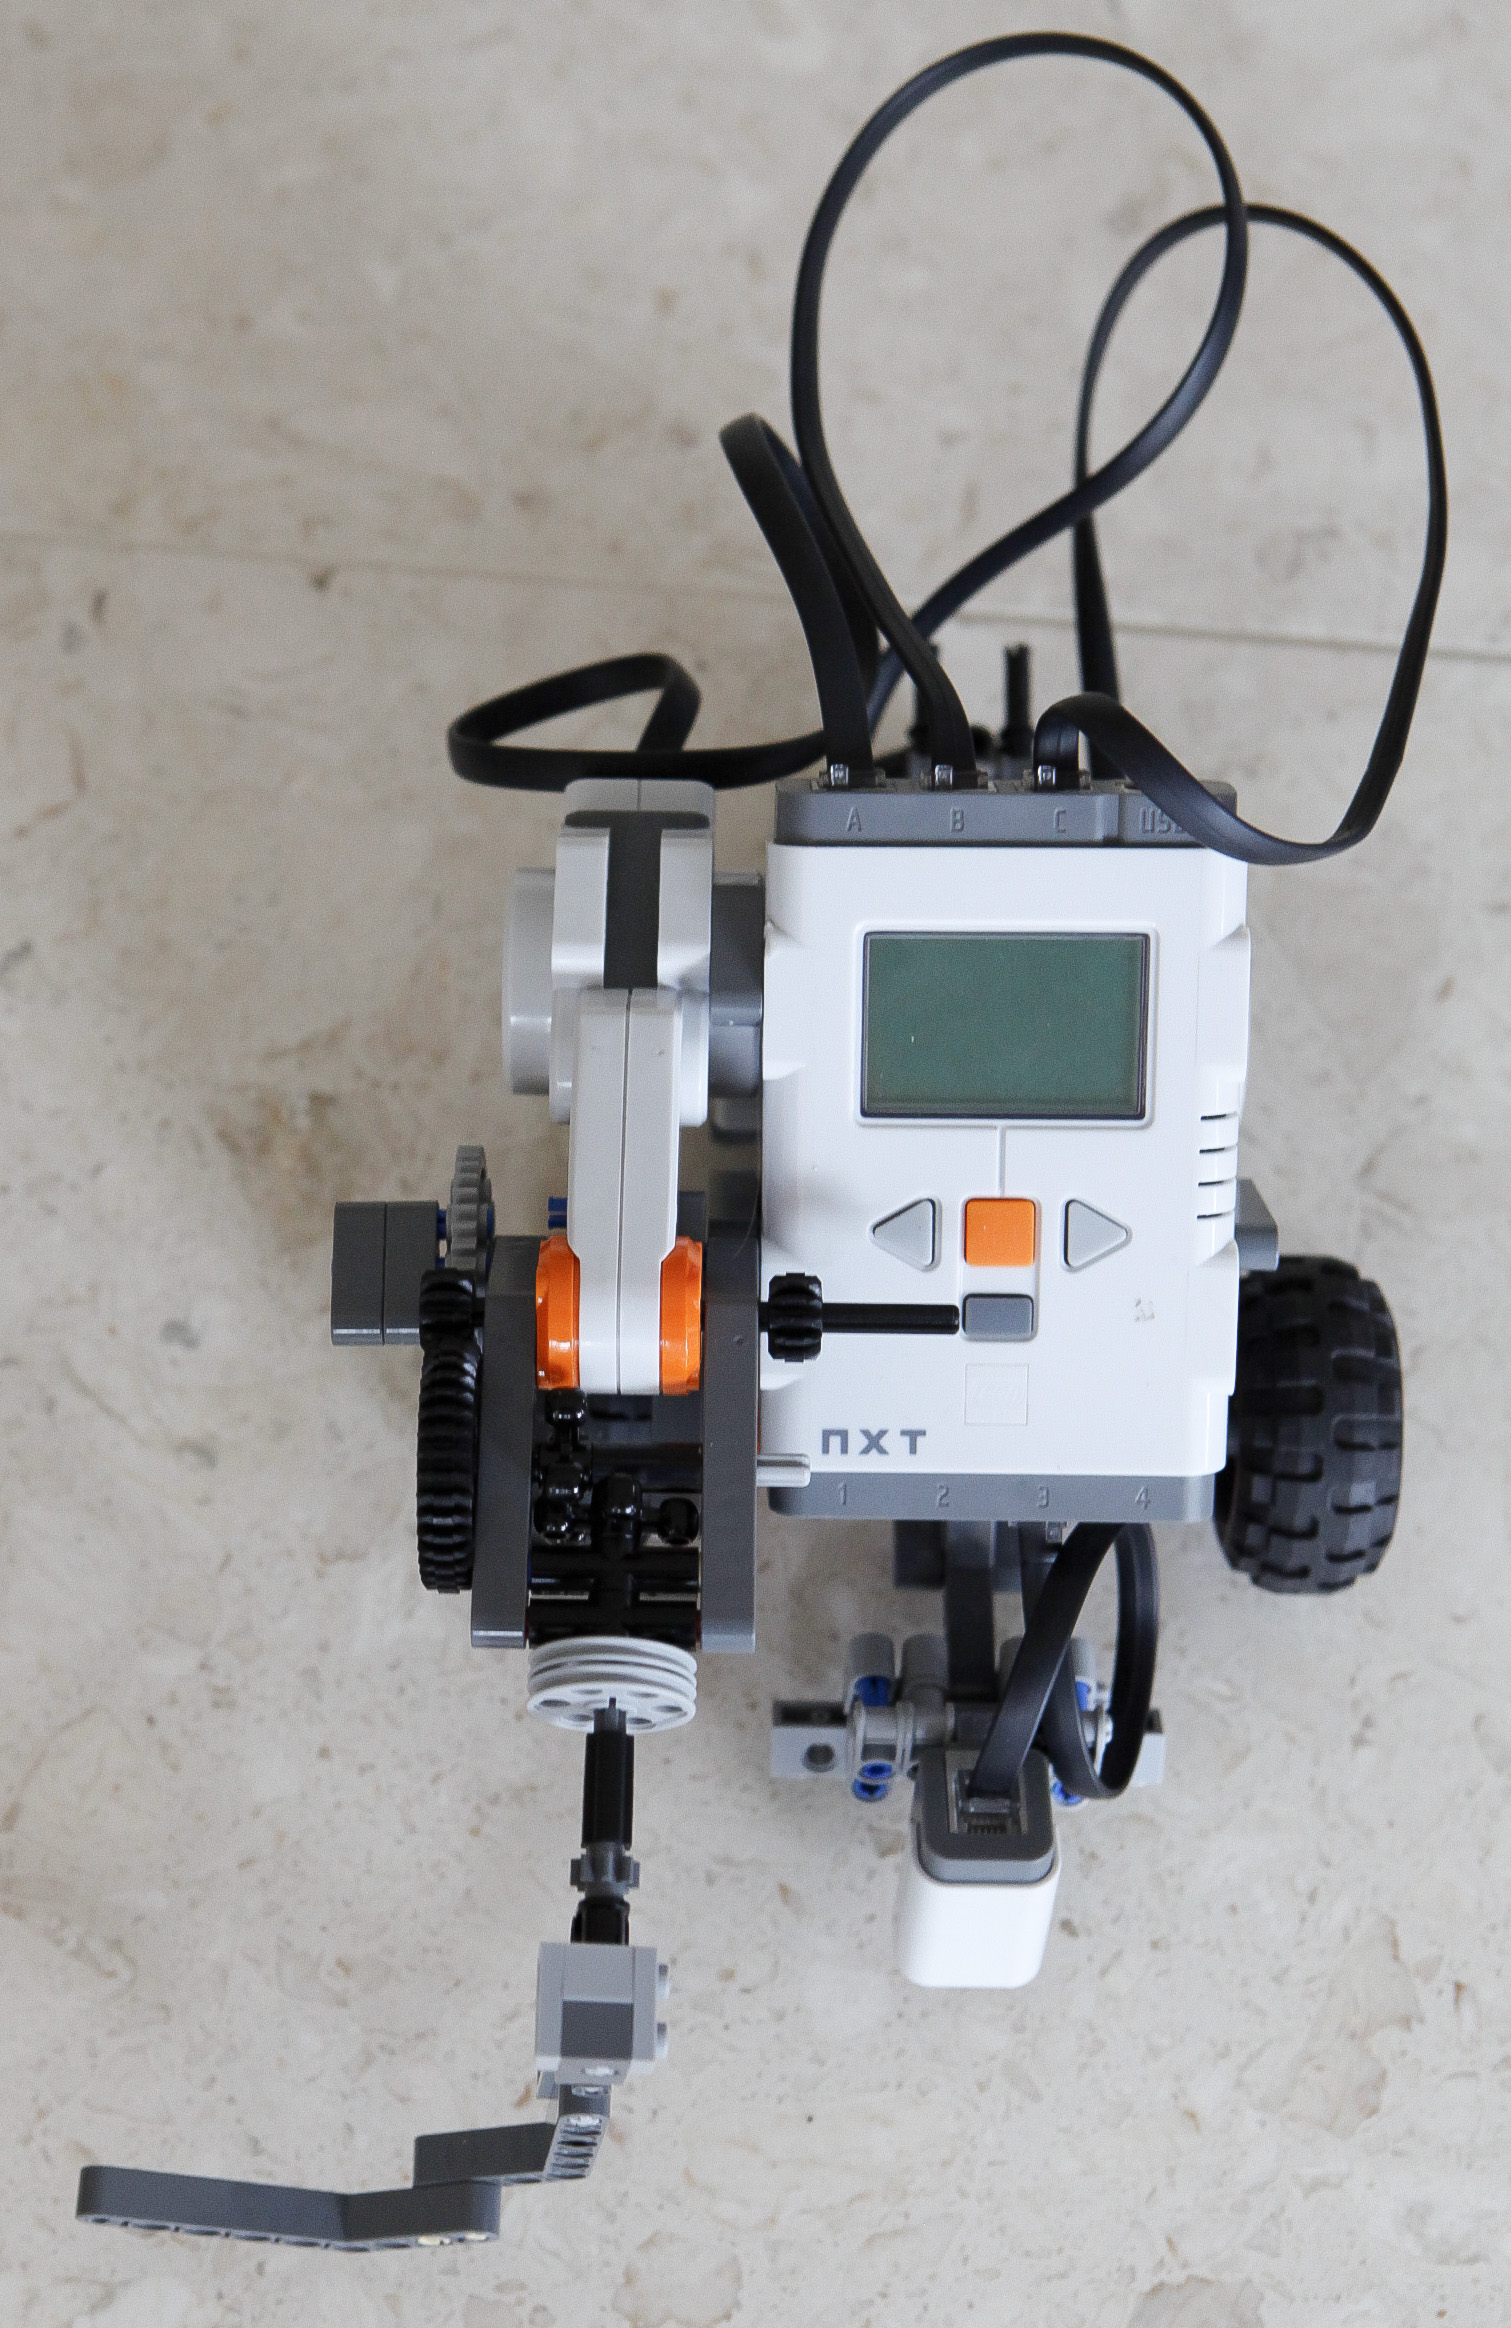
The robot started from the base area, moved to the factory and picked up the white chimeny stack and knocked down the black one. This released the energy brick which rolled out and was caught in a tray. The robot then returned to the base area.
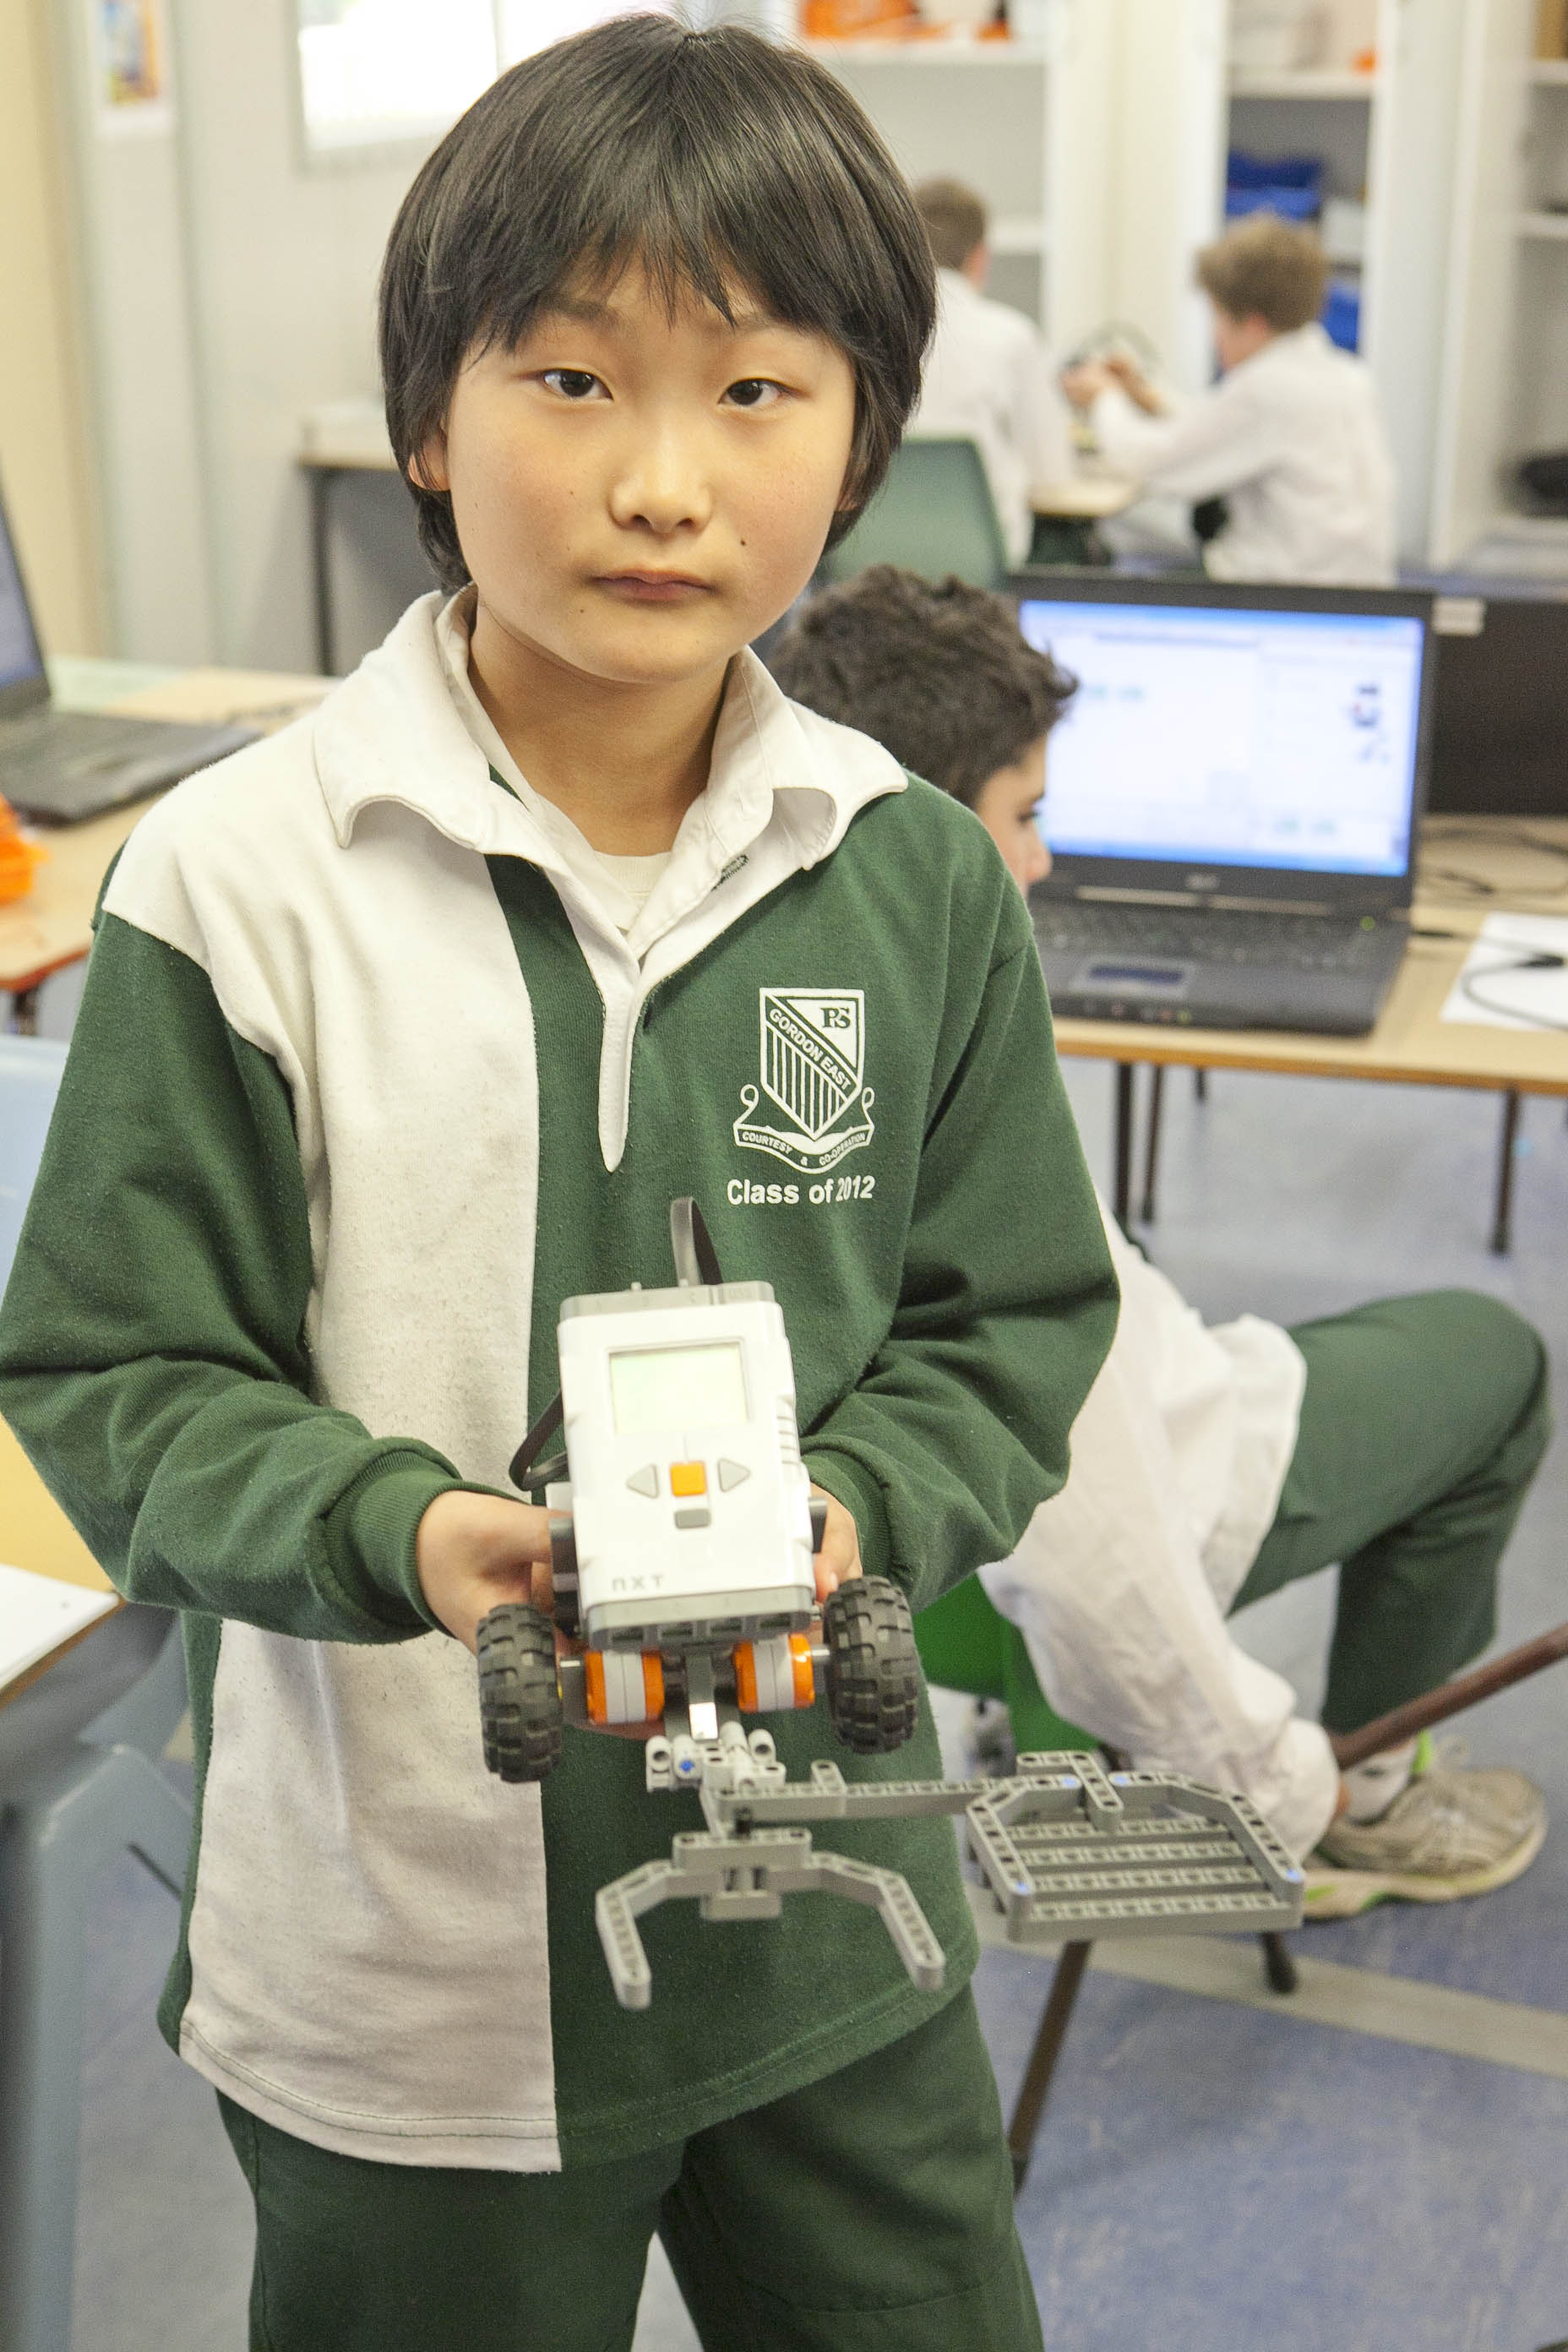
My robot had different attachments:
1. a light sensor so I could position the robot by detecting the black lines.
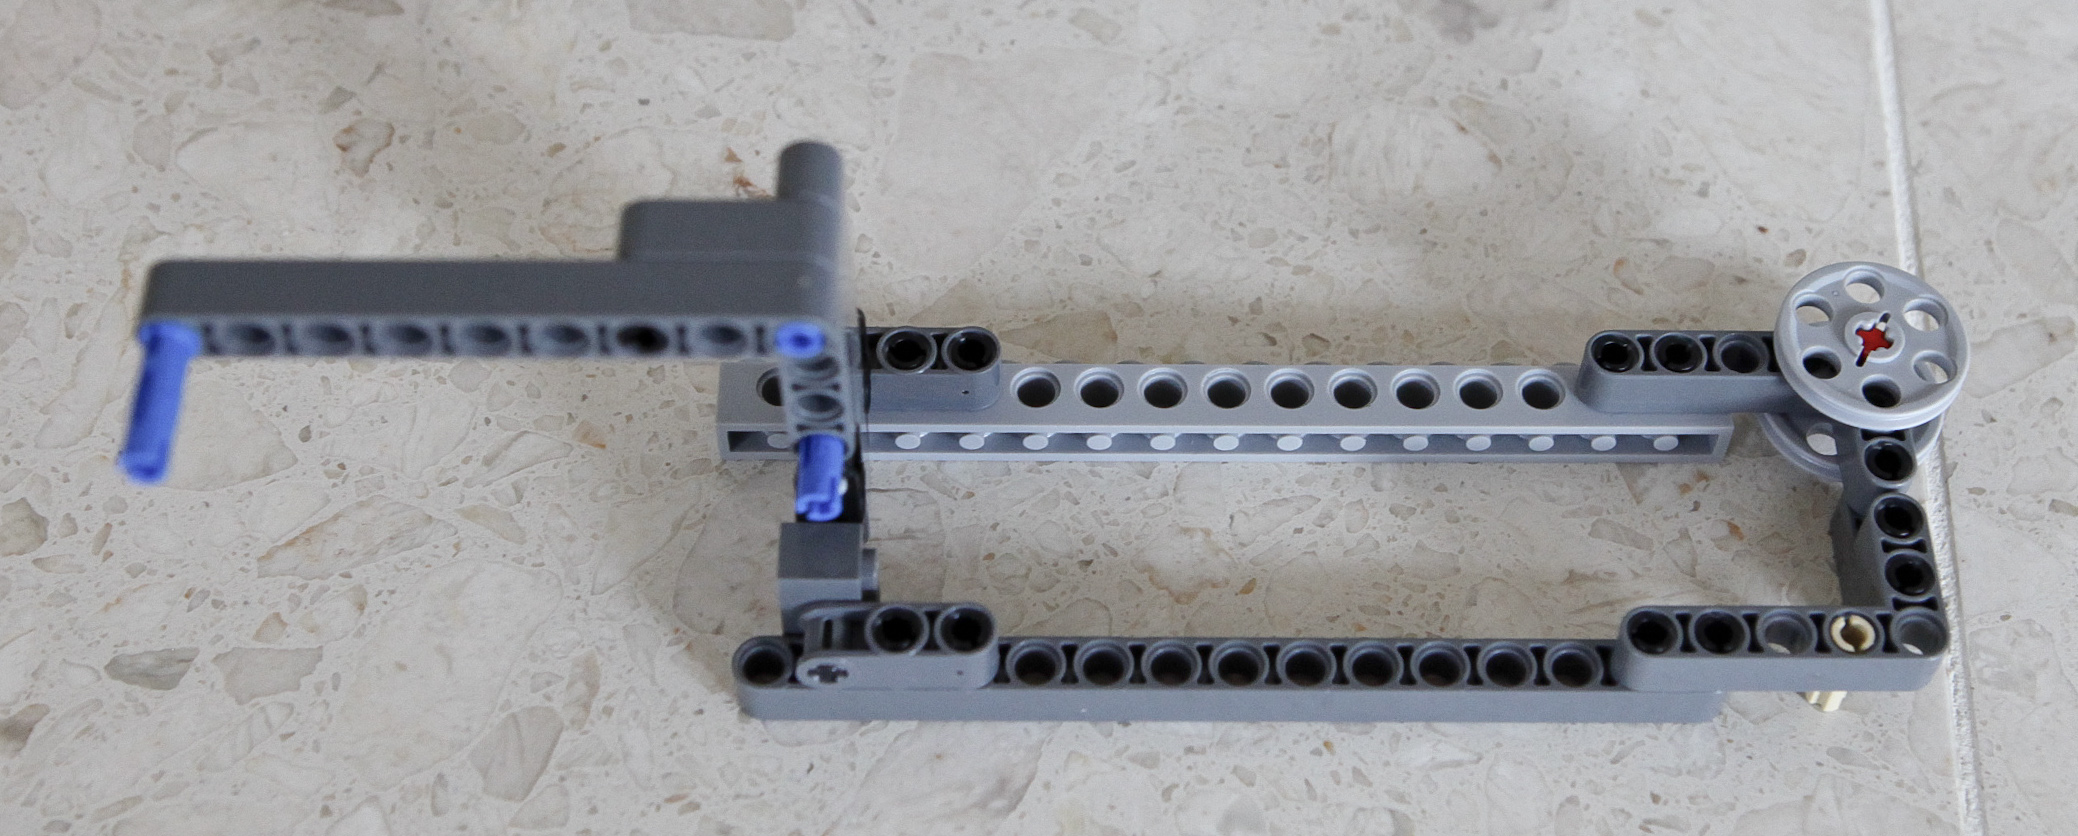
2. an arm with a hook that could pick up the white chimney and knock over the black.
3. a tray to catch the energy brick.
I also used a touch sensor to control the hook so I could place the hook in the upright 12 o’clock position to start.

level 1 from above

Level 1 side on

Light sensor for all levels

level 3 front on
Level 3 side on

energy brick catcher


Thanks for calling by
Mrs Garlick
Last Thursday 5/6L were given the very difficult challenge of deploying the new smokestack in the ‘Green City Challenge’. This involved knocking down the old black chimney and raising the new white one. The process released the energy brick which needed to go back to base.


Here is the video of the students’ work.
Thanks for calling by
Mrs Garlick
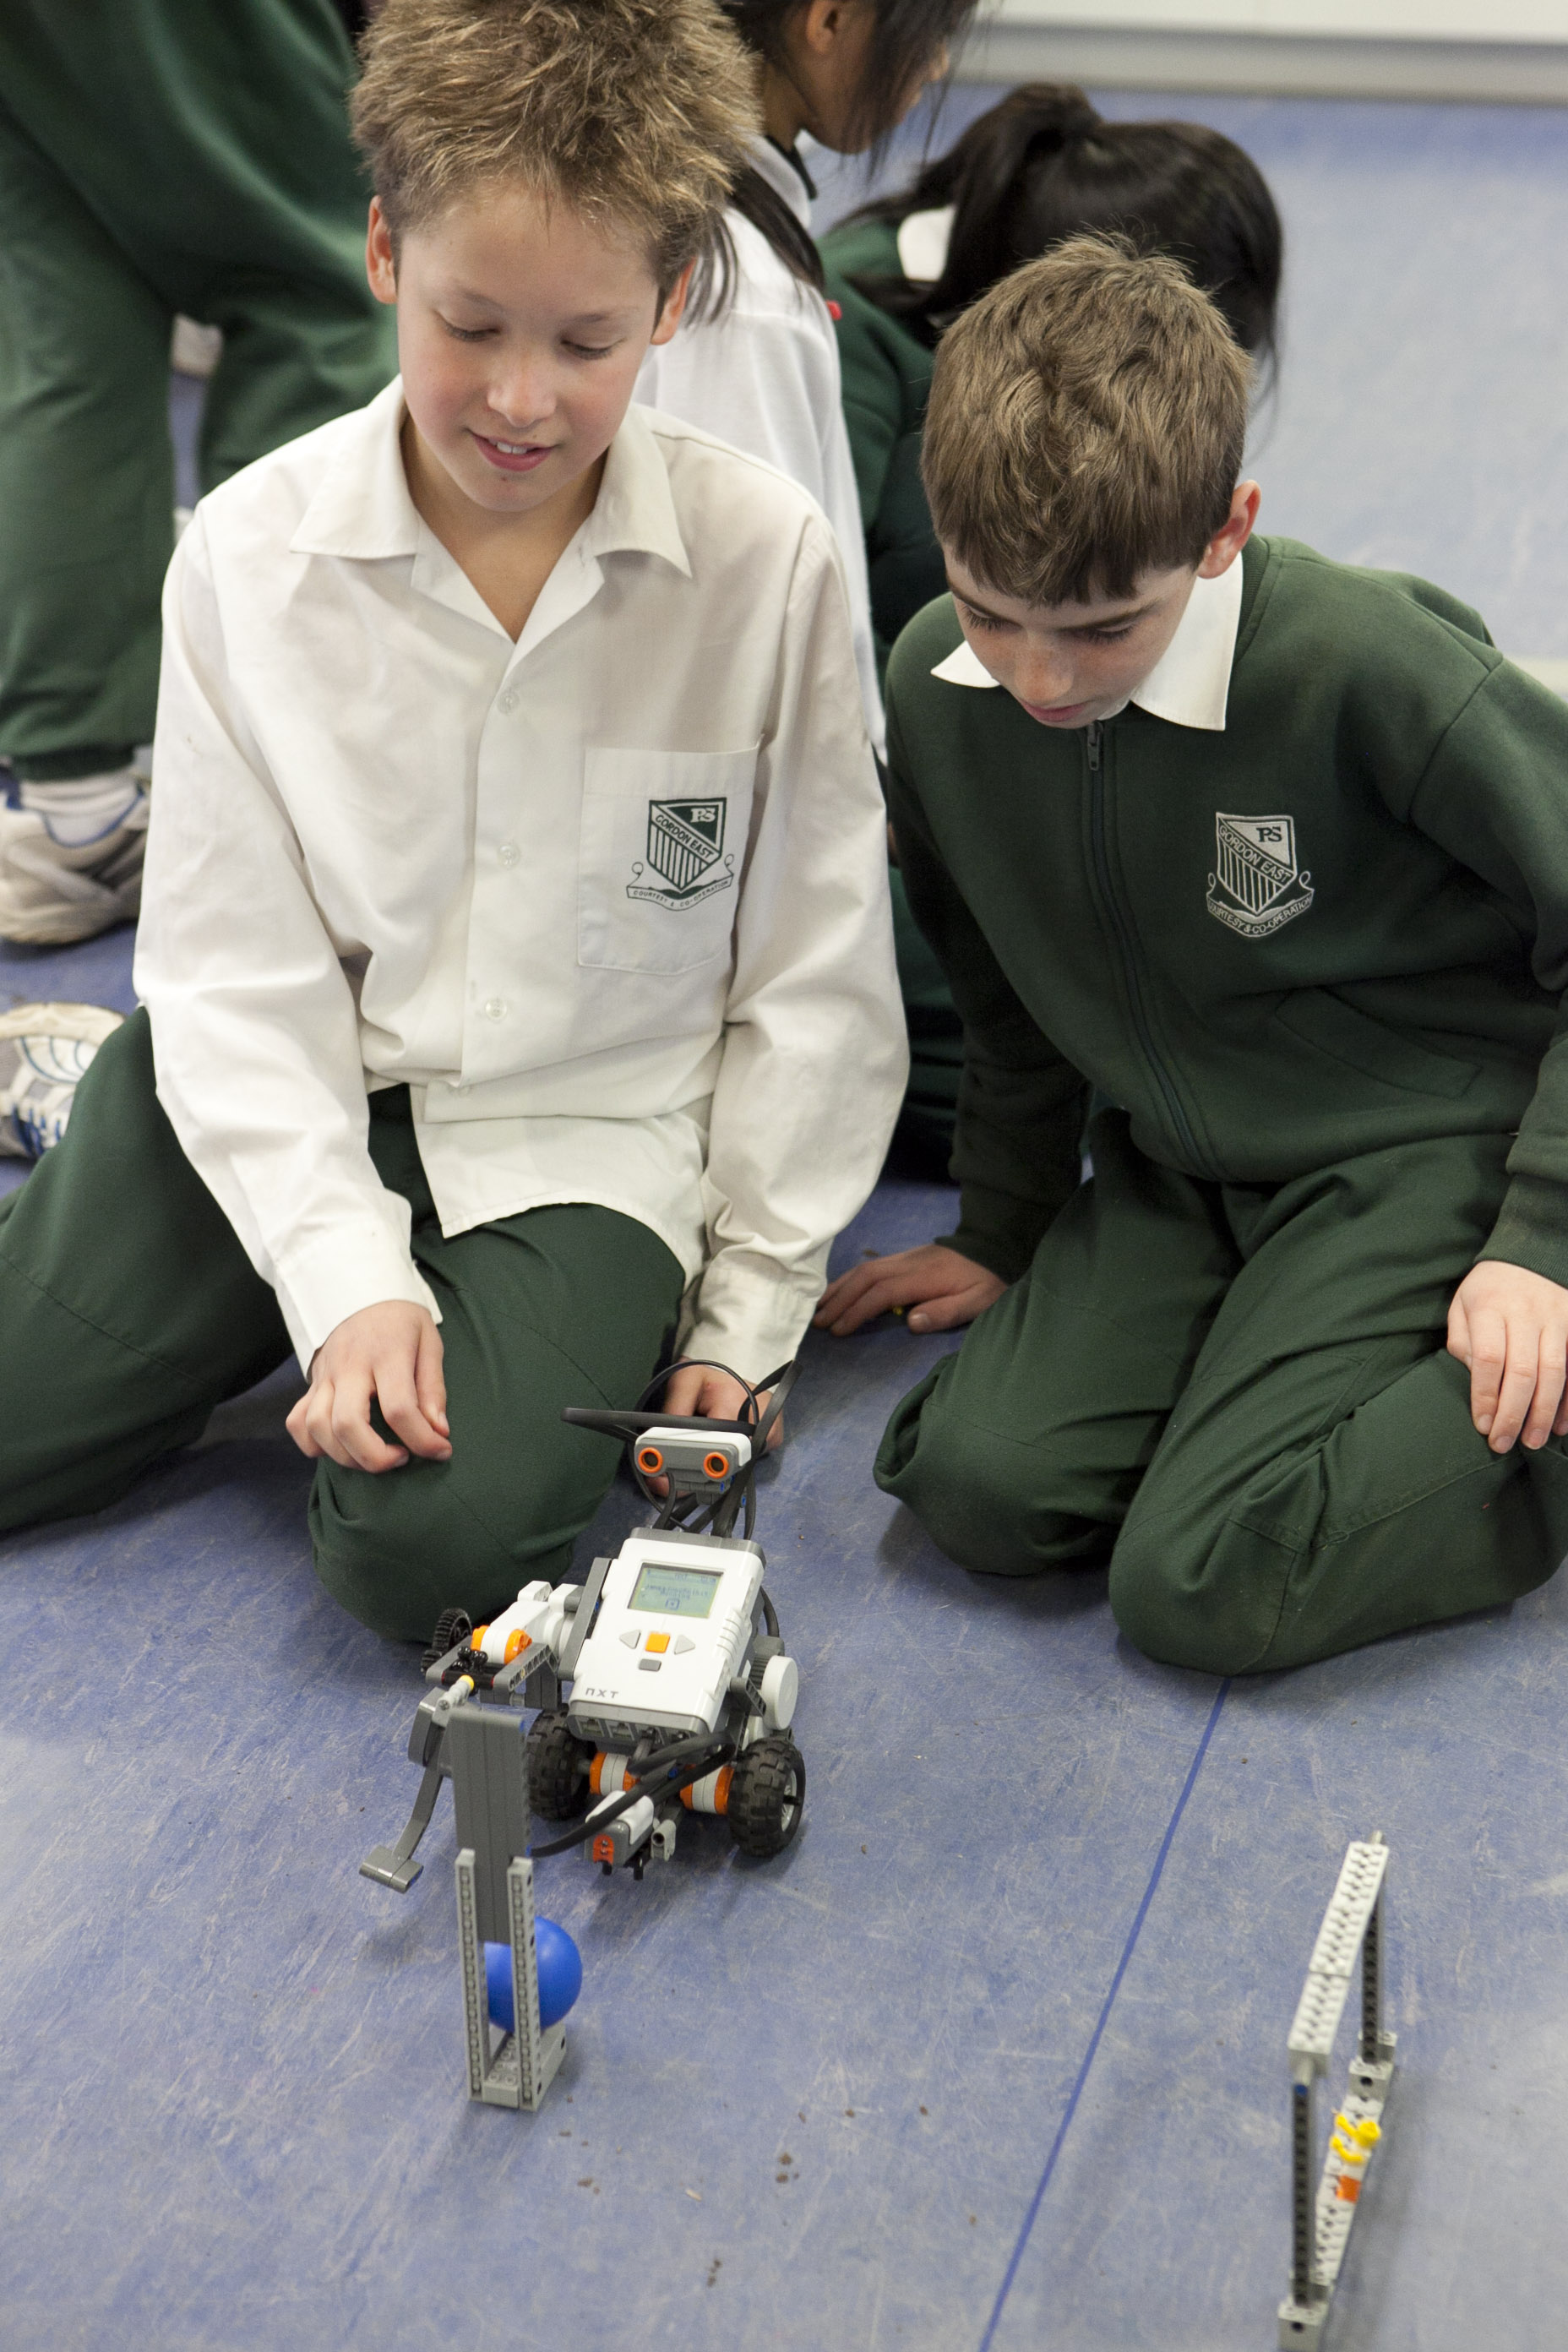
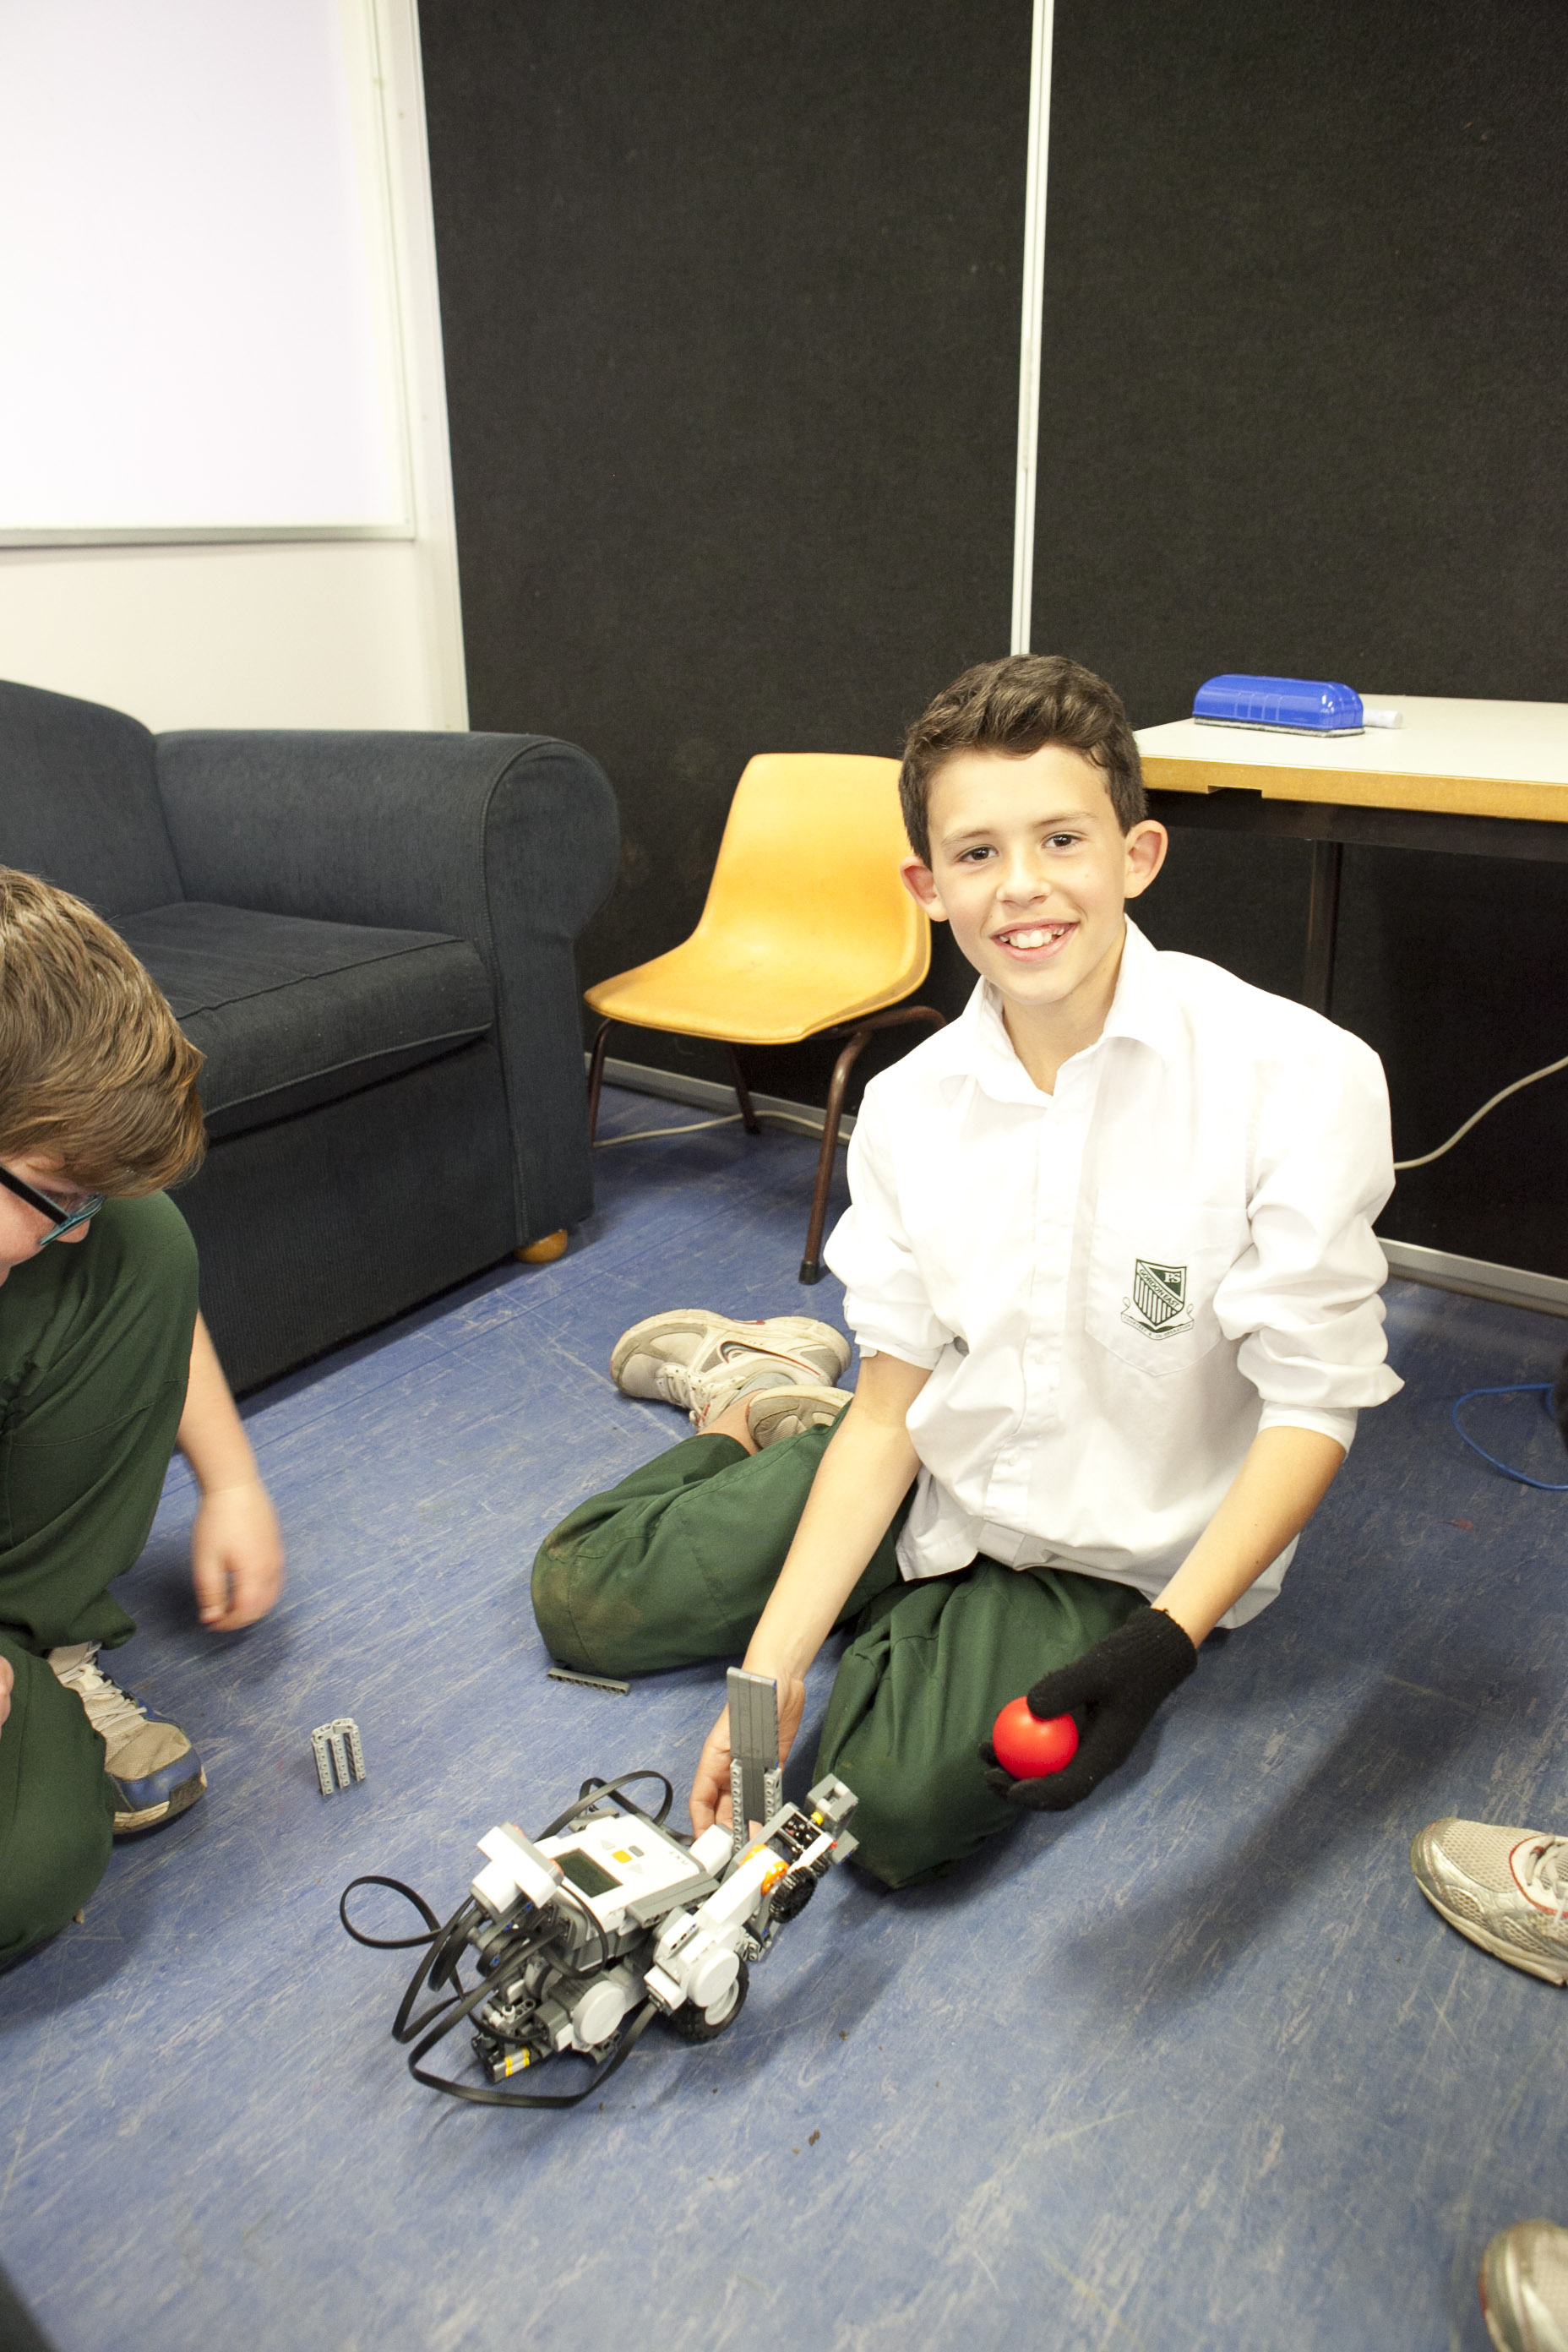
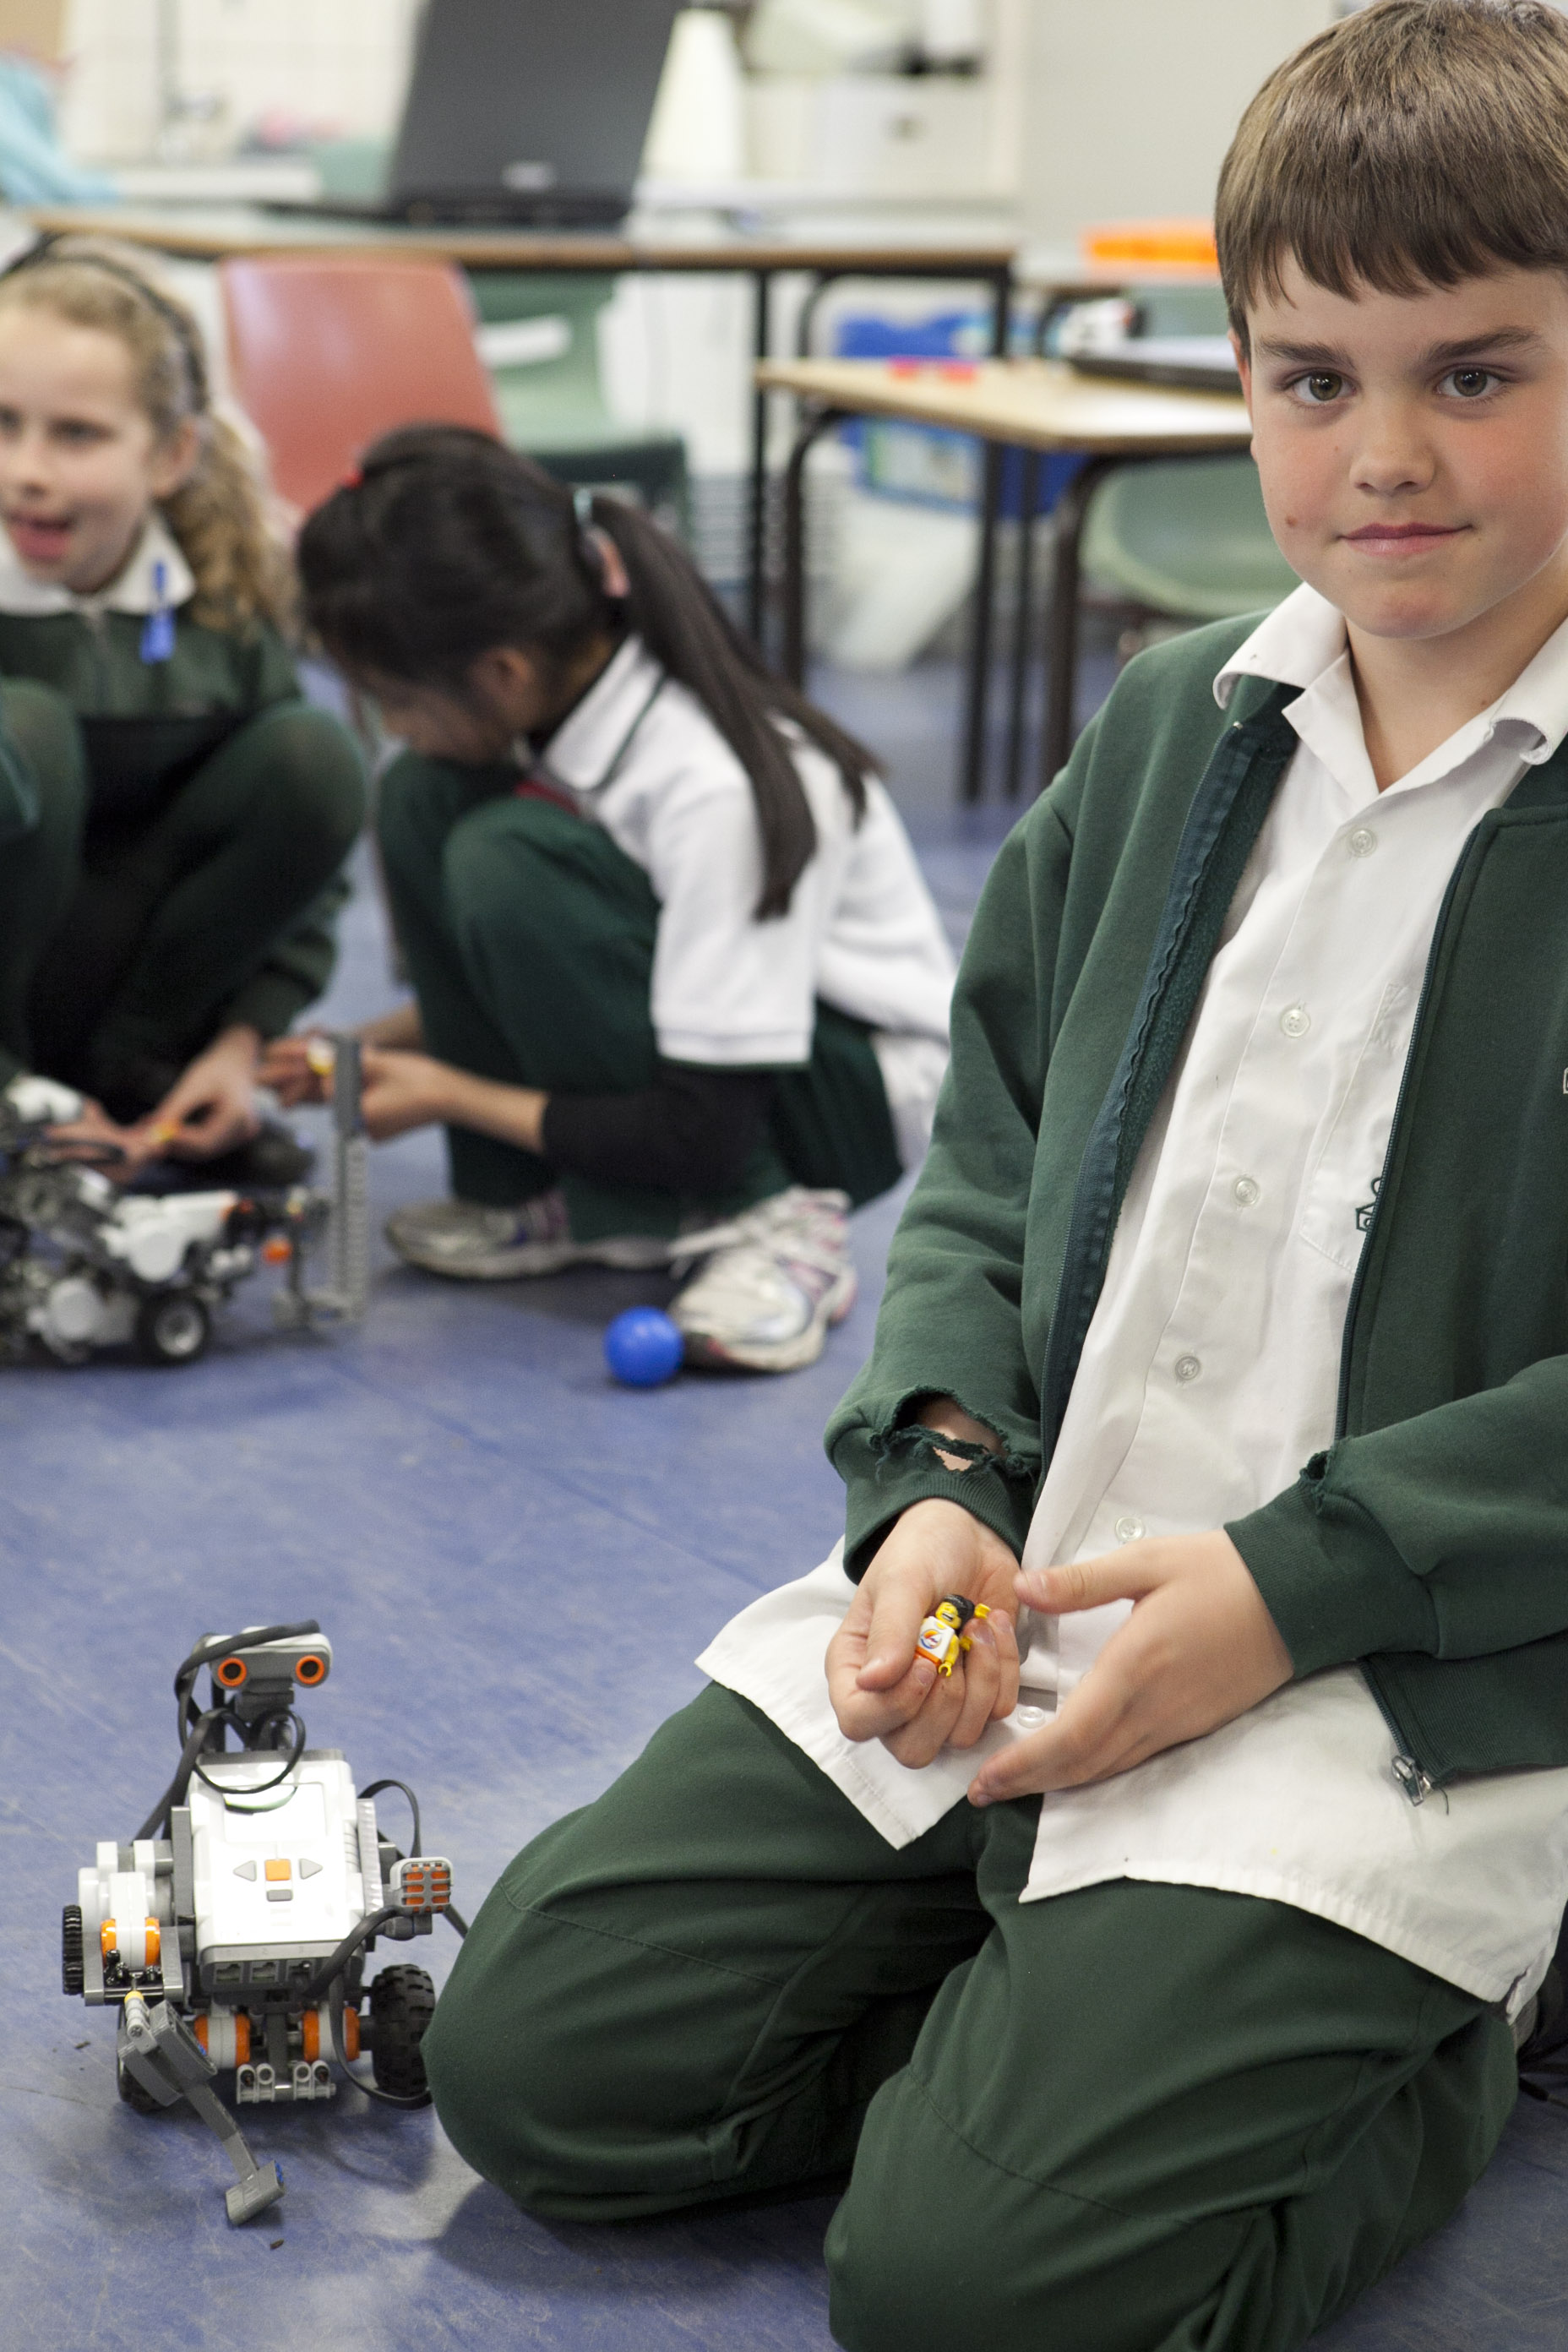
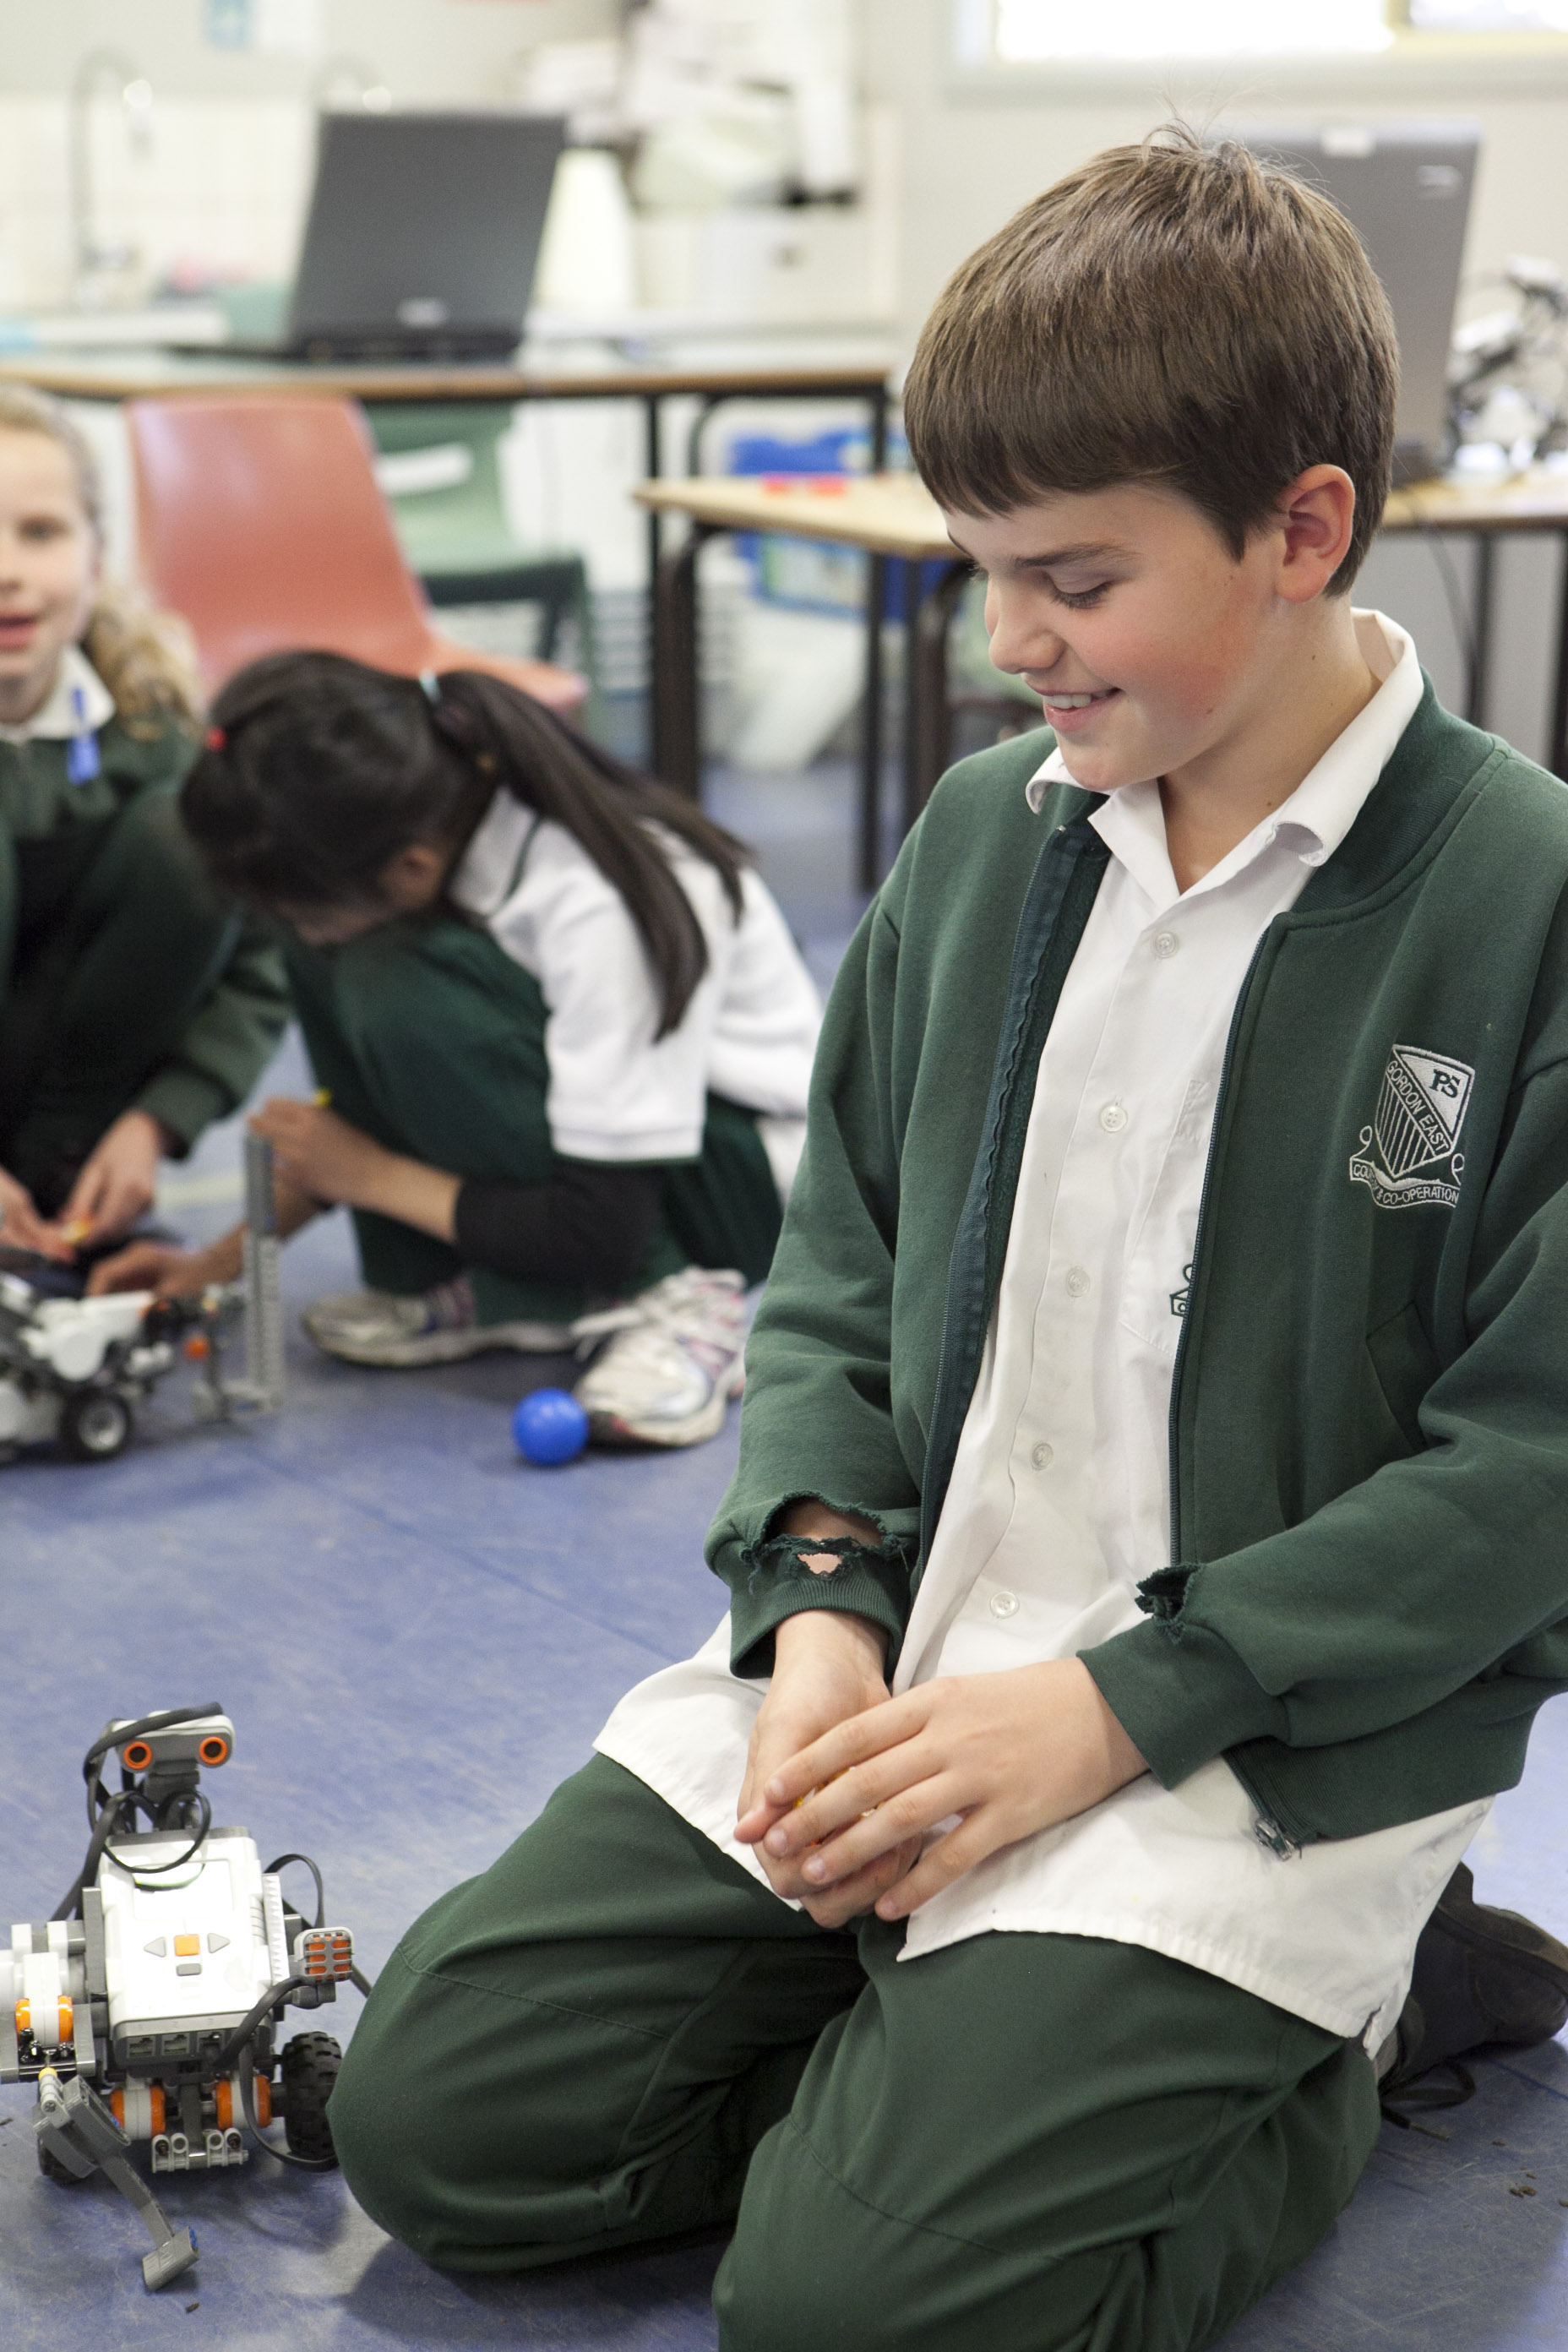
Dear Bloggers,
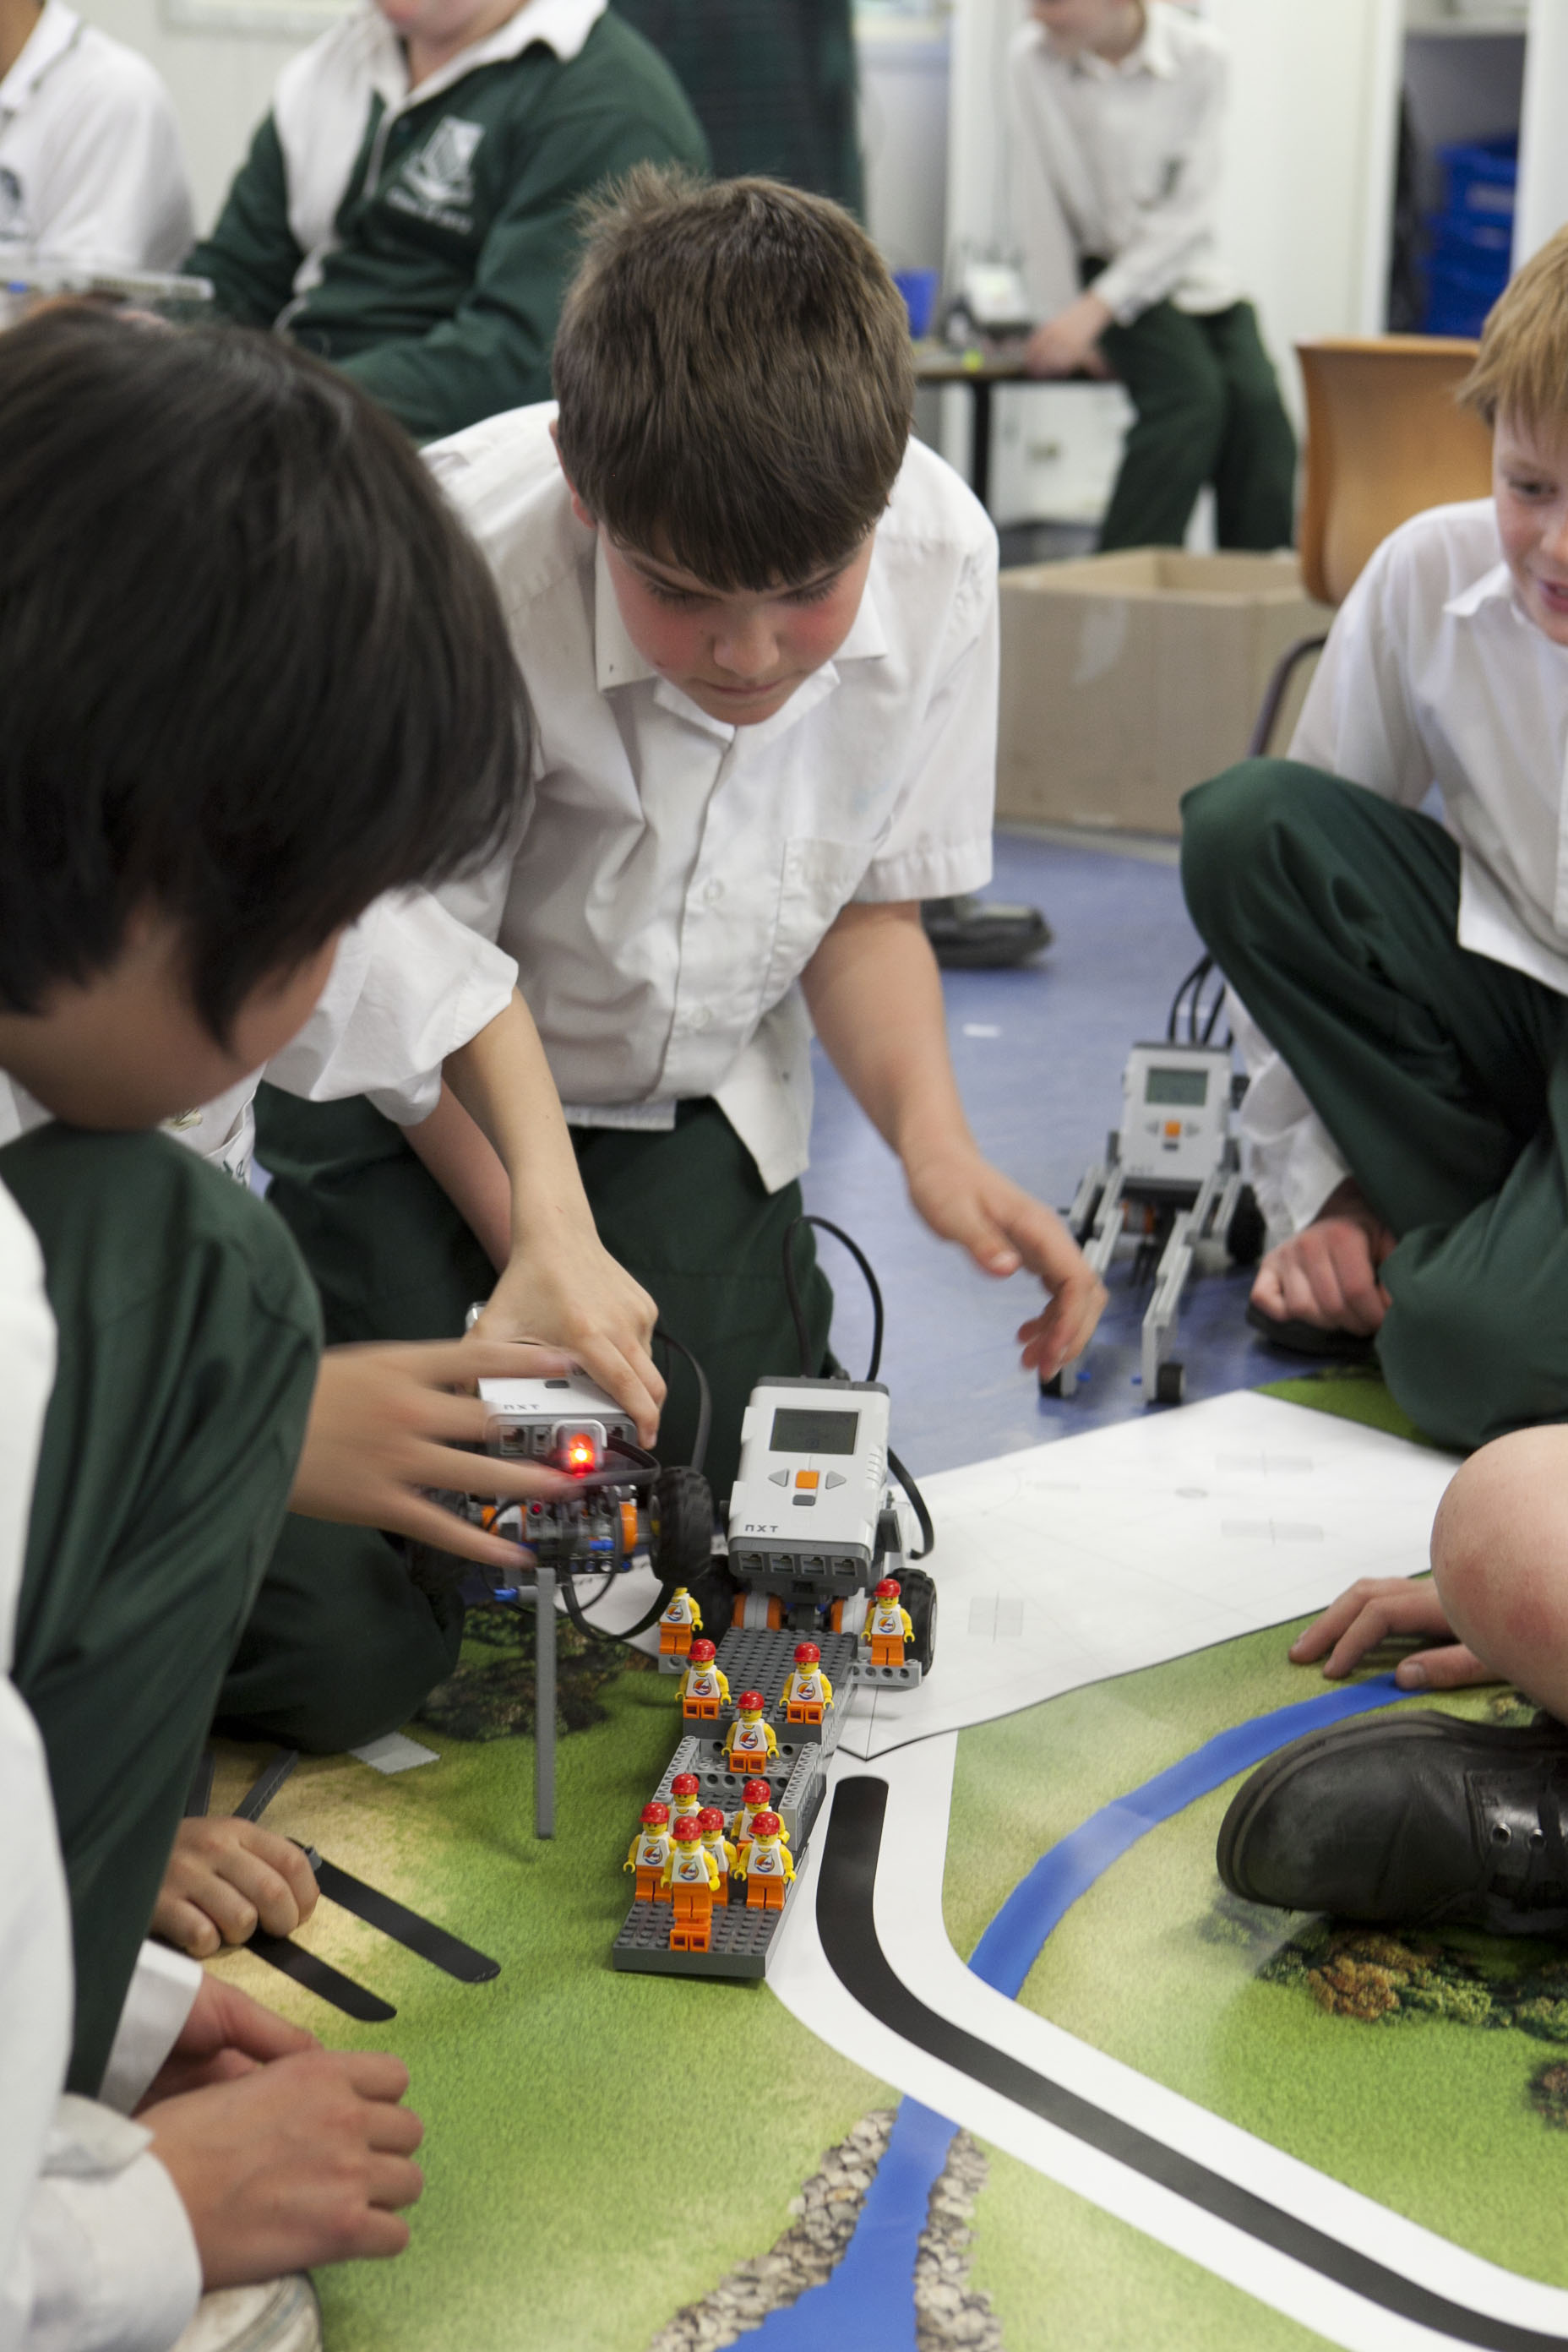
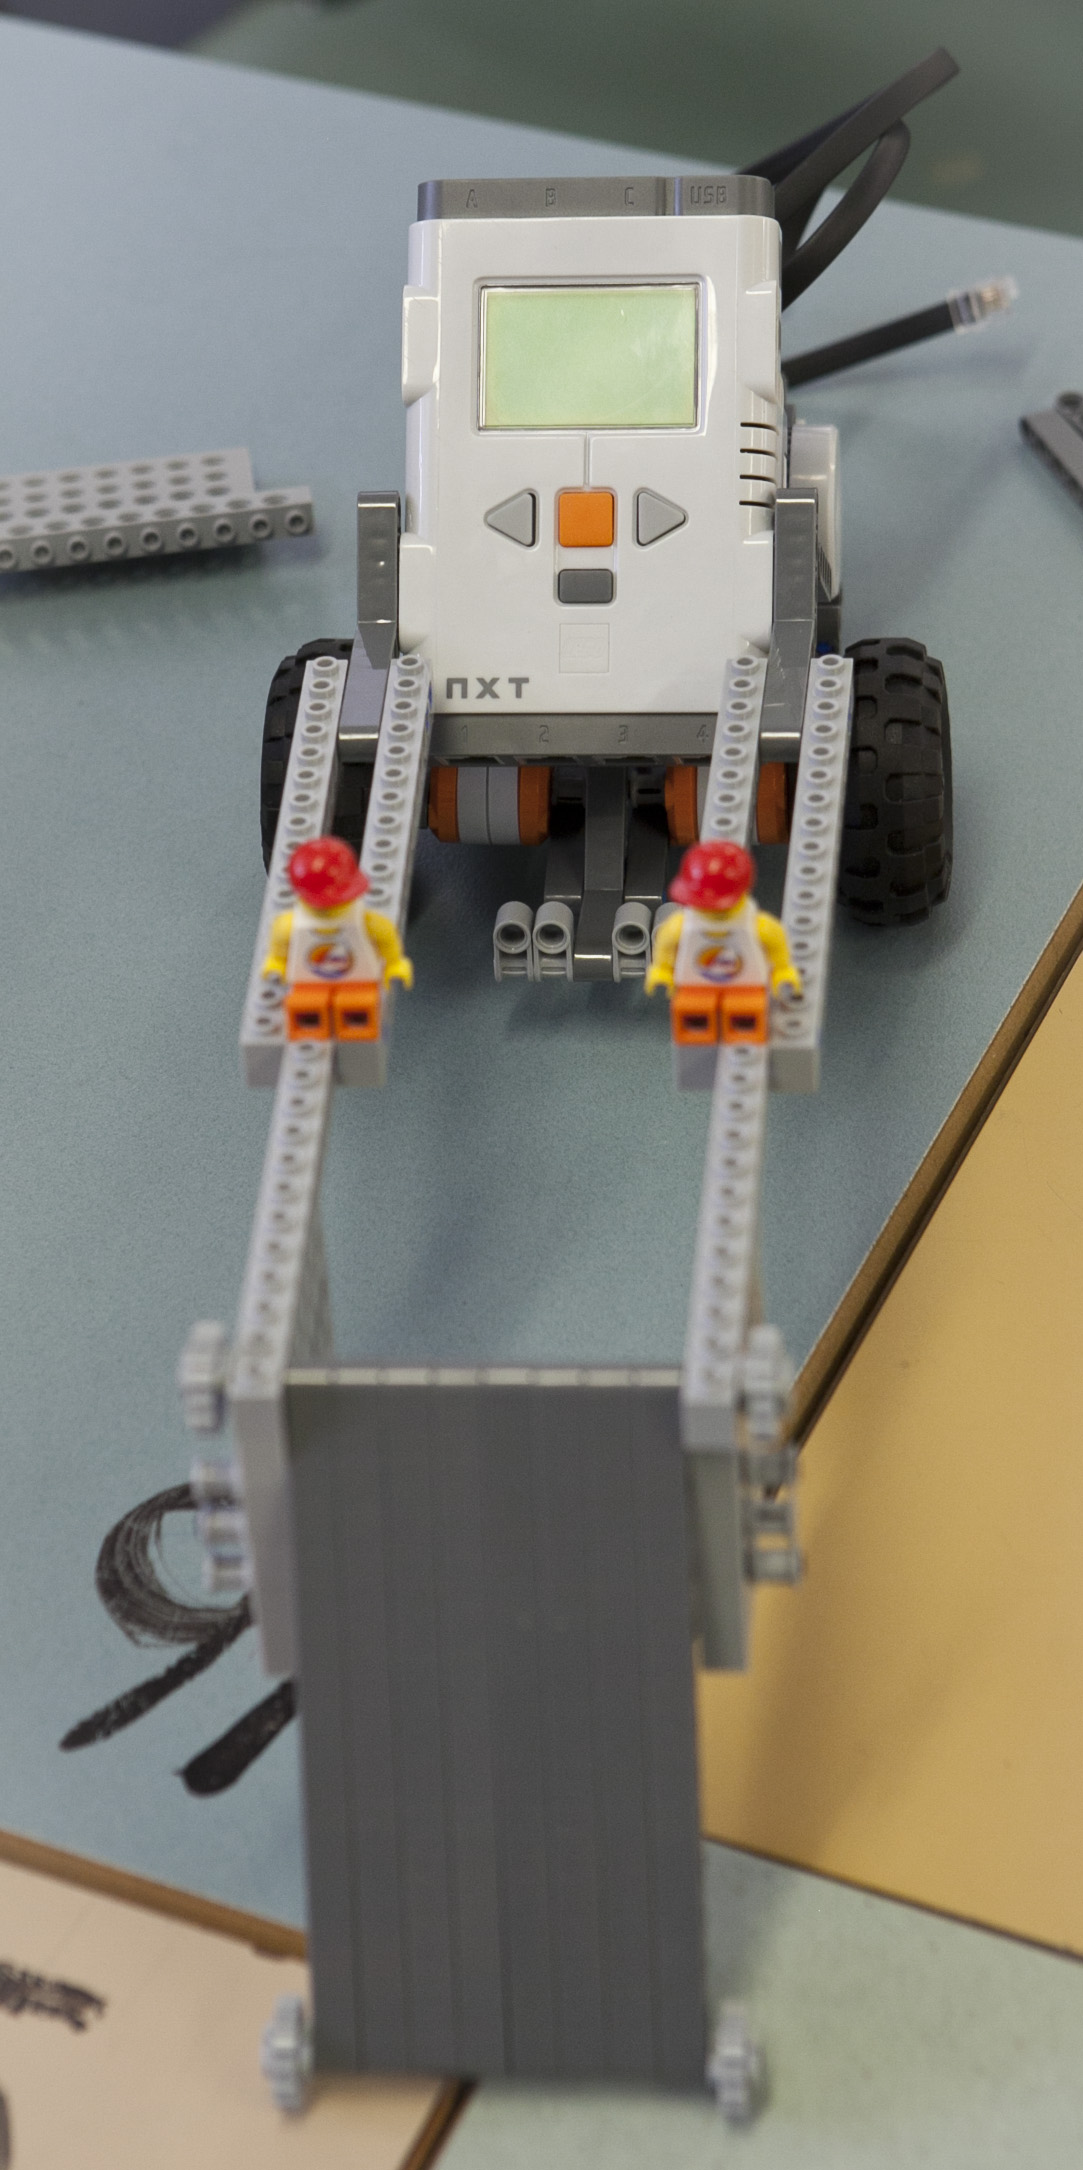
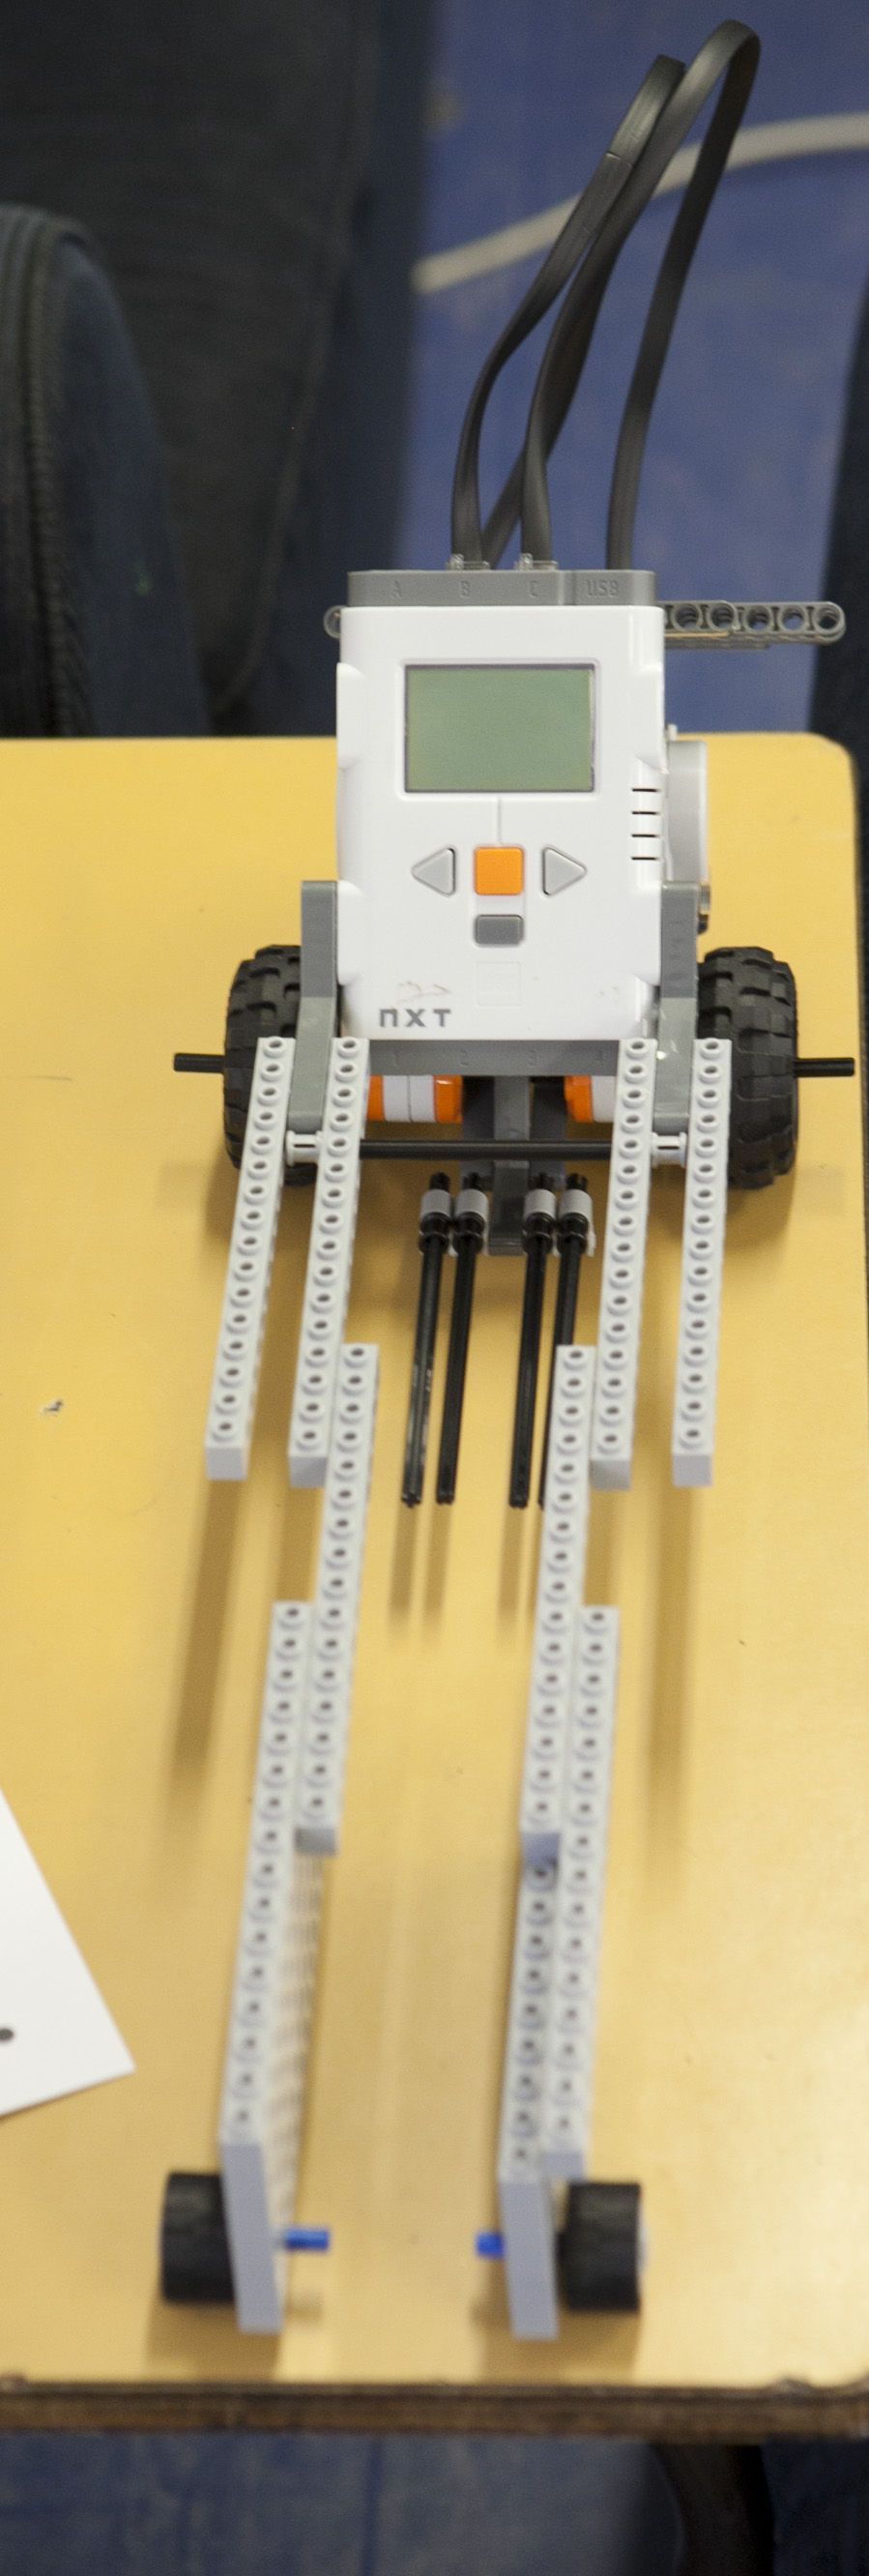
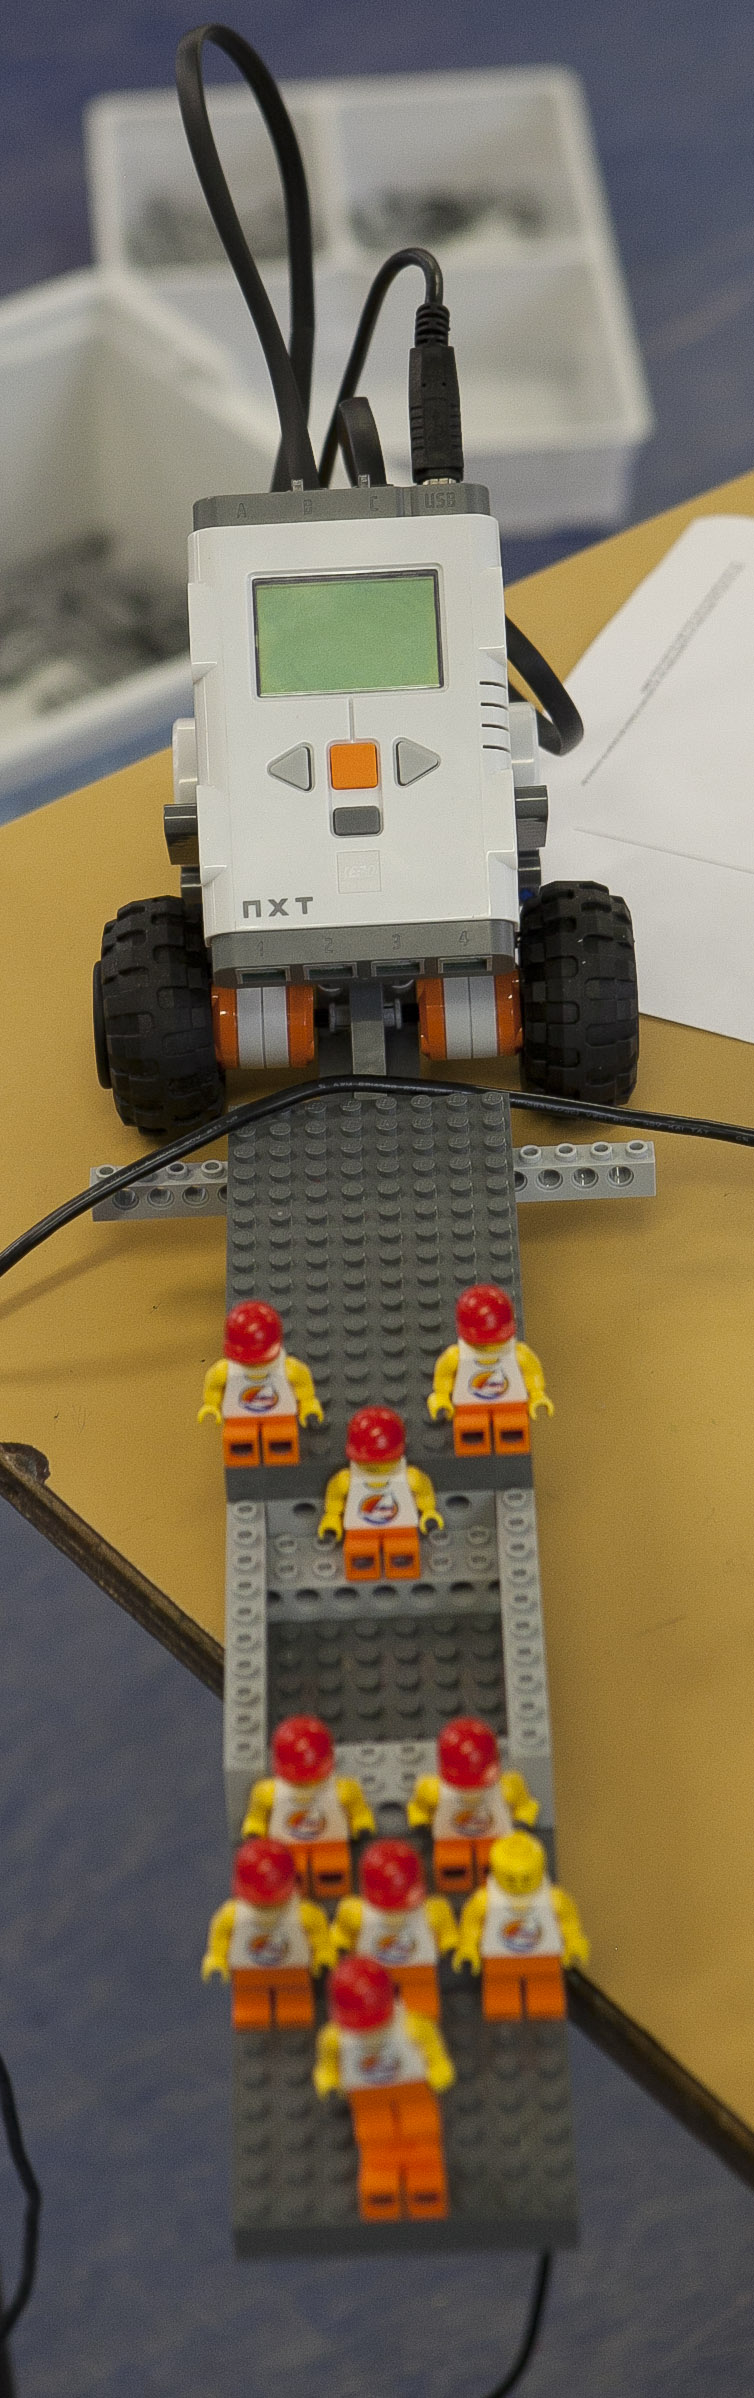
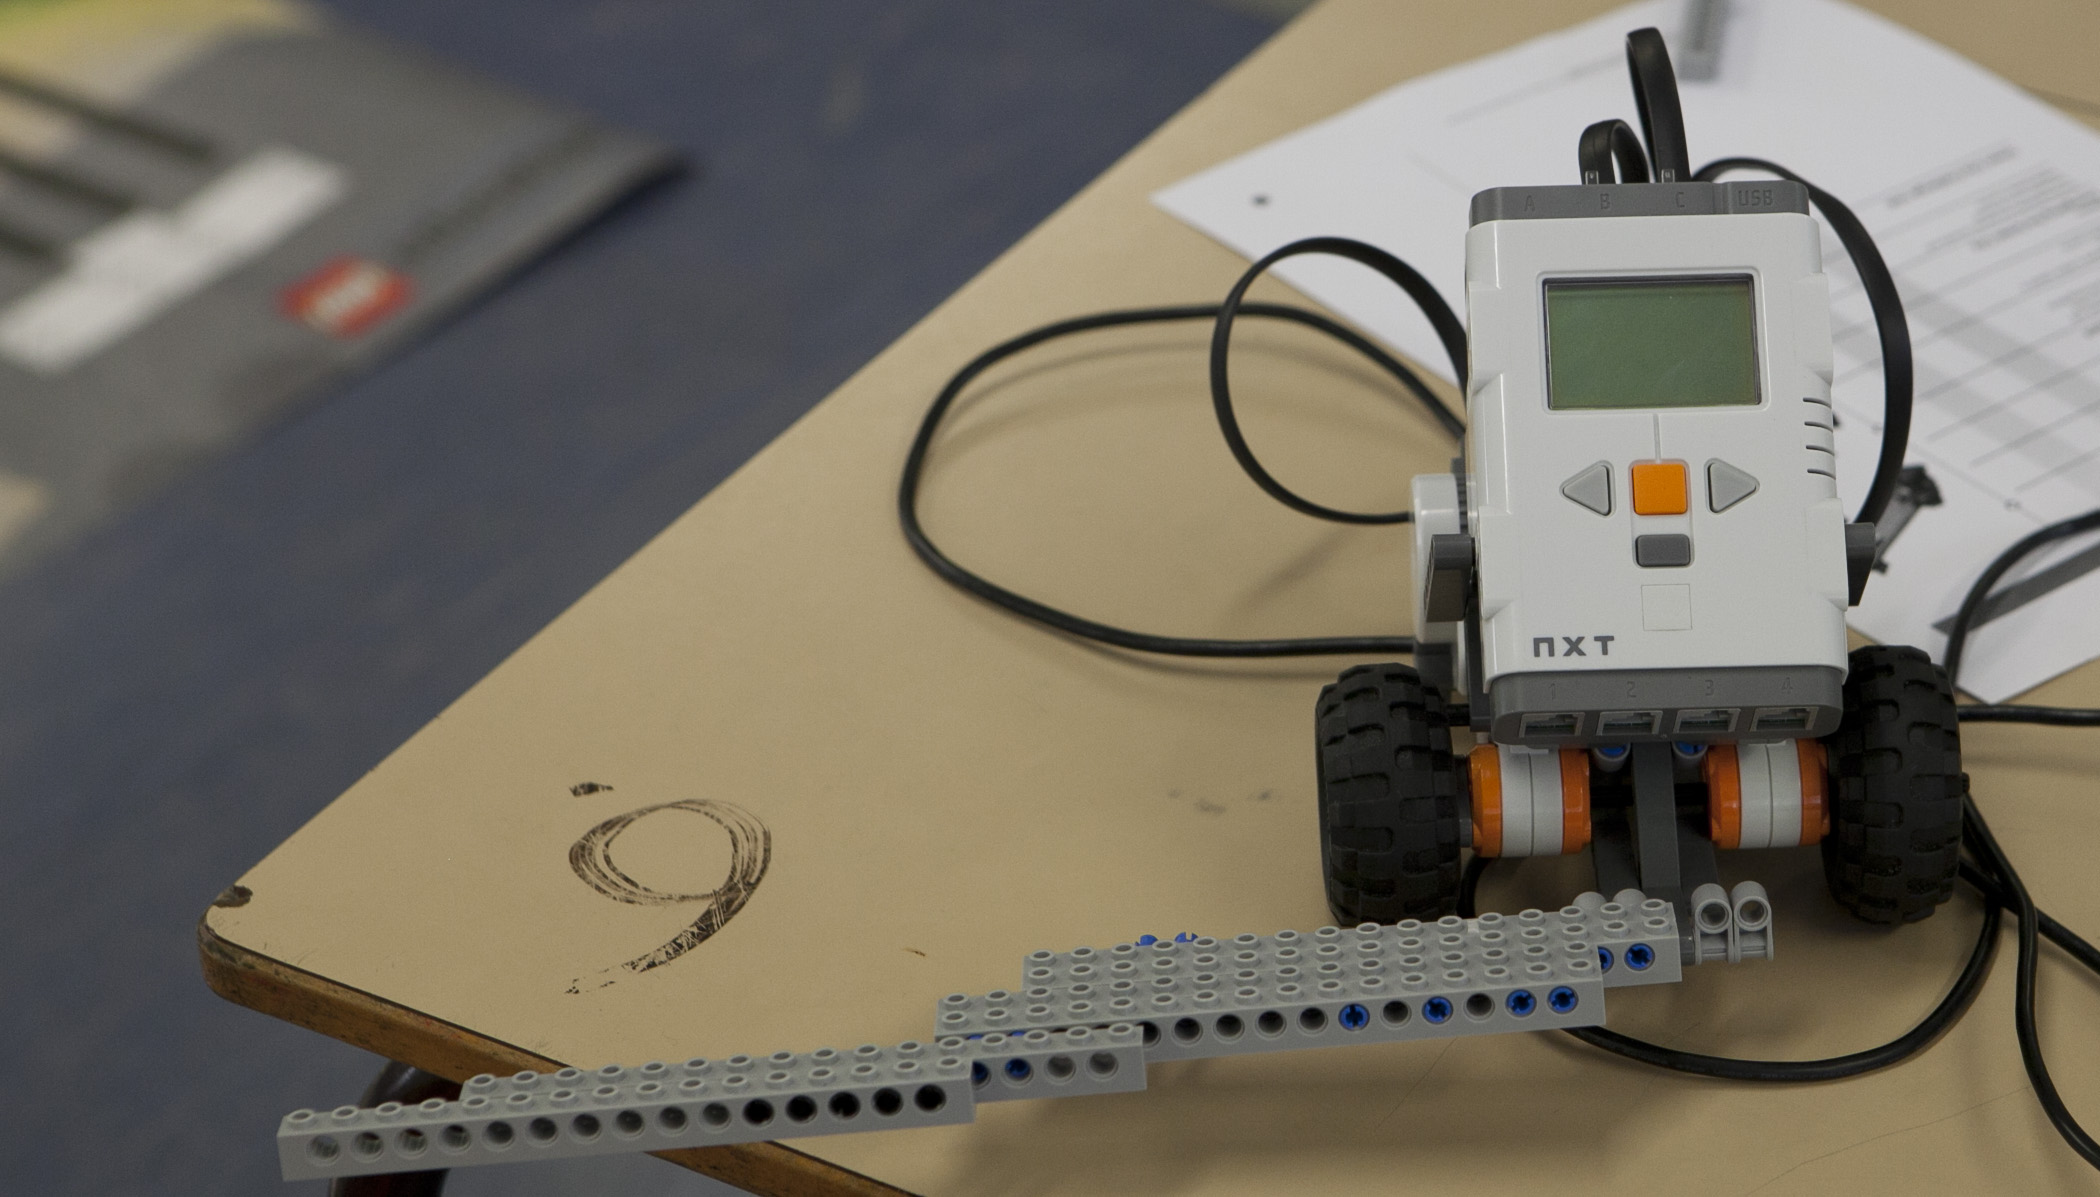
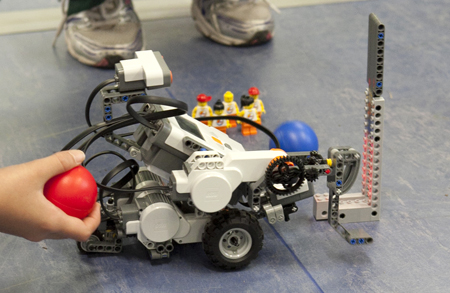
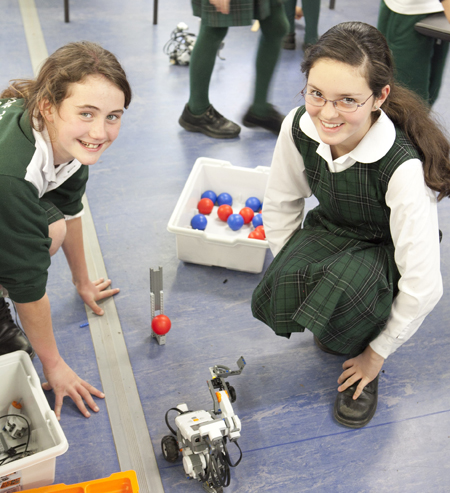
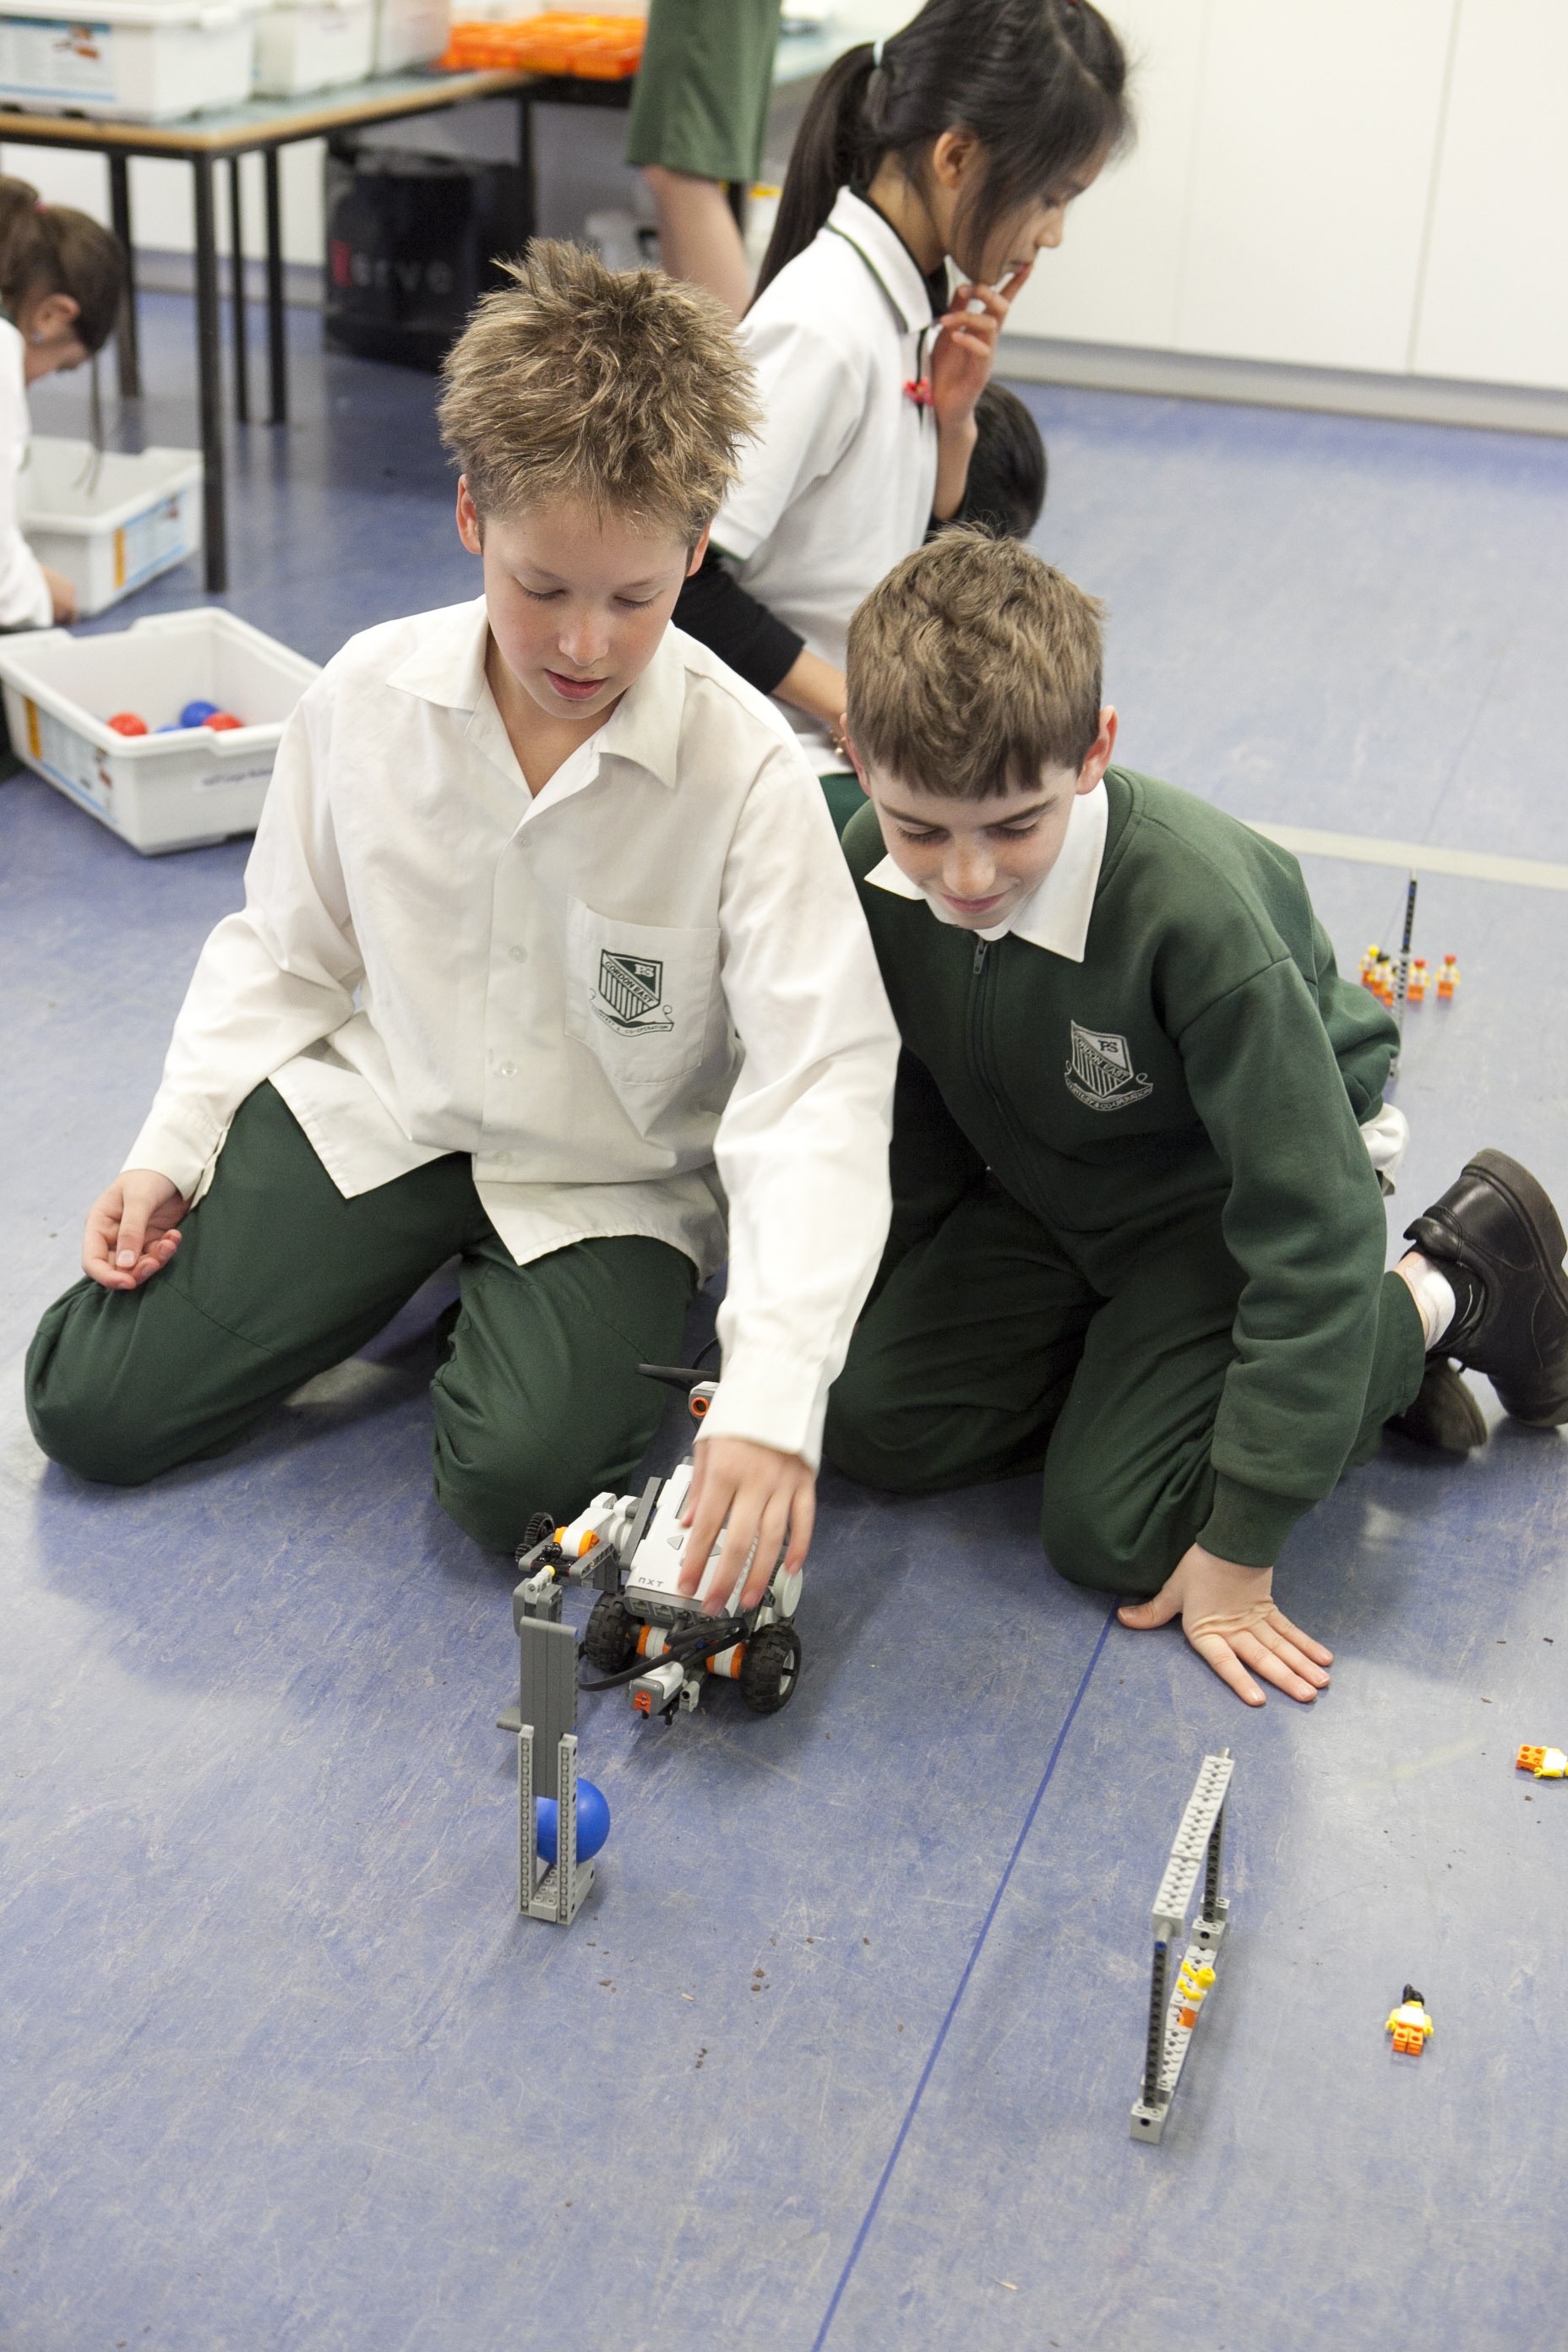
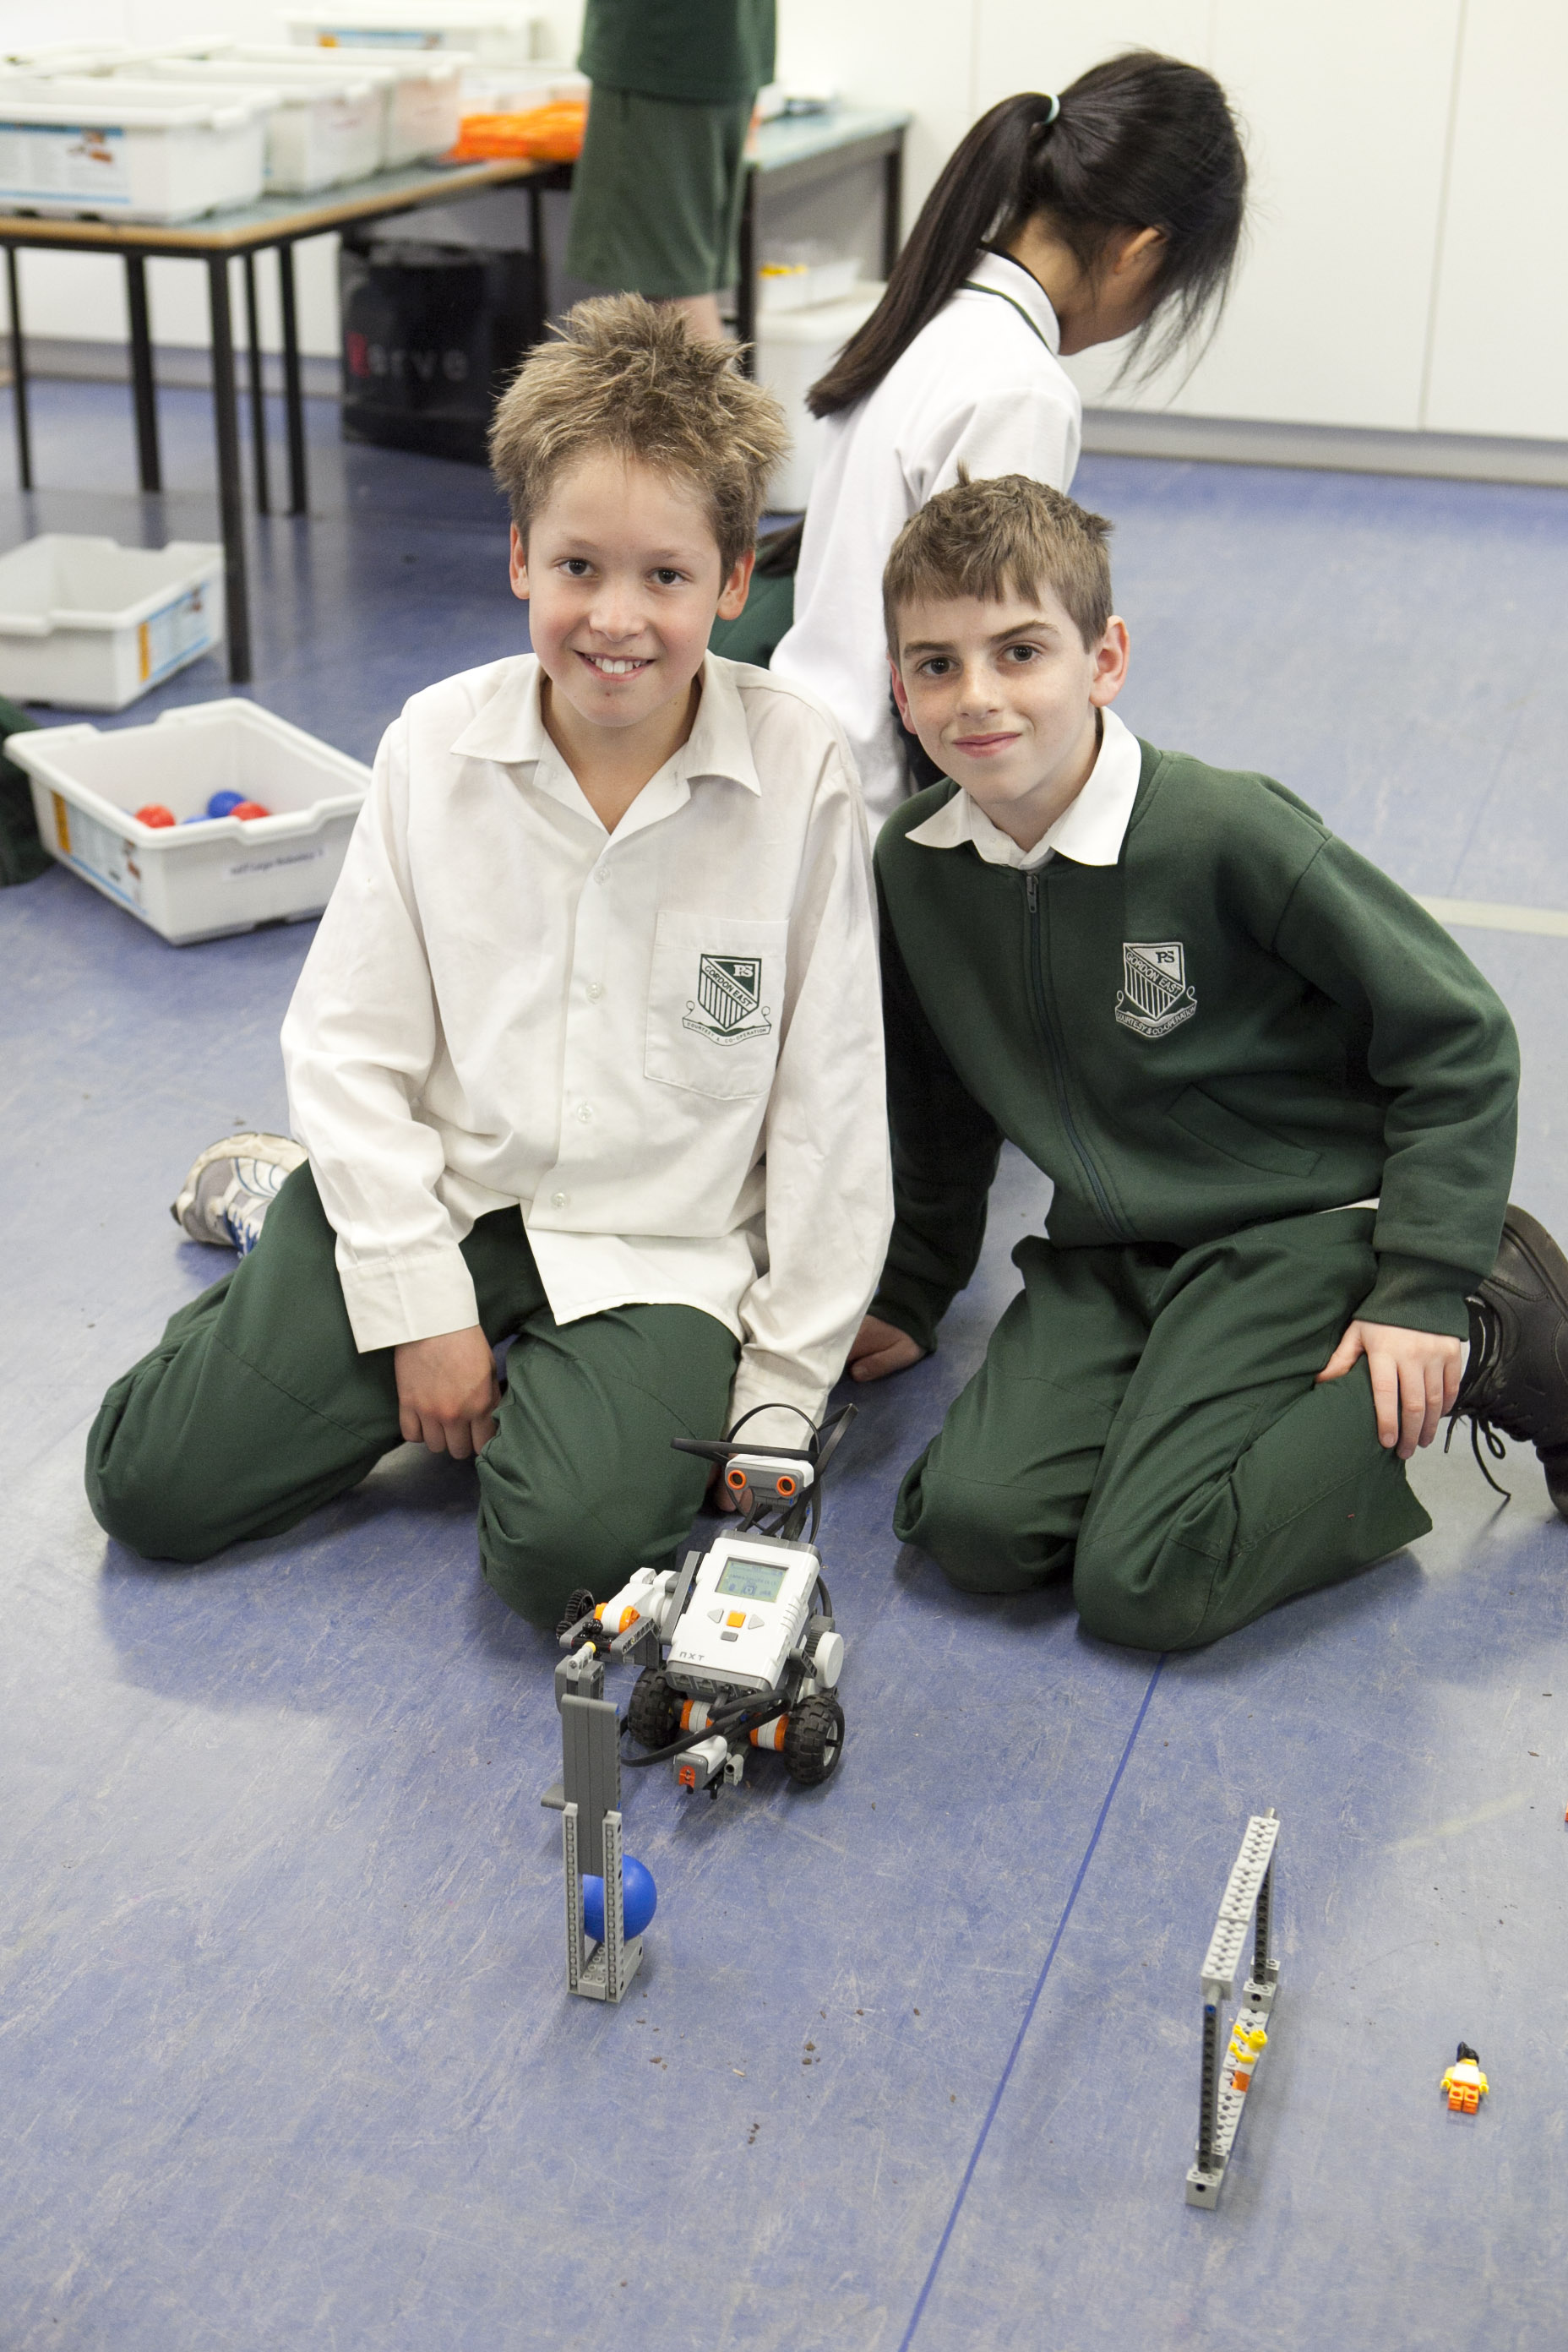
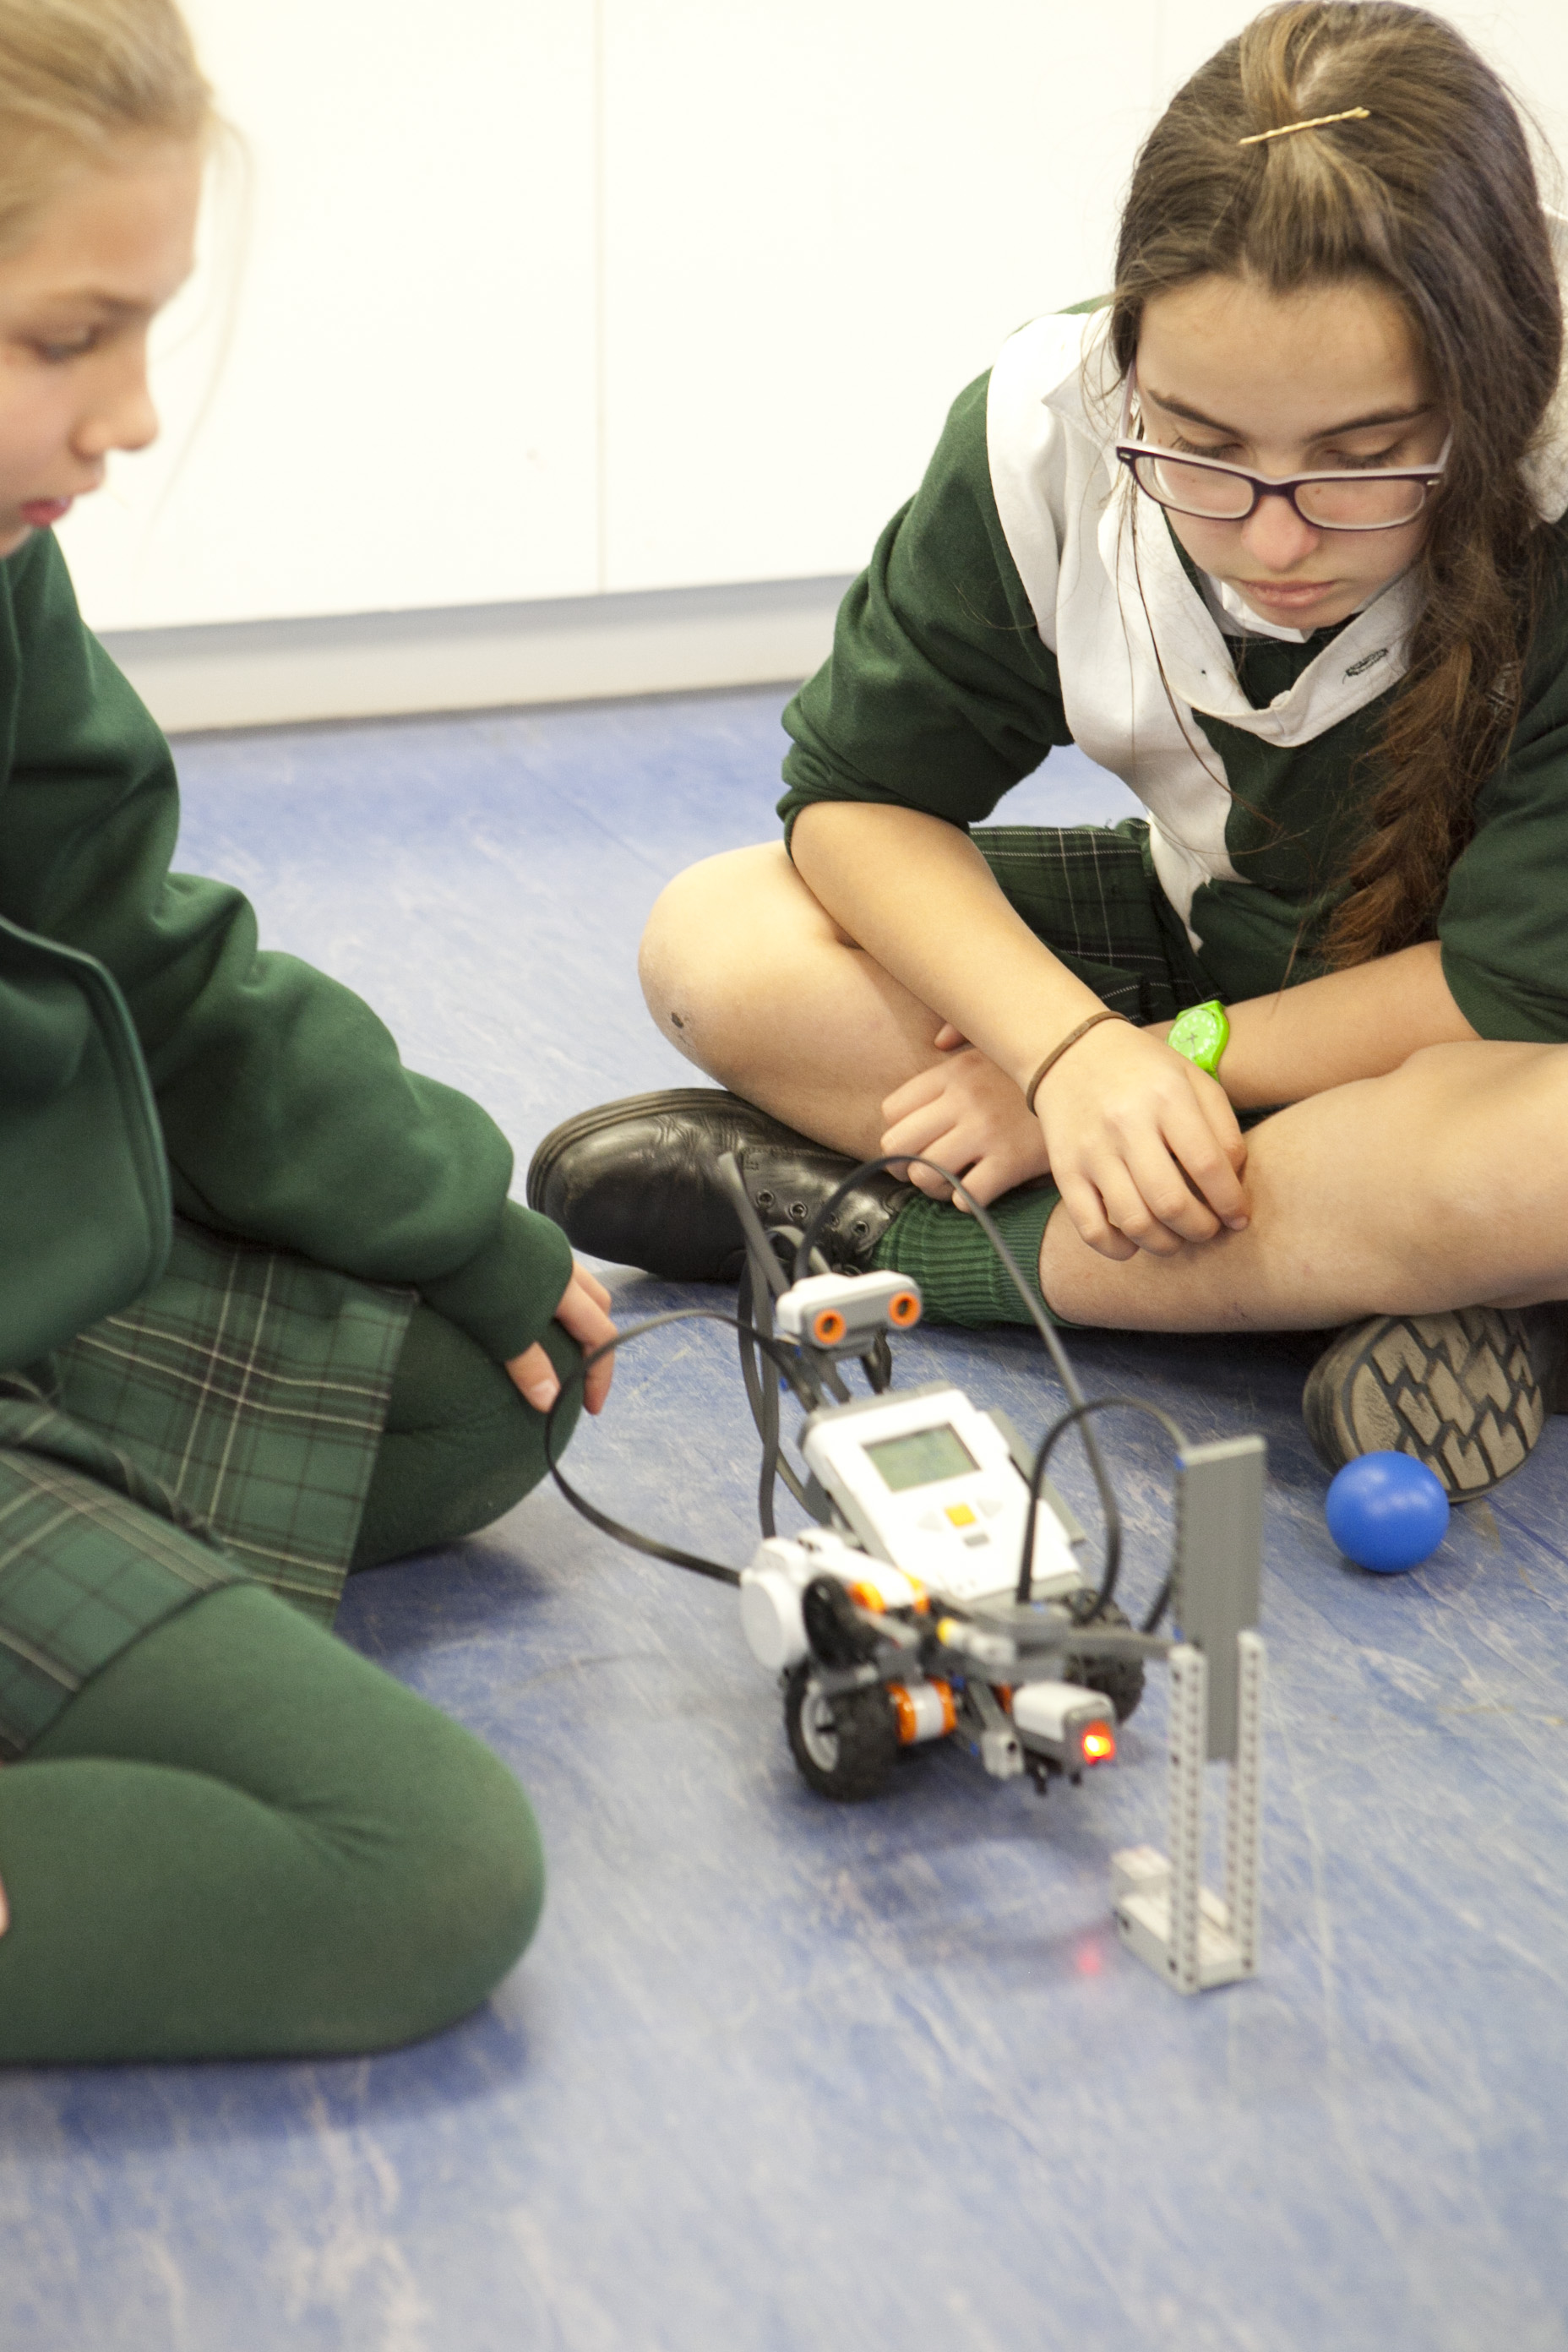
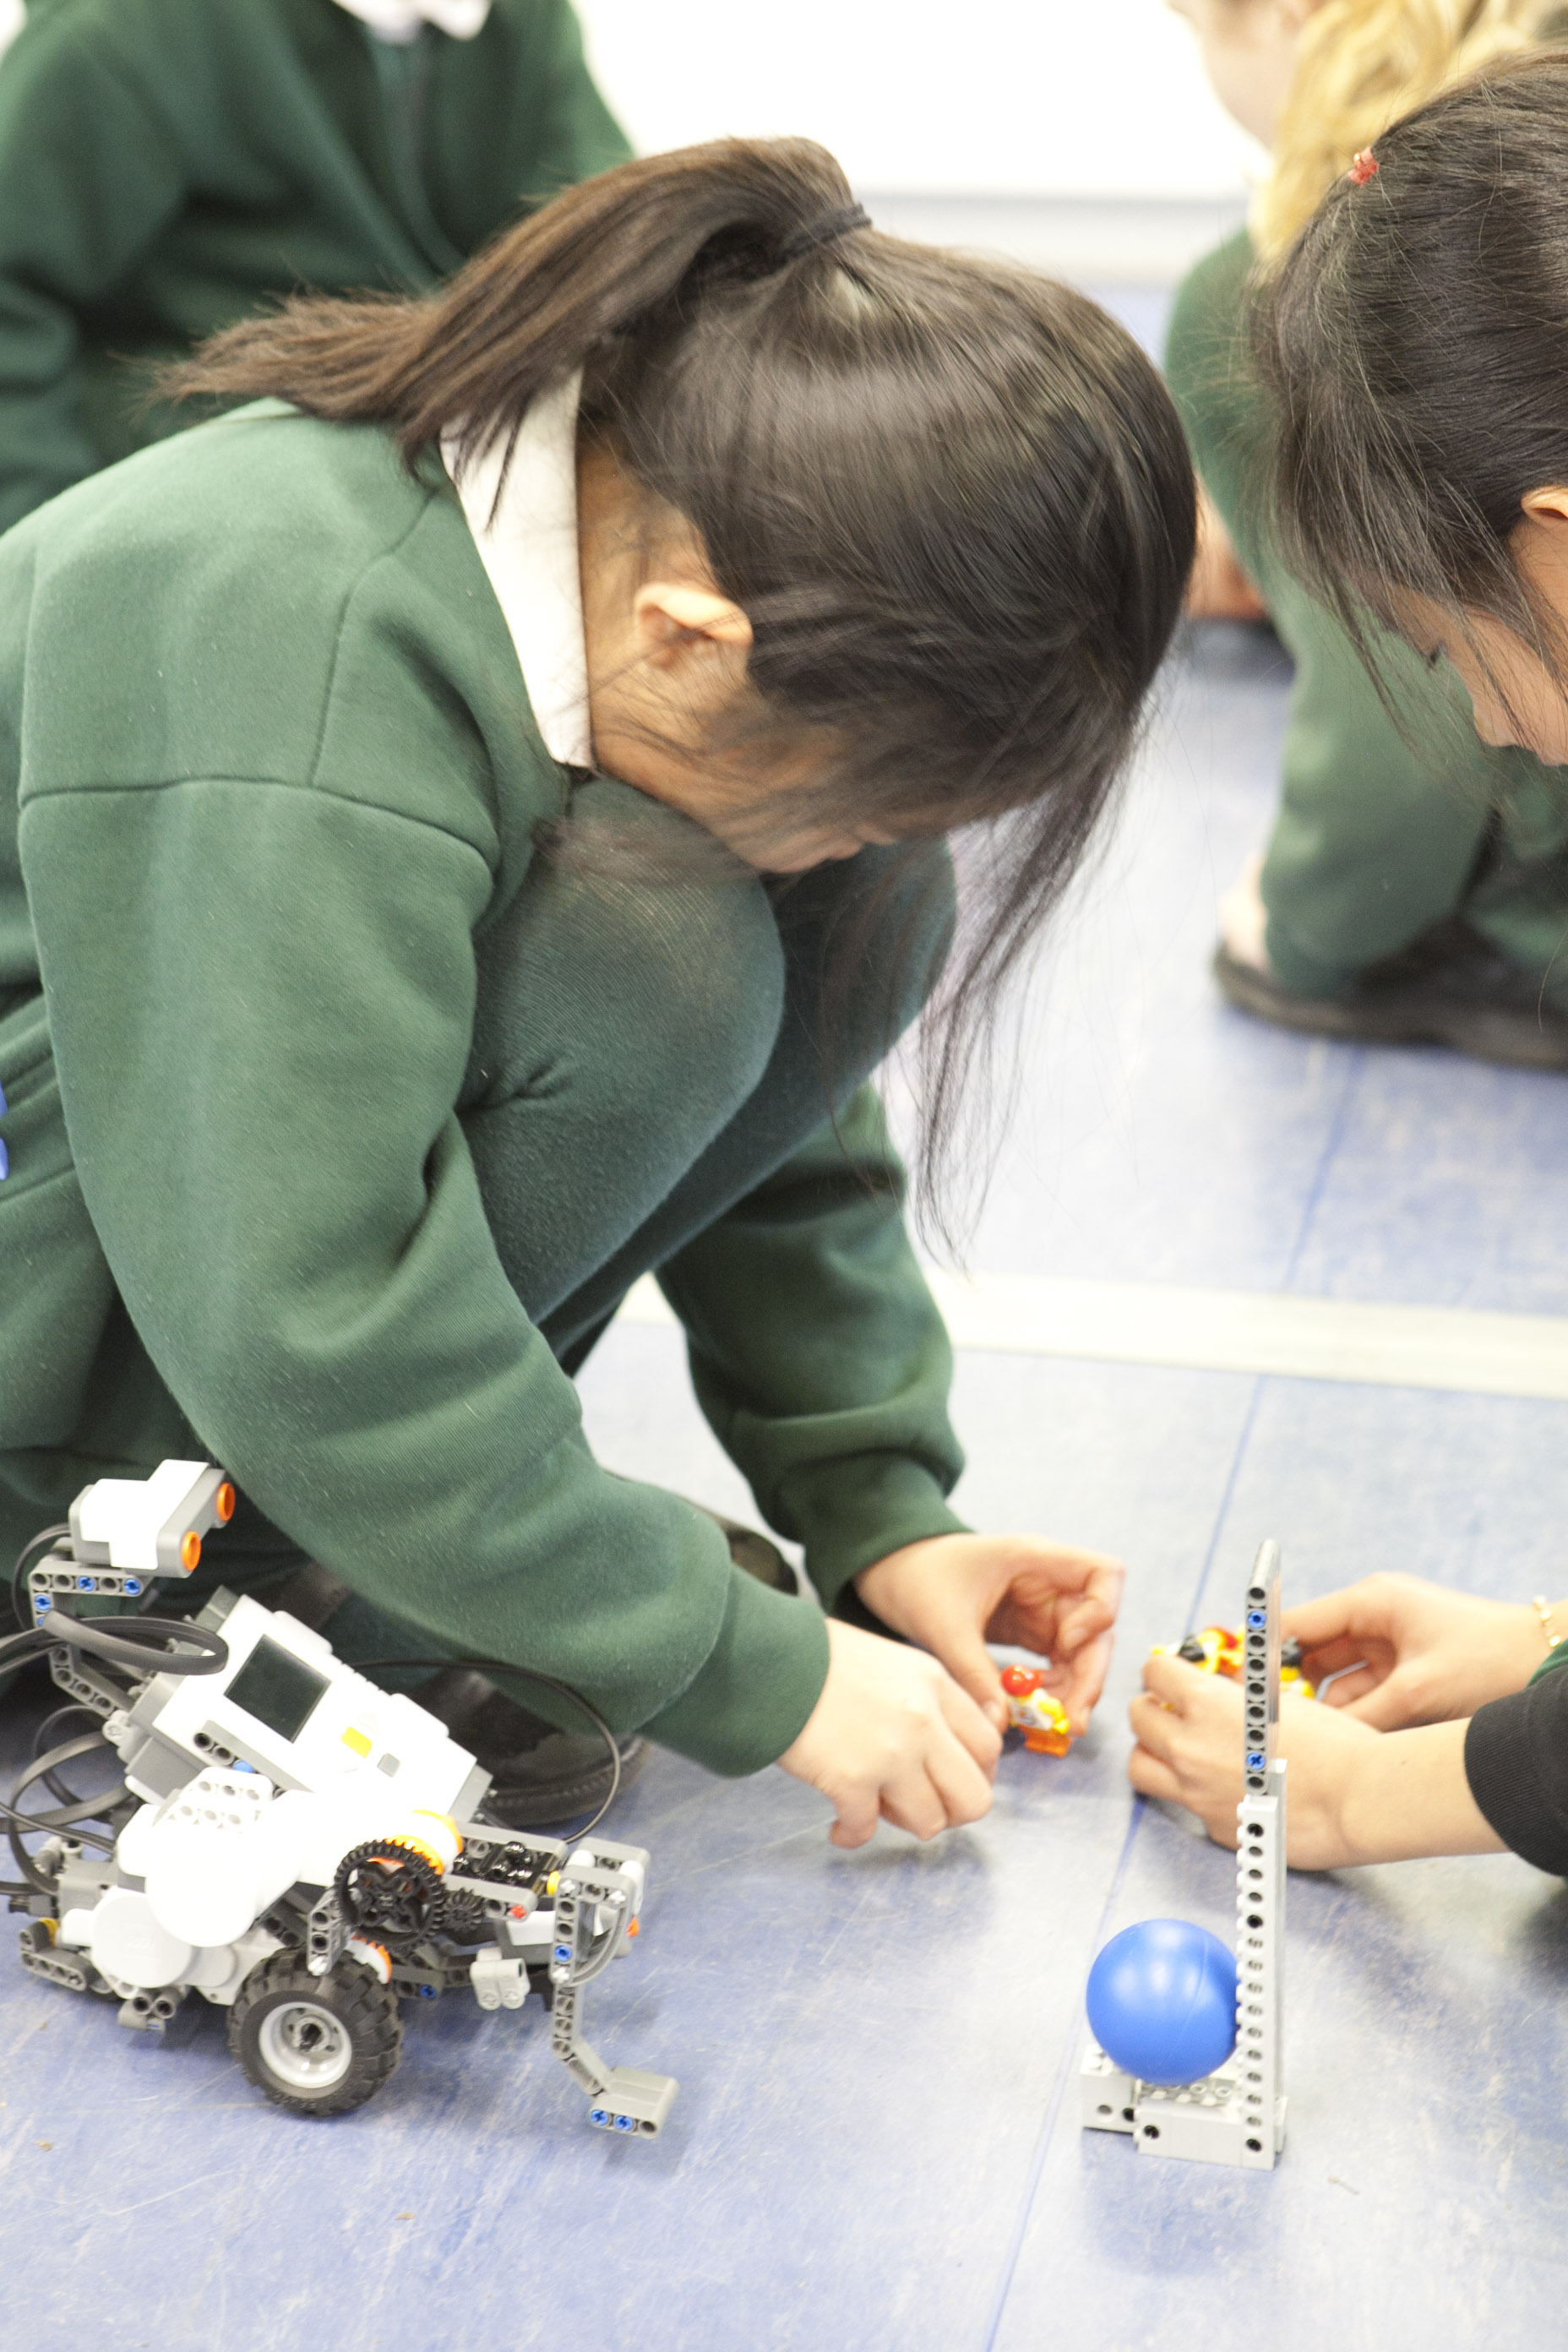
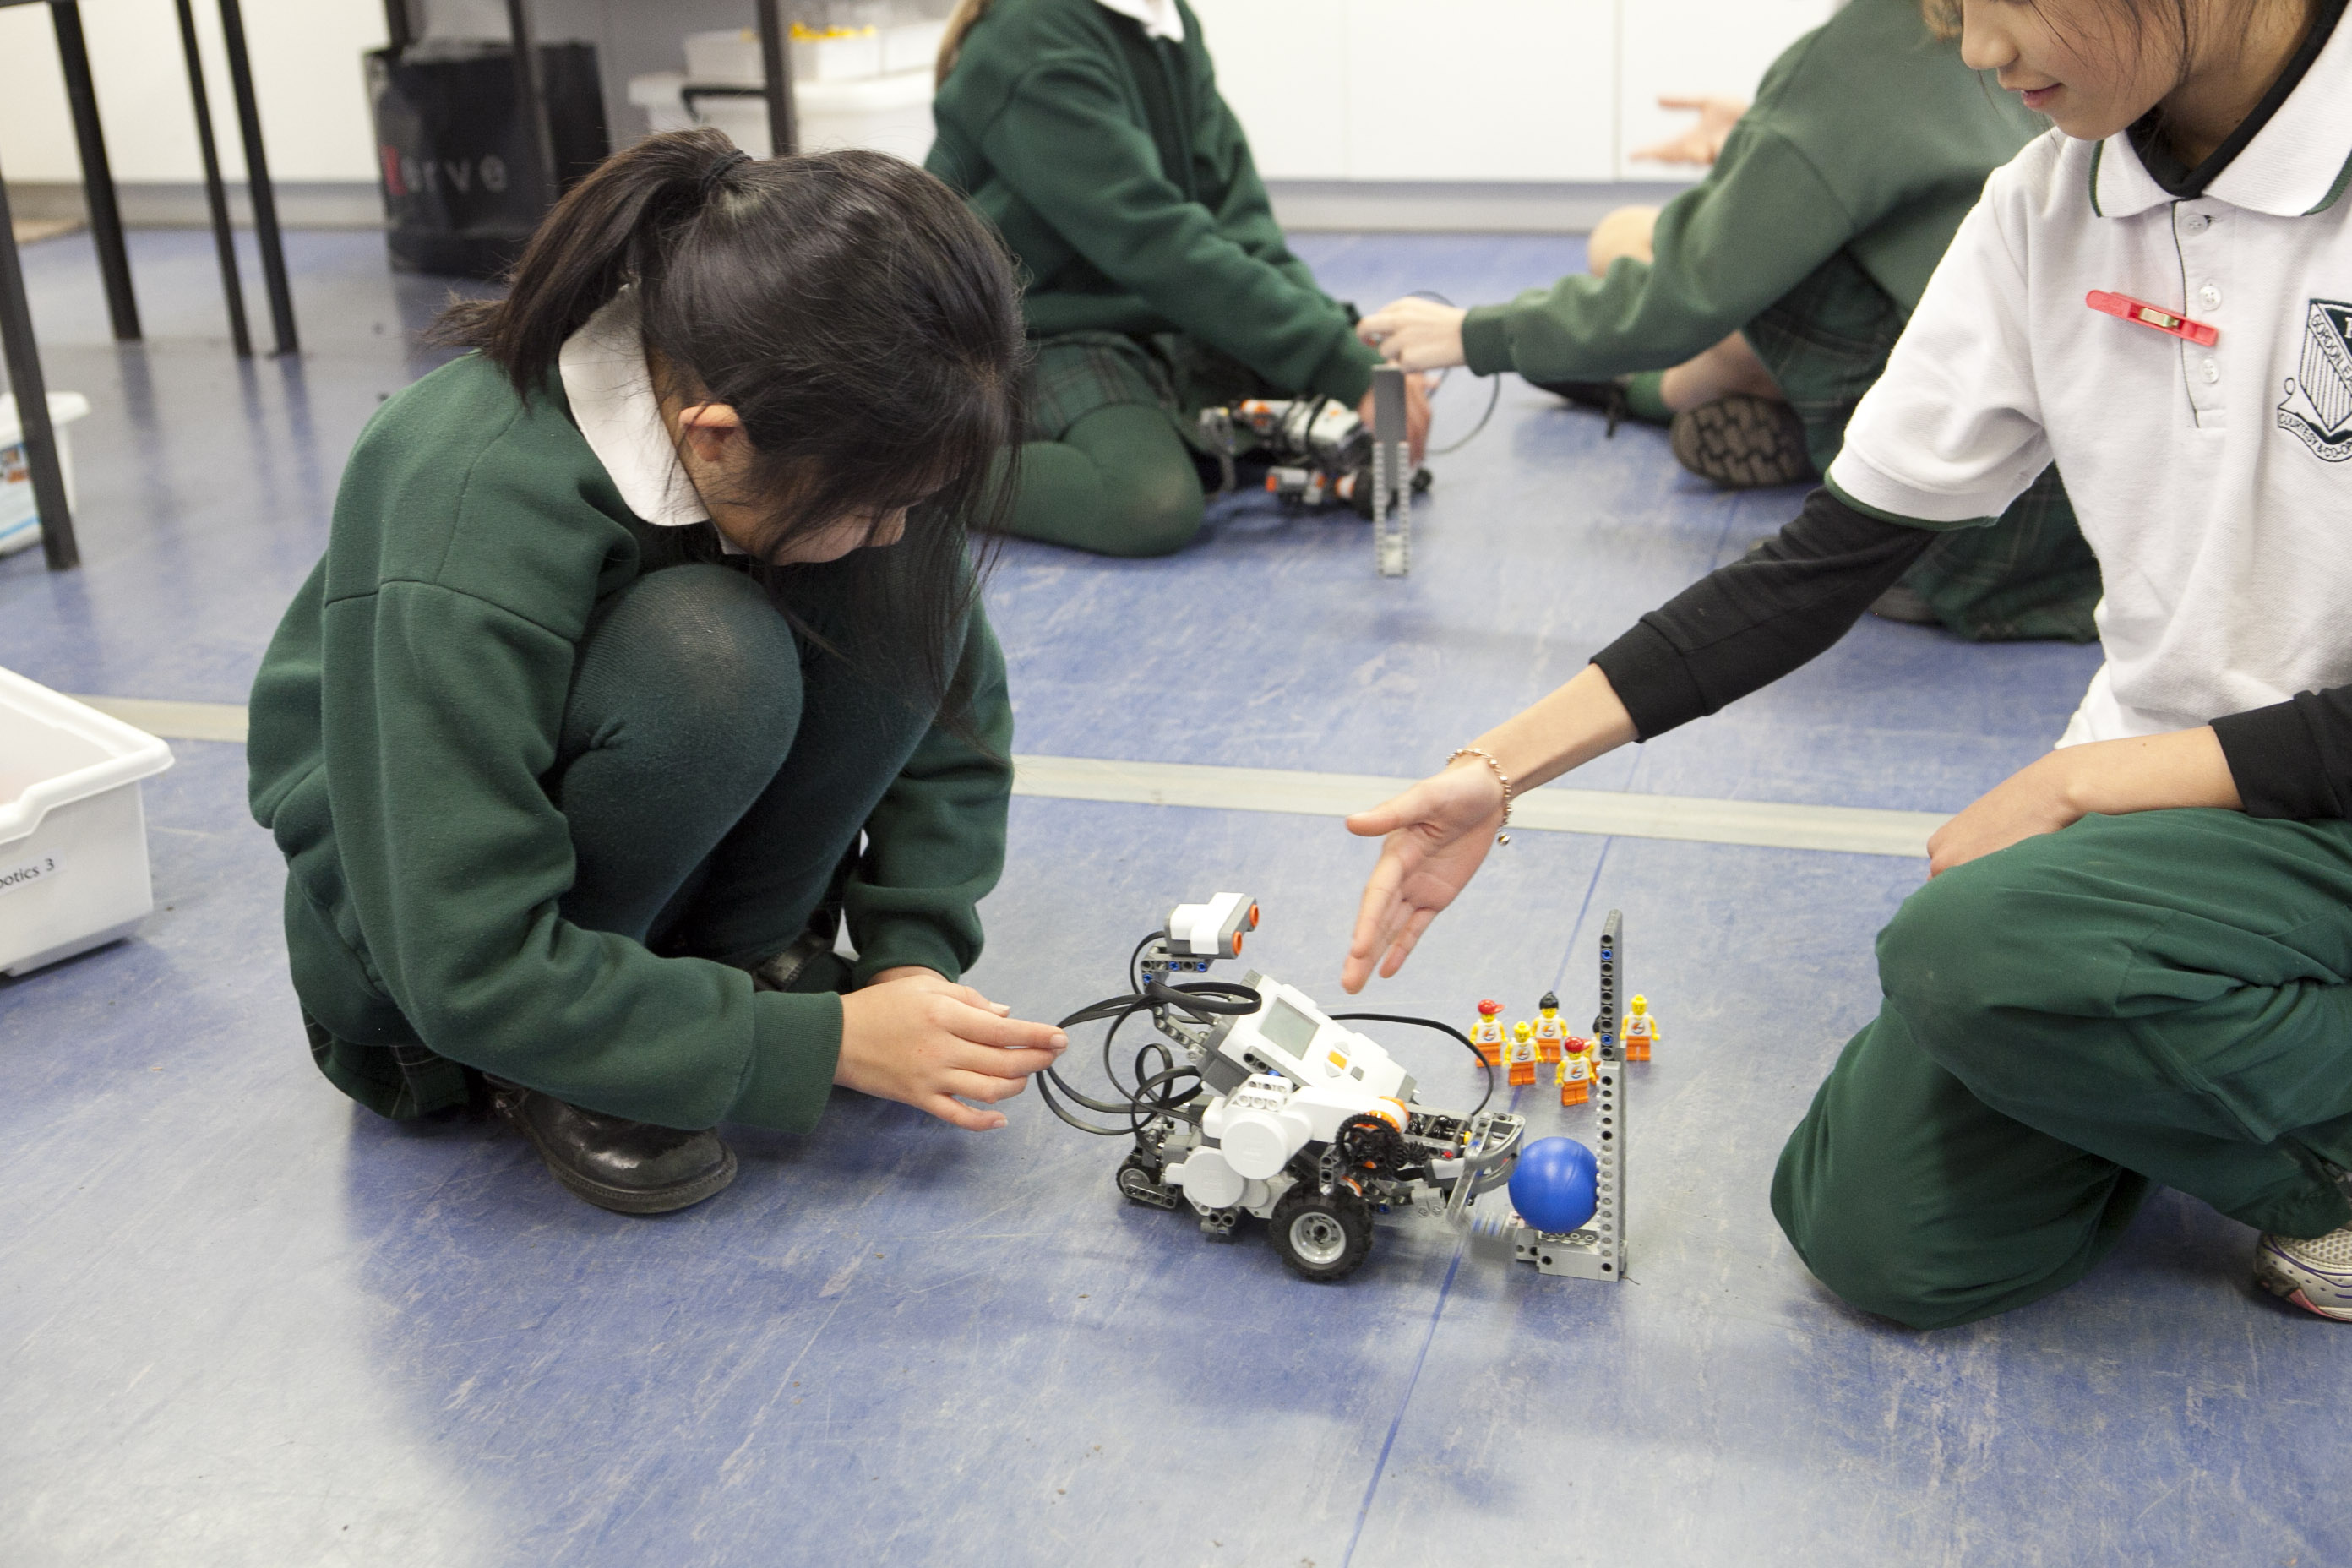
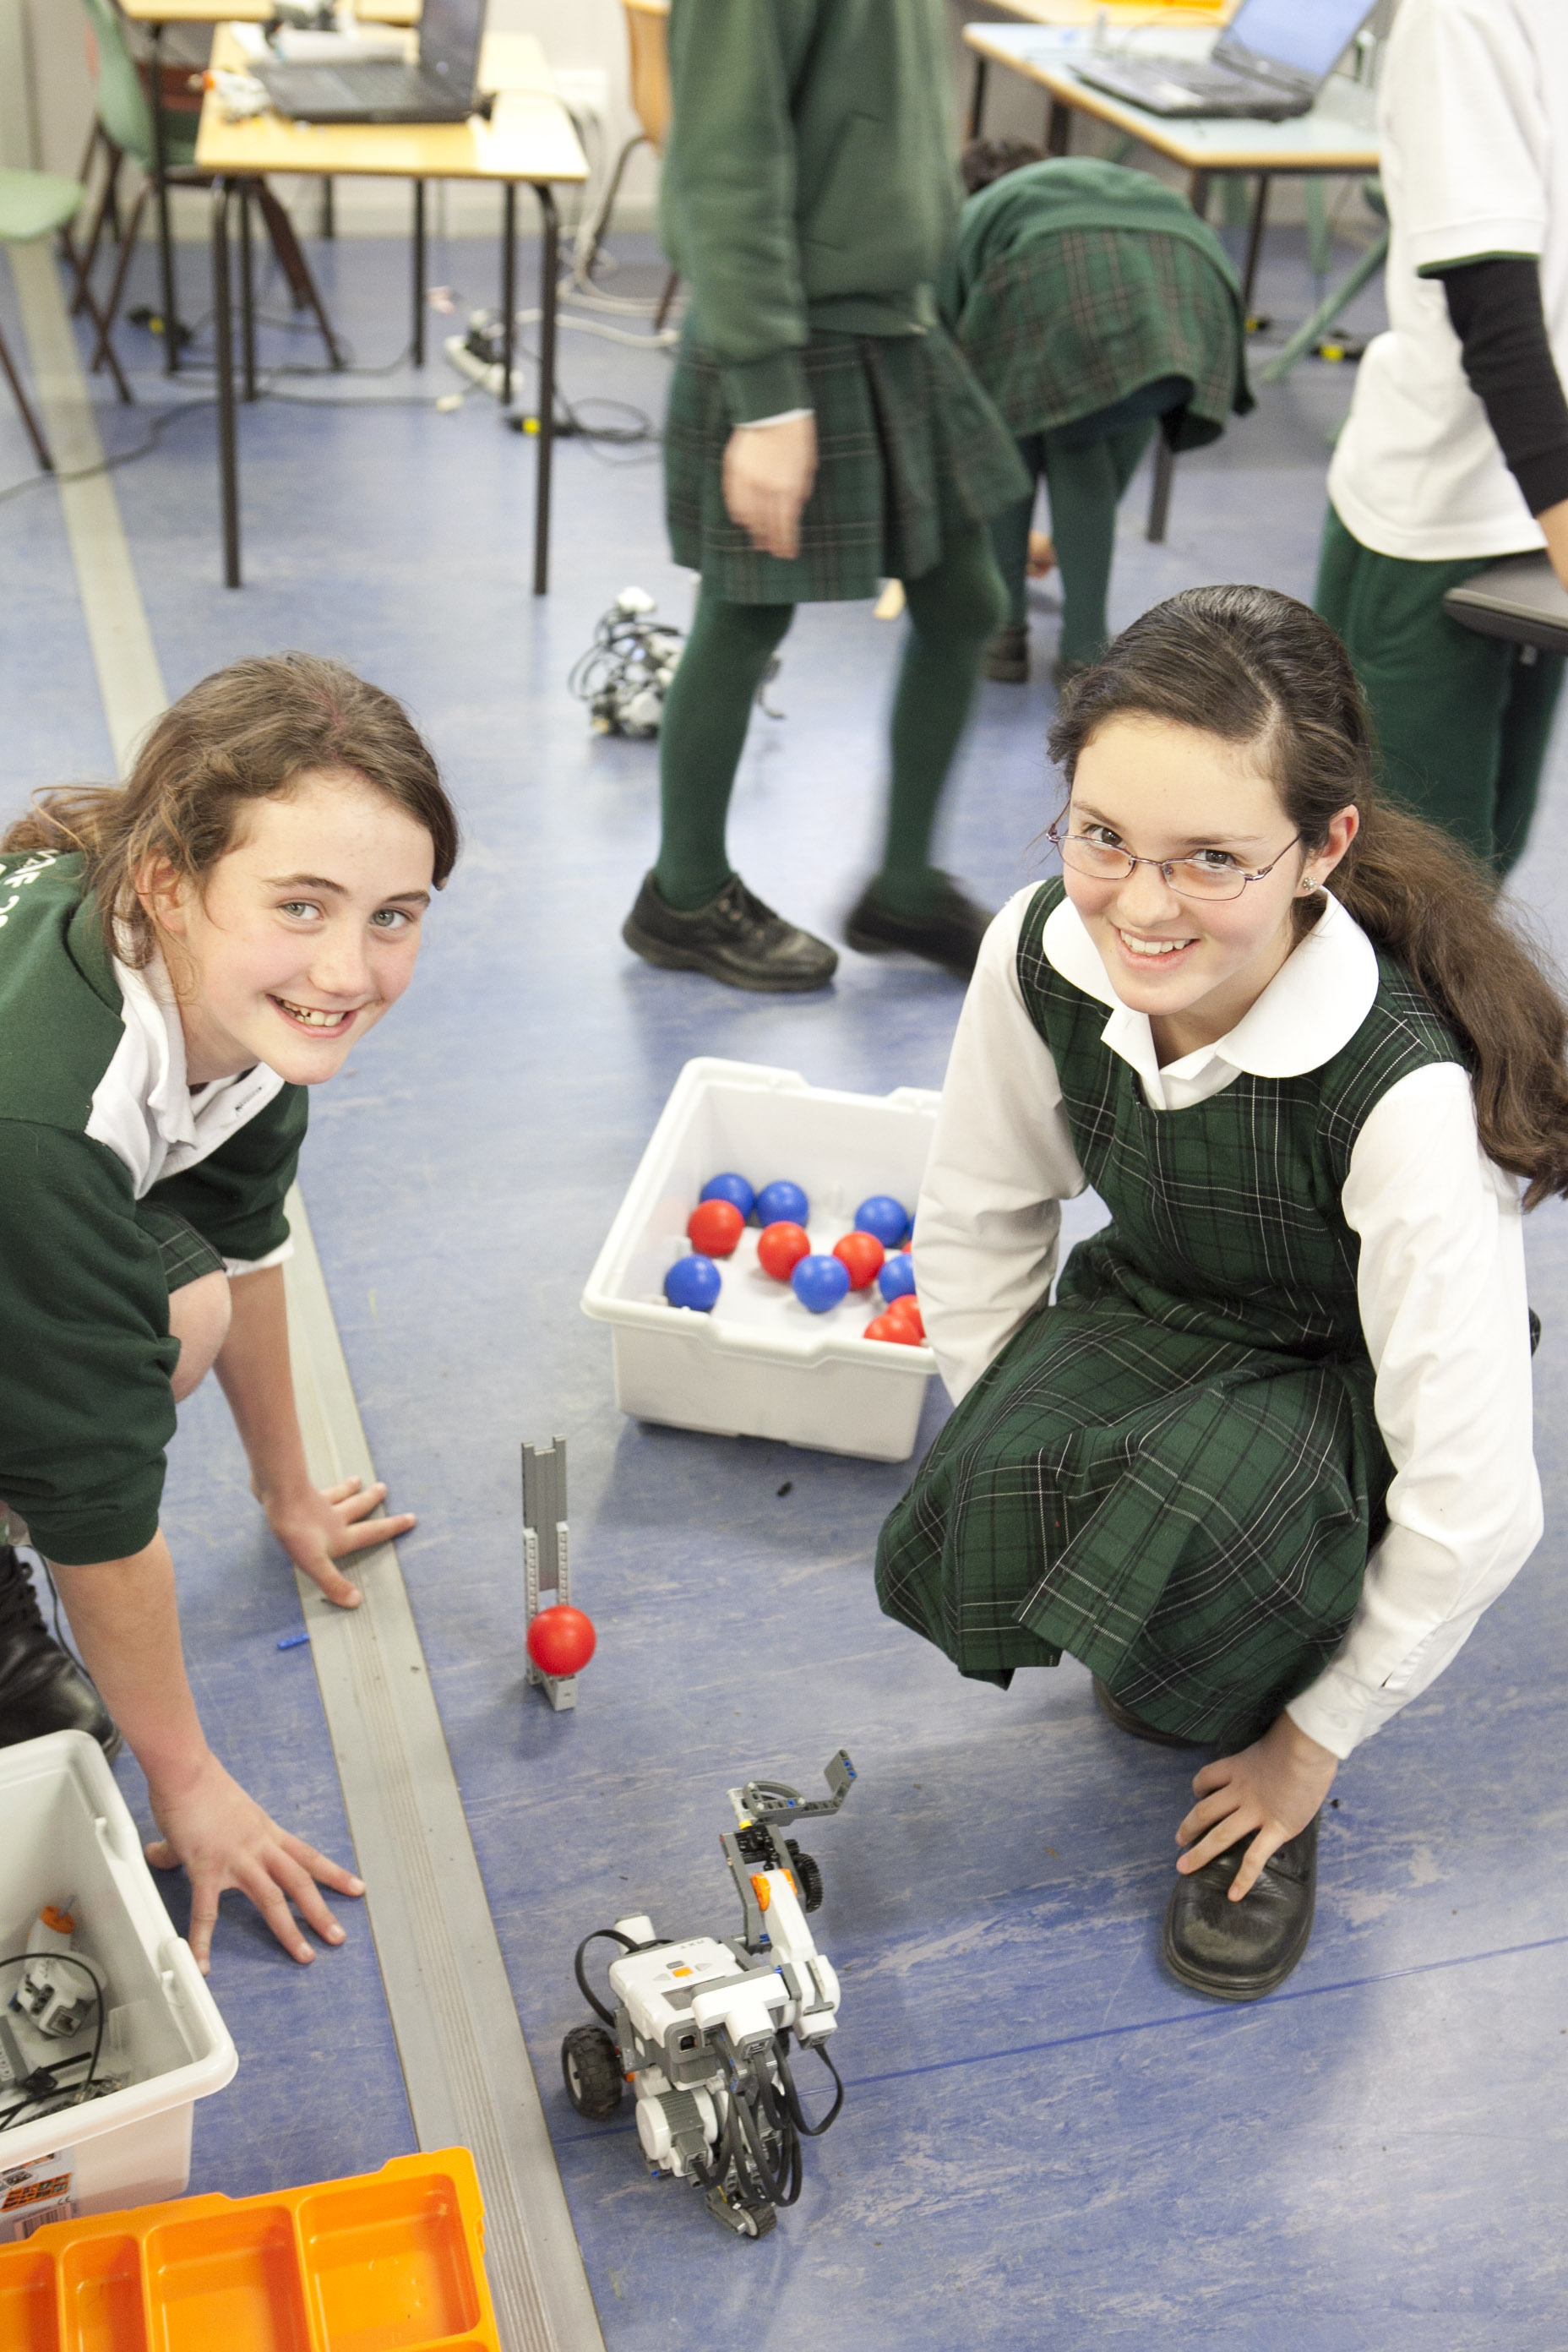
One of the Stage 3 students’ activities was to build a robot with a swinging arm. The robot had a light sensor and was programmed to hit a ball with its arm. But things became more challenging as the robots were programmed to hit the red ball and beep and reverse away from the red one. Fast workers determined how to program the following combinations: hit the blue ball and not the red, hit either ball and finally to refuse to hit any ball. The class then became creative and designed games using their sporting robot. ‘Knocking Over Lego People Bowling’ was a popular game.
Have a look at the photos below.


Sorry I am moving around in time with my posts but I am trying to backtrack and include some posts about work the children completed before the blog was created. I promise once I am caught up that I will be posting chronologically.
Please call by again
Mrs Garlick
Dear Bloggers,
Other schools have completed the Green City Challenge and here are some of the videos which I have carefully checked from the inter net. Have a watch if you are interested.
overview of all the Challenges
Deploying the new smokestack the hard way
Kind regards
Jenny Garlick
Dear Bloggers,
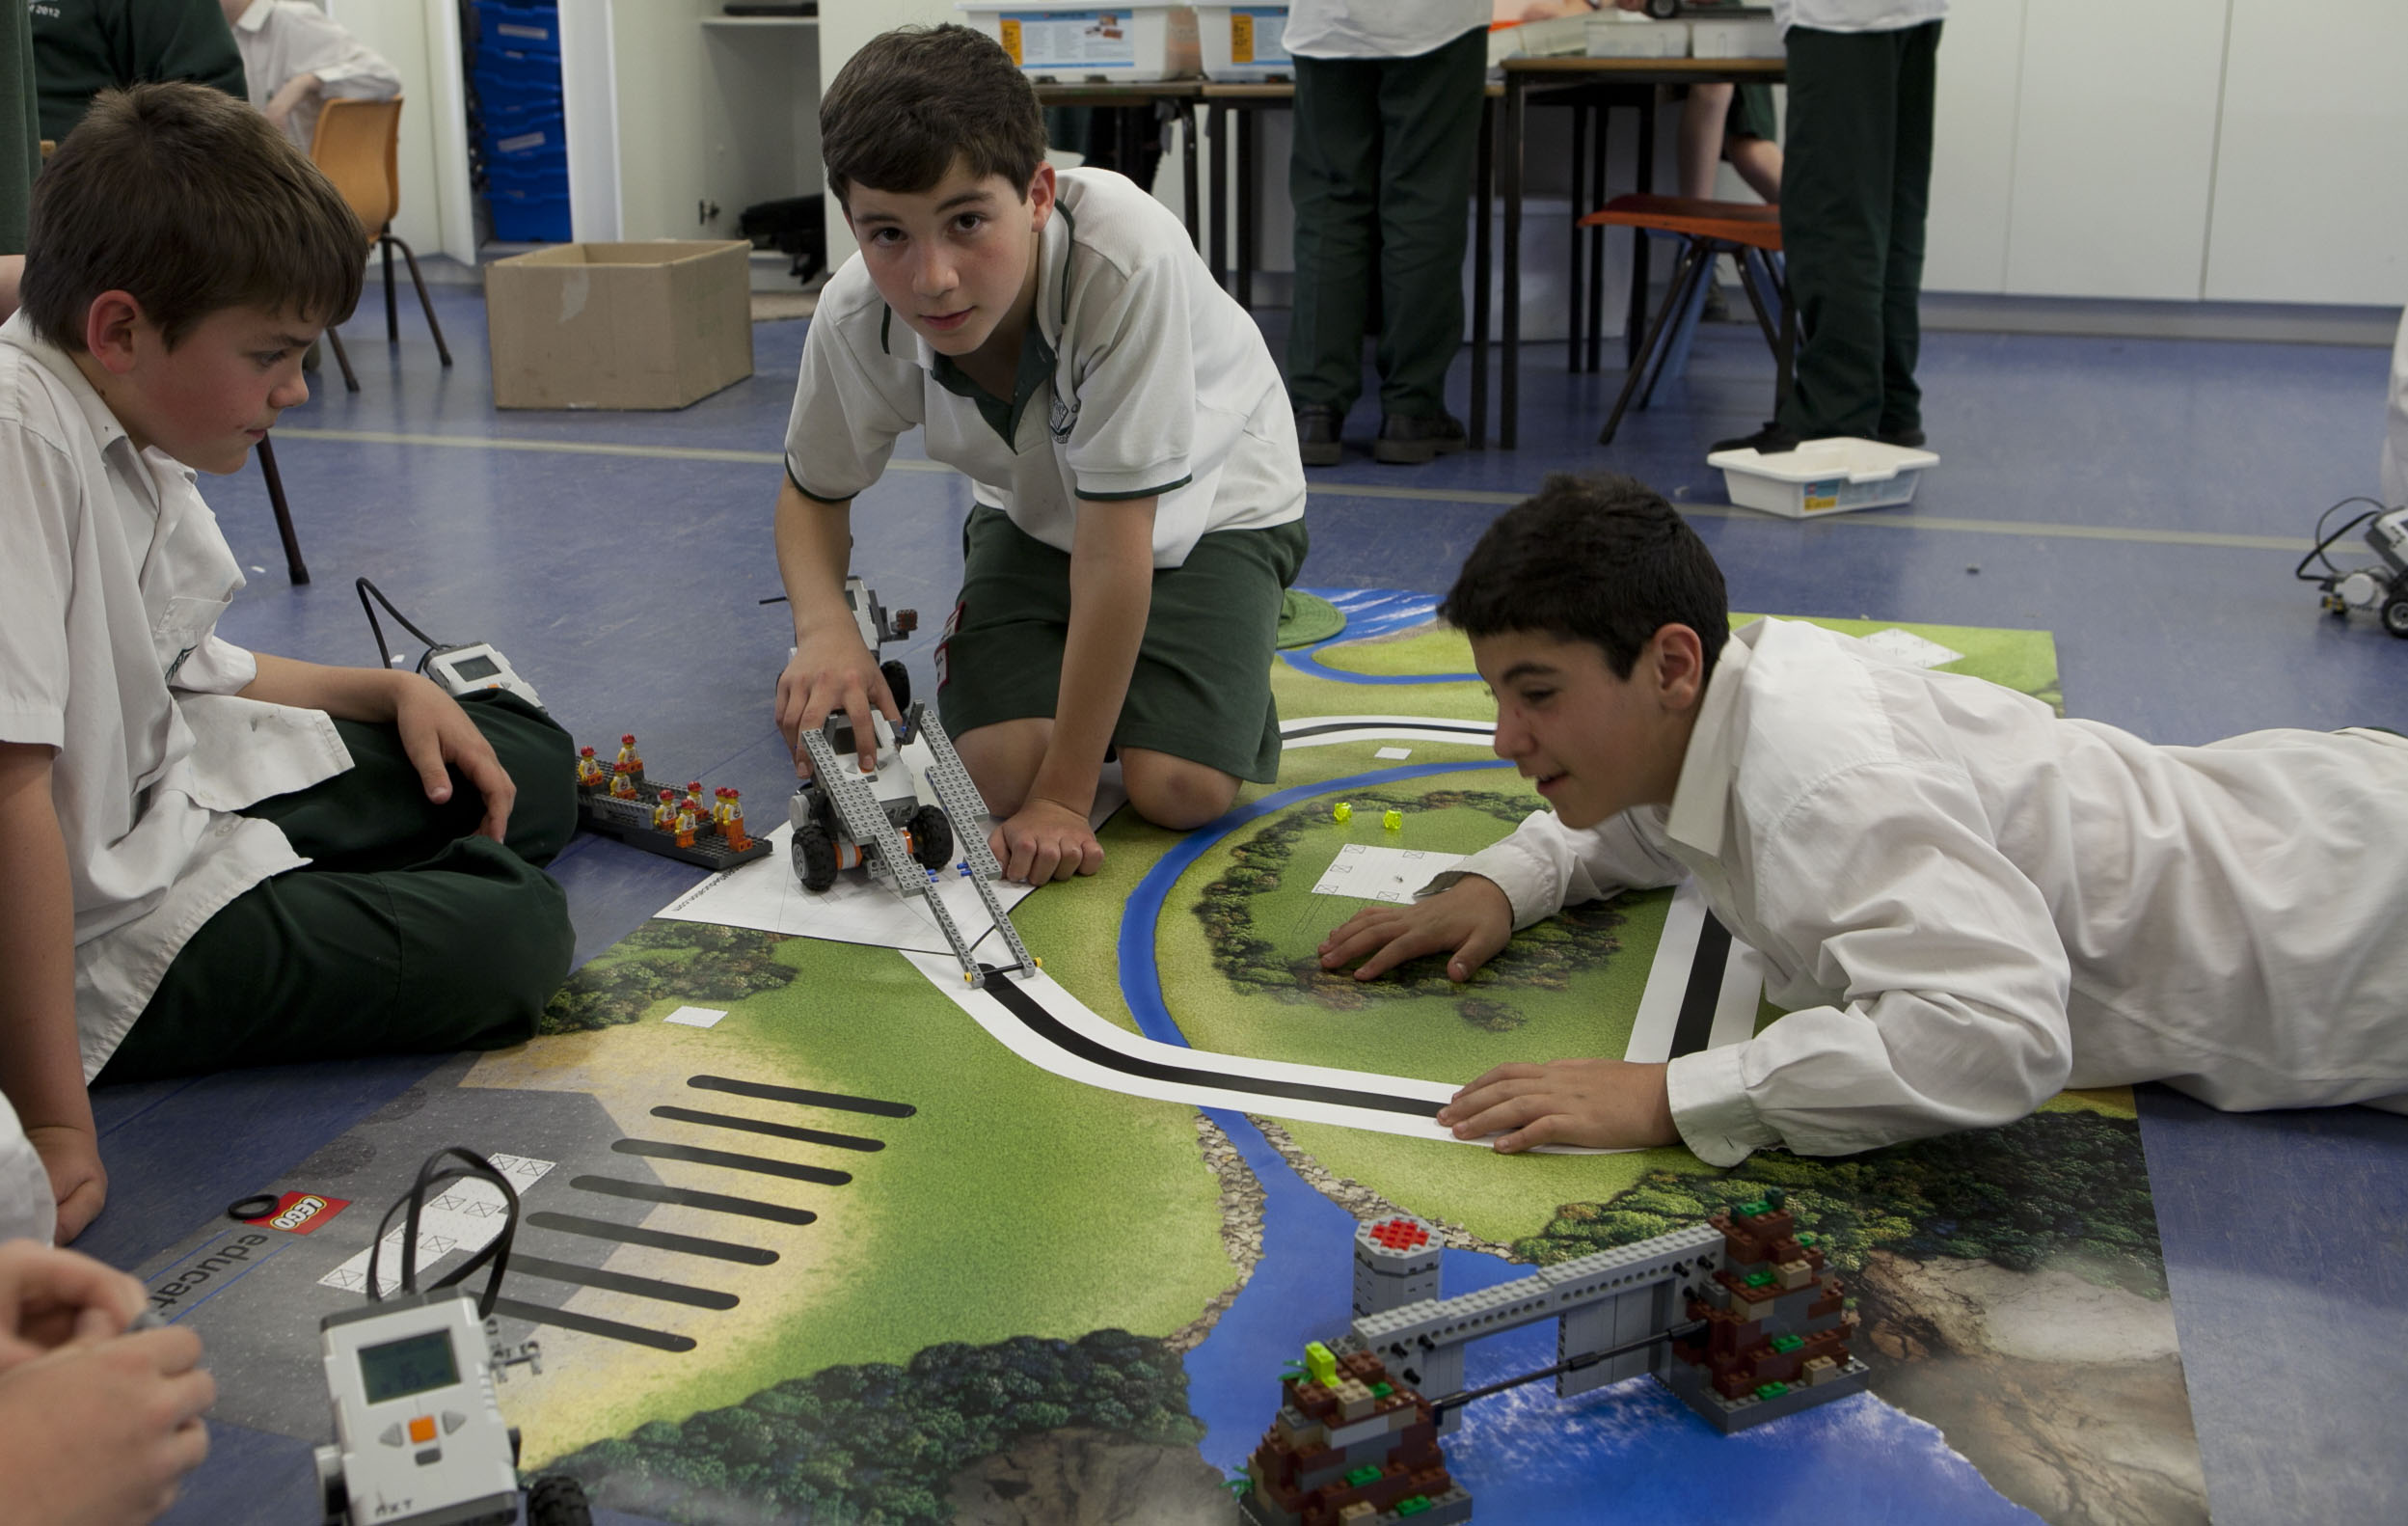
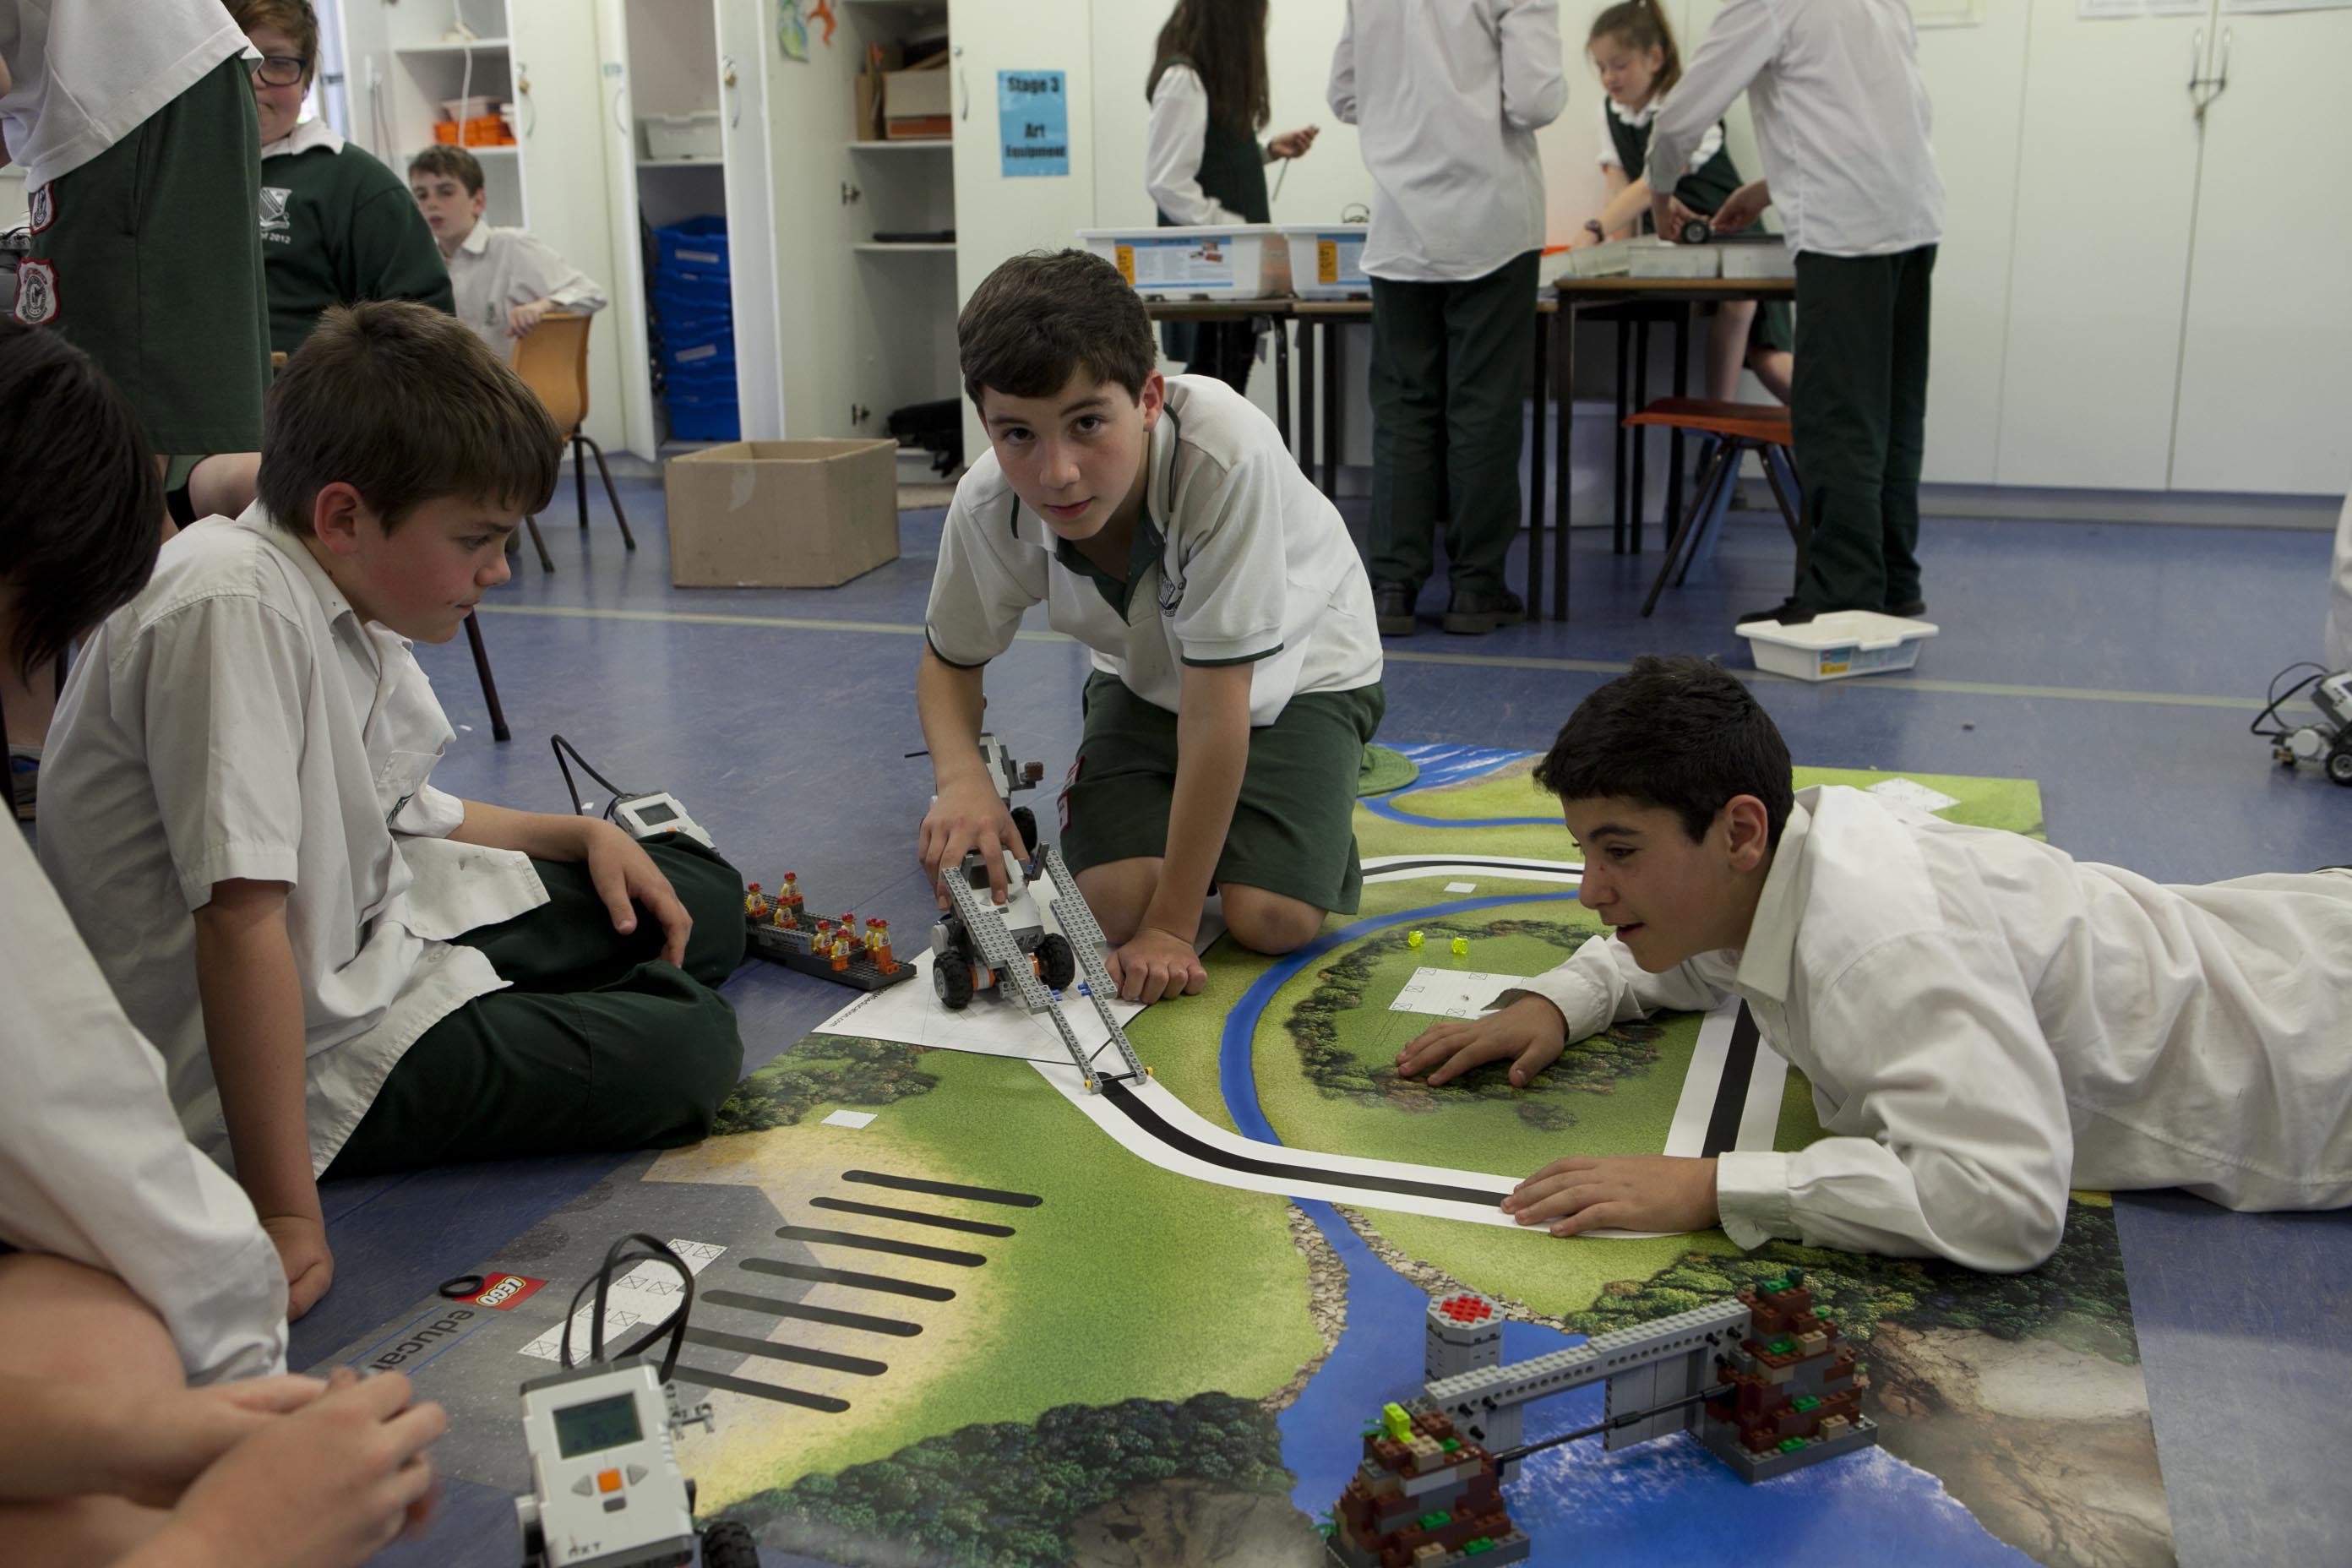
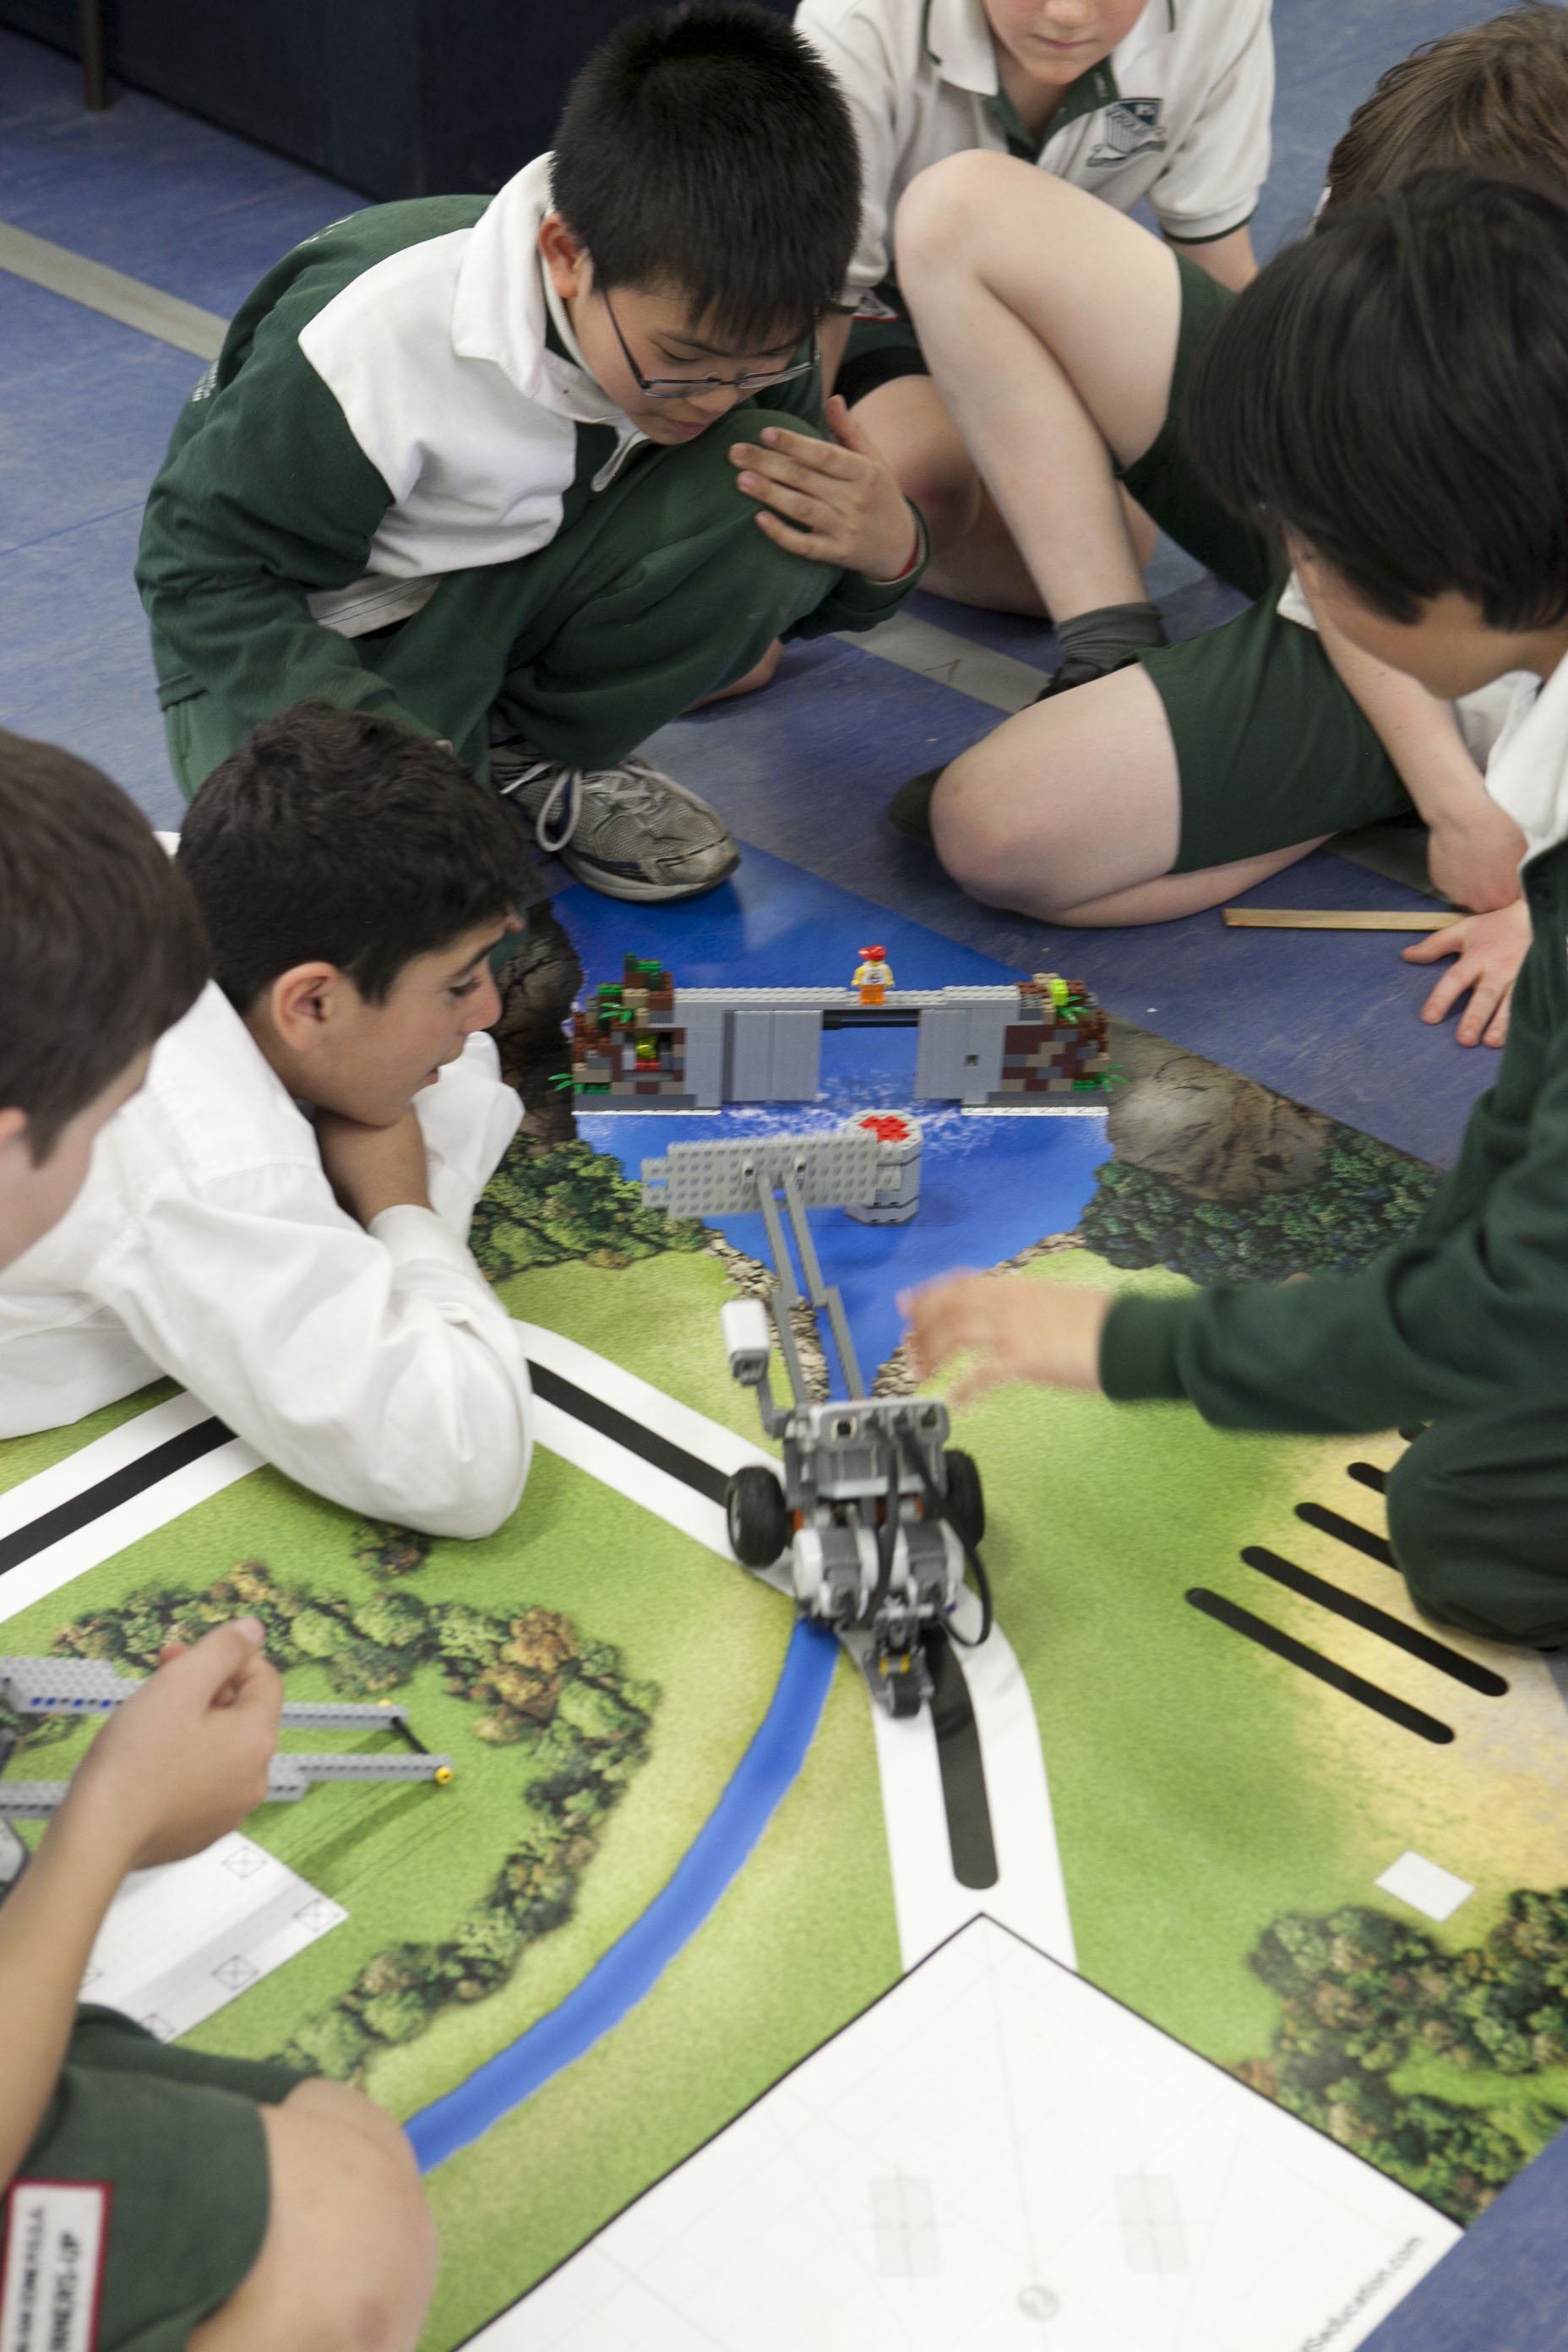
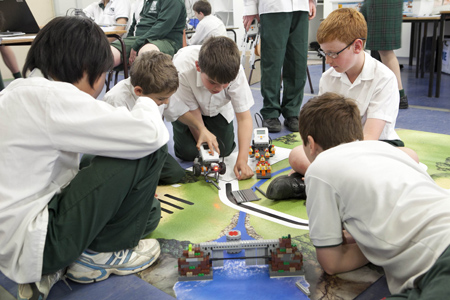
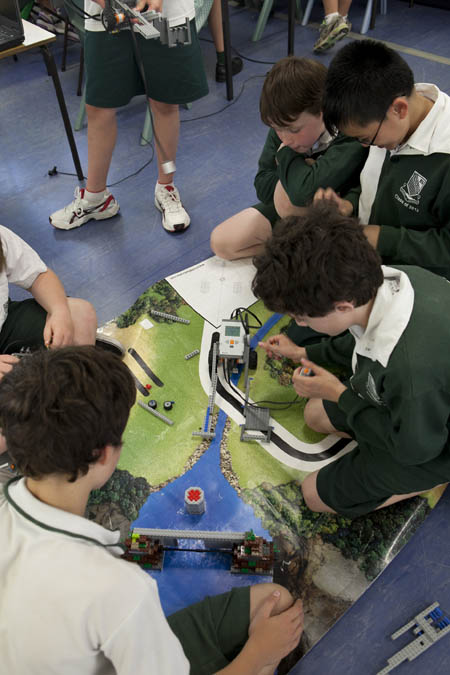
Today 5/6L started the Green City Challenge. The Green City is environmental utopia where everything is powered by clean energy and is self sustaining. That is it will be when 6 major challenges are completed.
The first is to fix the hole in the dam.
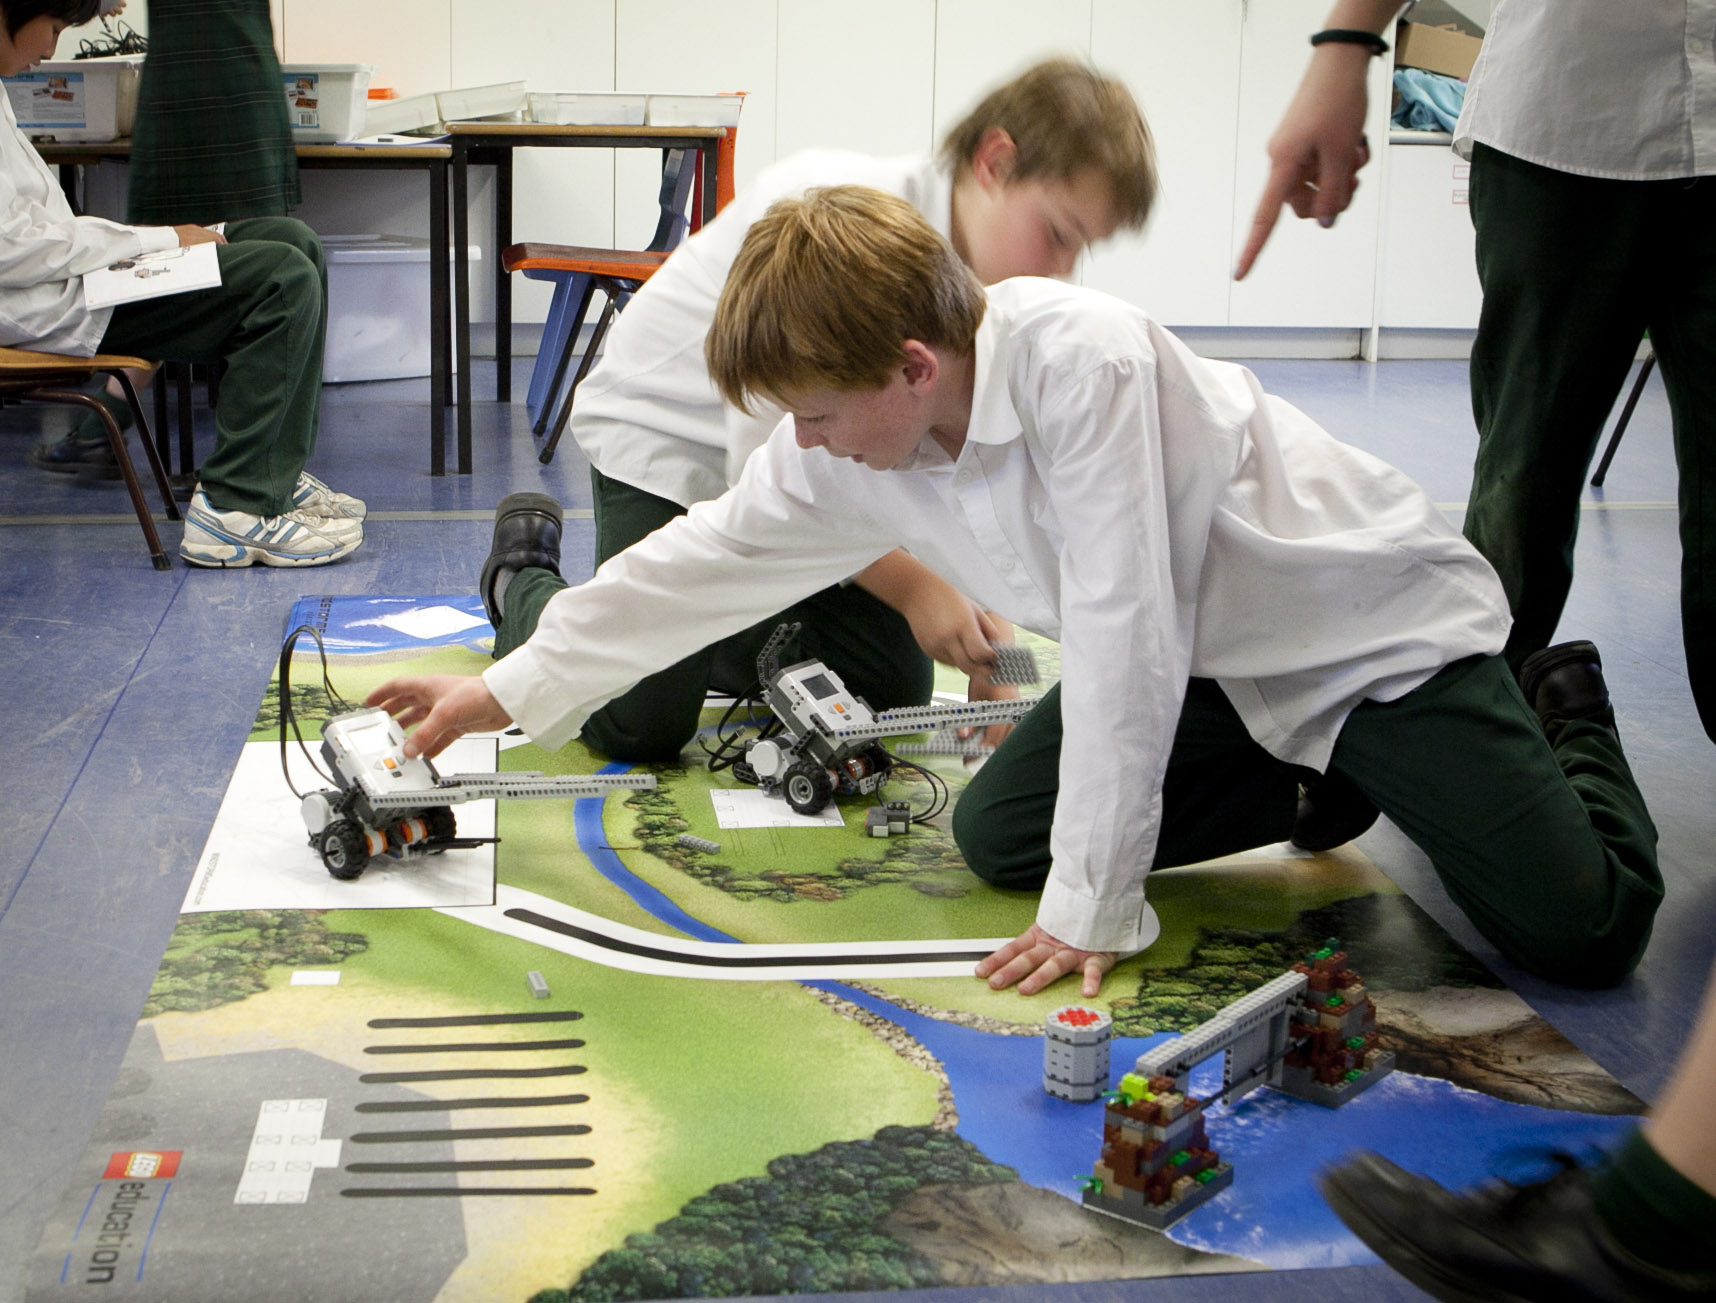
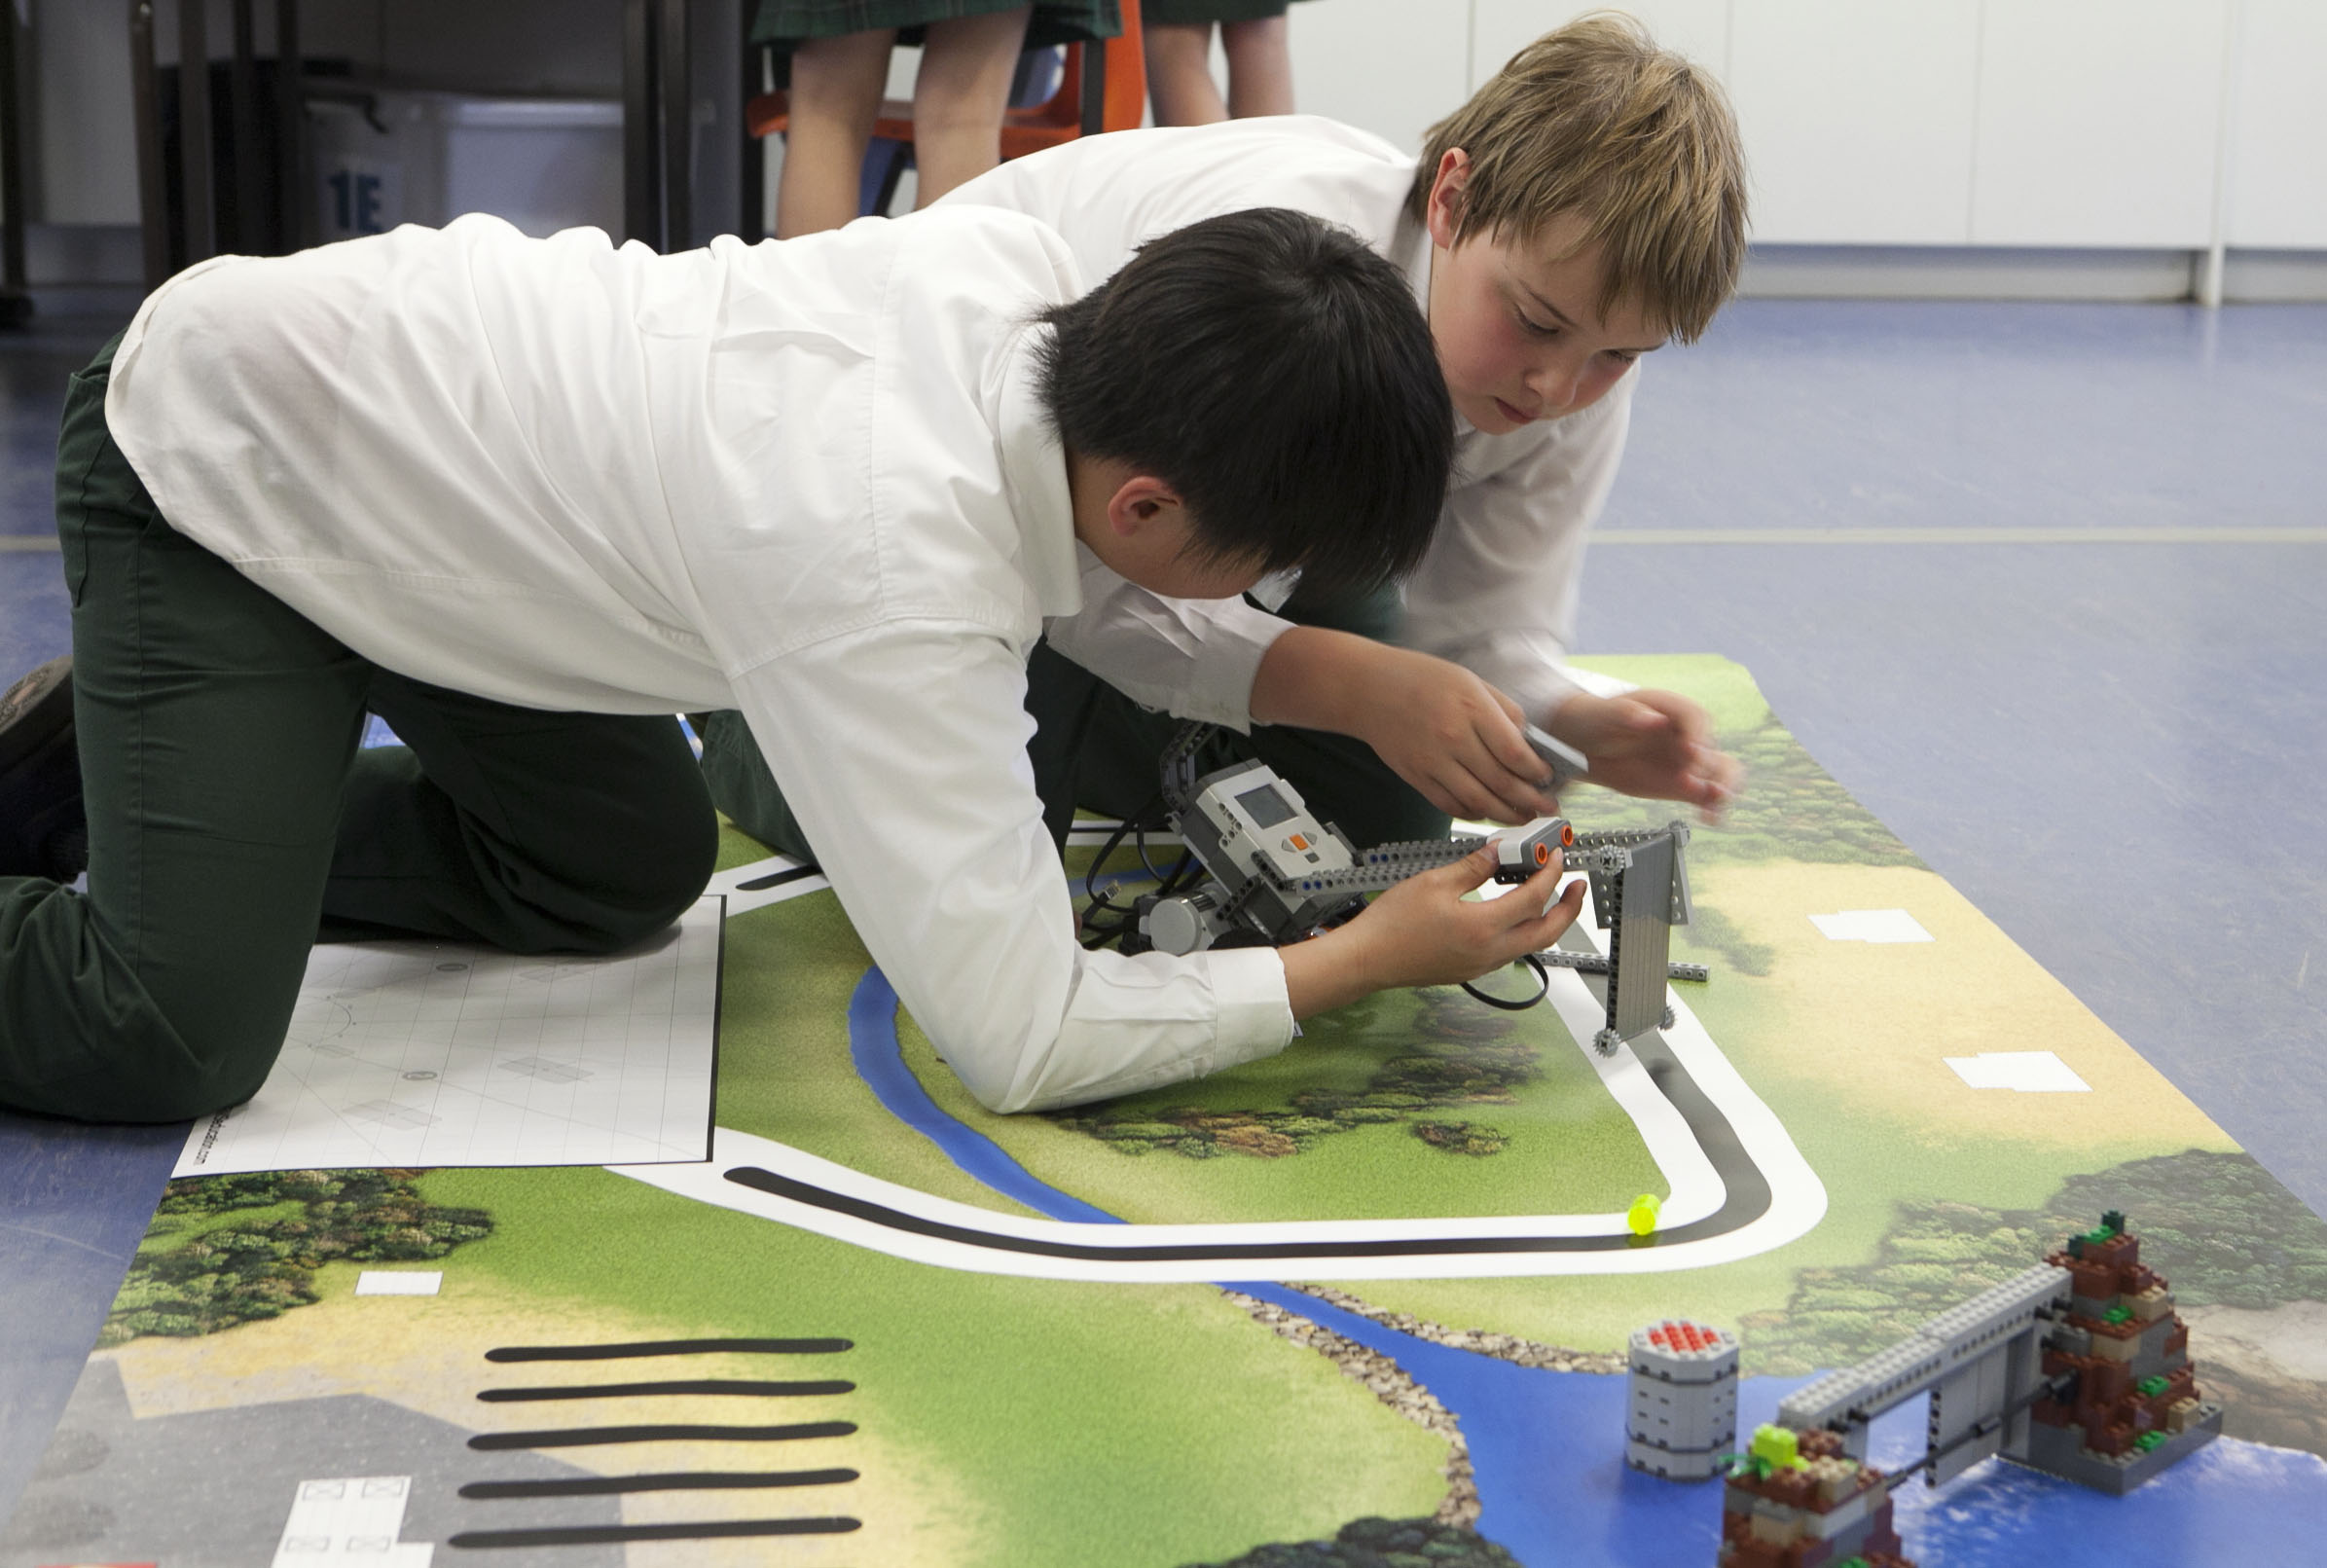
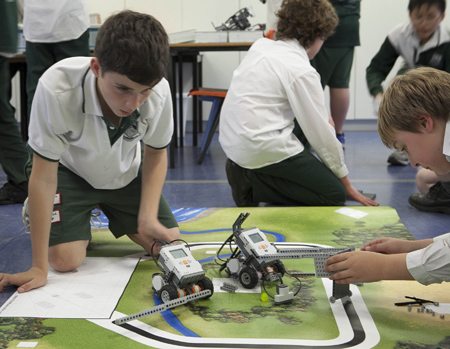
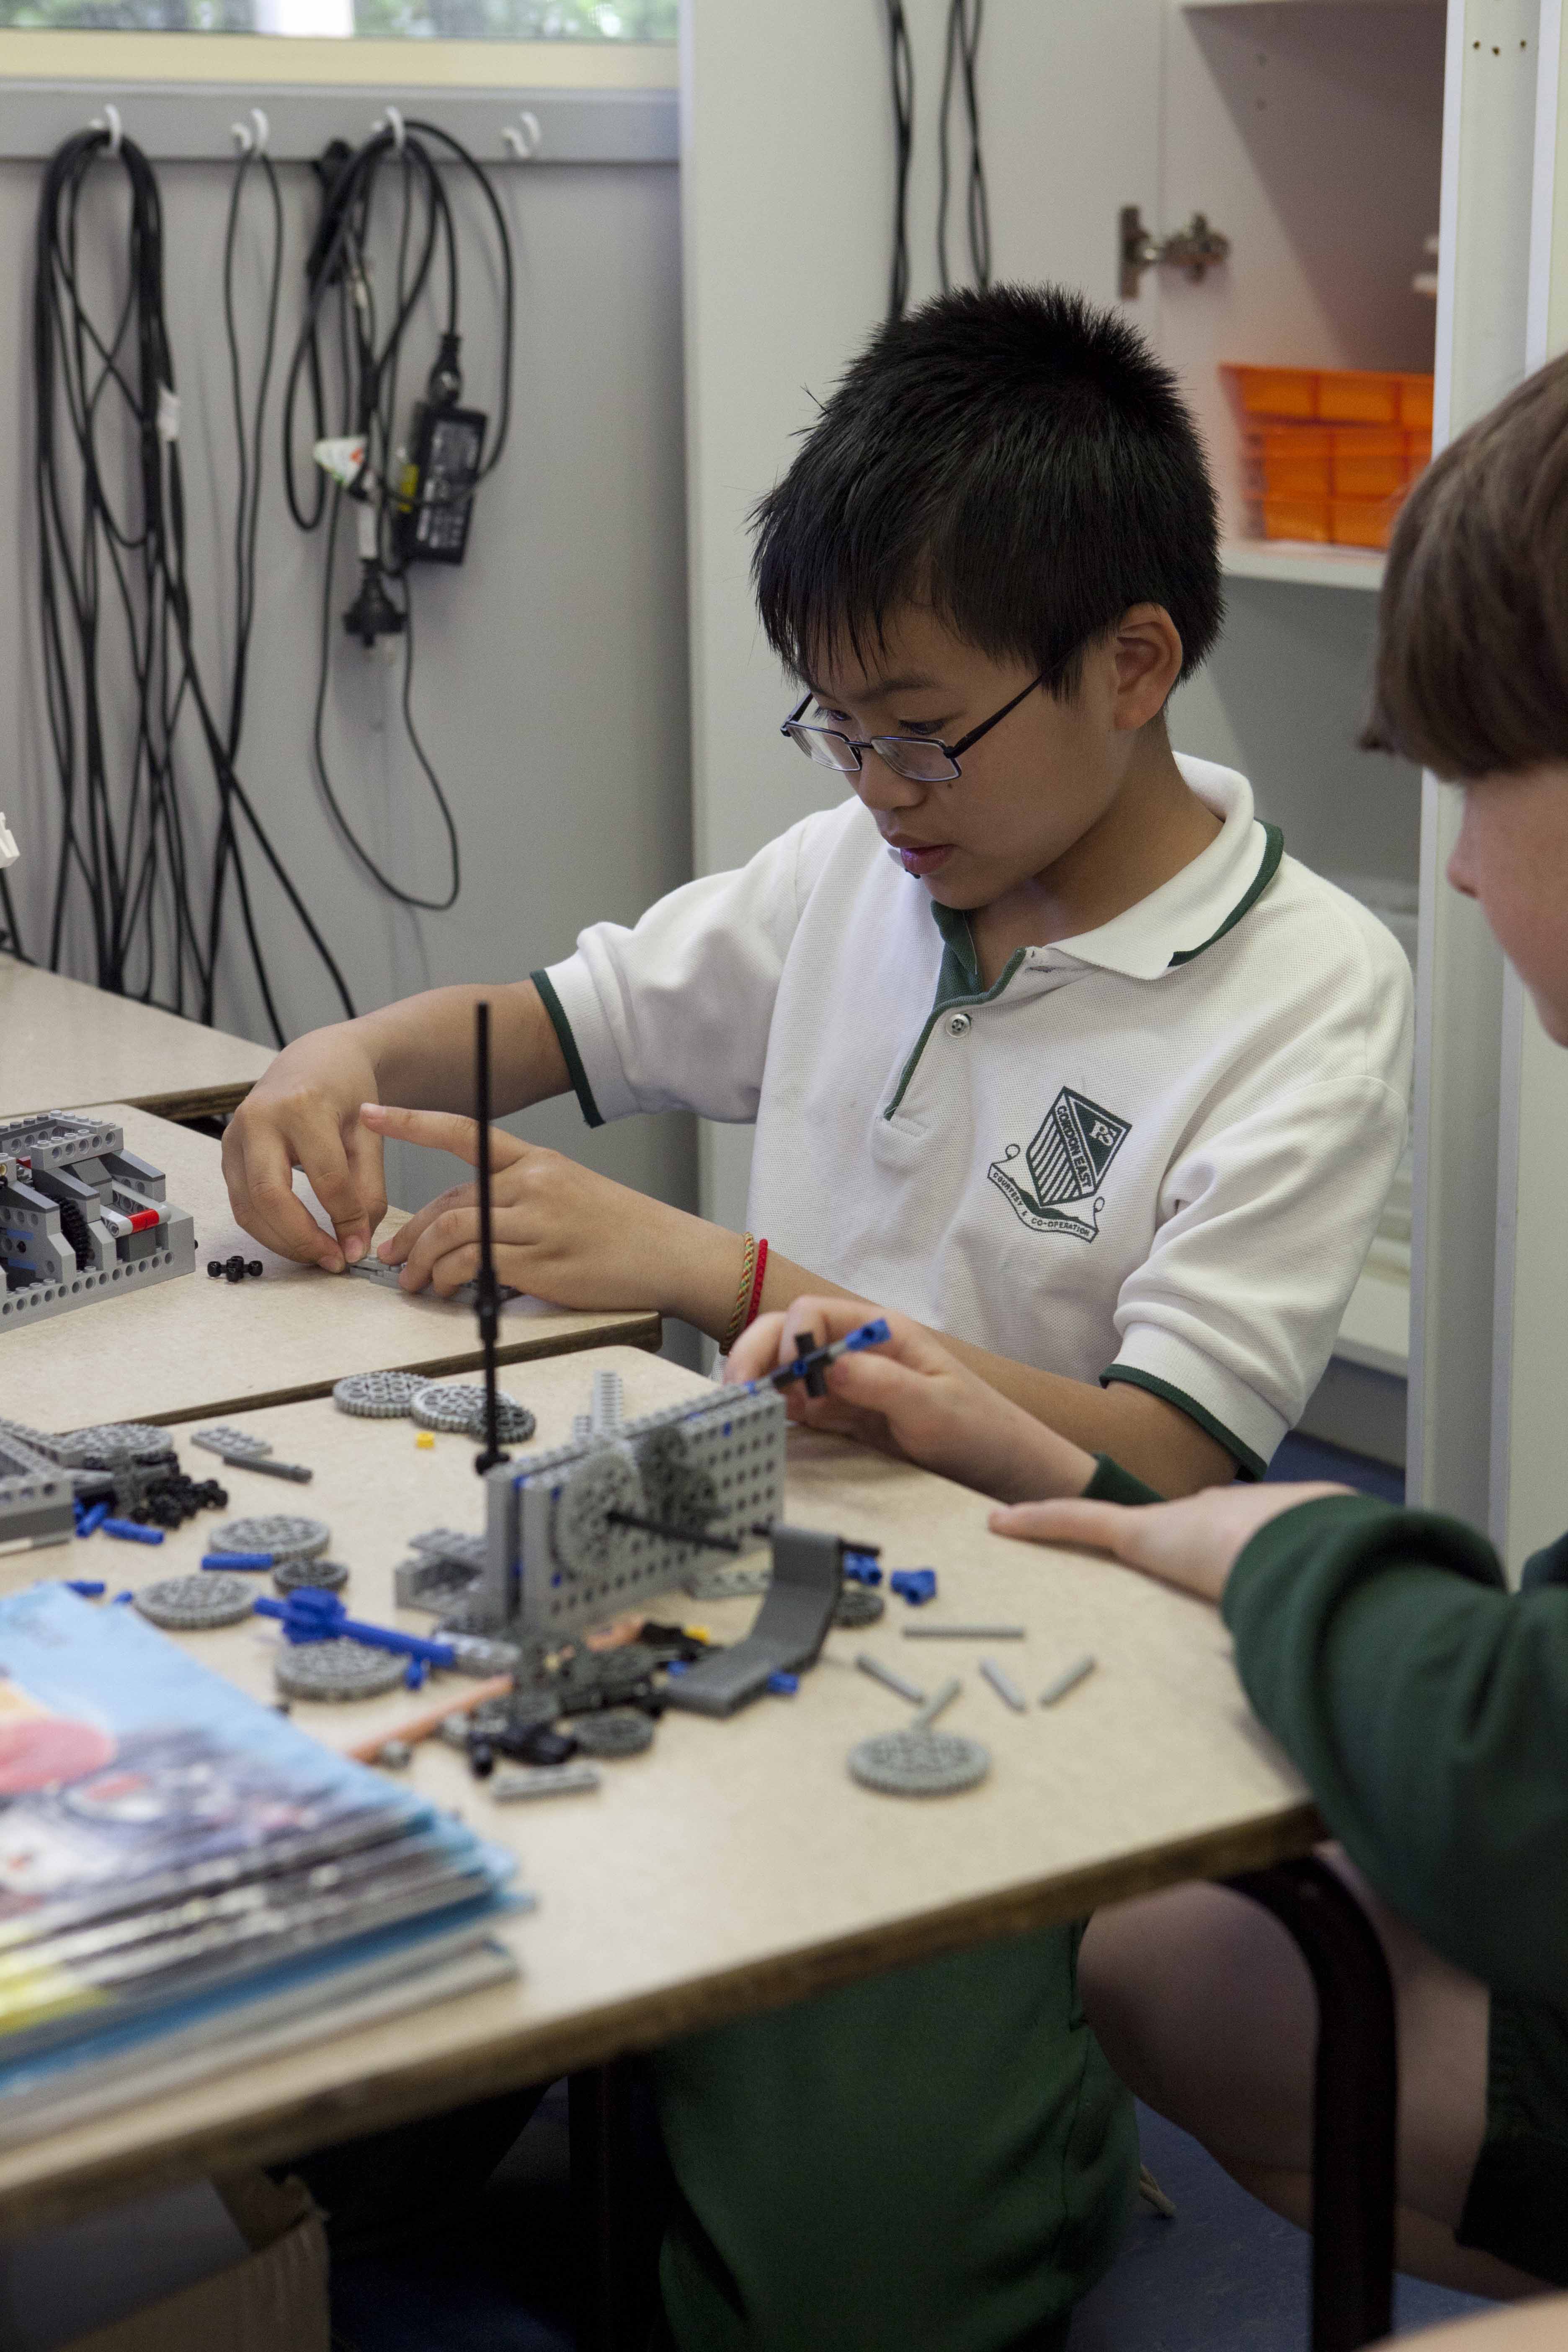
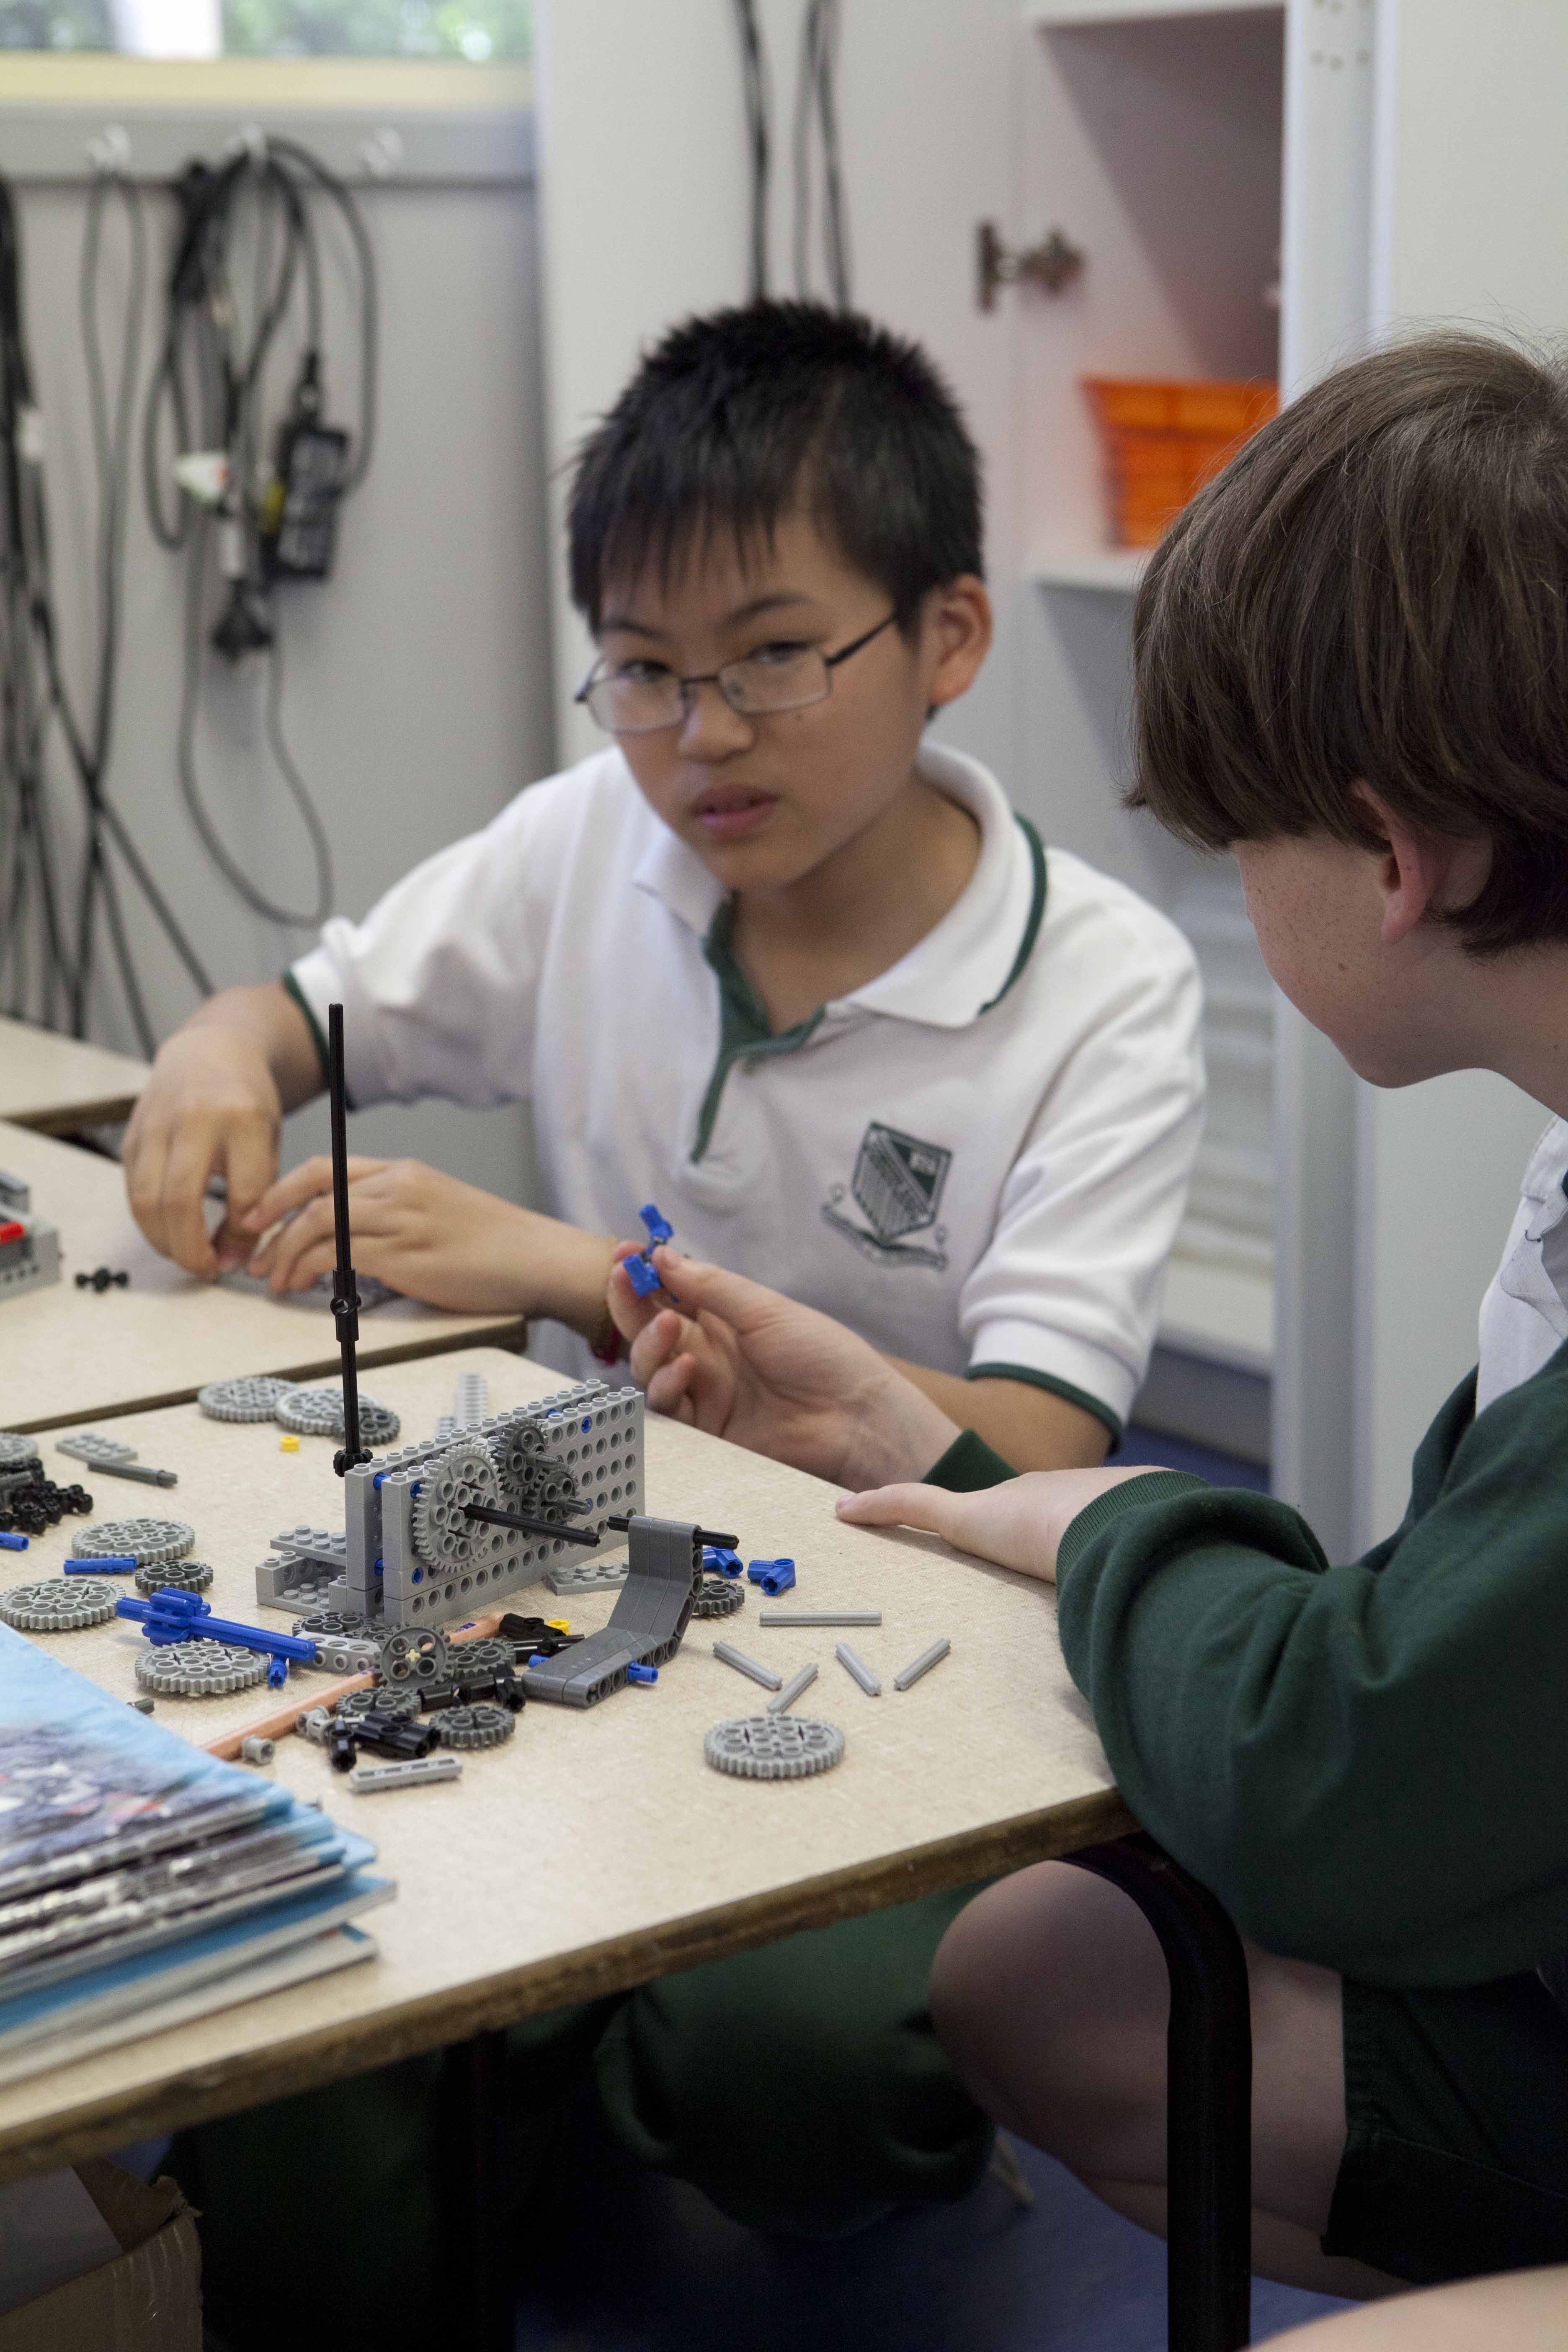
The students, working in pairs, created their own solutions to built and program their robots to fix the dam. When the robots pushed the ‘plug’ into the hole in the dam a green energy brick was released. Students then returned their robots and energy brick to the base area.

This is an aerial view looking down onto the dam.

Here is the dam from front on. The grey post in the middle of the water has to be pushed into the hole in the bridge. This moves the black rod which inturn releases the energy brick.

The yellow brick in the front left hand side of the picture is the energy brick that has been released.
See the photos below of the wonderful job the students did. Please double click on a photo that you like to see the full size version. Unfortunately the square thumbnails cropped some of the previews in unfortunate ways (eg partial chopping off of heads) but rest assured the whole photo is there when you double click on it.
We had had lots of fun and learnt alot!!


Mrs Garlick