Dear Bloggers,
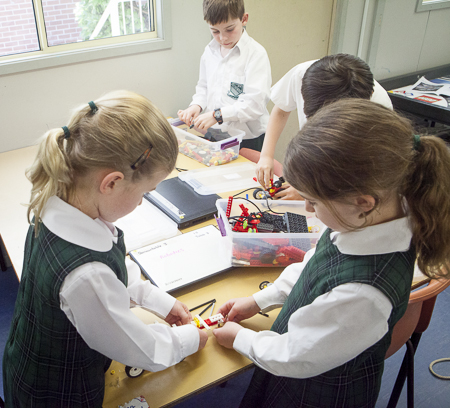
This term in Lego Robotics 4l and 4/3A have been working on an open ended problem solving activity to design , make and program an elevator that successfully moves Max and Mia between levels in a building on the Construction Site.
Here is what students were asked to do:
- Study the mechanisms in the cranes and/or forklifts they built in previous terms and use one, both or a modification of these to design and build a functioning elevator. The forklift had smooth tiles to reduce friction, the crane used a counterbalance and both had tilt sensor controls. Students were encouraged to incorporate these features into their models where appropriate.
- Create a report using one of the forms below:
- two minute video
- poster with photos and/or drawings
- written report with photos and/or drawings
- two minute speech to the class including photos and demonstration of your elevator
- power point presentation
- any other ideas welcome…but you must get permission from your teacher first.
Material to be covered in the report
- Clearly explain how your elevator works using technical language. Where possible demonstrate your working elevator.
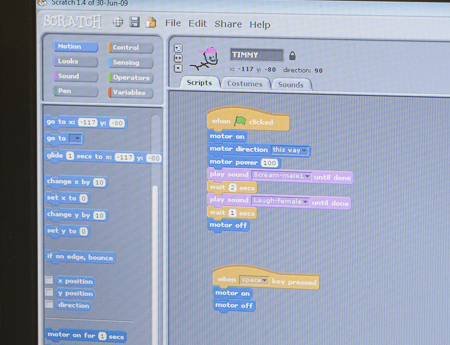
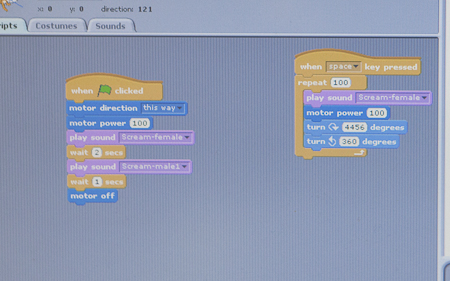
- Show and explain the programs you used. (Screen shots can be good for this).
- Outline at least one problem you had whilst designing, building and programming your elevator. Explain how you overcame this problem.
- What are three things you like about your elevator?
- How could you make your elevator even better? Why would this be good?
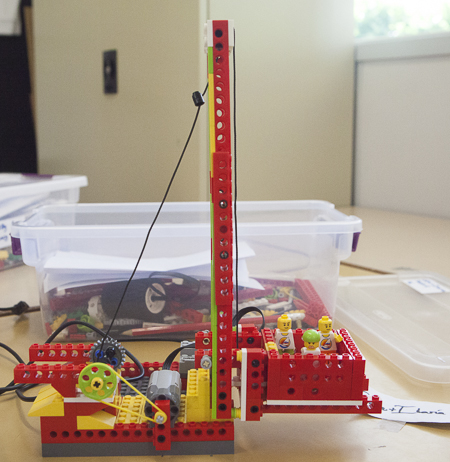
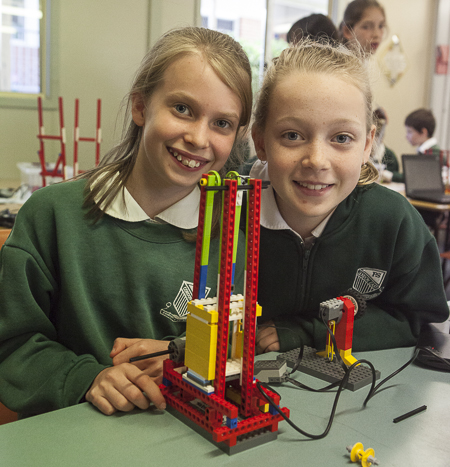
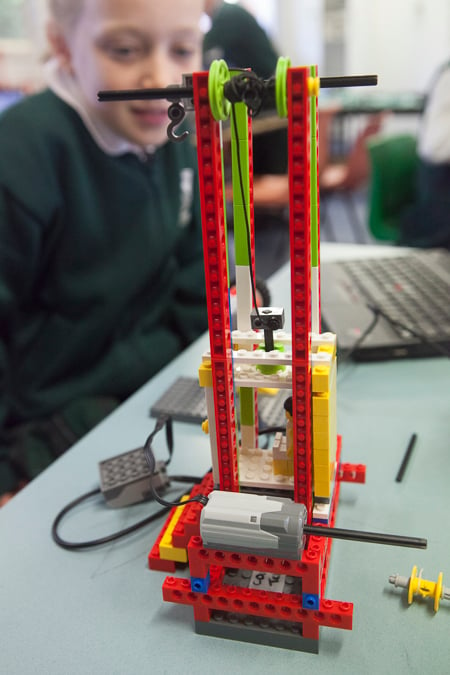
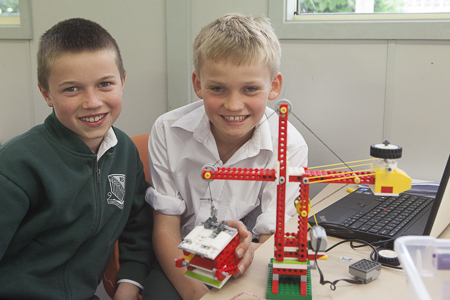
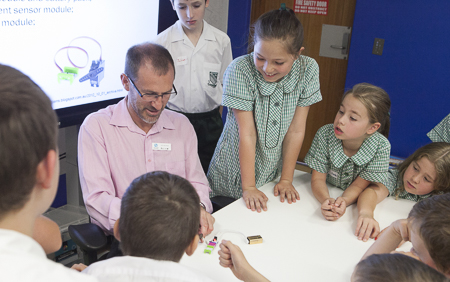
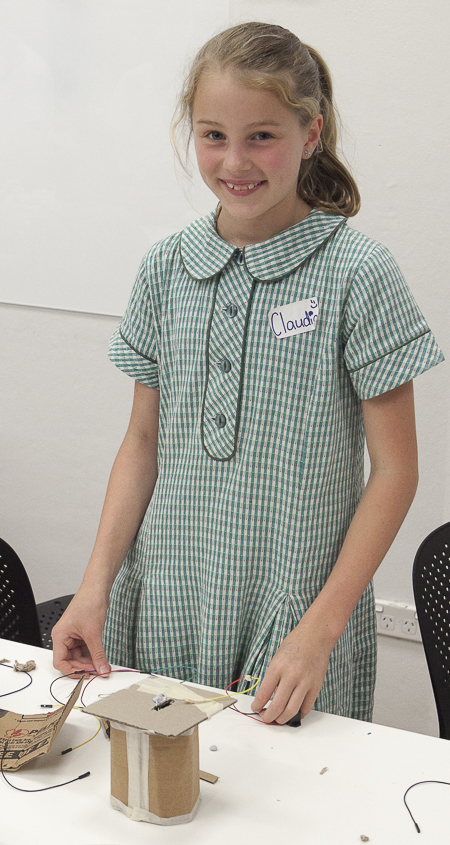
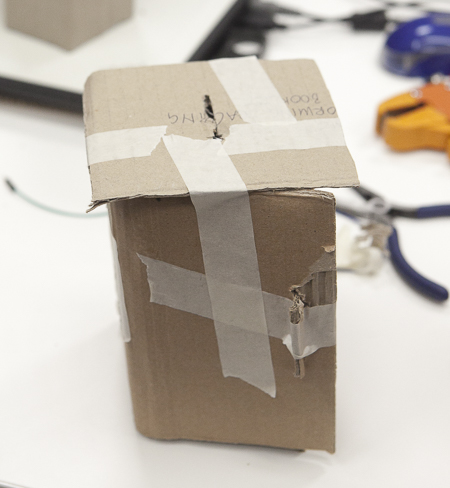
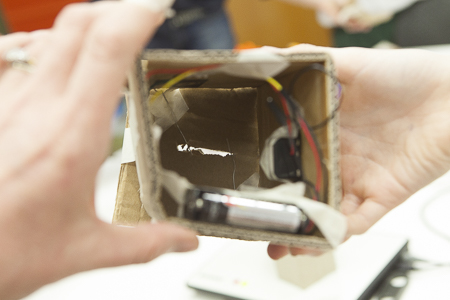
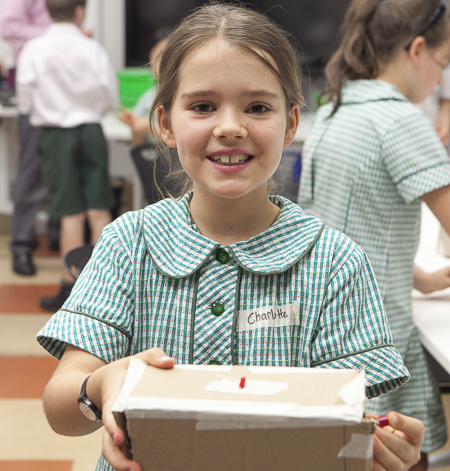
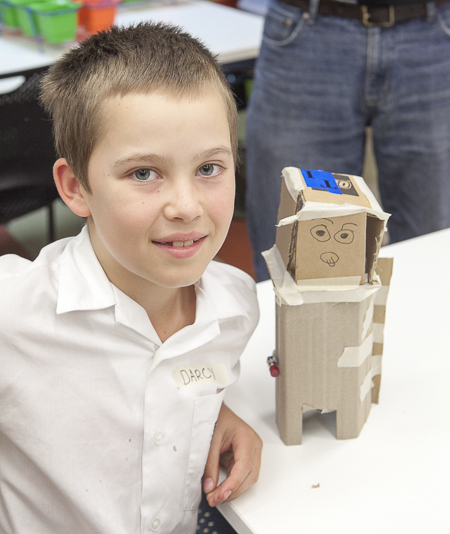
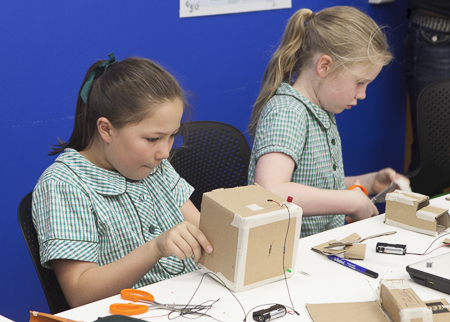
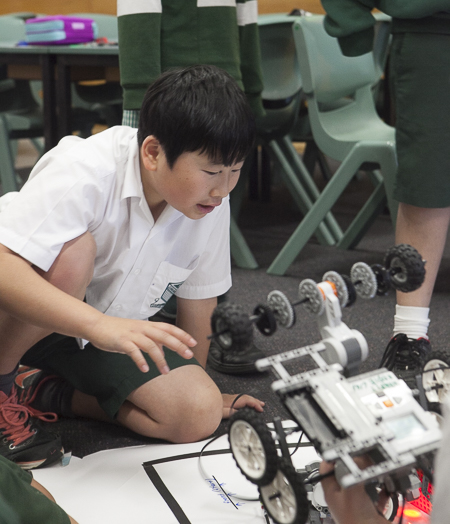
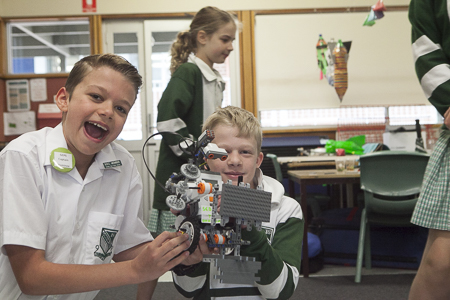
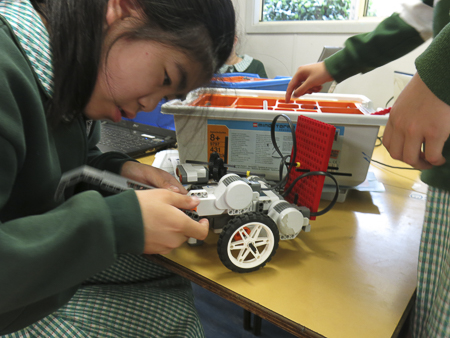
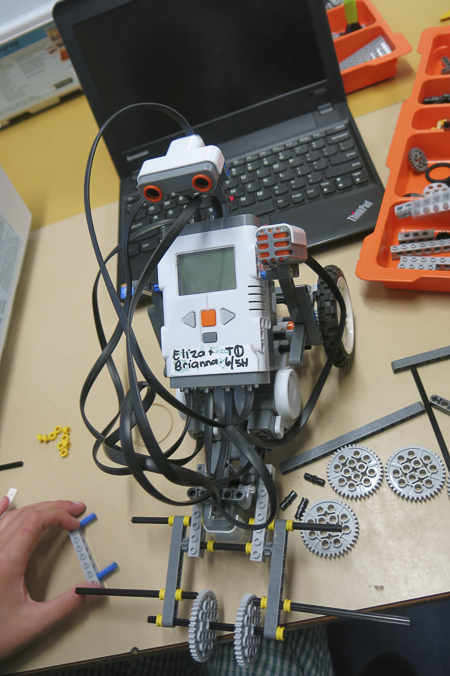
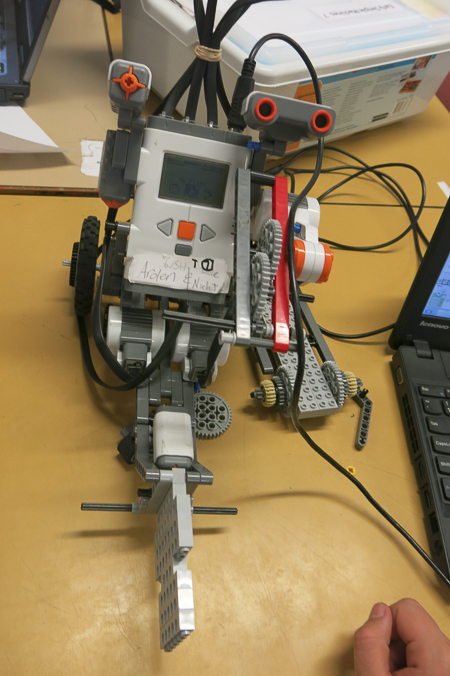
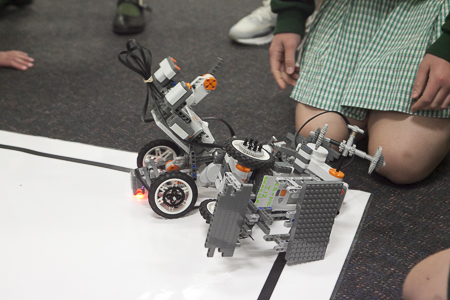
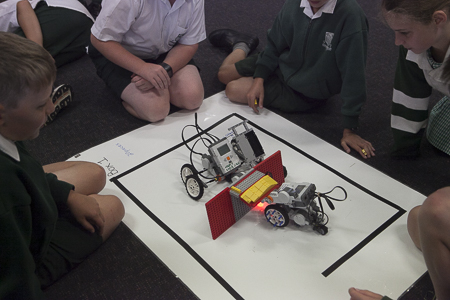
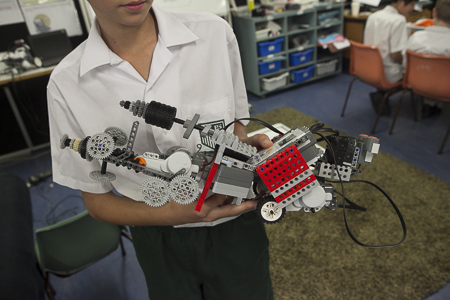
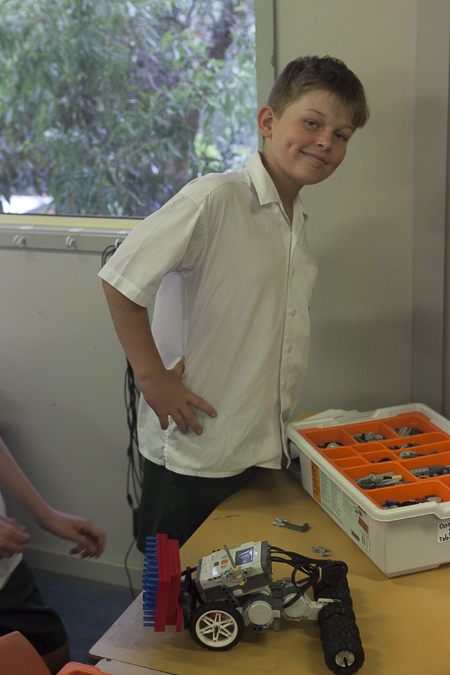
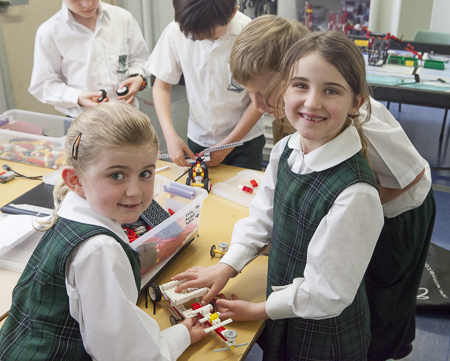
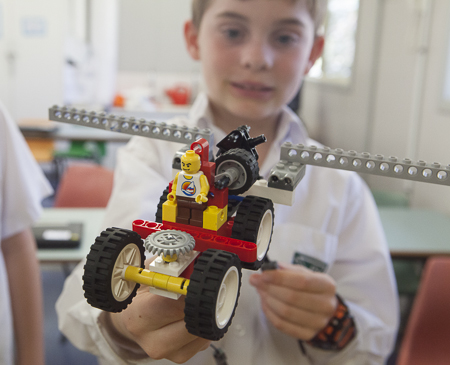
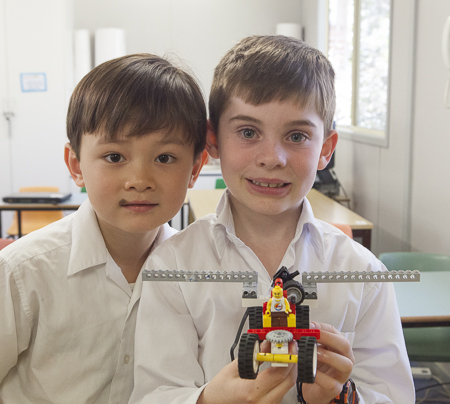
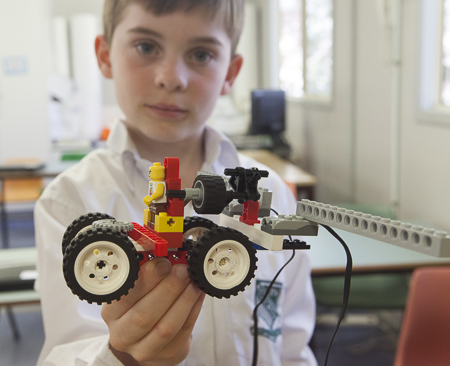
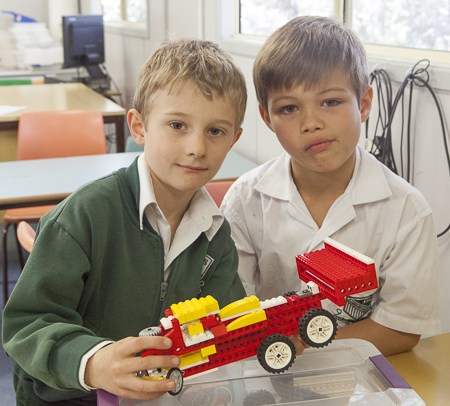
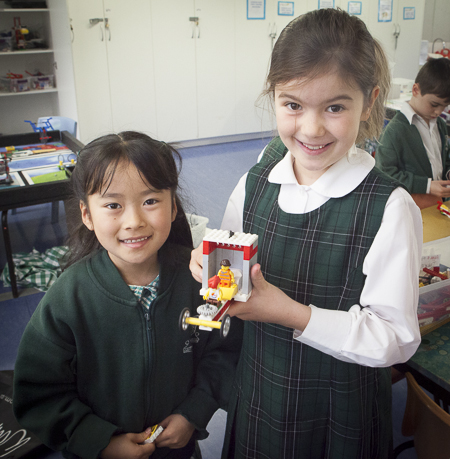
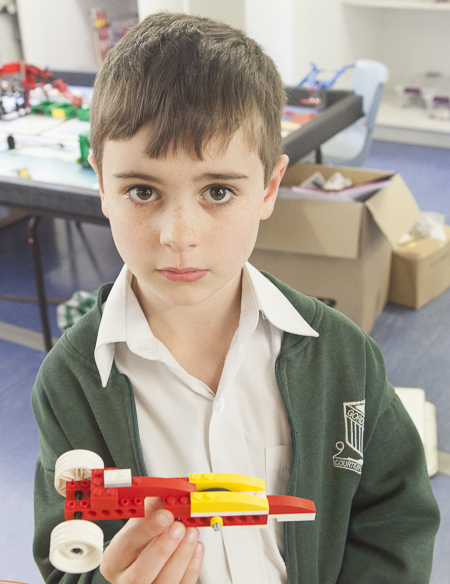
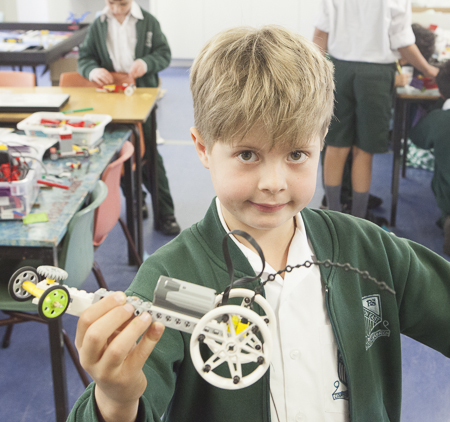
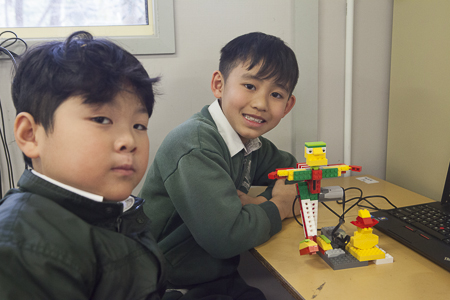
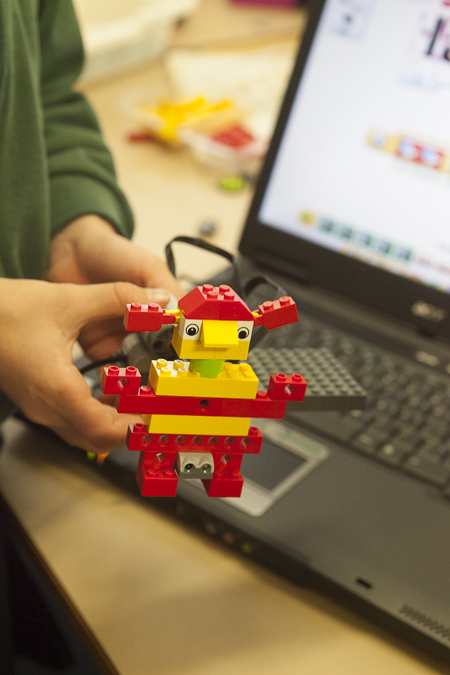
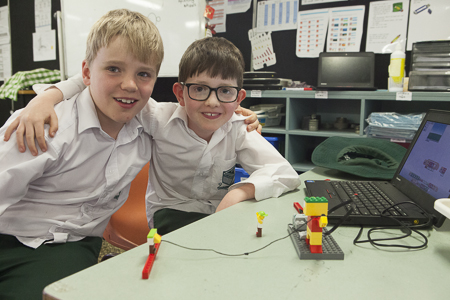
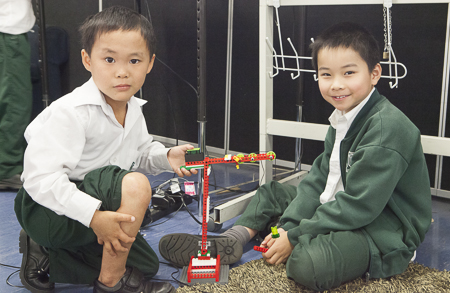
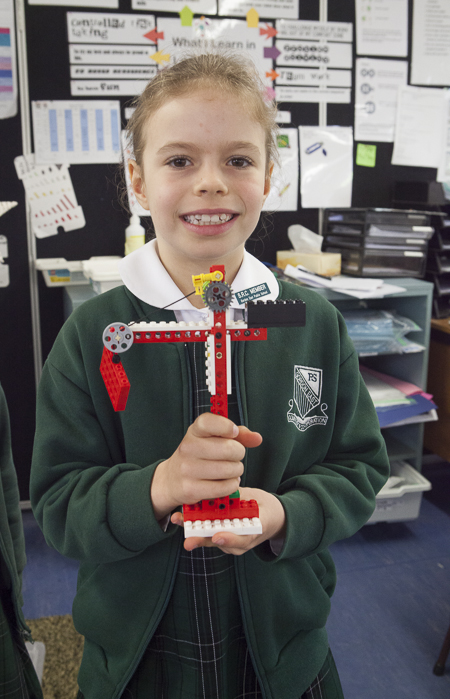
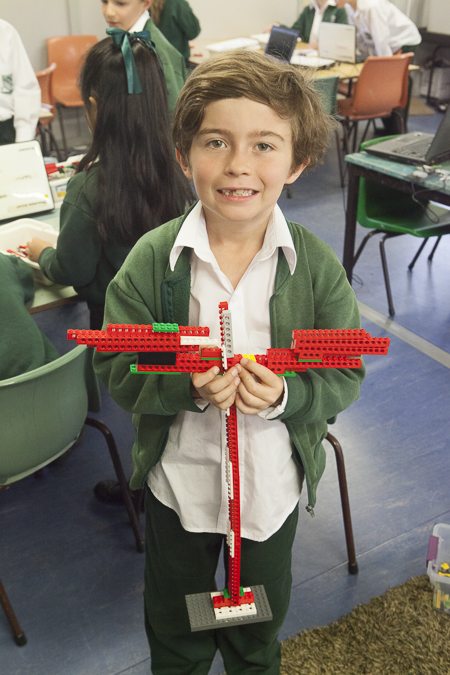
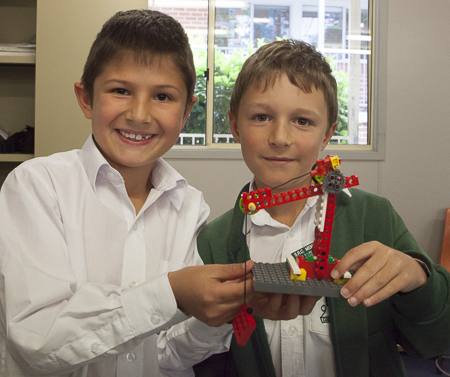
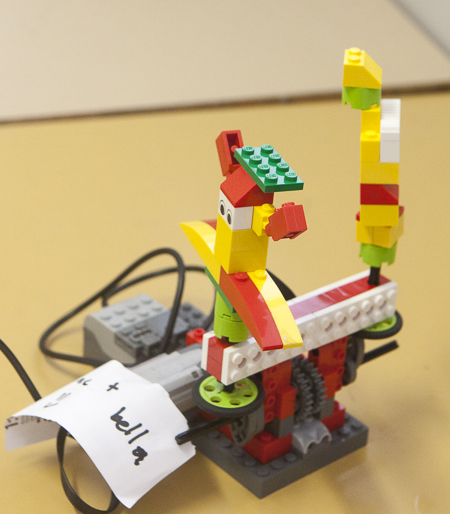
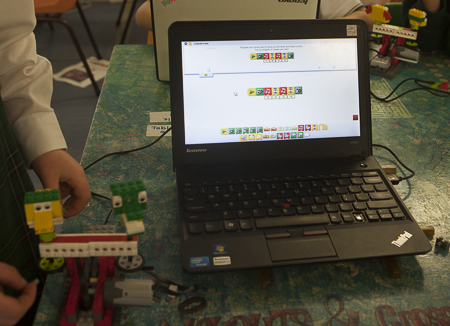
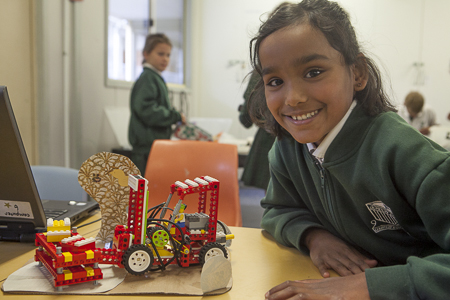
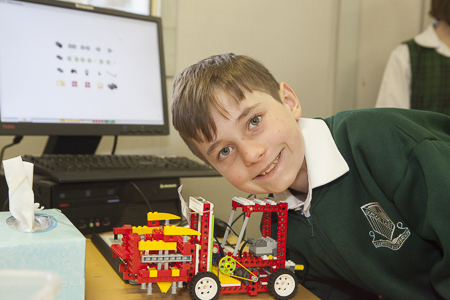
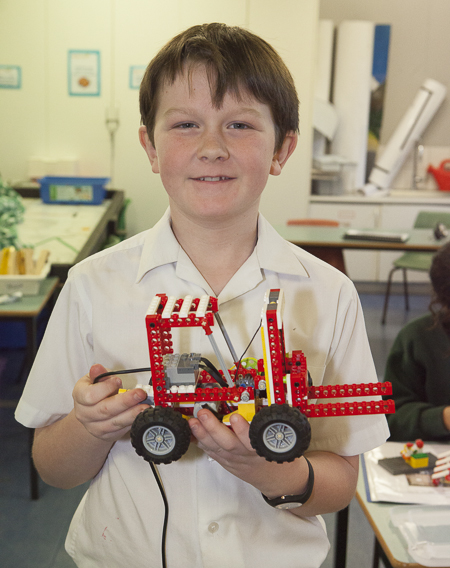
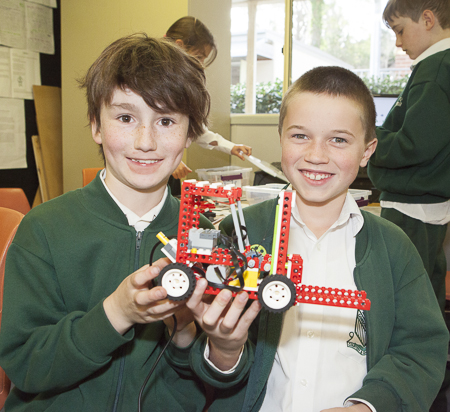
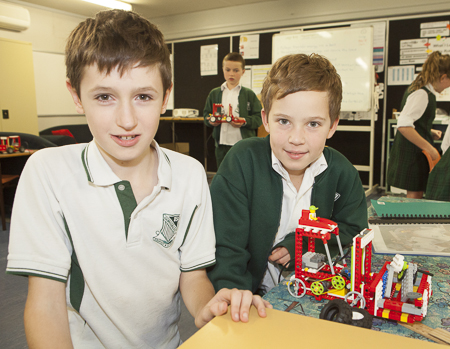
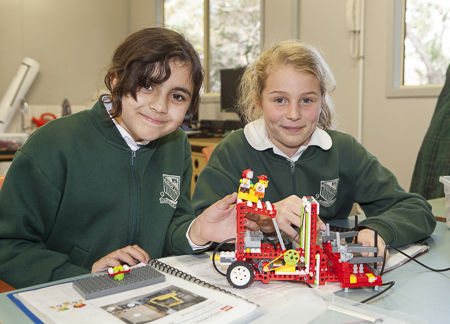
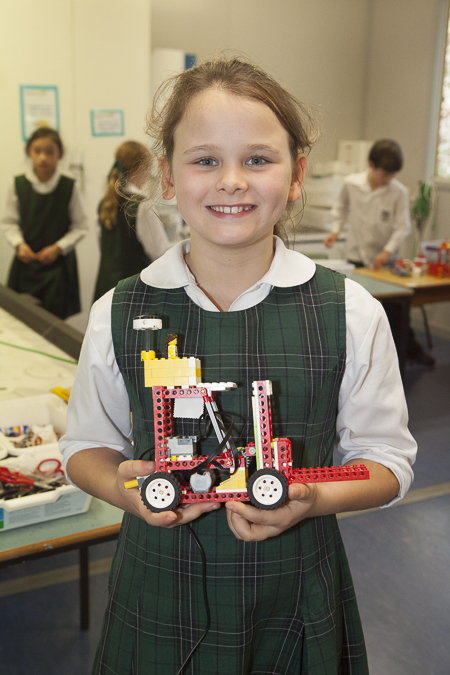
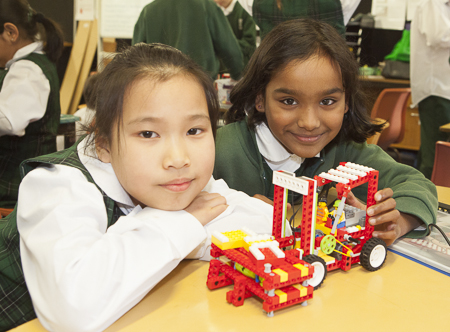
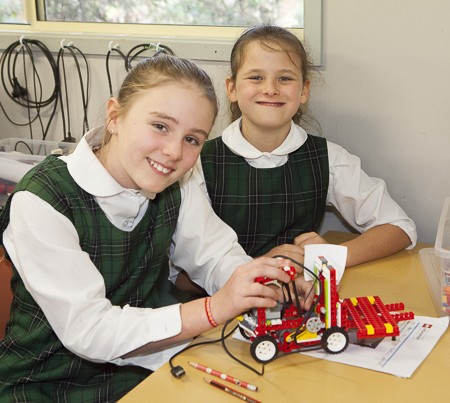
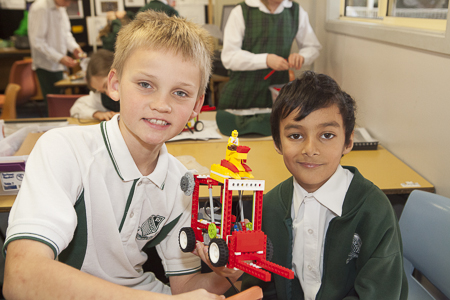
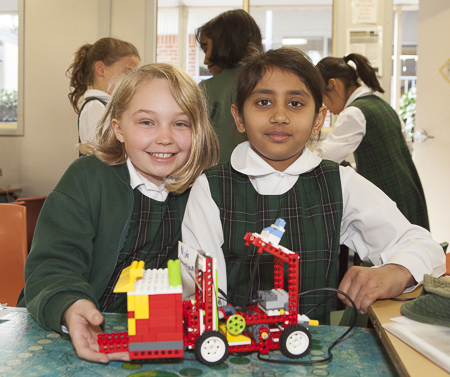
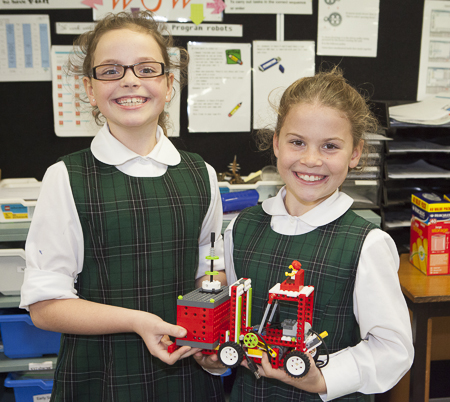
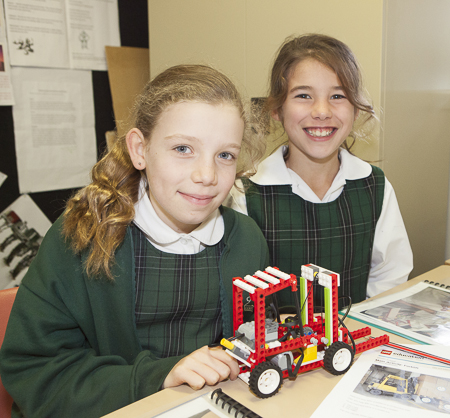
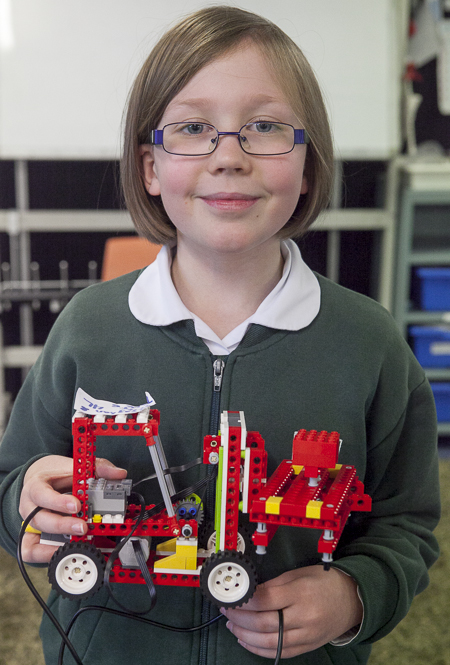
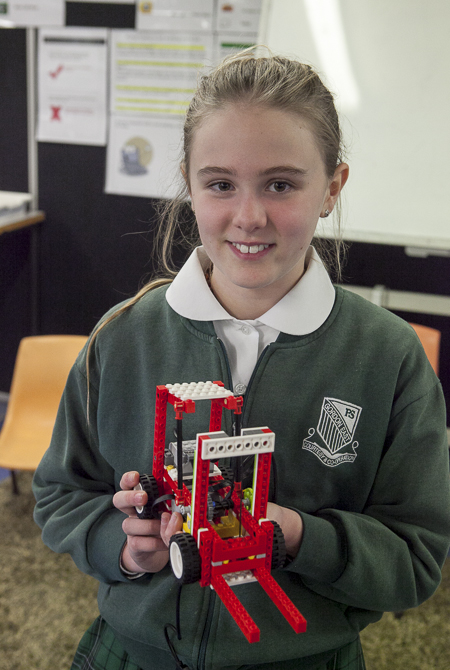
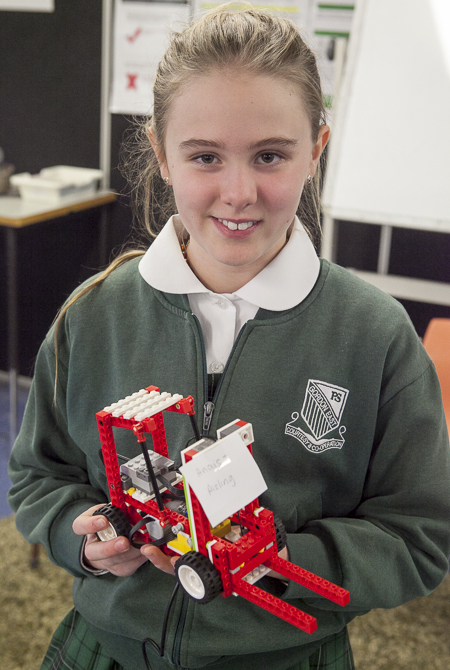
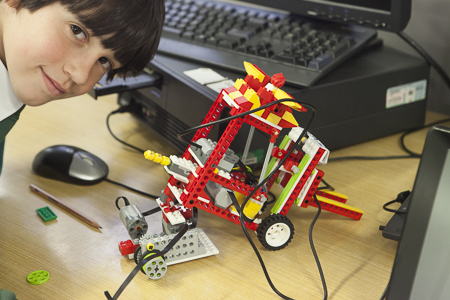
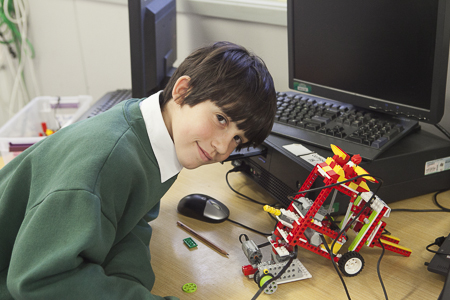
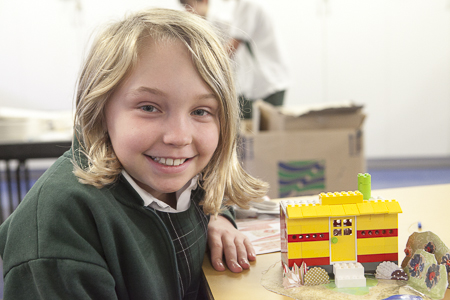
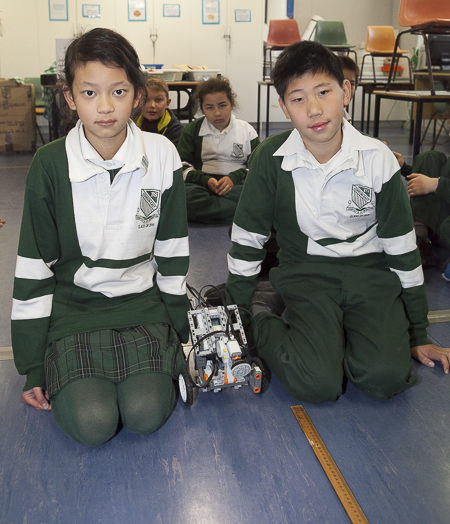
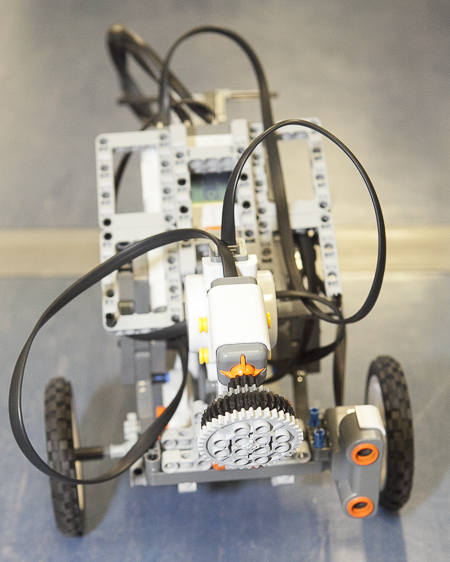
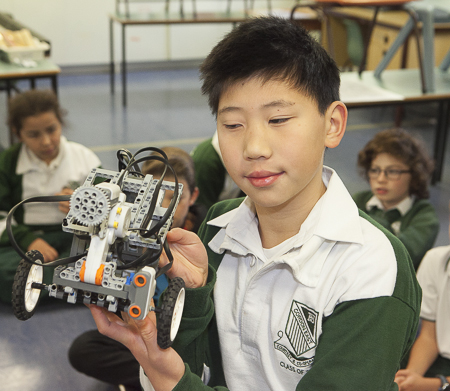
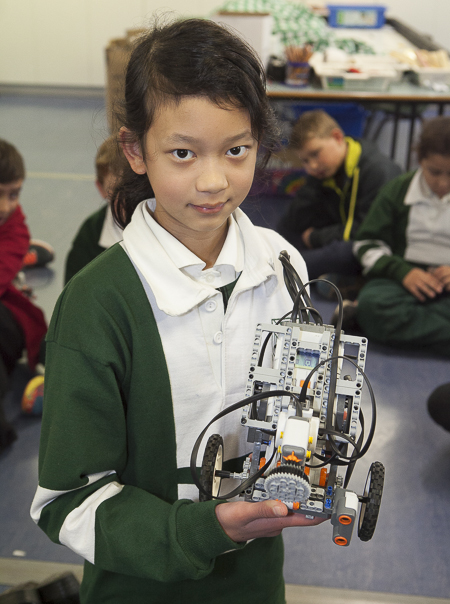
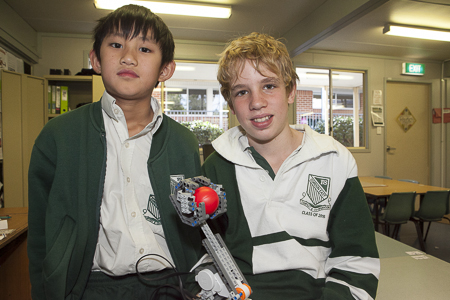
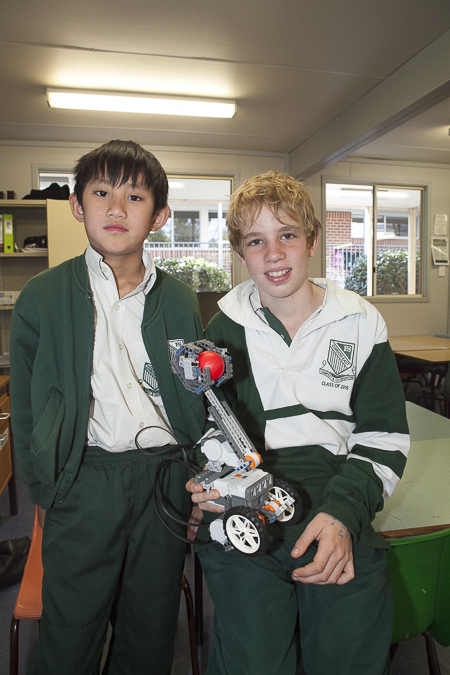
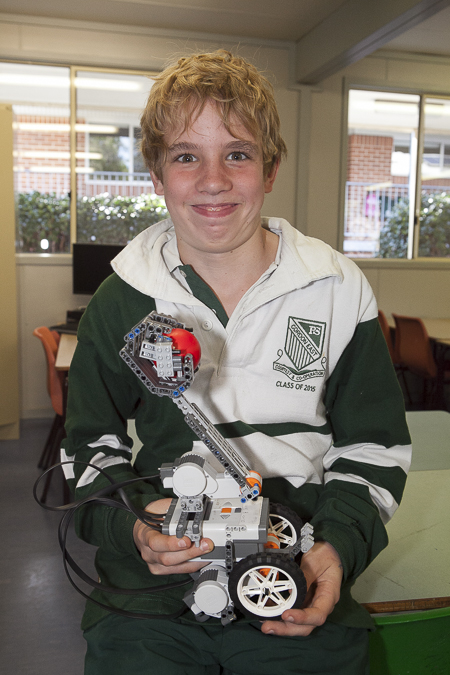
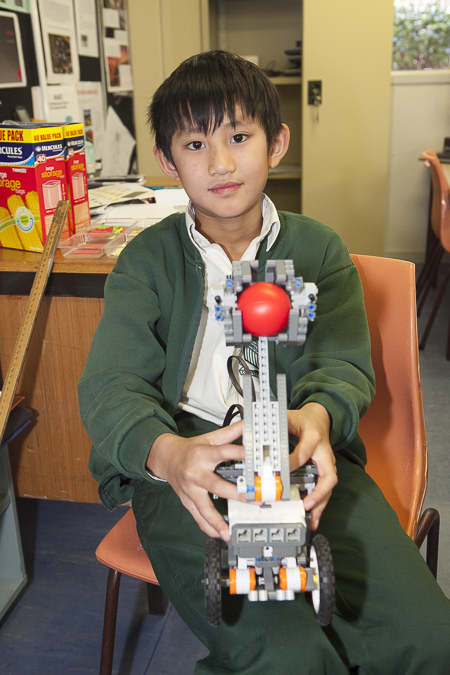
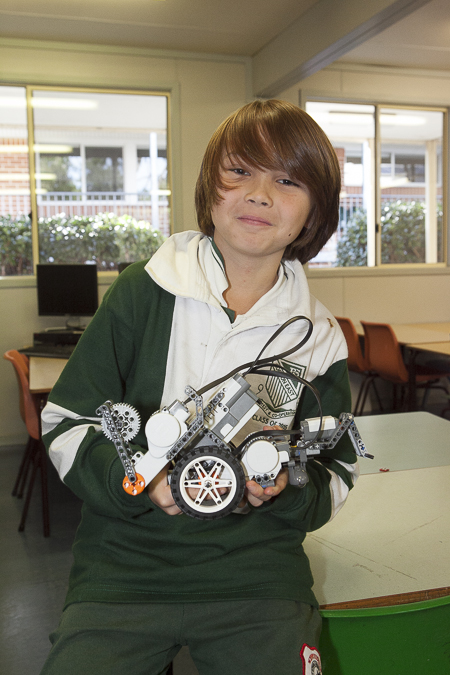
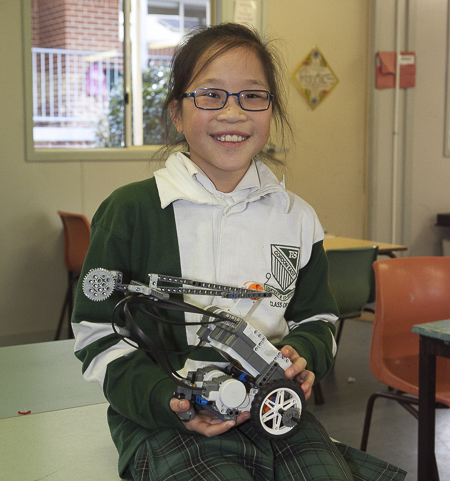
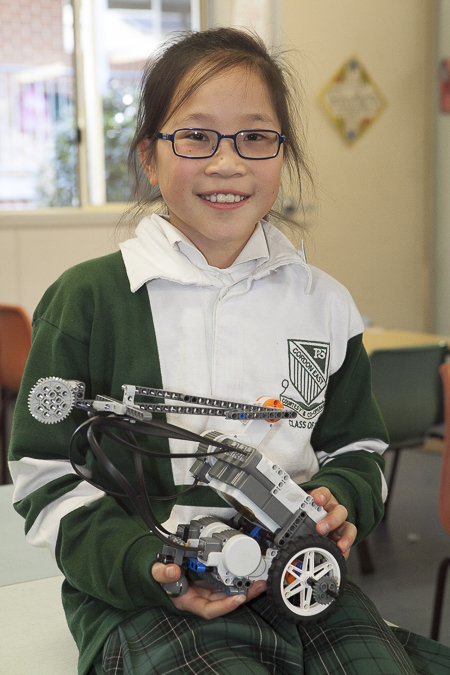
Here are some of the models.
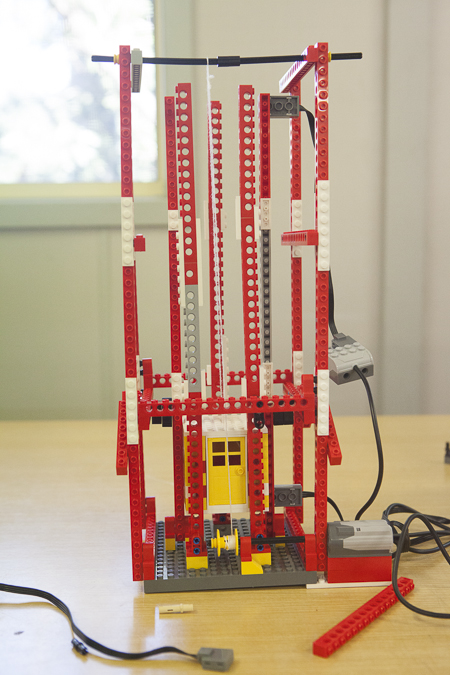
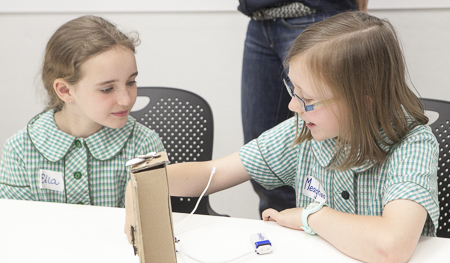
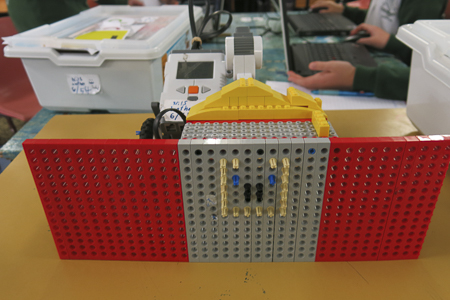
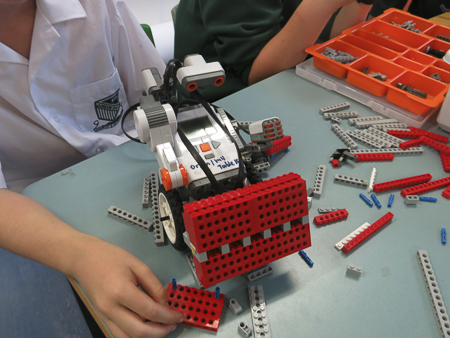
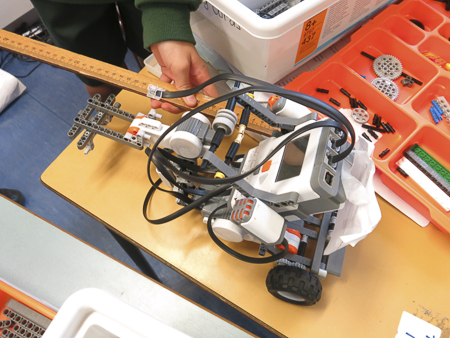
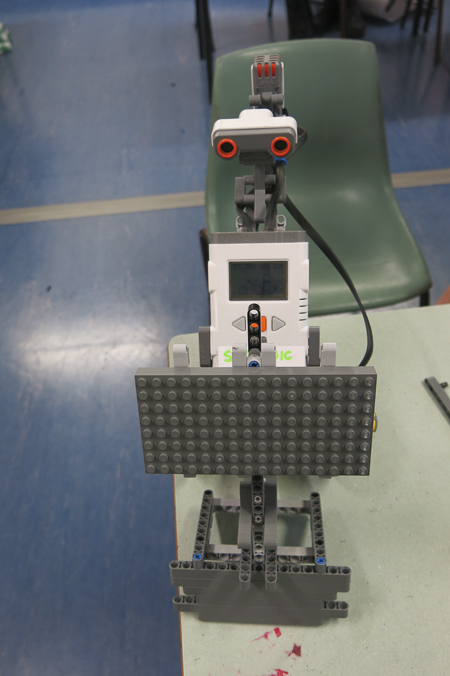
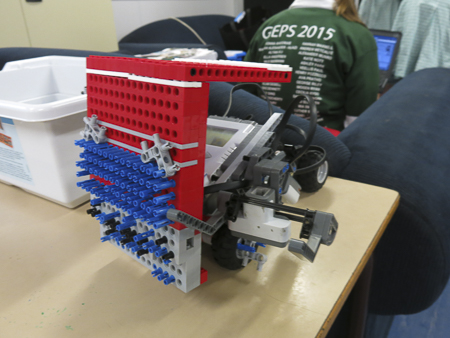
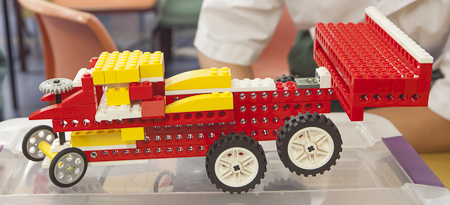
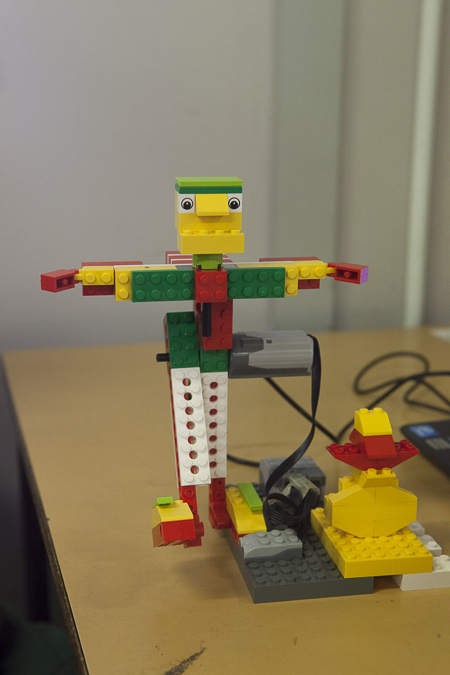
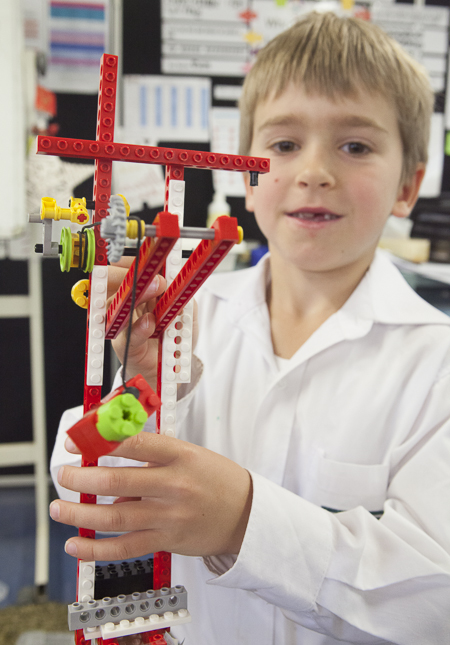
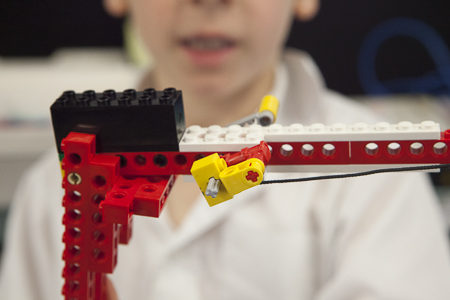
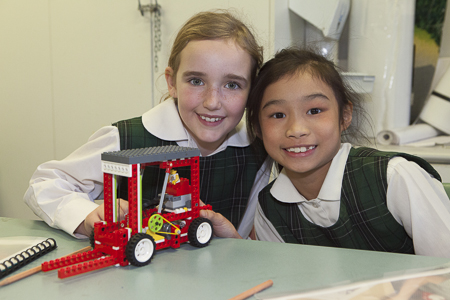
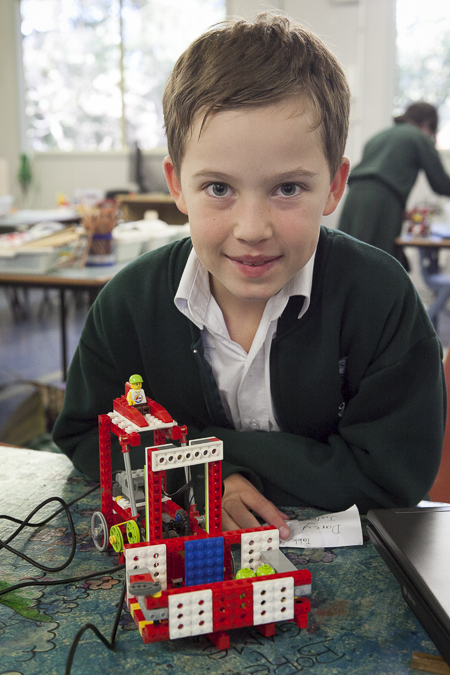
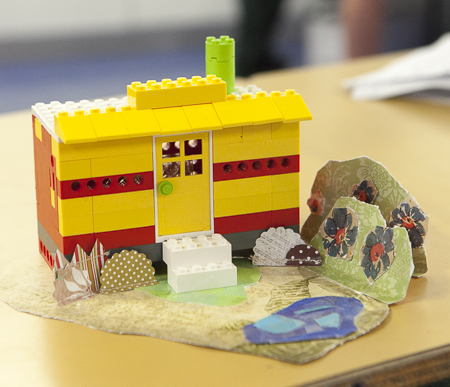
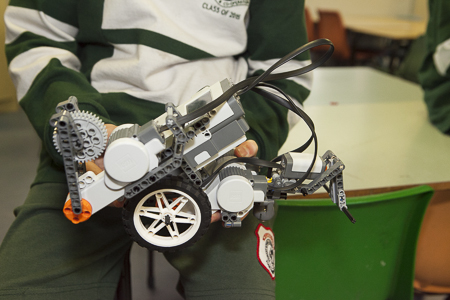
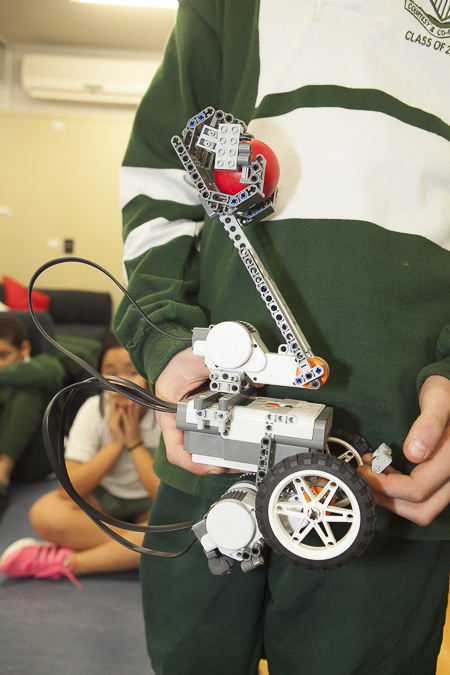
These elevators used friction reducing tiles to create an elevator shaft. As a result the elevators ran up and down very smoothly and stayed on track at all times.
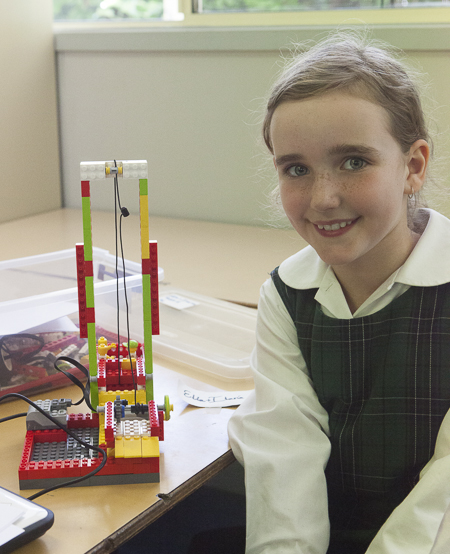


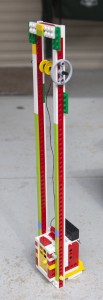
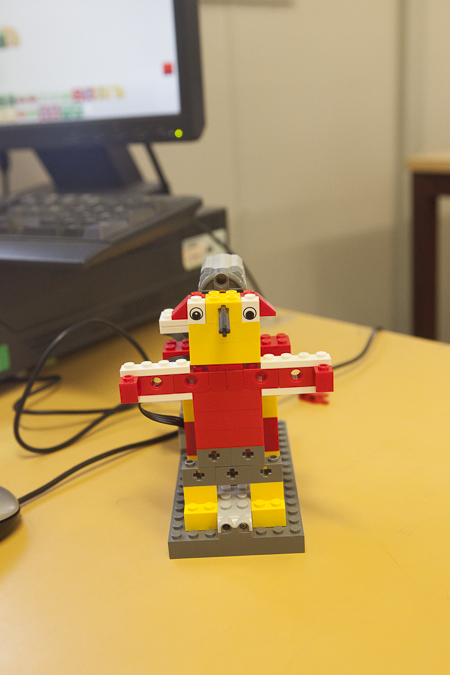
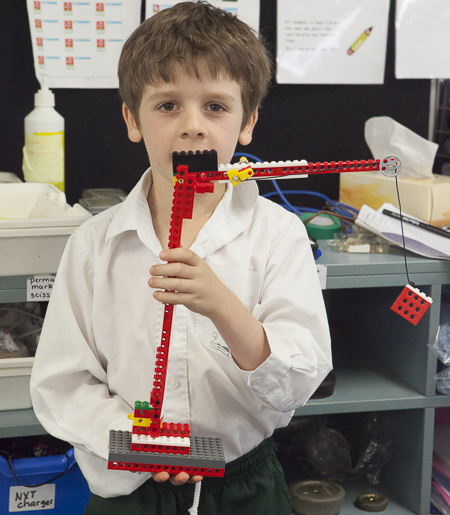
This model had a rectangular prism shaped lift shaft which was made strong with good use of triangles for bracing.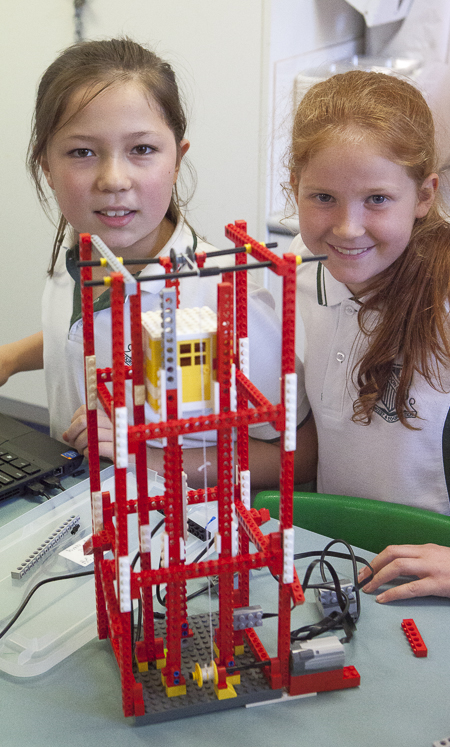
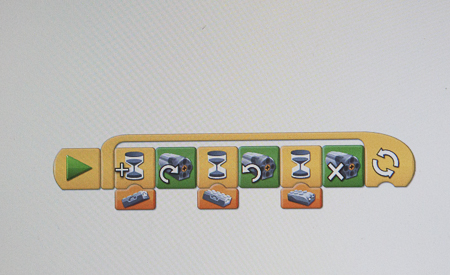
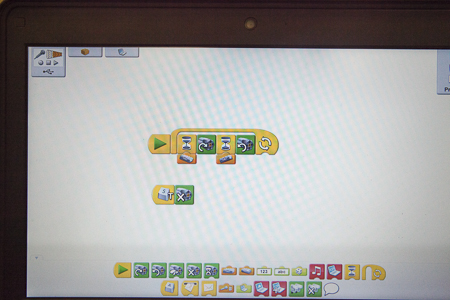
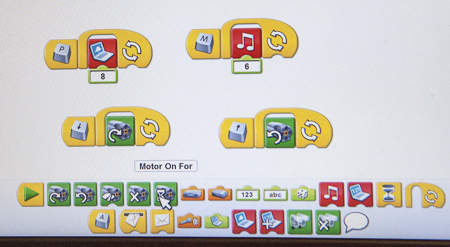
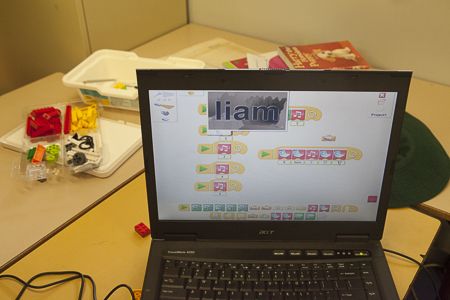
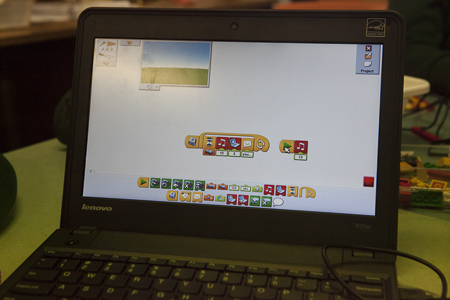
 Some students created tilt sensor controllers and the programming for these is shown below.
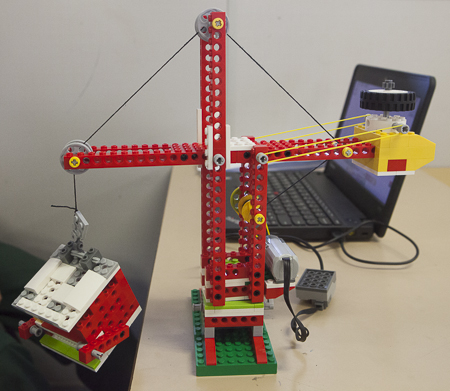
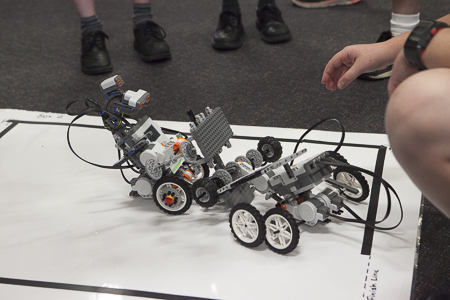
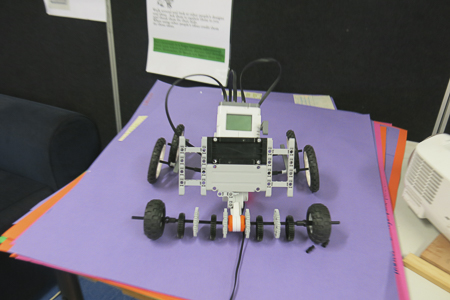
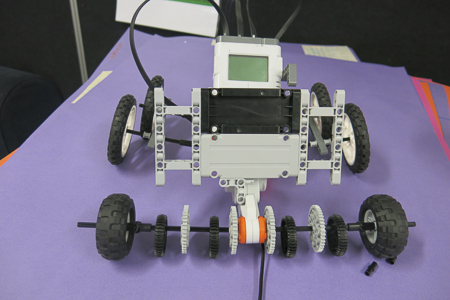
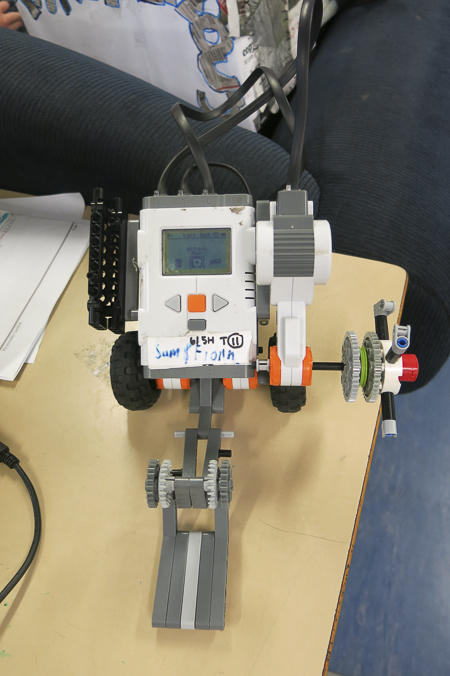
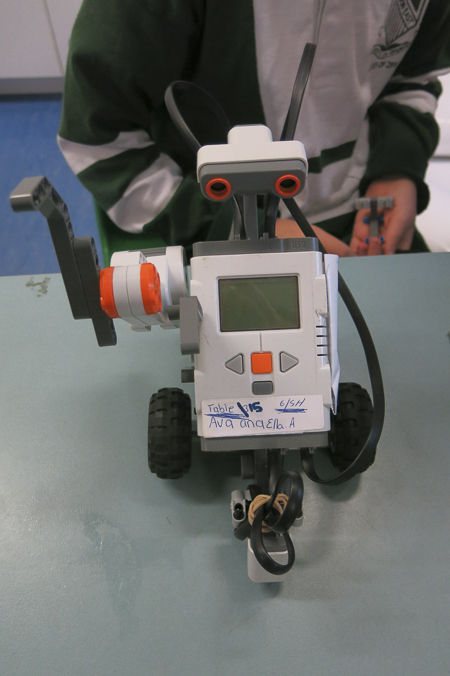
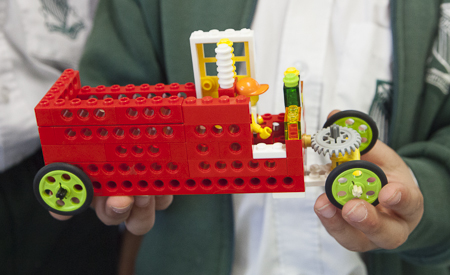
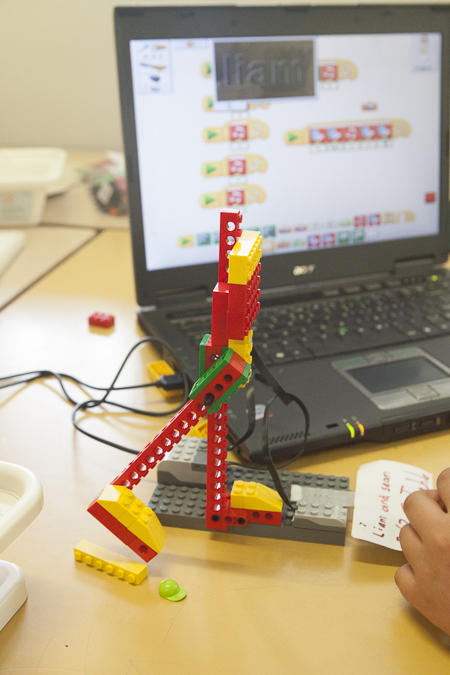
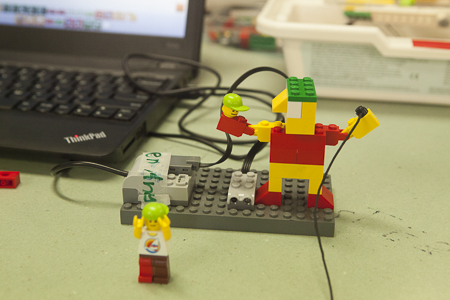
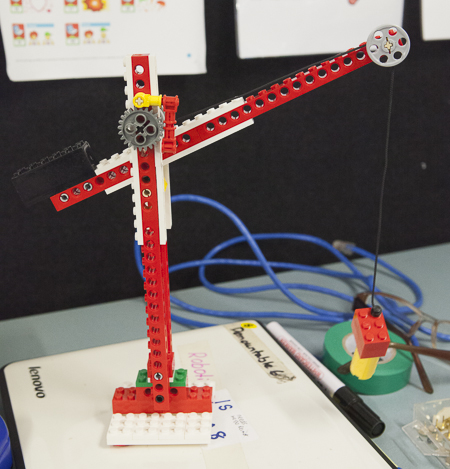
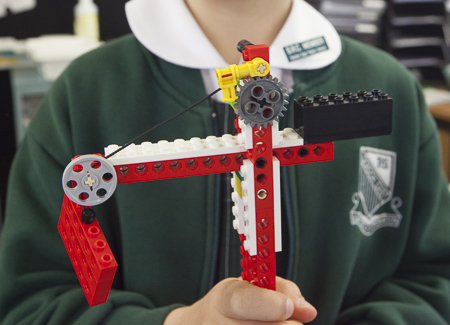
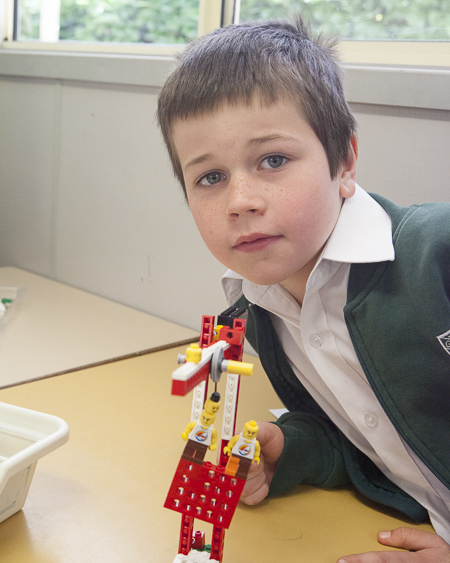
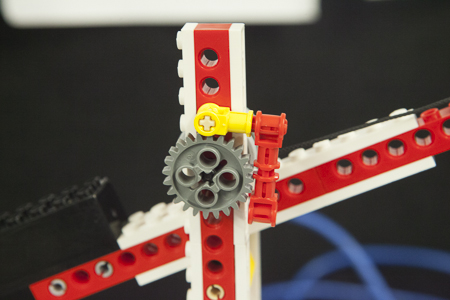
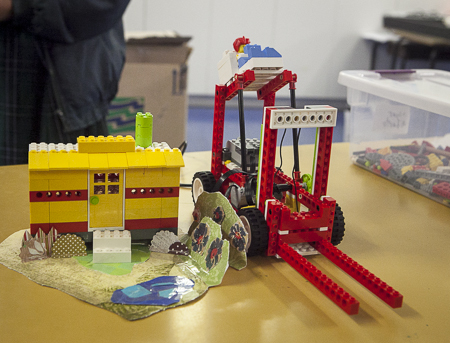
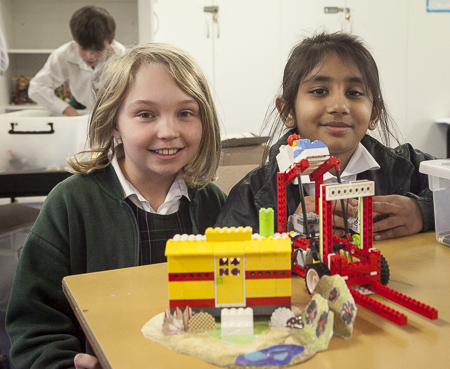
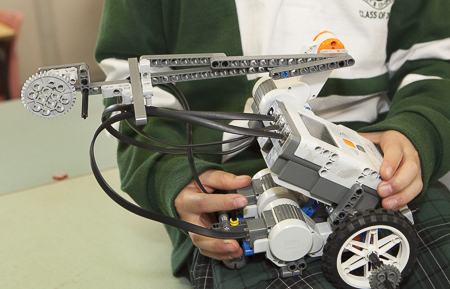
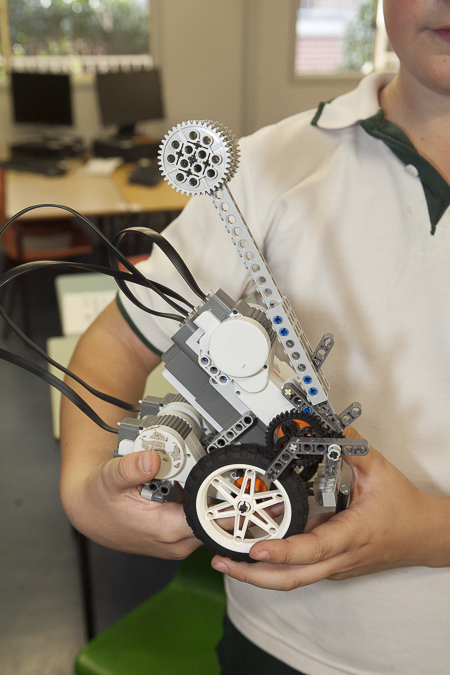
Some of the elevators had a more crane-like mechanism and used counterweights.
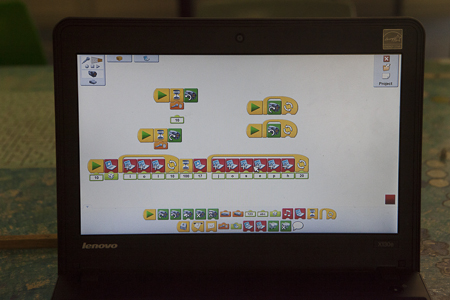
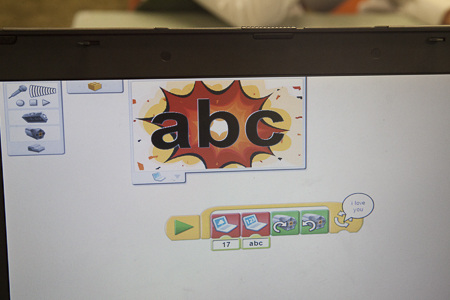
 Other examples of programming included use of keyboard commands to control the direction of the movement of the motors, addition of sounds and displays and creating of messages on the displays.
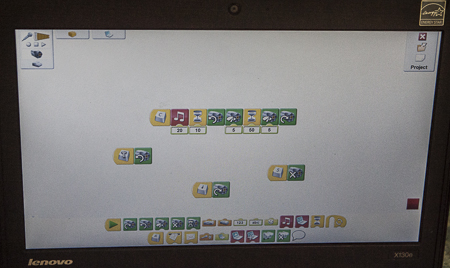
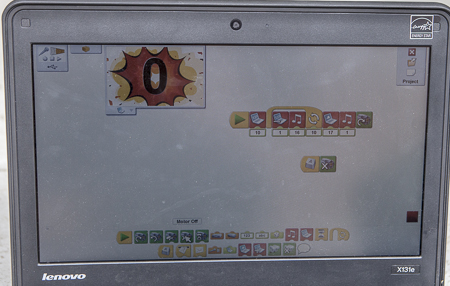
This program counted down before the lift started.
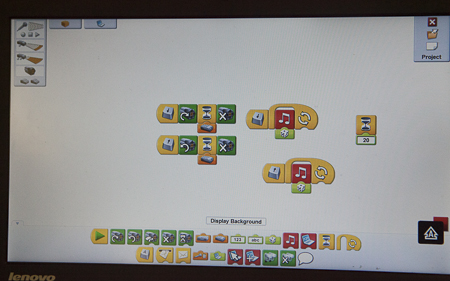
 Other students incorporated sensors into their programs.
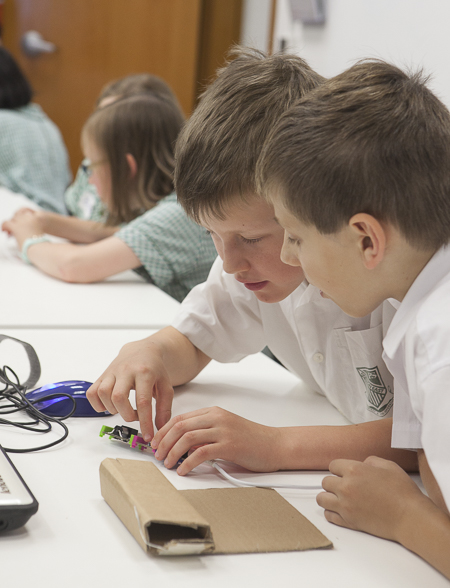
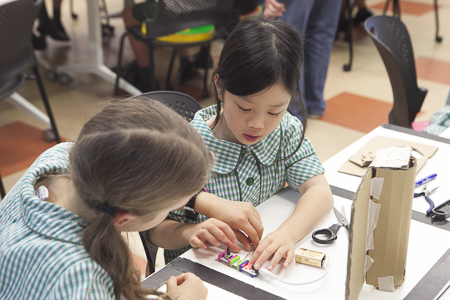
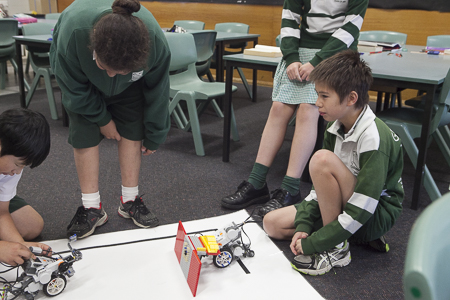
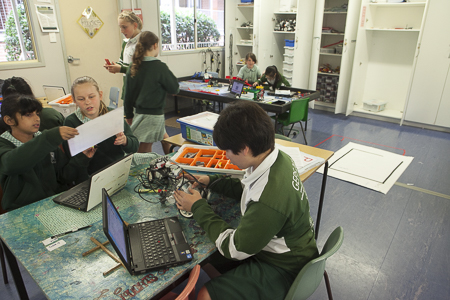
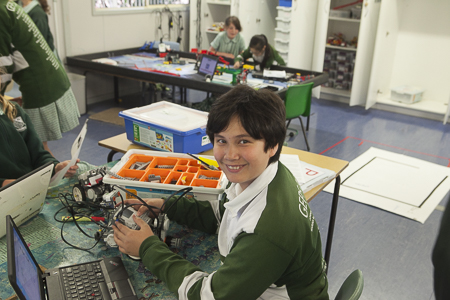
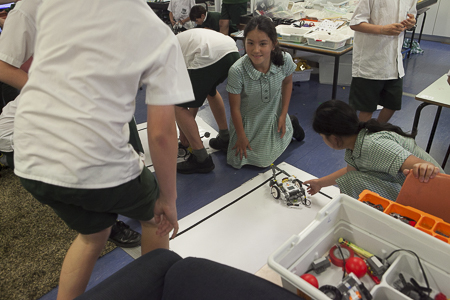
Here are some videos of our children in action.
Here is some of the written work from the students’ reports.
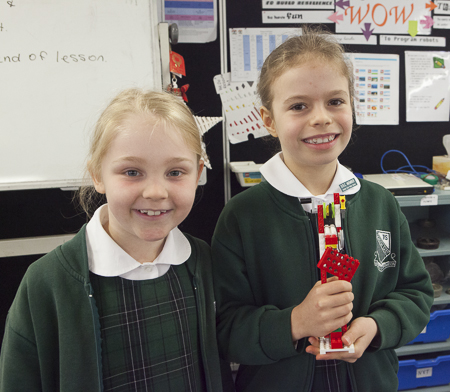
Our Elevator by Lucy and Tilly
This is our elevator. The mechanism is similar to the crane’s mechanism it doesn’t build up much momentum so it stops very fast. When we press ‘t’ on the keyboard, the lift manoeuvres upwards because the power from the computer travels through the hub into the motor where it is used to spin around a small axle. Attached to the axle is a yellow bushing which connects to a belt-driven pulley. The belt-driven pulley is connected to an axle which also has a cotton reel on it. Tied to the cotton reel is some thread on the end of which is the lift. When everything begins to move the thread winds around the cotton reel and the lift ascends. Then when we press ‘l’ on the key board the opposite happens. We added some sounds and back grounds which are: a reef setting changing to a cave setting and a siren warning everybody to move out of the way because it is a building. by Lucy and Tilly
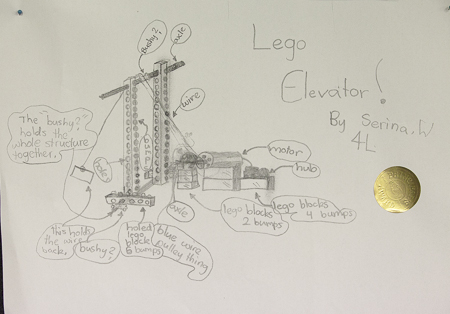
Our Elevator by Serina
Our elevator works like this:
The computer generates the power for the hub. When the hub starts, the motor can activate. The axle that is in the motor rotates. There is a pulley, with a string attached to it. When the axle rotates the pulley, the string wraps around the axle and at the same time the string with attachments begins to get shorter and the elevator carriage goes up.
We also have placed a tilt sensor on the hub. When one of us uses the tilt sensor we can control the elevator. For example, pretend I was using the tilt sensor. If I tilted it upwards the elevator would go up. Visa versa.
Oh! We have a problem the elevator the elevator isn’t stable. But we couldn’t fix it. We like how the elevator shoots upwards and it’s funny when it does a little flip and goes over to the other side.
We liked how there were little problems and we overcame them. We also liked designing our model and how the actual model changed a lot from the plan.
I think we could make our elevator better by making it more stable and more technical. I think this would be good because then we’d have an elevator that doesn’t fall over and collapse.
We worked together to build the model, work out the problems and write the program. Other than the model falling down at times, I think we did really well.
Thanks for calling by
Mrs Garlick


